Every purchase made through our Amazon Affiliate Page helps support this site

Jamie
-
Posts
1,467 -
Joined
-
Last visited
-
Days Won
54
Content Type
Profiles
Forums
Downloads
Gallery
Events
Store
Articles
Blogs
Everything posted by Jamie
-
Swapped out the knives on my jointer for the first time yesterday. Got them all set as well as I could using a straight edge registering off the out feed side of the table. Ridgid has a slick set screw below the bottom of the knife to make adjustments to the height of the knife. After running a test piece it cut pretty well but sounded rough, feel like one of the knives might be a little higher than the other two. Question is......with out a dial indicator how do you make sure they are all in the same plane?
-
I had the same issue off my 735 planer, there was a grounding wire on mine that I stuck under the hose clamp that was on the flex pipe. Seemed to help with the issue.
-
Extension jamb my friend. Little filler piece that you could make into a bead detail possibly.
-
I have never ran a festool piece of equipment, actually I don’t think I’ve ever put my hands one one. I will say that a domino would be my first choice in their lineup.
-
That’s awesome! She needs to talk with my wife about tool purchases
-

Review of Harvey MG-36 Miter Gauge compared to Incra 1000HD
Jamie replied to pkinneb's topic in Shop Tools and Reviews
These fences are they easy to move over say a half inch to get a fresh backing or do you have to start with a new one? -
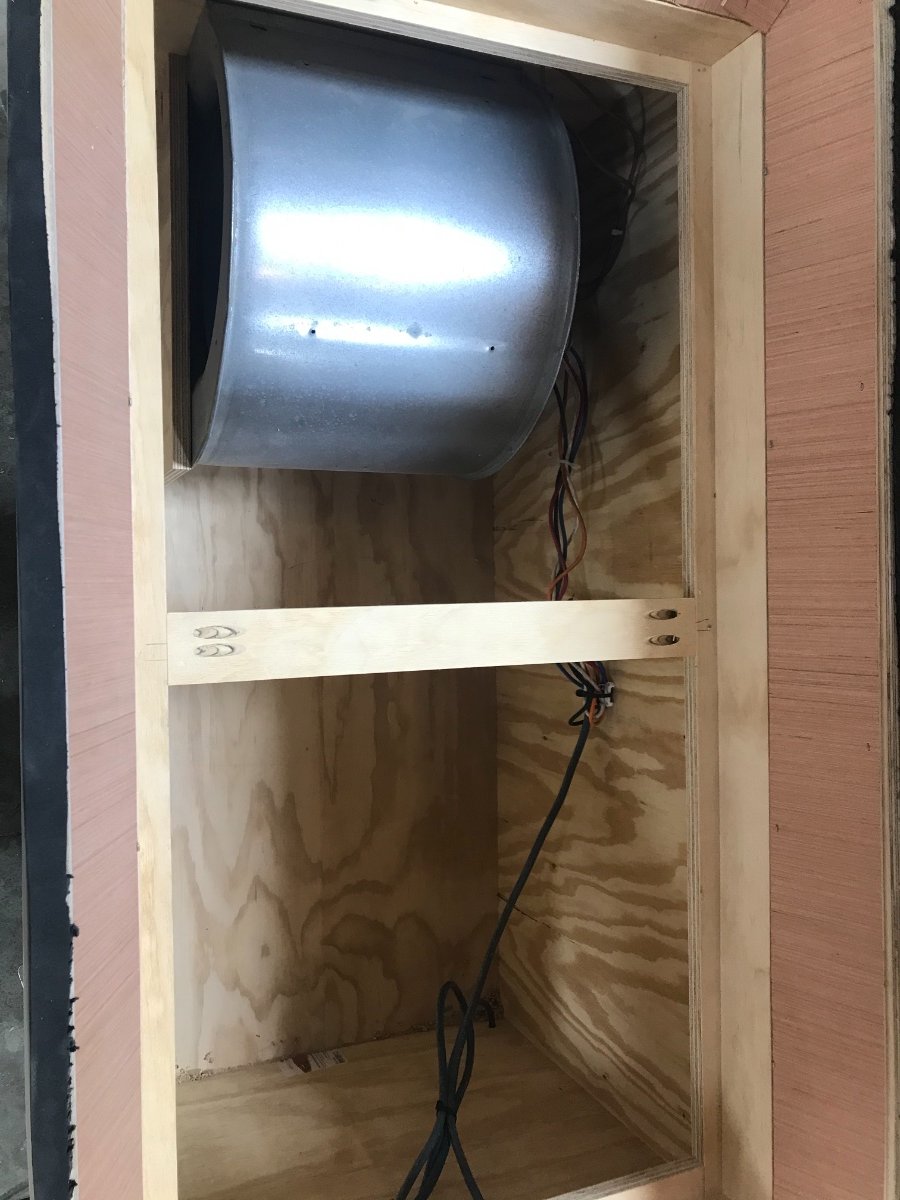
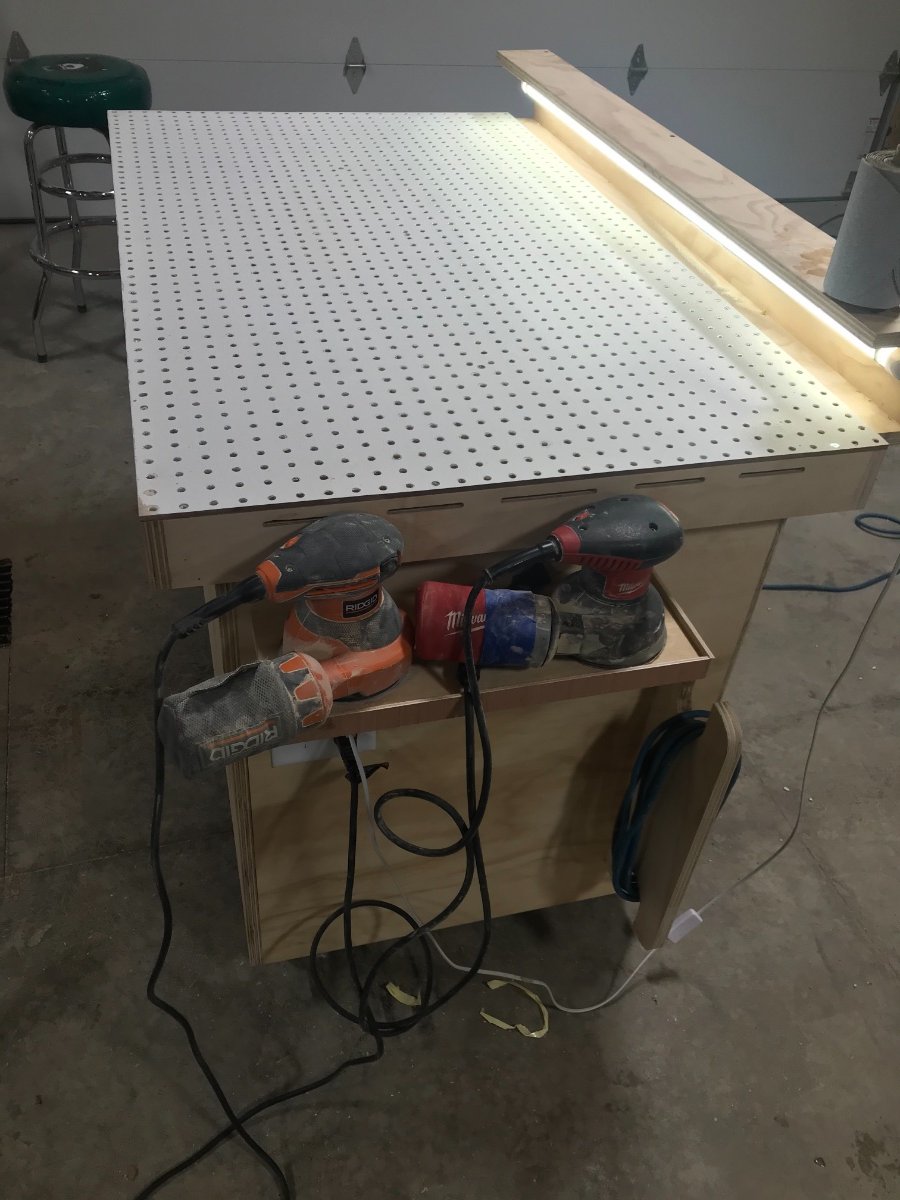
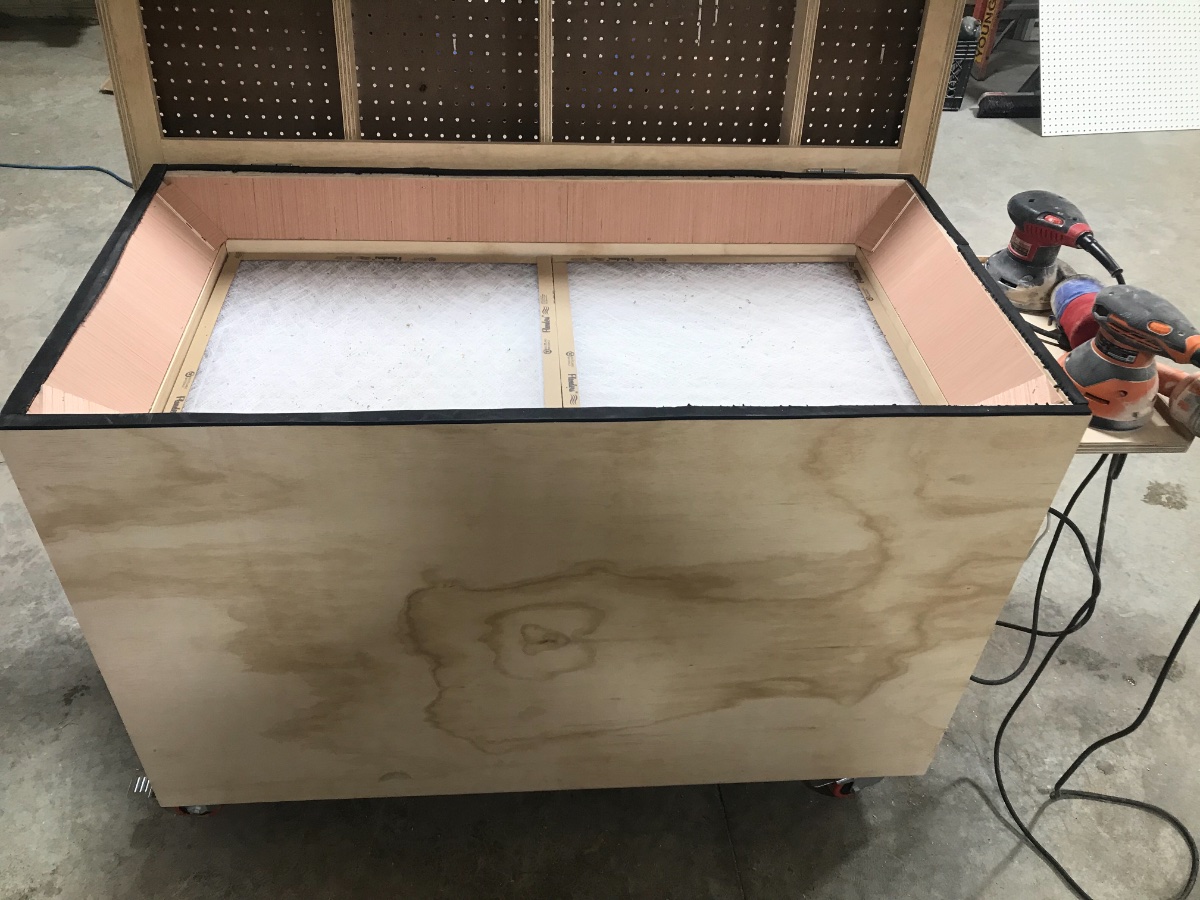
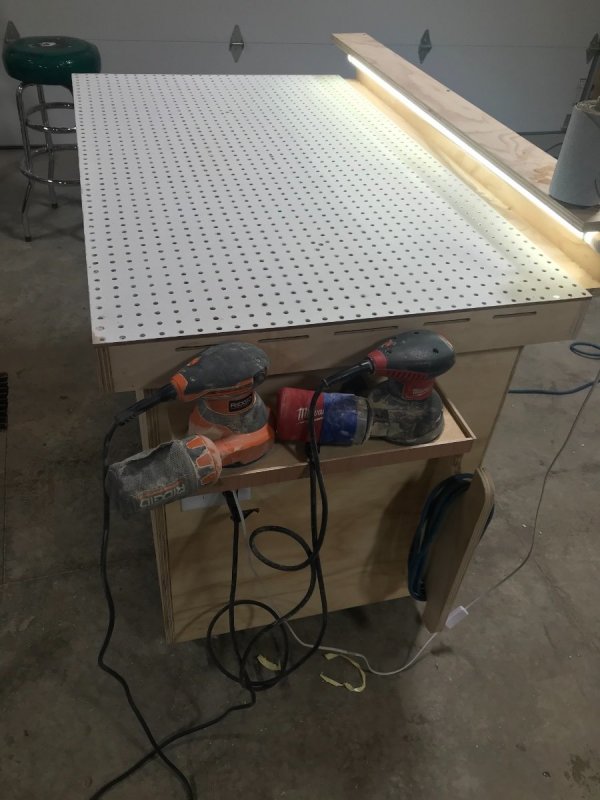
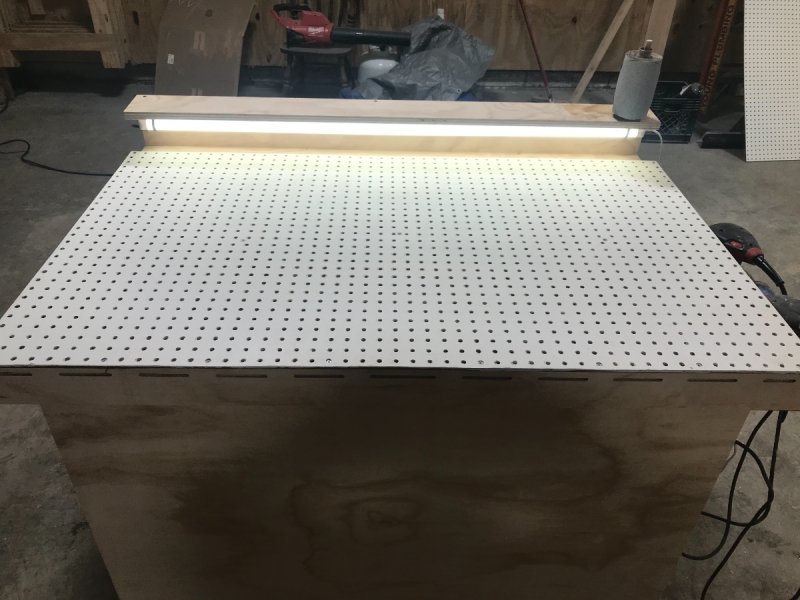
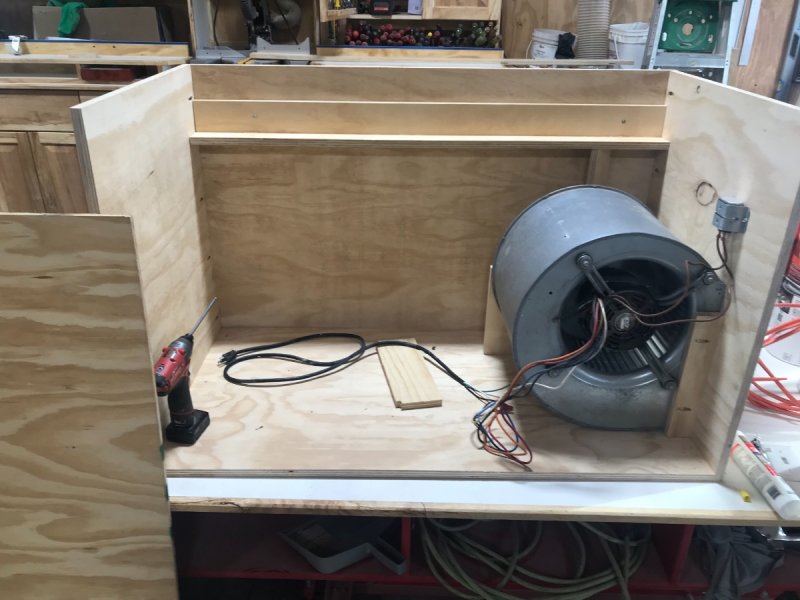
I’ll be honest the peg board was/is a concern. After getting it all together and Flipping it on I was shocked how much airflow is there. I had a guy mention to me to choke off the squirrel cage a little bit to actually increase the flow. Used a piece of ply to do this which you cant see in any of the pictures. Made a major difference. If I do have an issue with it I think the plan would be to drill out about half the holes to a 3/8 to 1/2 hole, not sure how it would affect the strength of the peg board. I do have a few stretchers running under it so maybe wouldn’t effect it much. Or plan b would be to run some 1” wide strips across the top. wish I had a way to show you guys how much air this thing is actually moving. Thanks!
-
Had this project in my mind for a while. Sanding the chair parts for hours gave me time to think about it. My next door neighbor is an electrician, I asked him a while back if they pull a furnace out and the fan is good yet to keep it for me. Didn’t take him long to come up with one. Got a 5 year old fan for nothing. Sweet deal for me! Was a pretty stress free project that I just kinda planned out in my head, only measurement I wanted to hit was the height, another good thing I didn’t have to buy anything for this one other than the filters. Neighbor wired it up for me as well! Used an older extension cord to supply the power, the pegboard came out of our basement that the old boy who owned our house before had it above a little work bench in the basement. Most of the ply parts worked out of scrap pieces. Was pleasantly surprised on how much air this thing moves, along with it being fairly quiet.


-
Is there a set screw that is used to tighten the pressure? If I’m not mistaken without looking I believe the rikon has a set screw that rubs on the dovetail. Just a thought
-
Wow great info! Thanks for taking the time to show this process
-
Very nice! Awesome fit!
-
Great tip with the spacer block, will be using that one
-
I have never worked with veneer but have been reading in it recently. Guys store them unrolled, might take some time before they flatten out. Not sure about what moisture they recommend
-
Welcome! Glad you have joined this great group
-
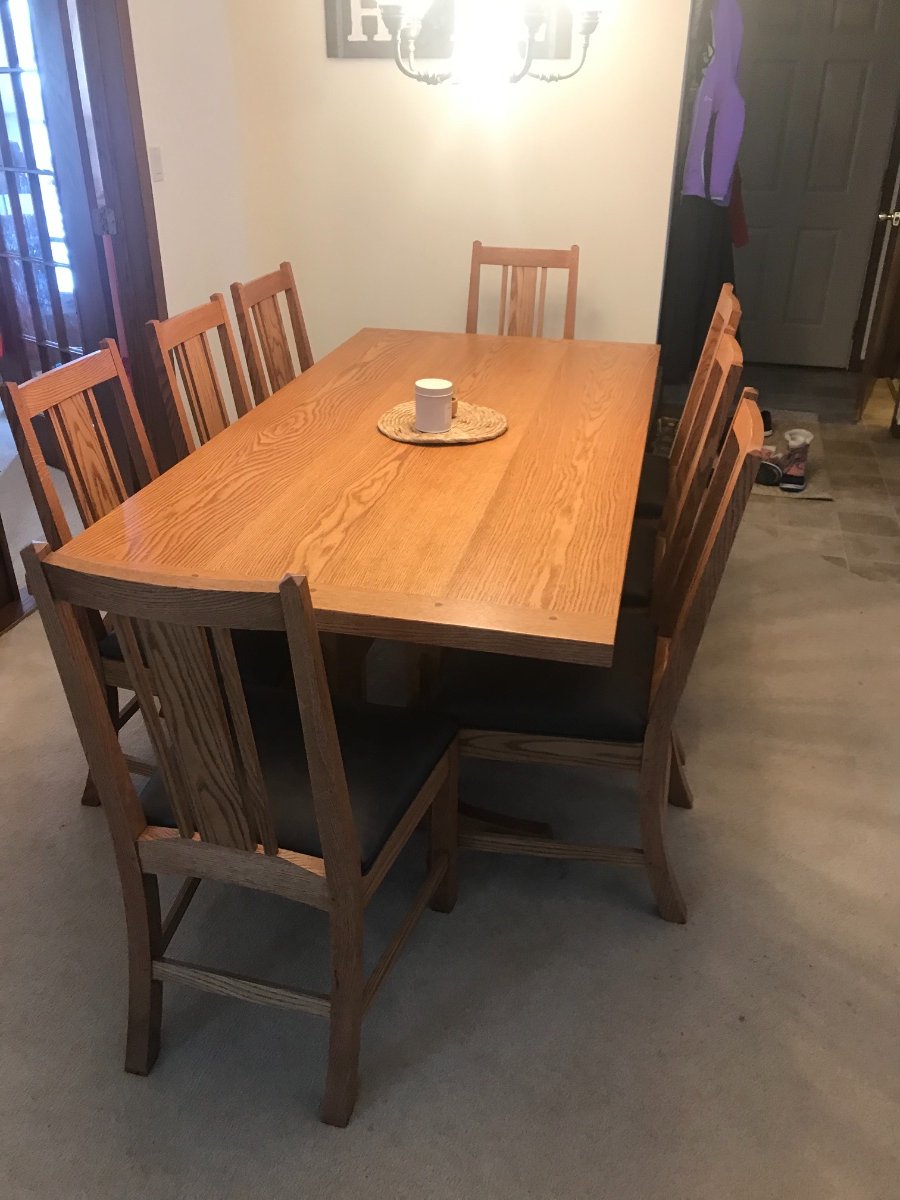
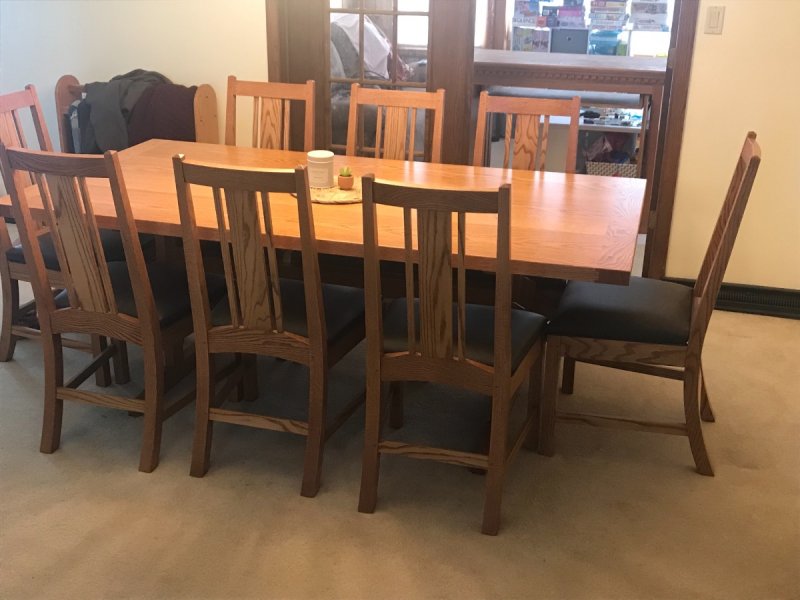
Well @Coop they are on carpet so that takes the wobble right out of them! Carpet in a dining room was a great idea from the previous owners. Our plan is to convert it over to ash along with new quarter sawn red oak cabinets. Just have to figure out how to pay for that project yet.
-
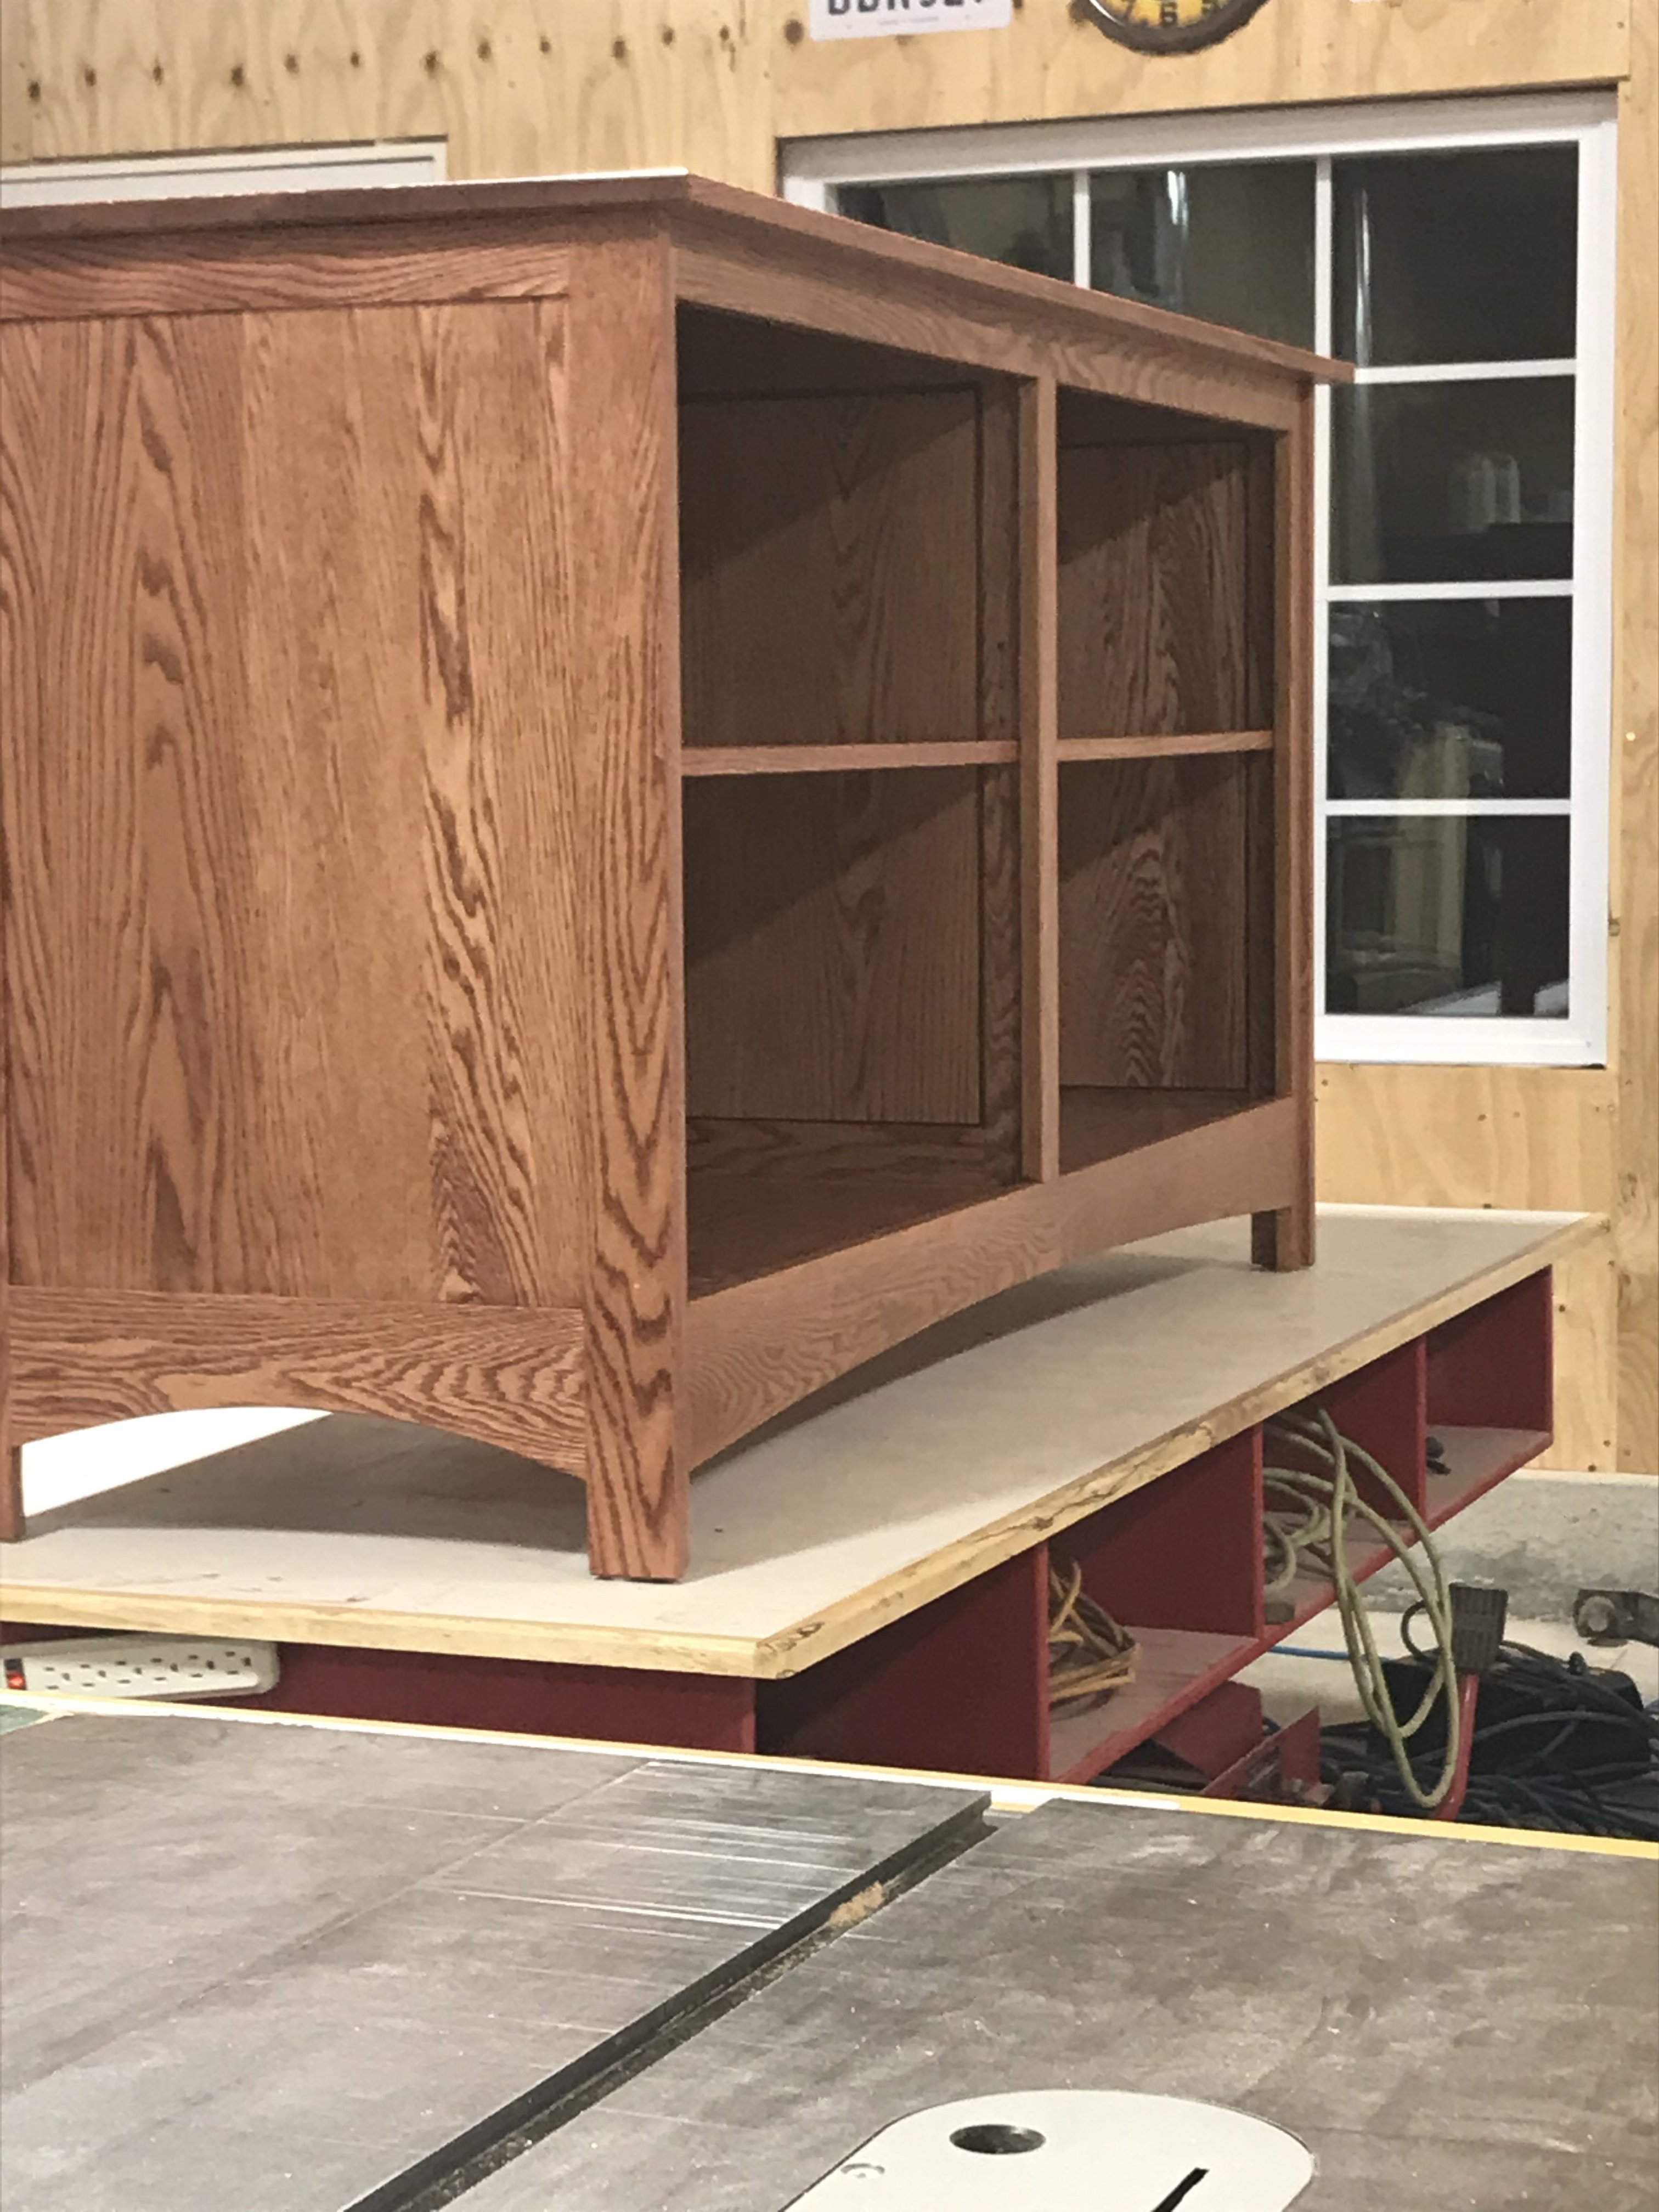
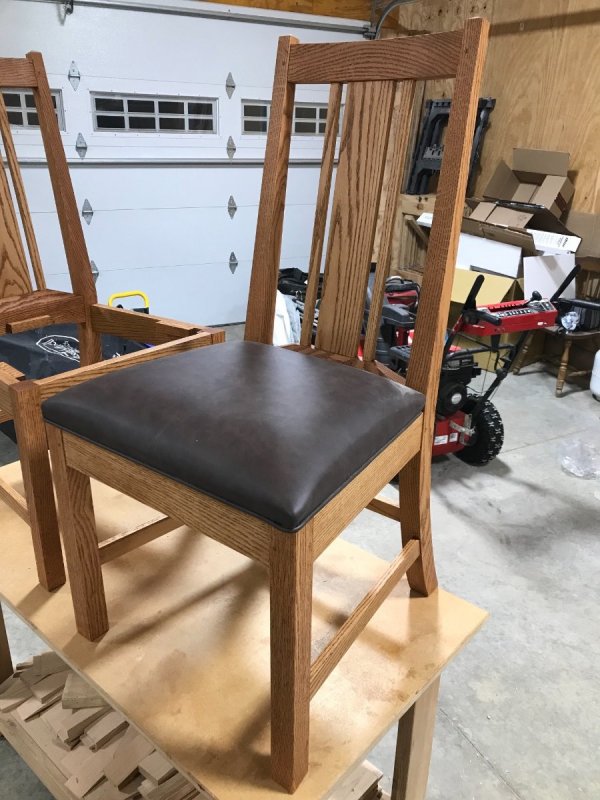
Well the chairs are completely finished!!! The upholstery guy gave me a call this morning that he had the seats done. Super happy how they turned out. Put them all on and moved the chairs to the house. Happy to say they all fit around the table!

-
That’s a good option as well......I’m leaning more towards airless. Have used them in the past and seem to be way less maintenance and cleaning than a hvlp
-
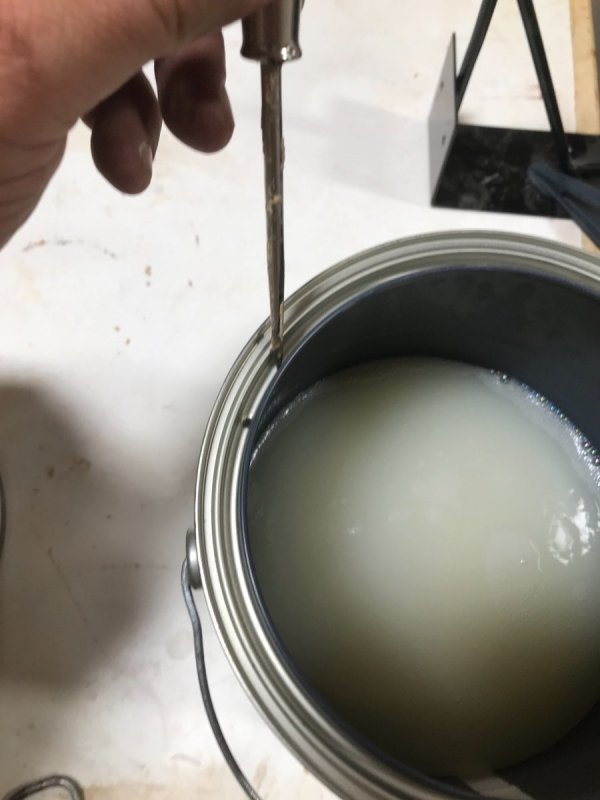
Thanks! I haven’t noticed any shorter storage issue. I think it actually helps the can seal better as there isn’t liquid in the rim.
-
I do also run a gravity feed gun. Honestly it’s a harbor freight special. Was like $30 or something like that. It doesn’t work to bad for what it is. Have been looking to get into a Greco airless sprayer at some point. Haha! Her mom actually got home just in time to let me take a break from the daddy day care to allow me to get the Christmas lights off the house. Was an abnormally warm day here so didn’t want to pass up the opportunity. Hit 38 for a high! Today is a different story about 3” of snow so far which means I get to get out of bed at 4am.
-
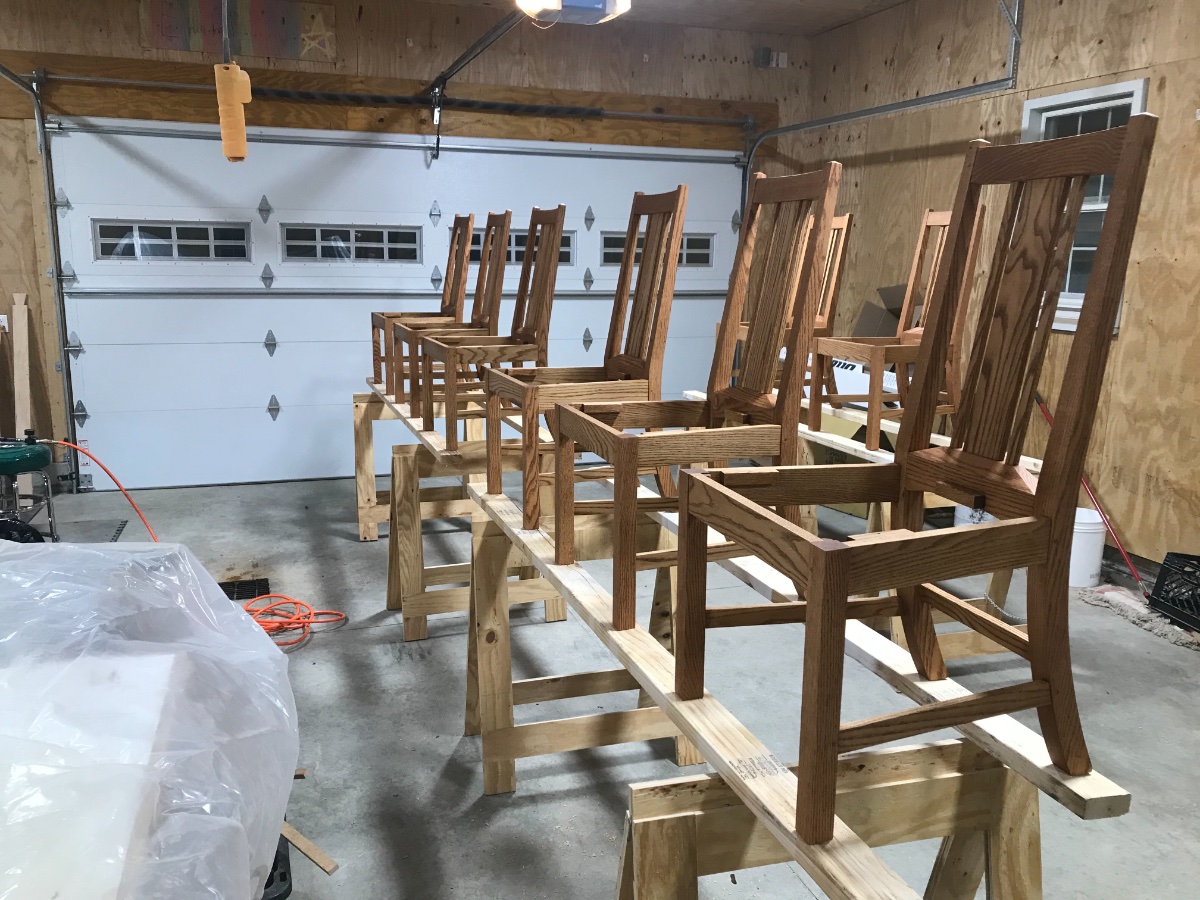
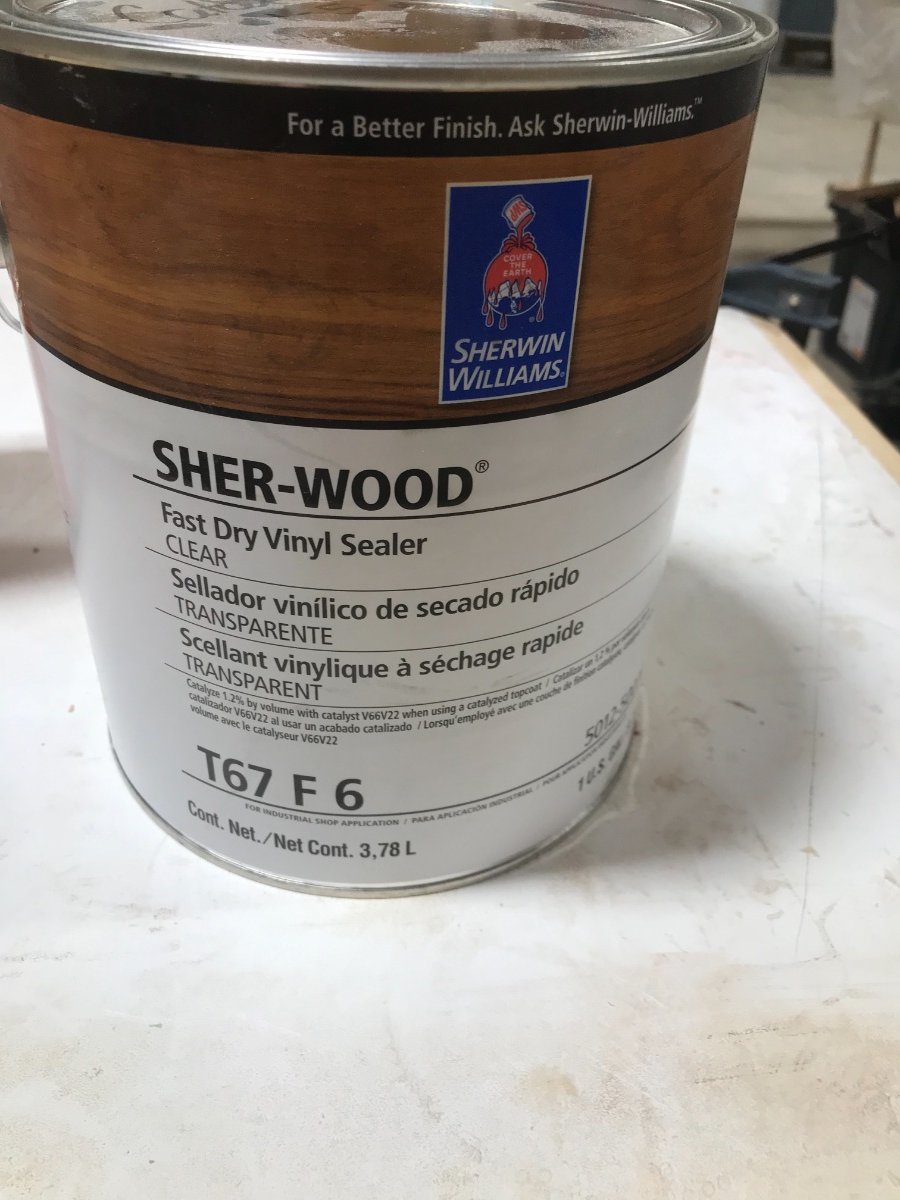
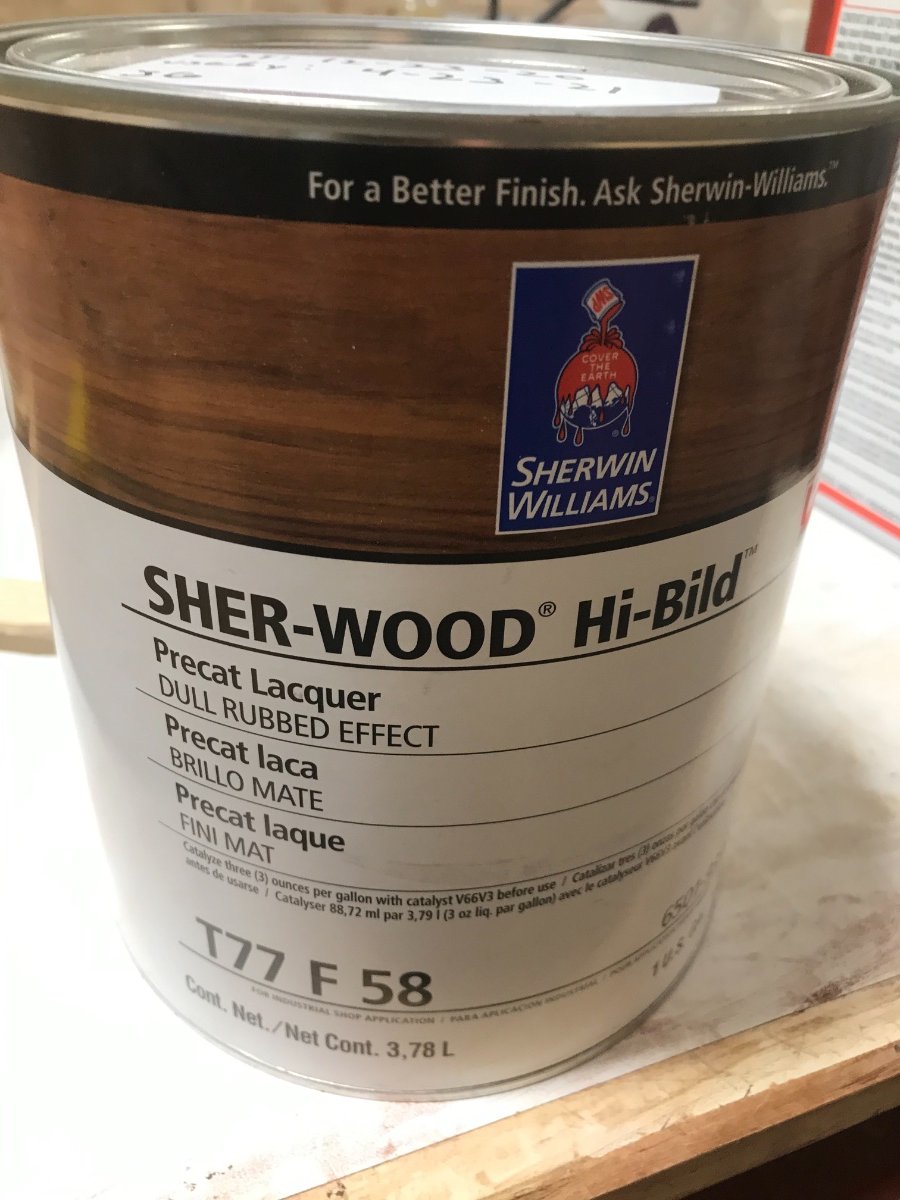
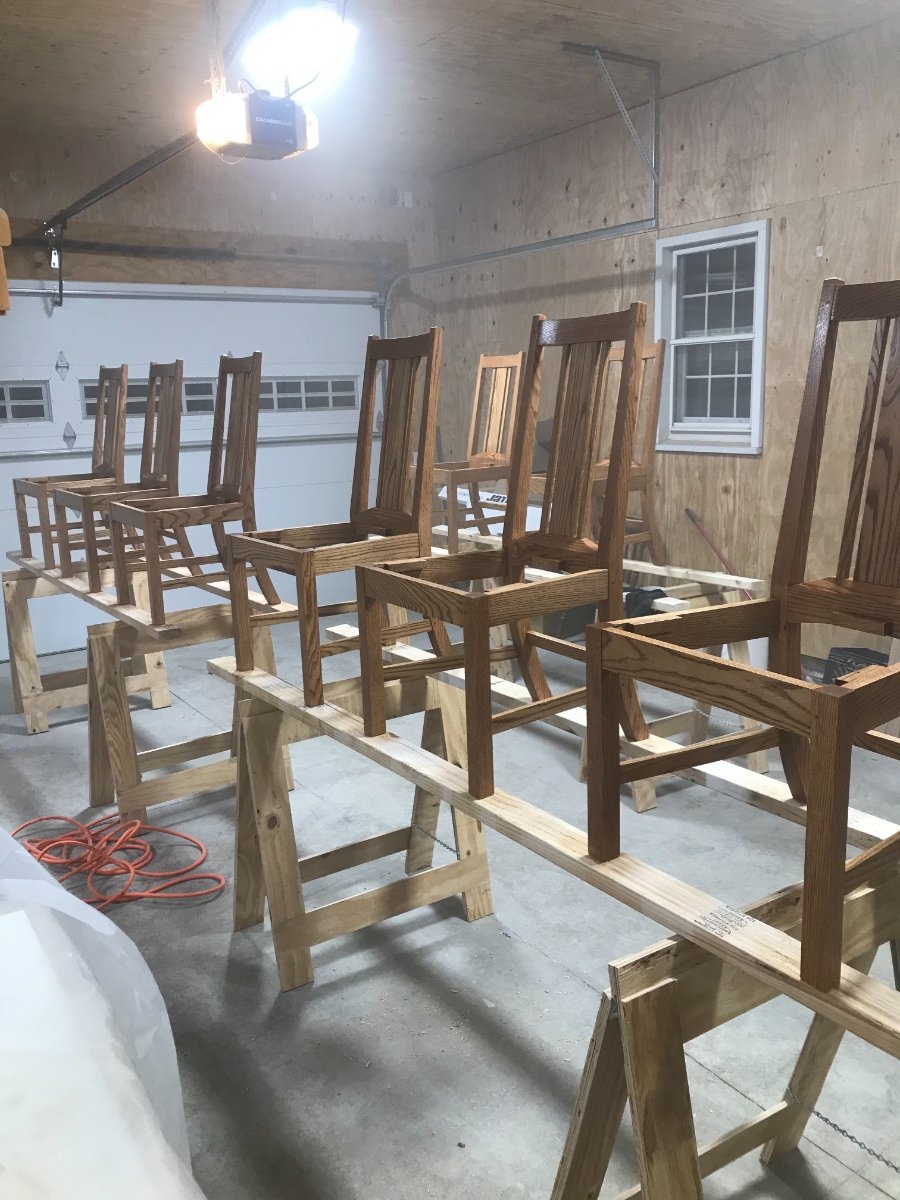
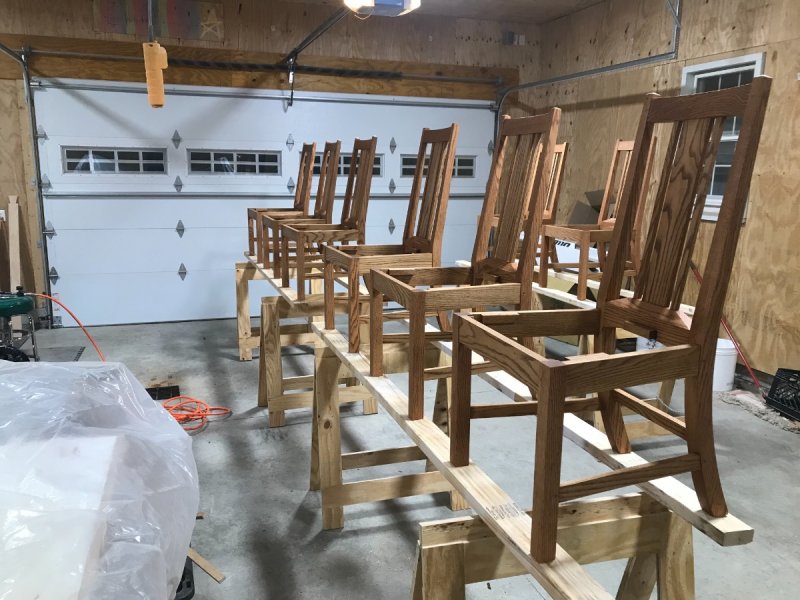
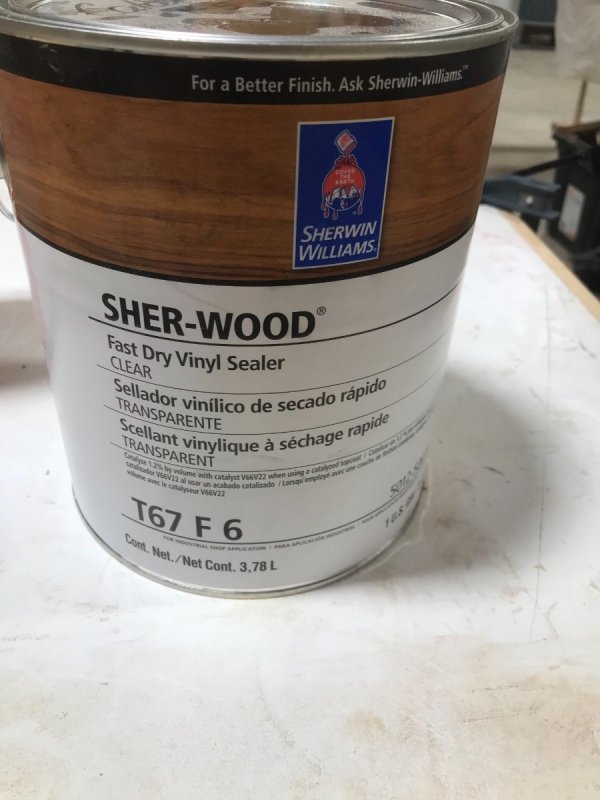
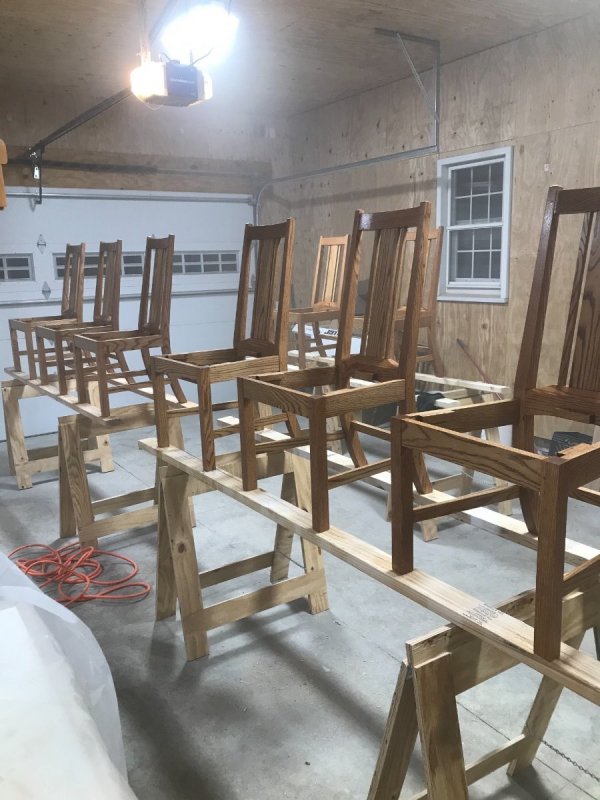
Made quite a bit of progress on the chairs yesterday. Didn’t have any daycare for our youngest daughter so I took the day off work. Thank goodness for the tv in the shop! Got to work staining the remaining chairs and had one left to prep for stain. It took about 35-40 per chair to stain. Lots of corners to get into. All the chairs stained. You can see my little helper camped out in the folding chair ? Decided to get the finish gun out and went completely through it. Really don’t think it was necessary but figured it wouldn’t hurt. When I got that far I figured I might as well try it out. Got the chairs set up and plastic tarps covering most of the tools in the shop and applied the first coat. Went with a sanding sealer as a first coat. Havent used a sealer in quite a while. Forgot how nice it is as a first finish coat. Sands super easy and was dry in about 15 min. one thing I always to to any can weather it’s stain, paint or lacquer is pop a few holes in the rim to allow excess product to drain back into the can. Also give the product a place to go when you bang the lid down. I also pass each fill of the gun through a stainer. Top coat product. Can usually get away with 2 coats when used with the sealer. I sand to 280 grit between coats. Going over the wood quickly just knocking off any rough spots. Pushed on into the night and got the second coat of high build on. Also took the top off the table and used a sanding block with 280 grit to knock the orange peal off. When I sprayed it this summer my gun was acting up a bit and it was super humid out. Had just a slight bit of orange peal in the finish that nobody but myself ever noticed. Put a coat on it last night as well and boy am I happy with it. Got 99% of the orange peel to disappear. I did end up going back over the chairs tonight after work with a sanding and one final coat. Just checked them and I think they will work out just fine. Waiting on the seats yet to complete this long project. Also need to go though my notebook to see how many hours this is going to be. Kept pretty close track throughout the process, maybe I don’t want to know the time ? One question for you guys......with as many corners I’m sure that I will run into some over spray splatter on some parts....do you have a good way of knocking that down without having to apply another coat of lacquer?


-
That is pretty neat! I would like to get one thanks for the info
-
@Coop congratulations my friend! I’m sure it will be quite a change for you but I’m sure you will manage! Any shop projects lined up to fill the itch to work?
-
Quick update, met with the upholstery man last night and made a few slight changes to get the seat to fit perfectly. Delivered to him the remaining bases to cover. Got a little help in the shop from Courtney to get some stain on a few of the chairs ?
-
What a cool item. I to am like @Chet and a college football fan. I also dislike usc. As I recall last bowl season my Iowa Hawkeyes took it to usc. ???
-
Kick back is real boys. Back when I was working at the cabinet shop this same thing happened to me. It didn’t shoot through the wall but it hit the tape measure that was on my hip. I always stand off to the side of my cut and did in that instance. I was cutting a piece of cove molding off a wider board and the cove molding shot like a rocket. Came with so much force that it dented the tape measure. It wasn’t a metal tape either, was a Stanley fat max. Hard plastic that never broke from hitting the floor a couple hundred times. It really was something to see as the small cove showed up clear as day. It hit right to the left of the thumb lock on the front of the tape. Wish I still had it to show you guys.
- 1 reply
-
- 3
-