Every purchase made through our Amazon Affiliate Page helps support this site


pkinneb
-
Posts
279 -
Joined
-
Last visited
-
Days Won
18
1 Follower

About pkinneb

pkinneb's Achievements
")


-
That's an awesome piece Chet!!
-
That appears to be a pretty good deal for lightly used tools congrats!! Other than the price I cannot recall any negatives thoughts on my Festool items...well there was one sander I actually wasn't fond of and sold ...but considering how much I now own pretty much just price and you definitely hit a score there 🙂
-
yep!
-
I like @Chet use my TS55 to primarily knock down sheet goods and the only thing I would change is to go cordless if I were to do it over again.
-
Nice!!
-
That was my thought as well 🙂
-
Kev for what its worth I saw woodturningz.com had 4 pack of ornament blanks at a pretty good discount to Craft Supplies.
-
I have forced air furnace heat/ Air conditioning in my shop becuase mini splits weren't a thing when I built my shop but I have always thought if my unit craps out I would look at them for both space and cost considerations. Keep me posted we definitely get cold here -1 is the high for the next few days 🙂
-
Looks great!! I appreciate the mini split info as well I had heard they wouldn't work well in markets that cold good to know they have either improved or what I had read was not accurate.
-
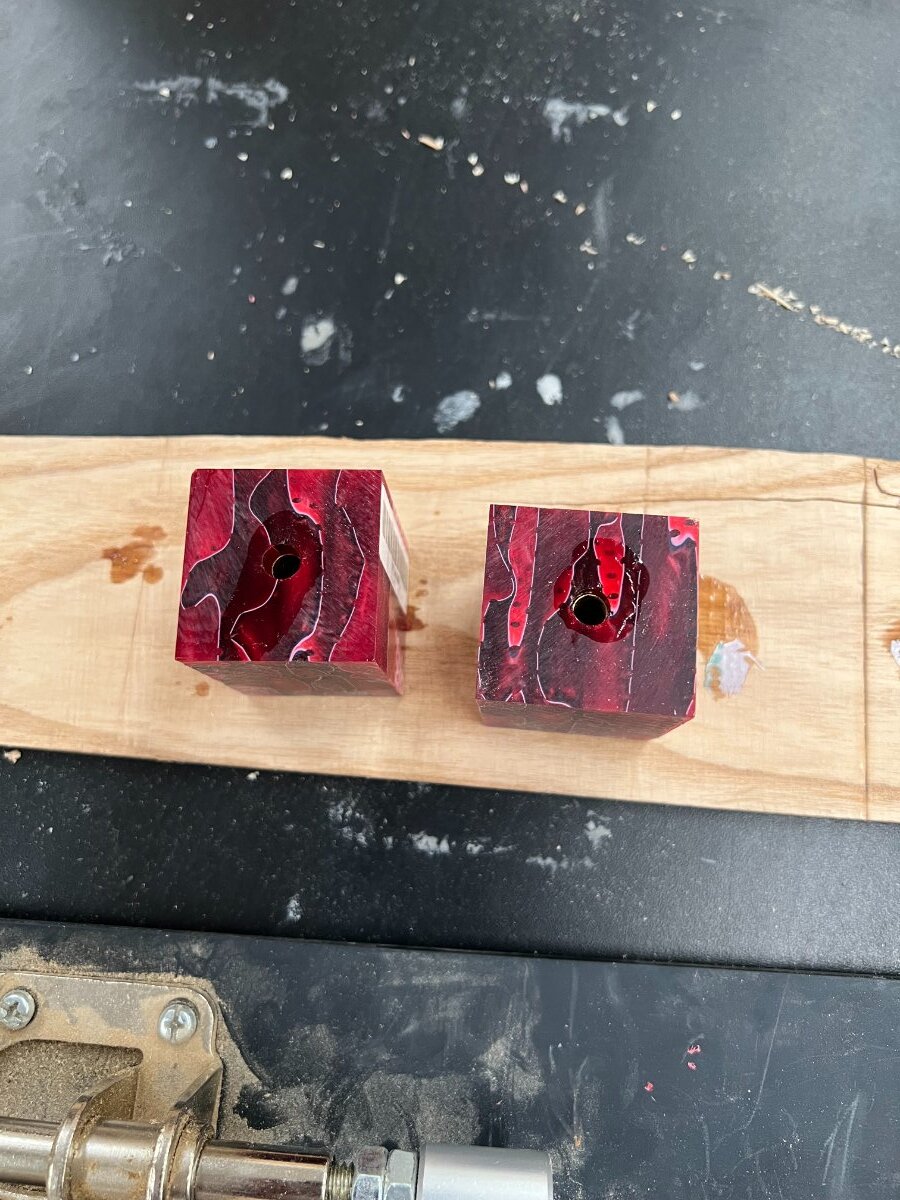
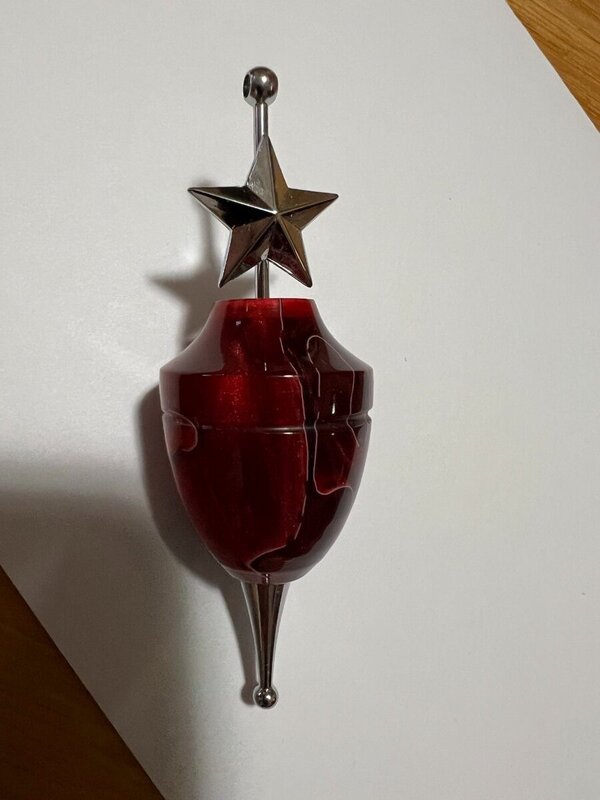
Picked up the blanks and the parts from Craft Supplies USA ...but I think I would look elsewhere for the blanks they were quite a bit bigger then required and I ended up cutting about 1/4" of two sides of each blank before turning.
-
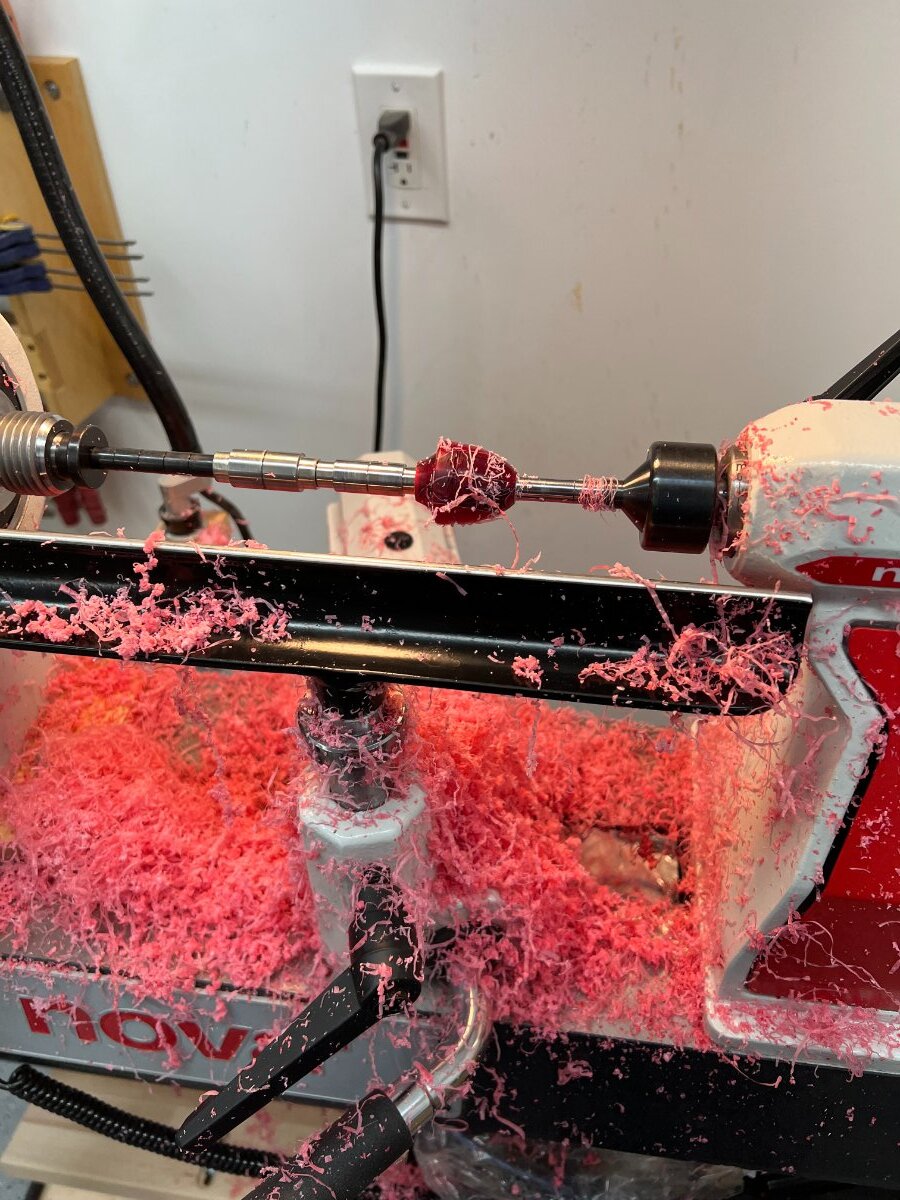
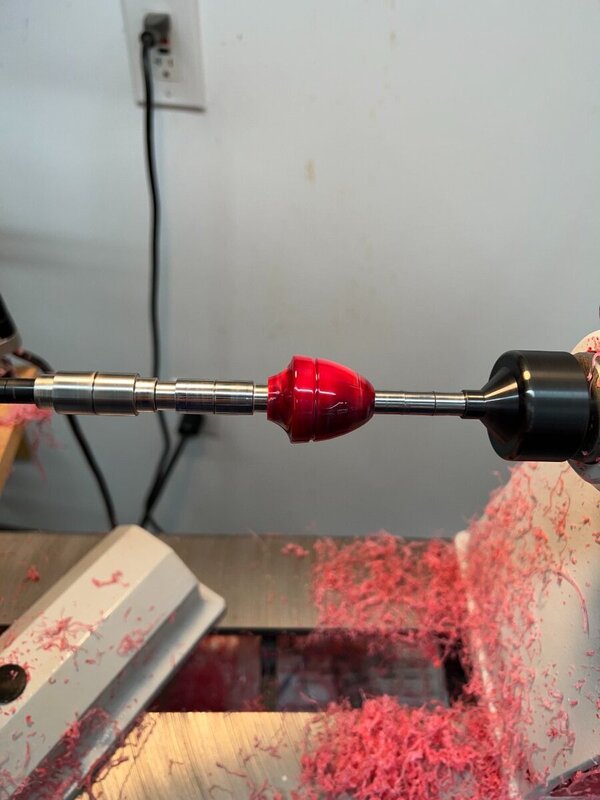
Pretty straight forward using a pen mandrel well except for the huge mess pink shavings everywhere LOL


-
Great looking lathe space Kev!!
-
Welcome!!
-
Happy New Year all!!
-
Happy holidays all wishing nothing but the best for you and your family's!!