Every purchase made through our Amazon Affiliate Page helps support this site

Jamie
-
Posts
1,467 -
Joined
-
Last visited
-
Days Won
54
Content Type
Profiles
Forums
Downloads
Gallery
Events
Store
Articles
Blogs
Everything posted by Jamie
-
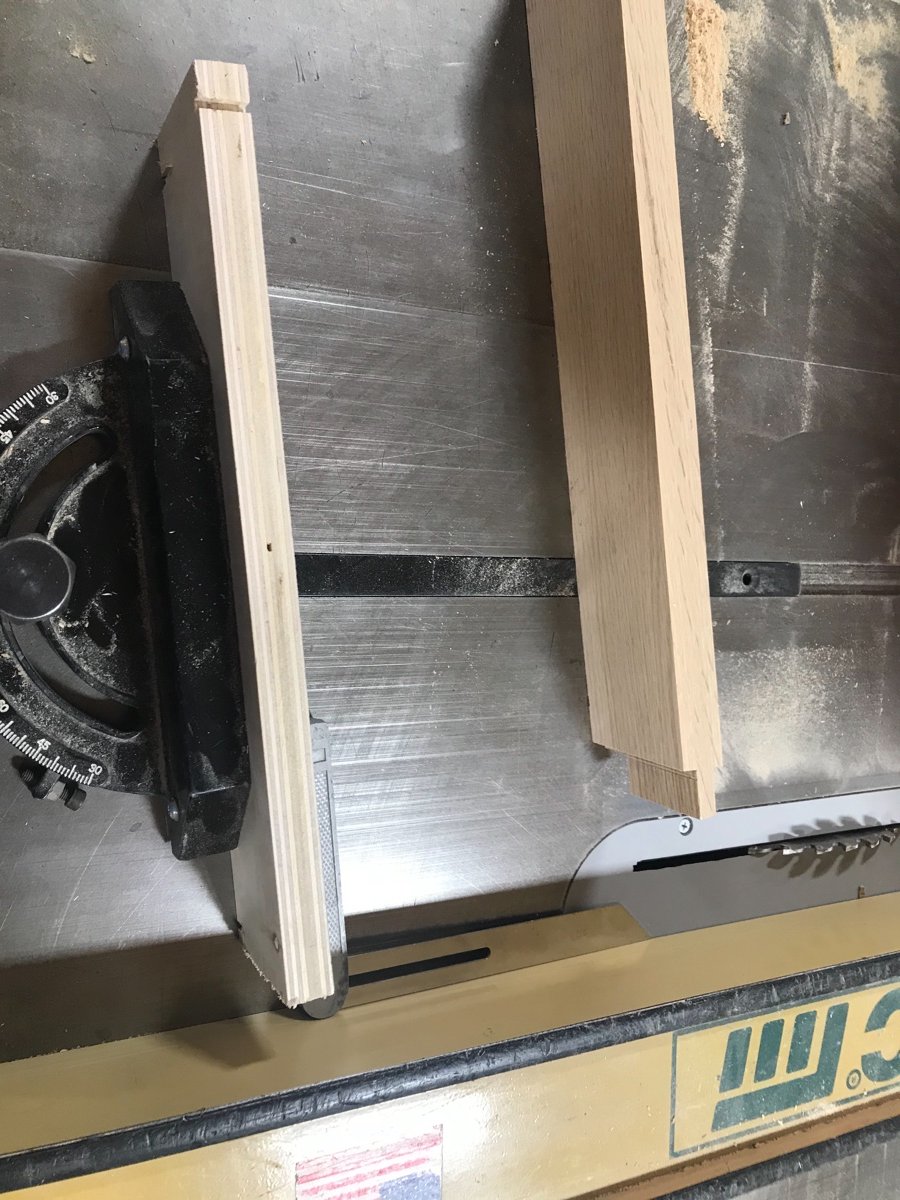
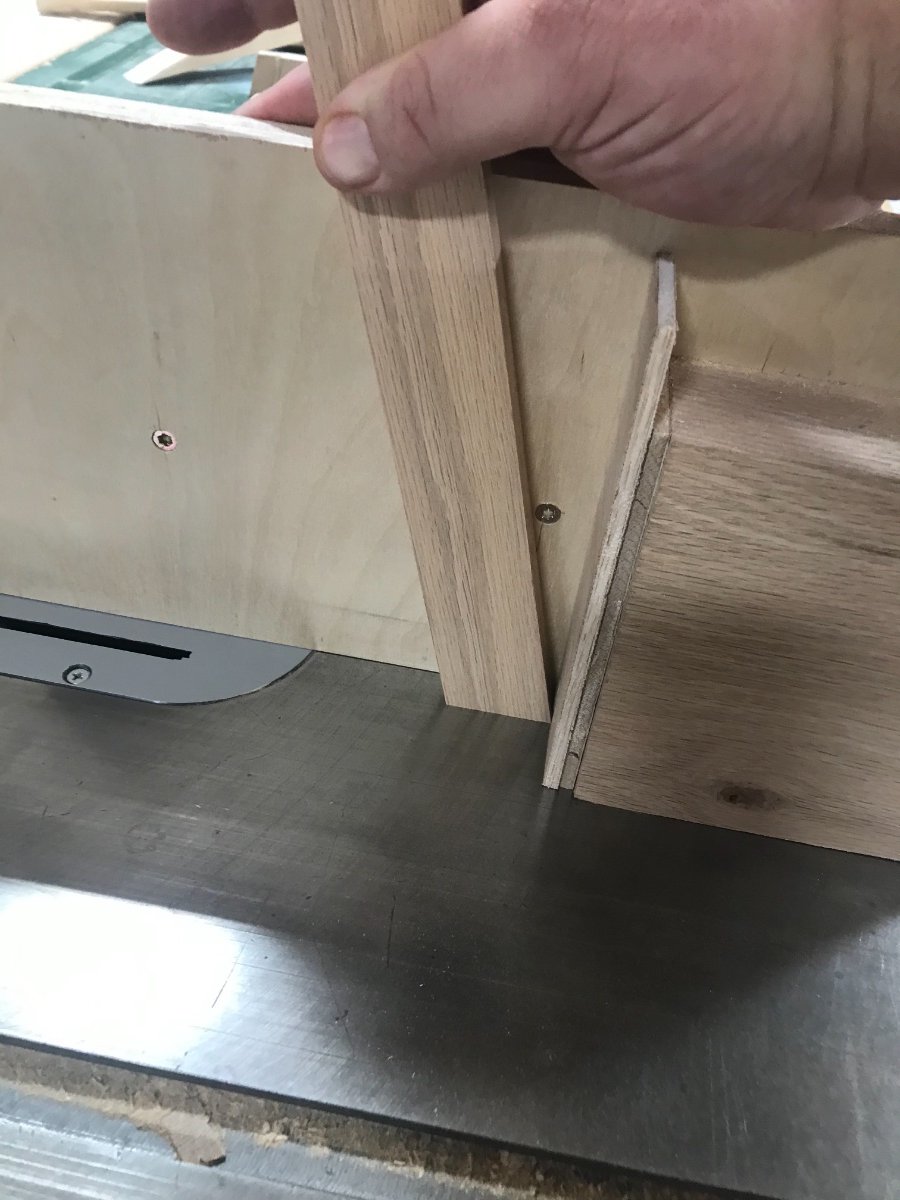
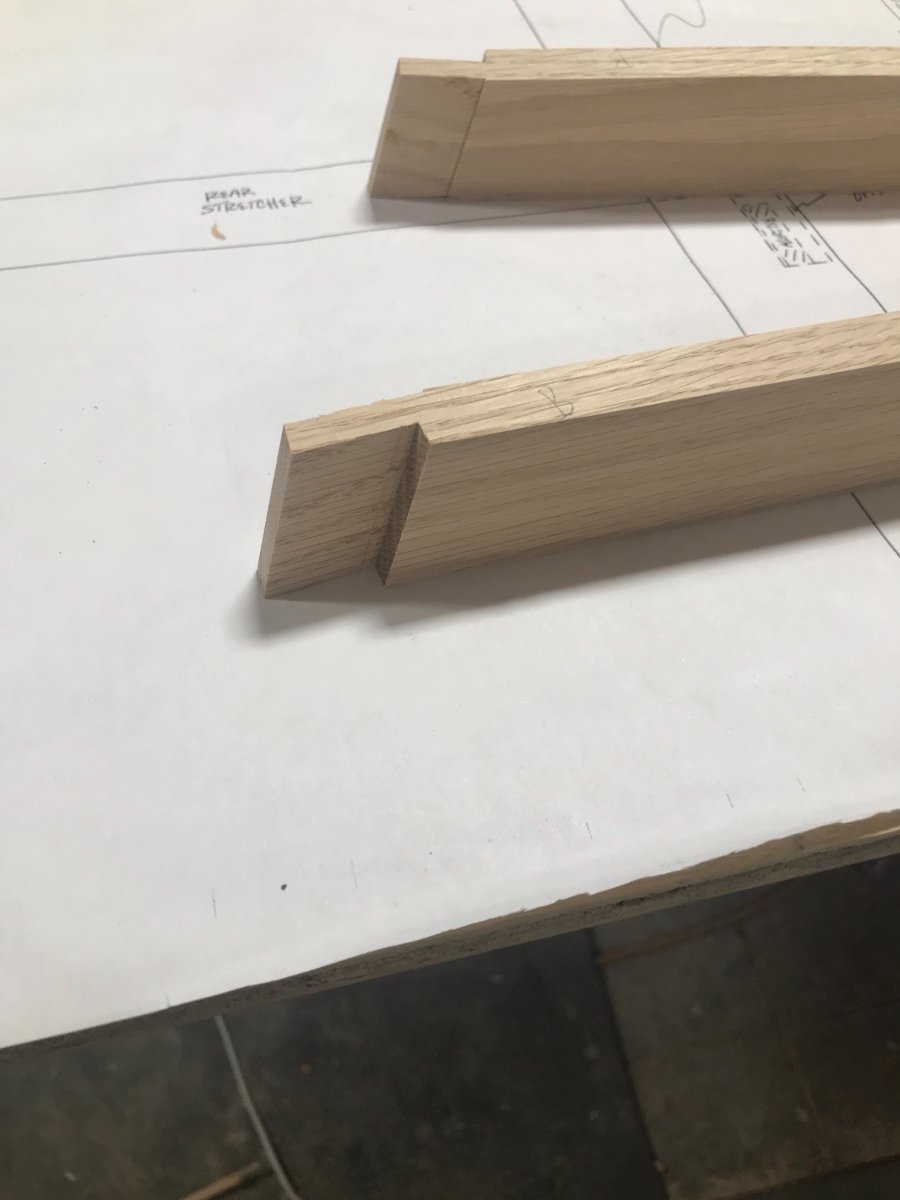
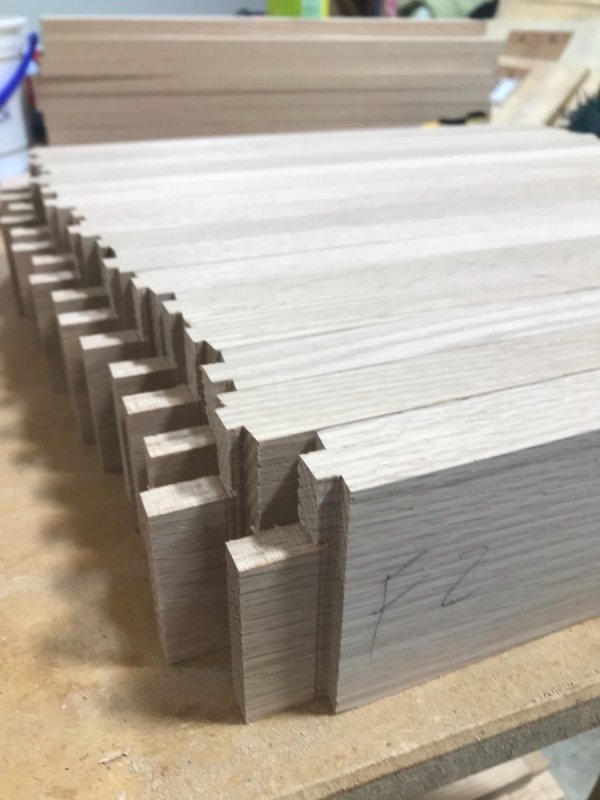
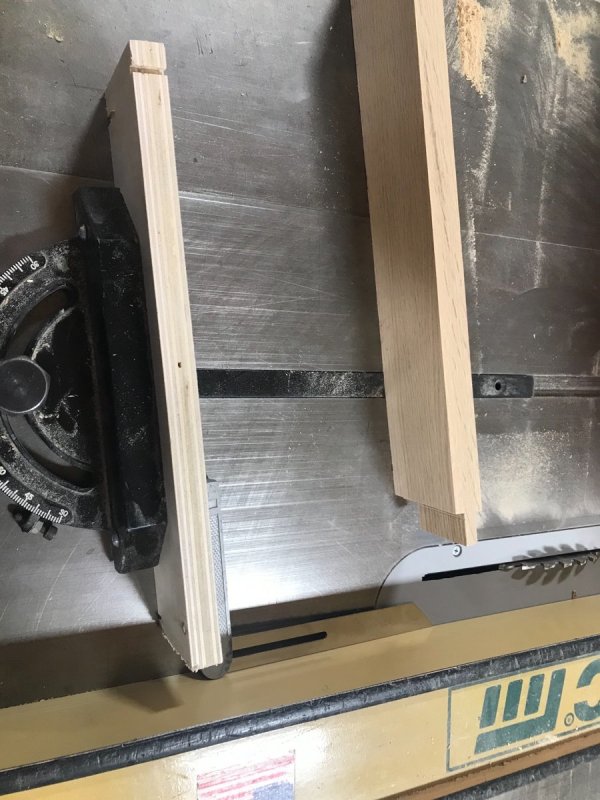
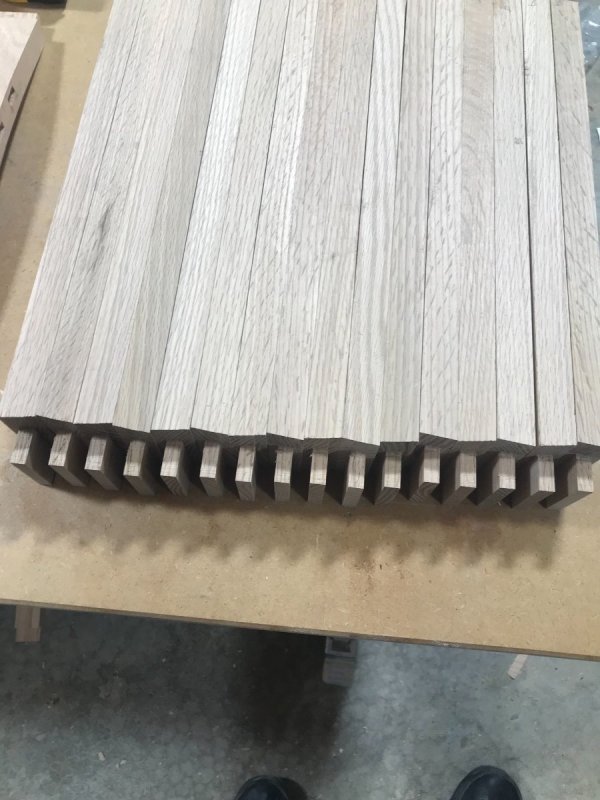
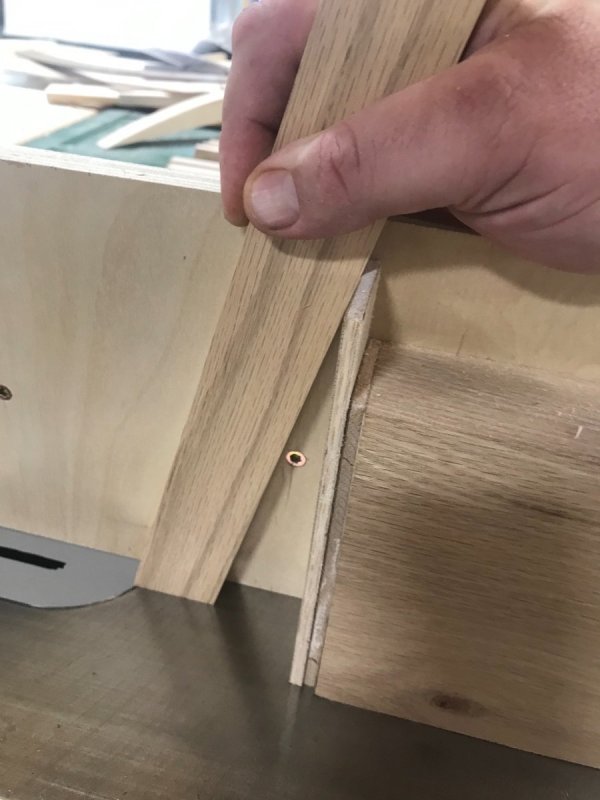
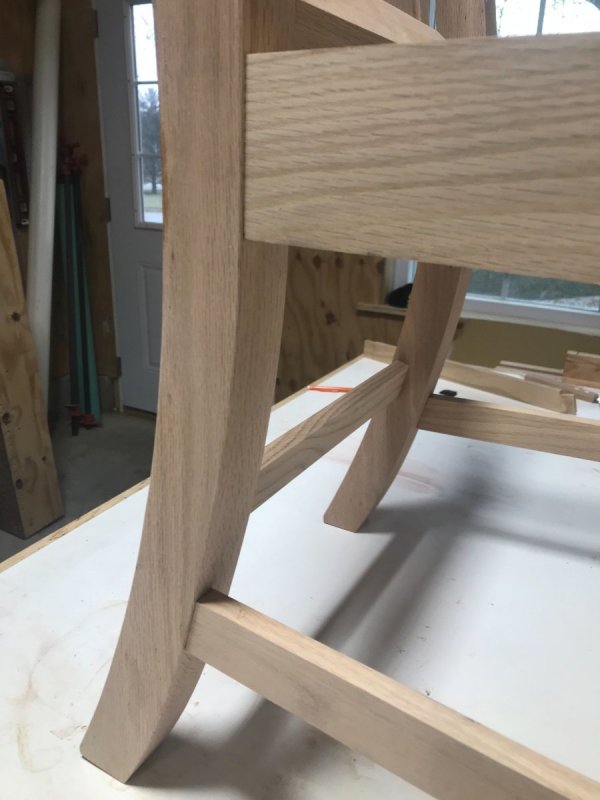
We are getting closer with this project! The side stretchers with their angled tenons all got remade turned out well but I didn’t want to chisel off the remaining portion of the tenon. With it being angled it made it a little challenging to get the angle set just right but was worth it in the end. Made 2 setups for the left and right sides. Used a sliding bevel gauge quite a bit in this project. Using it here to set the angle of the sliding miter gauge. After getting all the upper stretchers cut, I dry fit a chair to get a measurement for the lower stretchers. With the lower part of the chair angled back it adds a degree of difficulty to these parts. Not only do the have a splay angle but also an angle to match the leg. Made all my cuts referencing the face. Looks a little sketchy holding the pieces this way but actually wasn’t as bad as I thought it would be. With the tenon jig I made my hands stay quite a bit away from the blade in this operation. Hard to get a picture of the double angle in these parts as it’s a 7 degree splay and 14 on the shoulder. Was very shocked and excited how well they fit together. This was a dry fit that I was able to squeeze together by hand but fits tight enough that some slight convincing with a hammer to get them apart.


-
Looks great! Miters that large can be a real challenge, great job!
-
It’s a two position switch, one push up to turn it on then another farther push to lock it.
-
The Milwaukee does have a trigger lock which is a dang nice feature. I believe the one I have is very similar to the one @Kev is mentioning ?
-
I ran into problems this summer when spraying the table. Was using a precat lacquer and it kinda got a fogginess to it. It was 90s and high humidity. I believe in the industry it’s called blushing. I’d be willing to bet it was more the high humidity levels vs the temps.
-
On the oil change the manual says change the oil at 20 hours for the initial break in period. After that it was 500 hours I believe, don’t hold me to that number as it will probably be the break in change then maybe check it once a year.
-
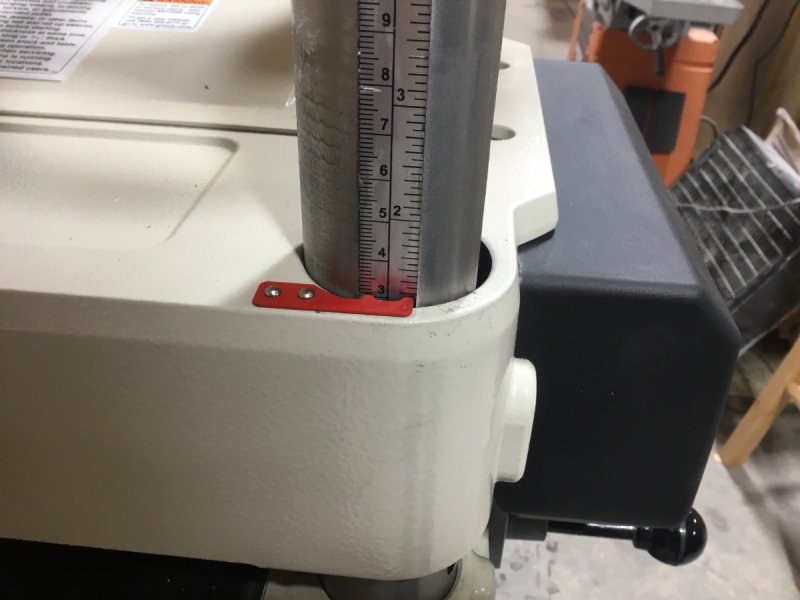
Great info! It is something how smooth the height adjustment is on it. Honestly kinda surprised me. @Tmize I’m thinking you should put together a shop tour ?
-
Looking forward to this build!
-
Yeah I tried a full turn and it wouldn’t feed it in! That’s what got me looking at it more. The planer has a little depth stop which I believe is 1/8 in right on the center of the housing. Thinking gonna have to judge my cut on that for a bit.
-
I guess I take the google approach. I also look at different magazines online to see if something catches my eye. I usually have a pretty good idea of what I’m looking for in my head. Where I struggle is taking my idea to paper. That is where google images plays in. As far as taking a class I think that would be more a degree, there are so many elements to design that I wouldn’t even know where to start.
-
You know I think you are right. Could mark it with the Brad point, guess I just didn’t see skipping that step as I was more concentrated on having the bit spinning pretty quickly while starting the hole to try avoiding some tear out. Great advice. I’m gonna use it!
-
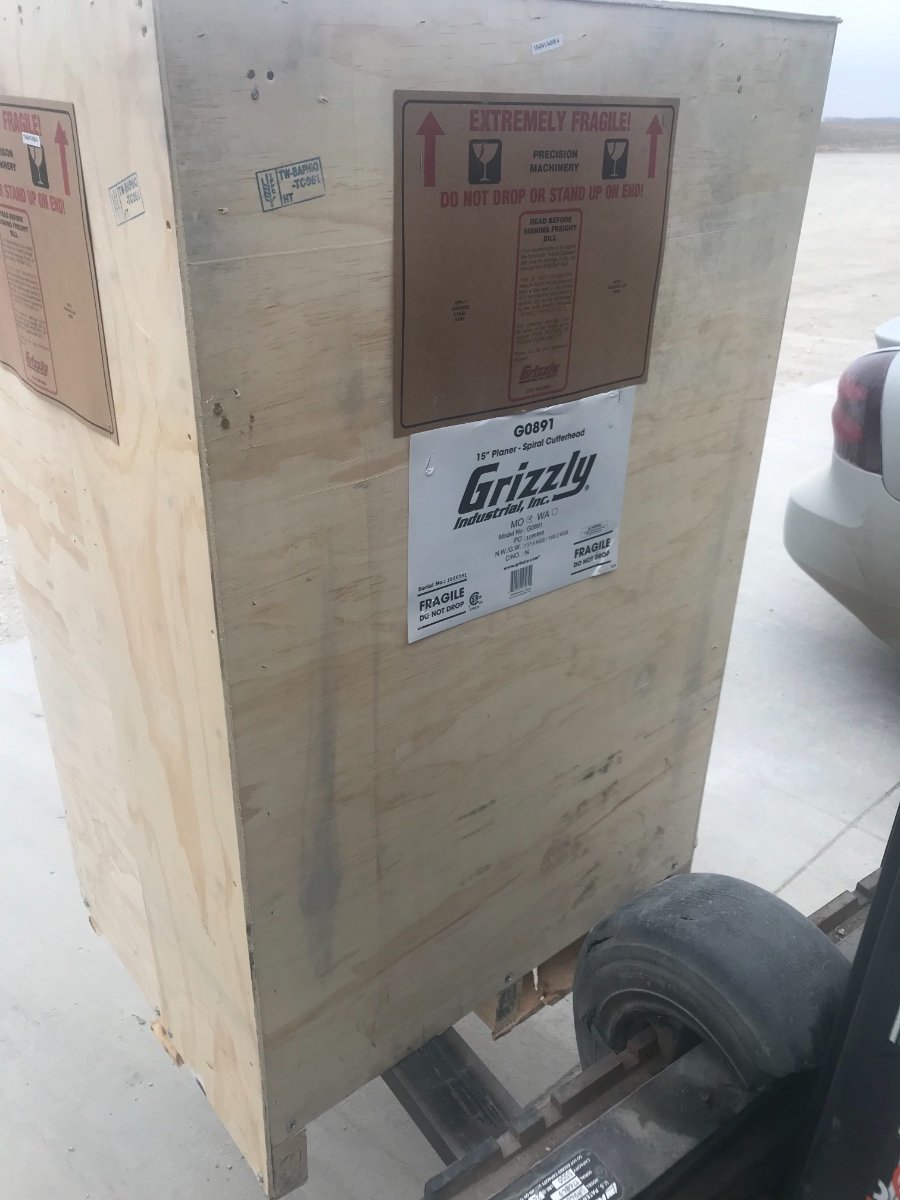
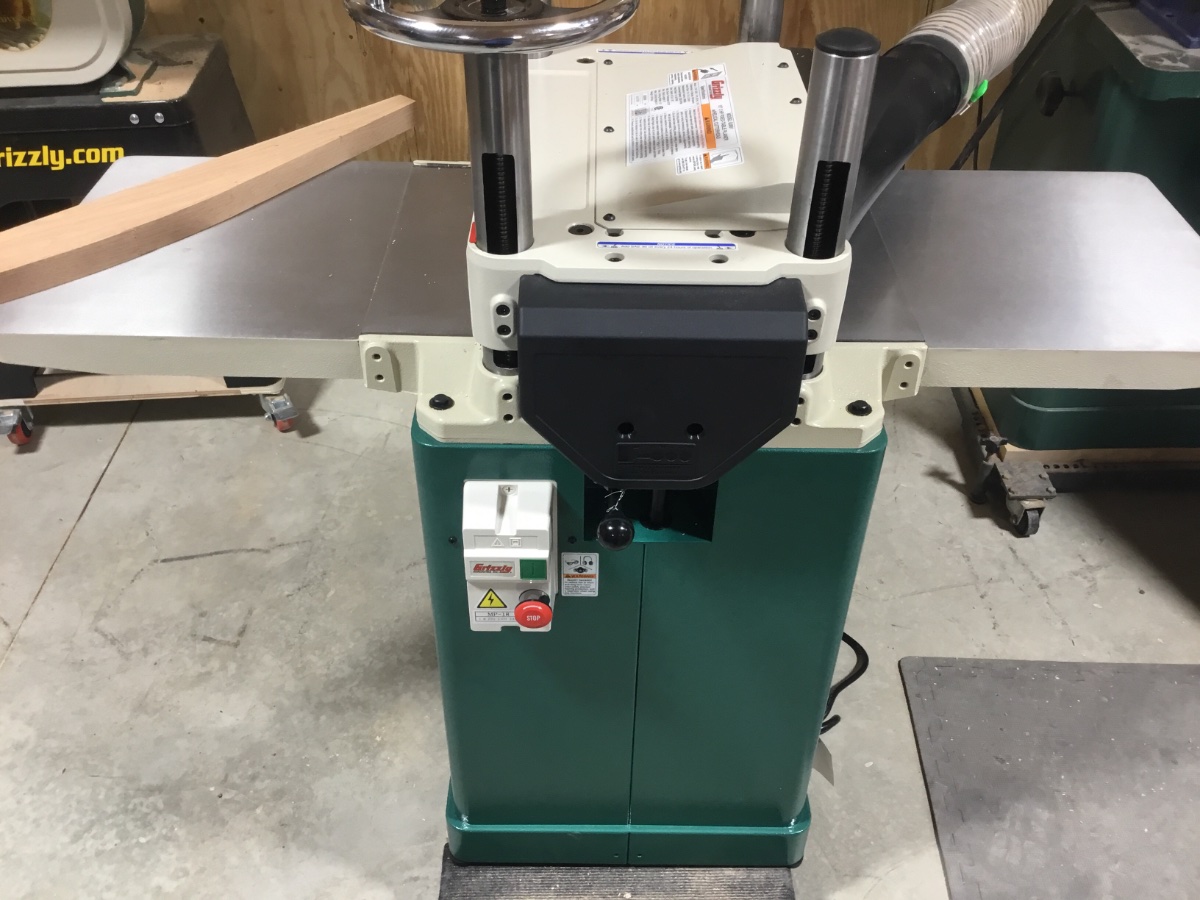
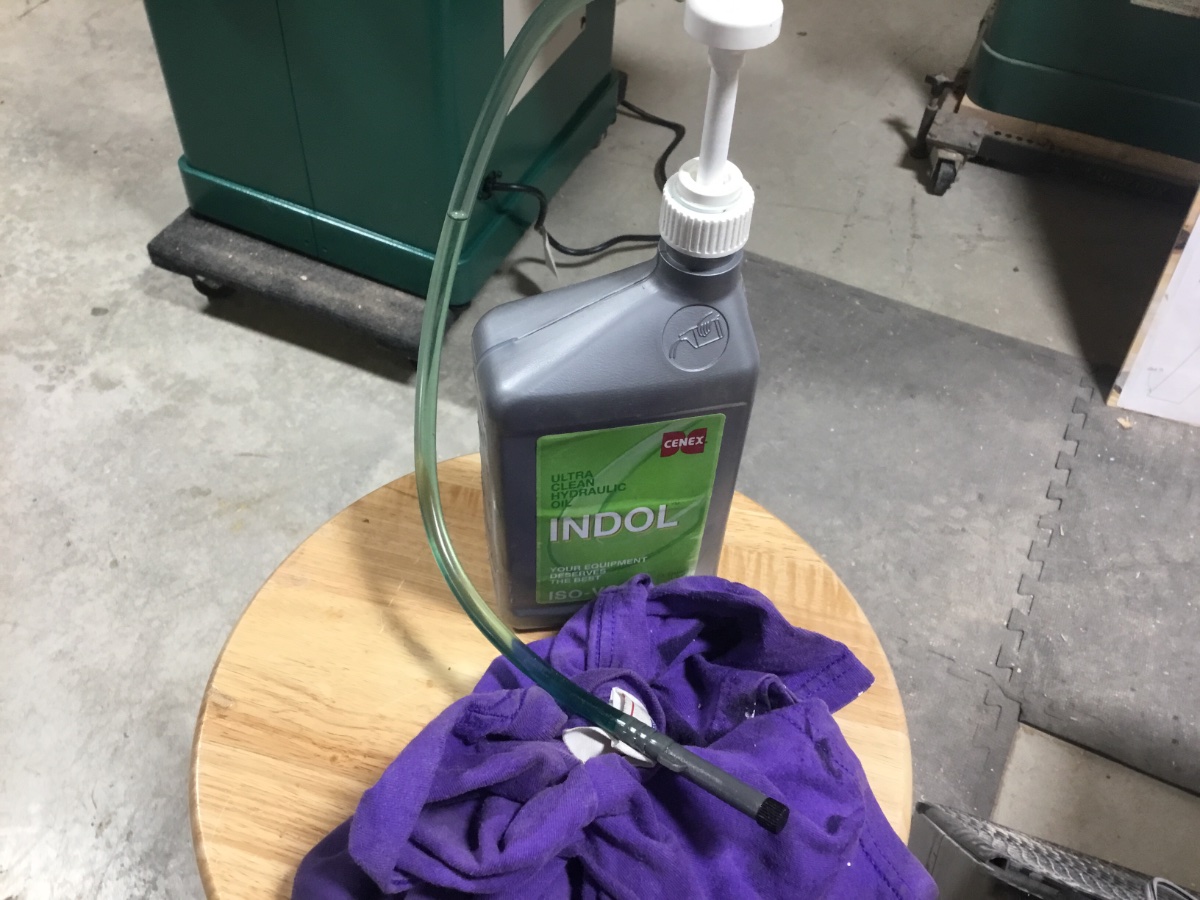
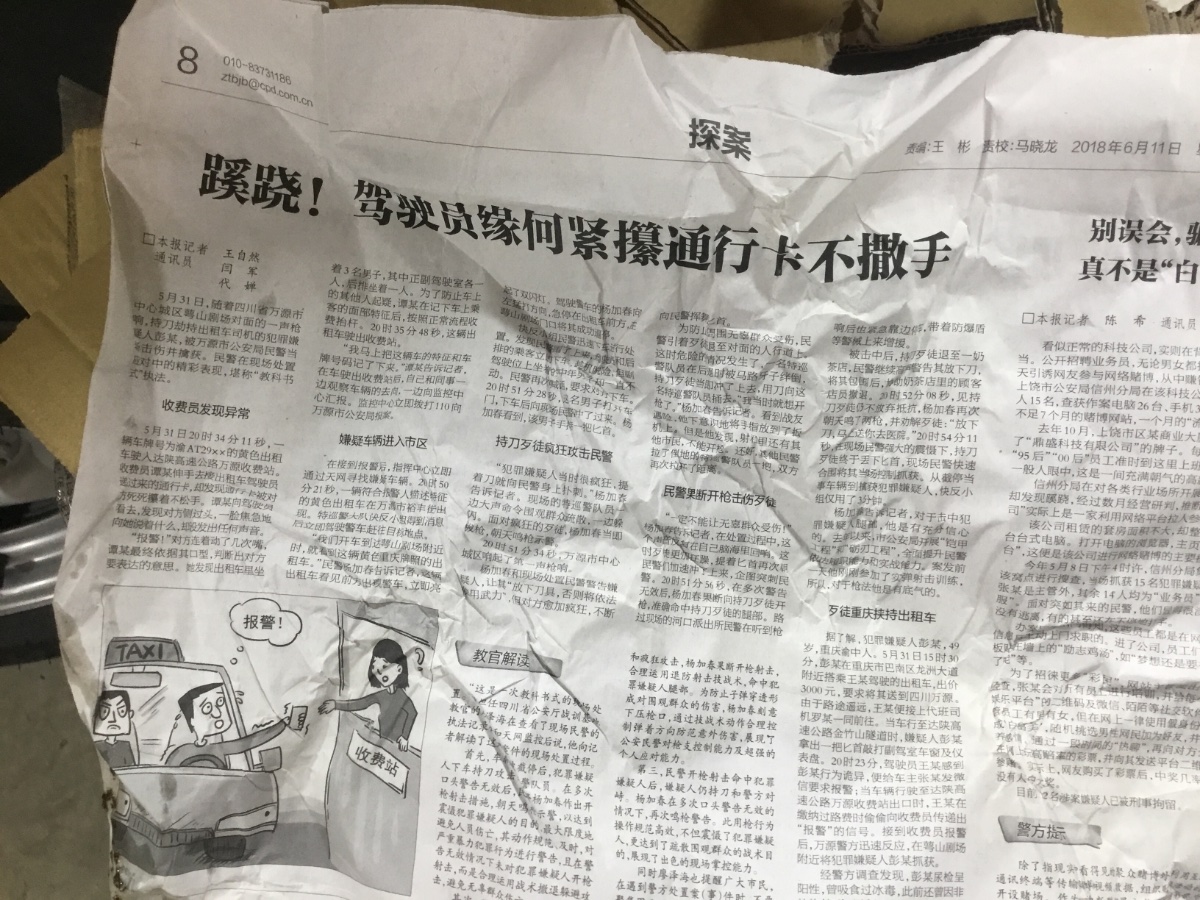
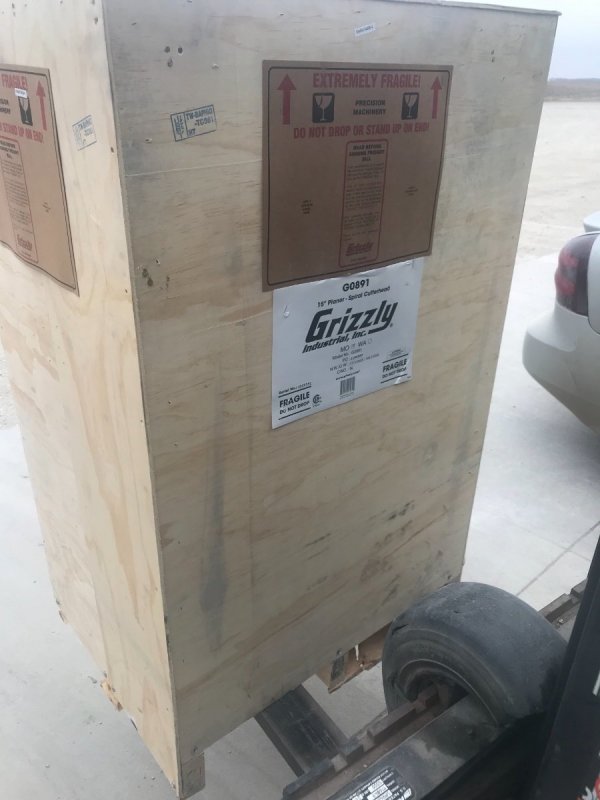
Planer showed up! A day earlier than I thought! Wasn’t quite ready for it as my shop is a disaster zone, have been patching up some ice tents and making hot sauce. So as you can imagine it has a pretty bad odor going on. Peppers and melted plastic are not a good combo. Did recruit some neighbors to help get it off the pickup. Had the planer shipped to work, with living on a dead end street it doesn’t work to well to get a truck up here. Did get it cleaned up and put together. Only had to put on the handle and the table extensions. In the manual they mentioned to check the gearbox oil before using, glad I did! It takes a iso32 oil which I believe is non detergent 10w. I actually planed ahead a little and got a couple quarts. Did read the manual before I actually bought the machine and they mentioned changing it at around 20 hours. Was a little tricky getting the oil into the gear box, for once I was really happy I own a boat! Used the lower unit oil pump to get the oil into the gearbox. Fired it up and man is it quiet. Ran a piece of oak and maple through and am really impressed by the cut quality. Maybe it’s the sharp carbide so only time will tell. Will take a little getting used to the depth adjustment as it moves really quick. Thinking I will be getting a digital gauge for it. Not sure what the specs are on the handle, a little over 1/4 turn is 1/16” I also got a mobile base for it that I have yet to put together. Had a good laugh when I opened the handle as it was wrapped in a Chinese newspaper.


-
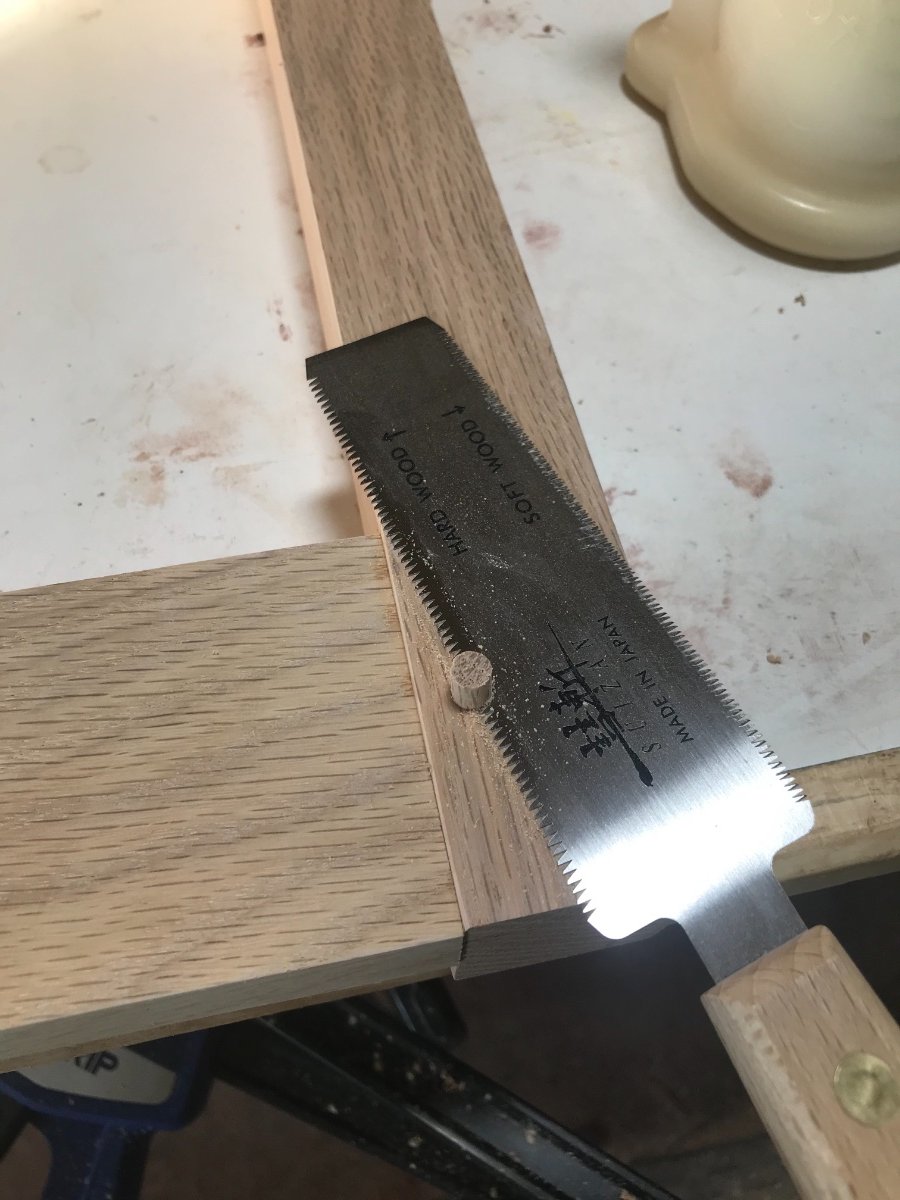
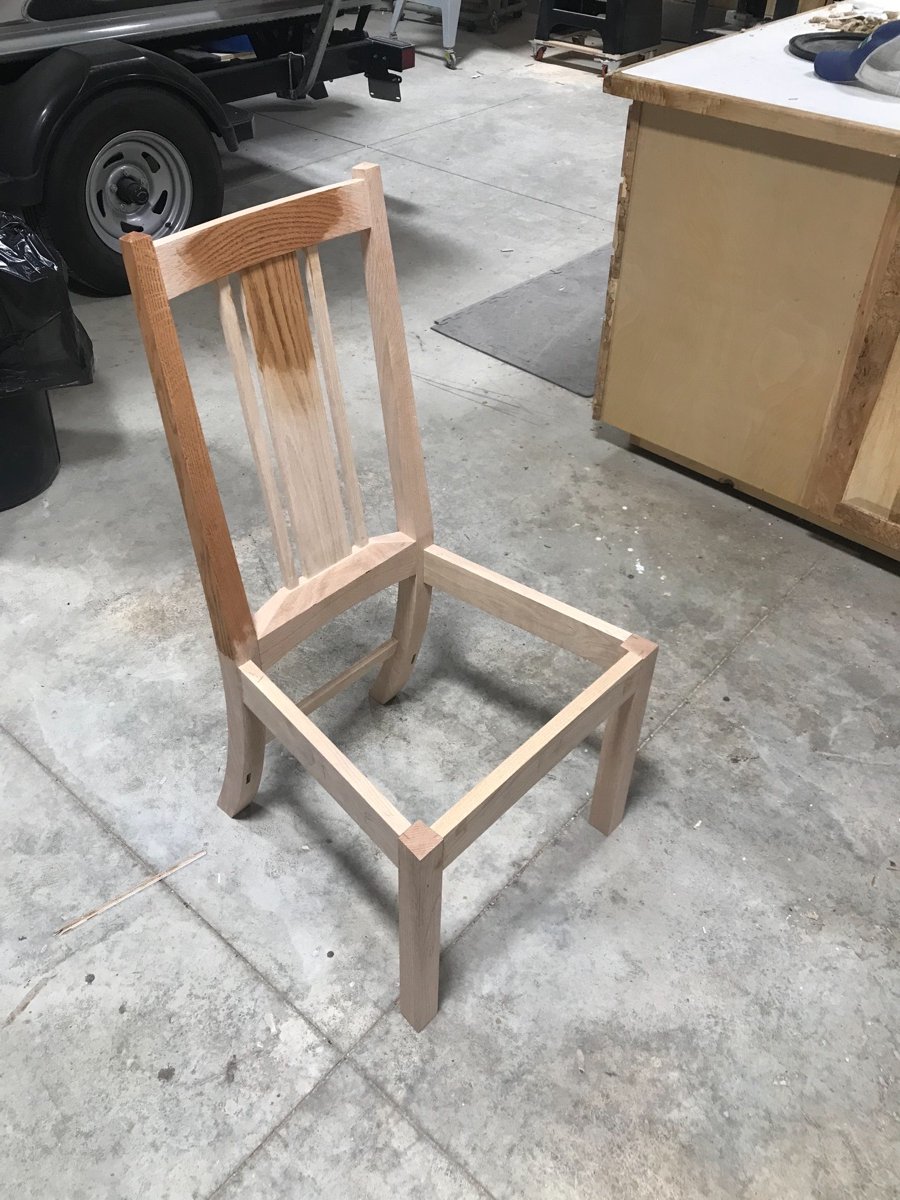
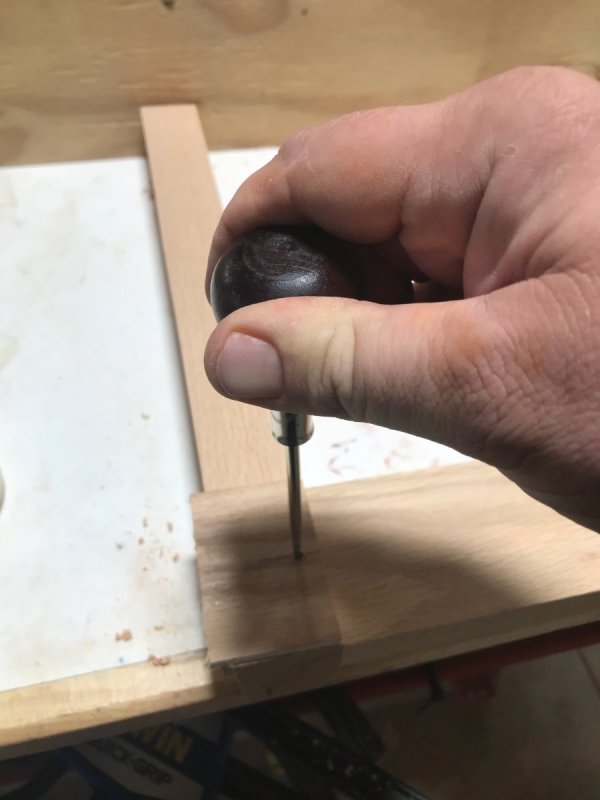
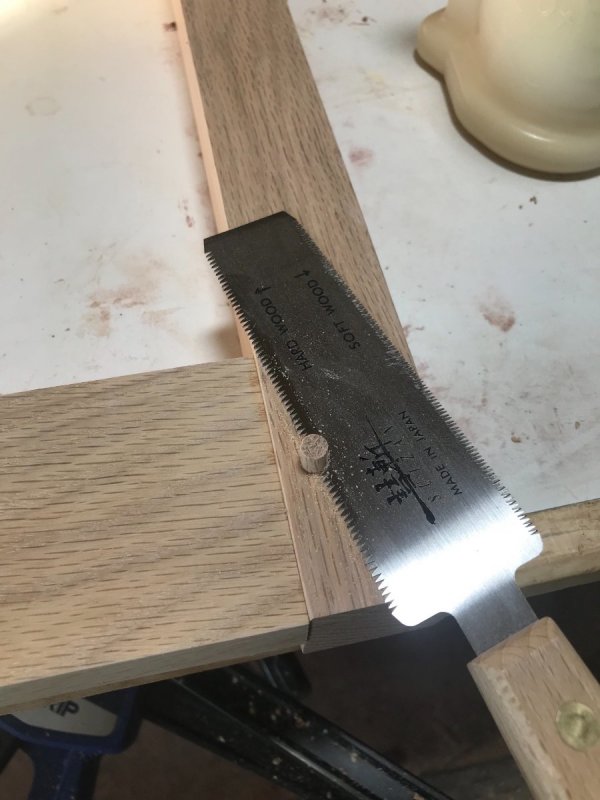
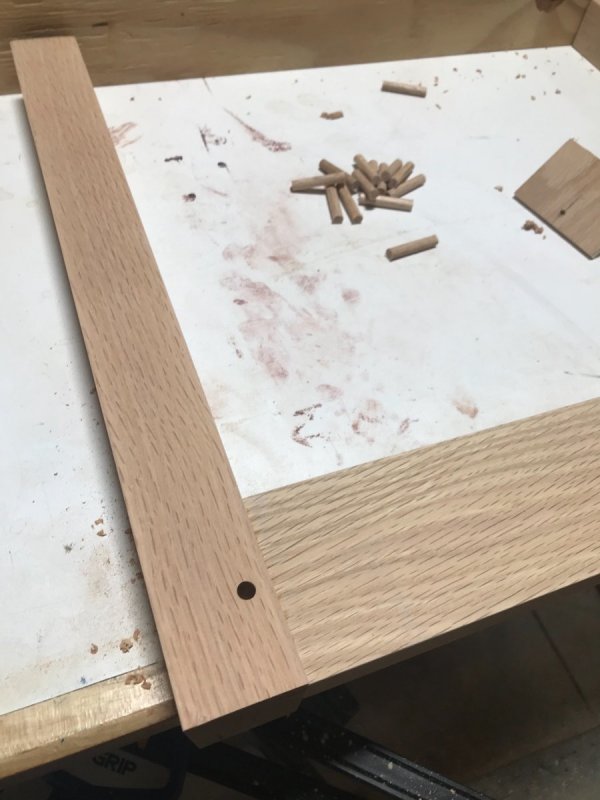
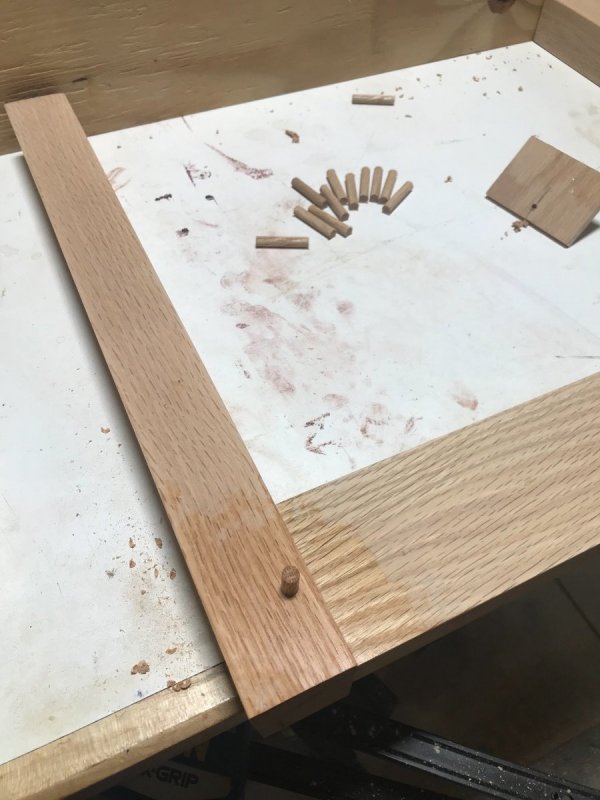
Didn’t get a whole lot done on the chairs since Friday, did manage to get the front leg assembly’s glued up and started to pin them. Am using 1/4” dowels to do the pinning. Have made a few templates to help mark them out. Drilled about a 1/8 hole in the template to mark with an awl then use a Brad point to drill the hole. Had a little squeeze out that I cleaned off with a wet rag. Have to say the flush cut saw I got off Amazon works dang well! Didn’t expect much for what I paid for it but have to say I am impressed. Have had it for a little time so don’t remember what I paid for it exactly but it sure makes the grade.
-
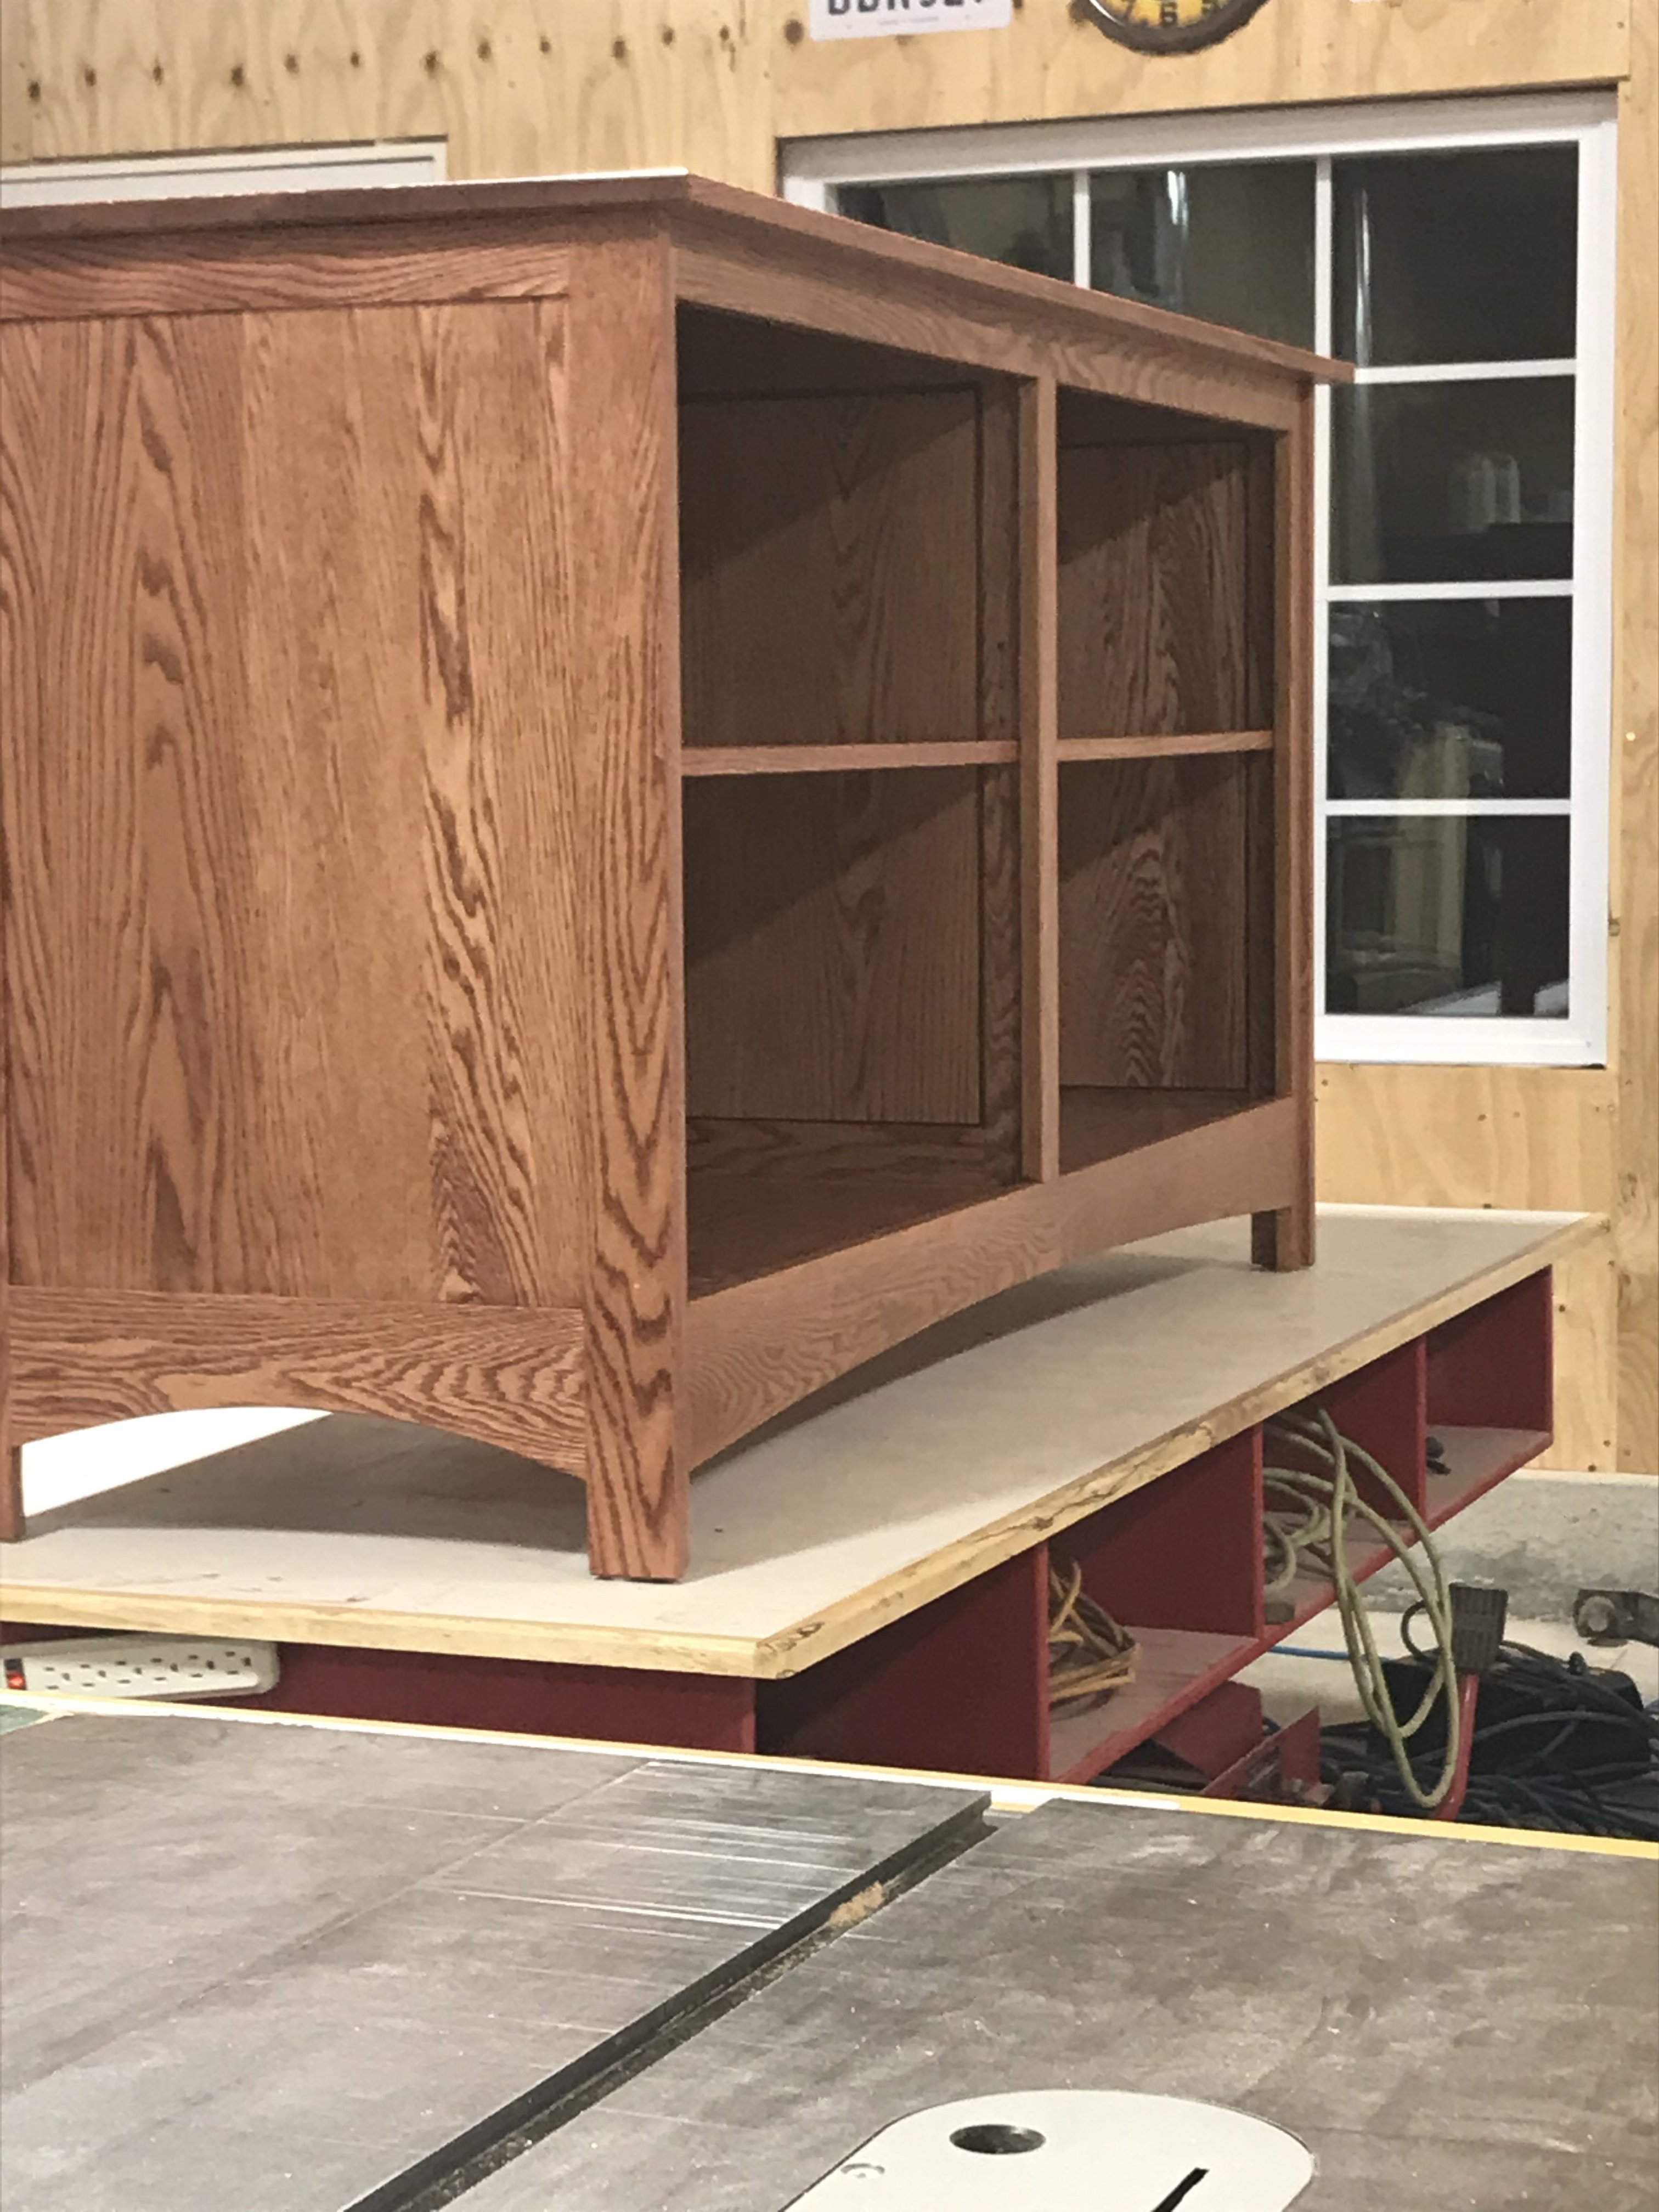
At first I was thinking scribe it to the floor but with new flooring coming I’d live with it till then. Might have to scribe it at that point. I really like the look of edge profile on the top is it just a chamfer?
-

Bushwacked Garage Reno Complete in 2020 sometime ... Hopeful
Jamie replied to Chet's topic in Member Project Journals
The girls got me one off amazon for Father’s Day. Have had no issues with it. I had same issue as you. Hose laying on the floor and tripping over it. Not an issue anymore ?
-
They will be fabric. Will hire that part out.
-
The new side stretchers And the dry fit. It’s pieced together with test parts so not the cleanest joints. Threw a scrap piece of ply on it and started with the lightest kid and worked the way through the family before I sat on it. It held!


-
Great post! I have been looking really hard had these filters and actually had one show up today from grizzly. Went with theirs over the Wynn because of the paddle inside connected to a handle. Tried hooking it up tonight and it’s way to small for my dc. Was thinking on sending it back and getting a different one but after seeing your donut idea I may give that a try!
-
That is good info. I have never messed around with hide glue before. All these joints are going to get a dowel put in them yet, a repair down the road is not going to be a pleasant one. Would have to drill the dowel out before ever thinking about getting the joint apart.
-
On my 735 a full crank was a 1/16. I guess in never ran into issues with the breaker popping while taking 1/16th, 20 amp. Granted I would only take that much on like a 4” wide piece. But maybe I shouldn’t chime in on this with the current condition of my 735.
-
Yeah I do to! Nothing major just about 5 hours of lost time and $60 in material. With the full scale drawings it just seemed funny and for the life of me I couldn’t see where I went wrong right away. Just knew something was off. I used titebond 3 on the backs. Like the long open time with it. Downside I feel is having to leave it in the clamps for quite a bit longer than using the original.
-
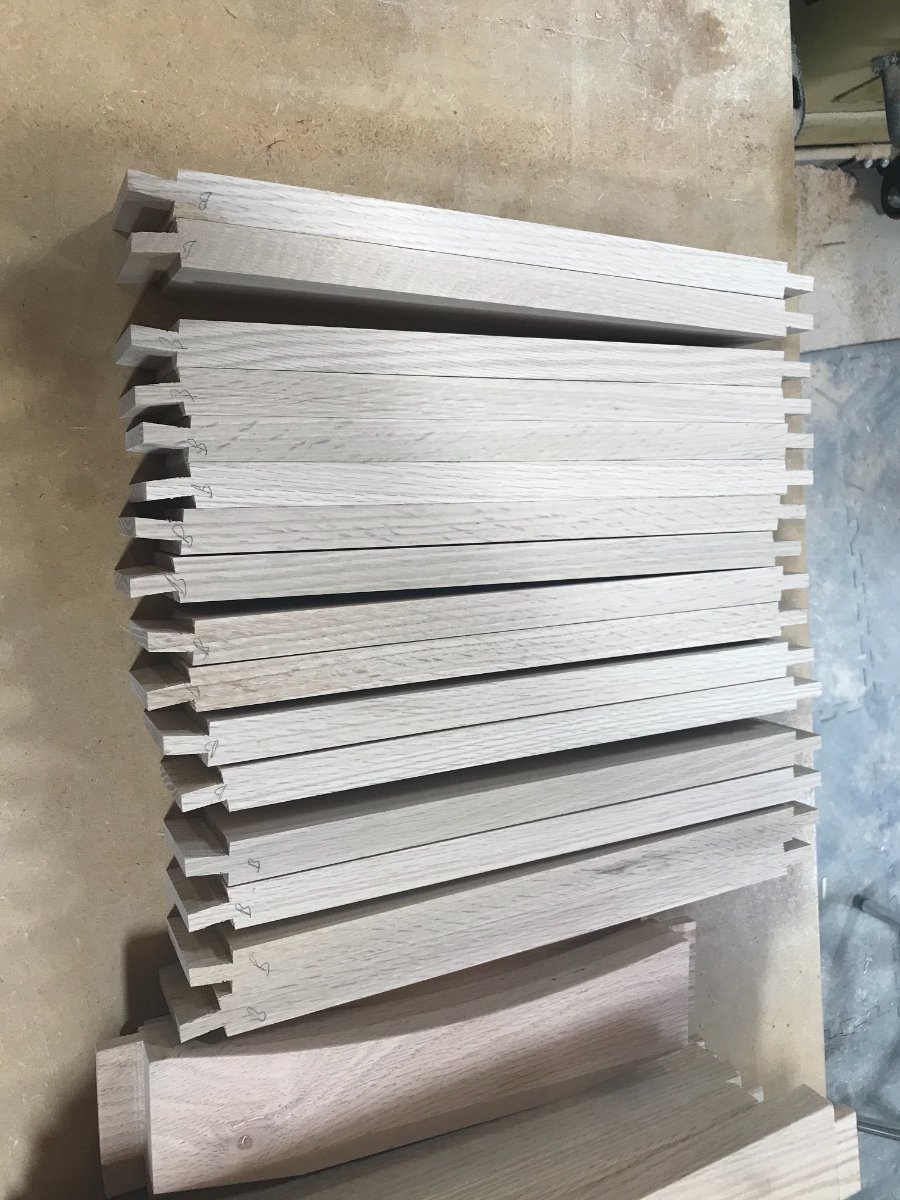
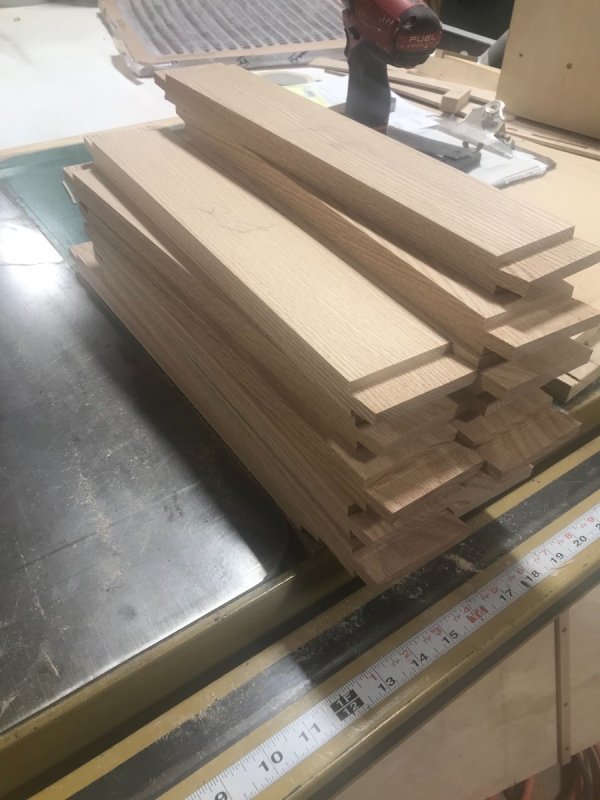
Well created my first pile of firewood parts for the project. The side rails I made both tenons angled and only needed to angle the tenon going into the back of the chairs. The mortises on the fronts were registered off the bevel of the leg so needed to be straight. Snuck out of work to run to get more material and have it planed down. Actually ran it through a planer sander on all 4 sides. Made quick work to get back on track. The firewood pile ? Did get the new parts tenons all cut and dry fit a chair. Pic just hasn’t transferred from my phone to iPad yet. Will post the pic tomorrow for you guys. Have to say a real sense of pride came over me seeing a chair really take shape!
-
Lol!! I think I learned my lesson with the boat I currently have. Surprisingly I don’t have to sleep in it.
-
Can’t say it was completely my idea. The plans, article and video series of these chairs has helped out a ton. Don’t think I could’ve tackled this one on my own.