Every purchase made through our Amazon Affiliate Page helps support this site

Jamie
-
Posts
1,467 -
Joined
-
Last visited
-
Days Won
54
Content Type
Profiles
Forums
Downloads
Gallery
Events
Store
Articles
Blogs
Everything posted by Jamie
-
True......miter the corners? I’m just thinking out loud. As with any of our projects there are many ways to do it. Are you going to m & t the stiles to the curved rail? I don’t let edge grain bother me as much as some people. It is wood after all and not plastic.
-
Man the tracking they have on shipping these days is getting pretty accurate!
-
I should explain in more detail.........say the leg is 5x5 finished size. Make a popular leg blank 4x4 and use a 1/2 skin of wood of choice to cover it. That should give you enough to dent the heck out of it. Or rout a profile. if I remember correctly the door stiles were 2 1/2 thick. Made the blank 2” thick and applied a 1/4 skin to it. On the edges applied a 3/4 thick or so to be able to shape the grove profile.
-
Hopefully it shows up!
-
If you are going to veneer the legs....couldn’t you make blanks out of popular and skin them? Know it wouldn’t cut much cost but might help the wallet some. Possibly could do that for a lot of the parts. Built an exterior door a number of years back and used a process like I mentioned. Went pretty well.
-
That’s my guess as well
-
True.......guess I have saved by not ordering. Should just place an order before the price jumps up.
-
That is awesome! I love baseball so a big fan of this project! The spline variations in size is a neat looking touch. Nicely done!
-
Just think of the money we have all saved.
-
Went trough the store last night. Hopefully you got credit!
-
Did you have the double head grizzly? Problem I’m running into is there isn’t a drum sander of any brand available for purchase.
-
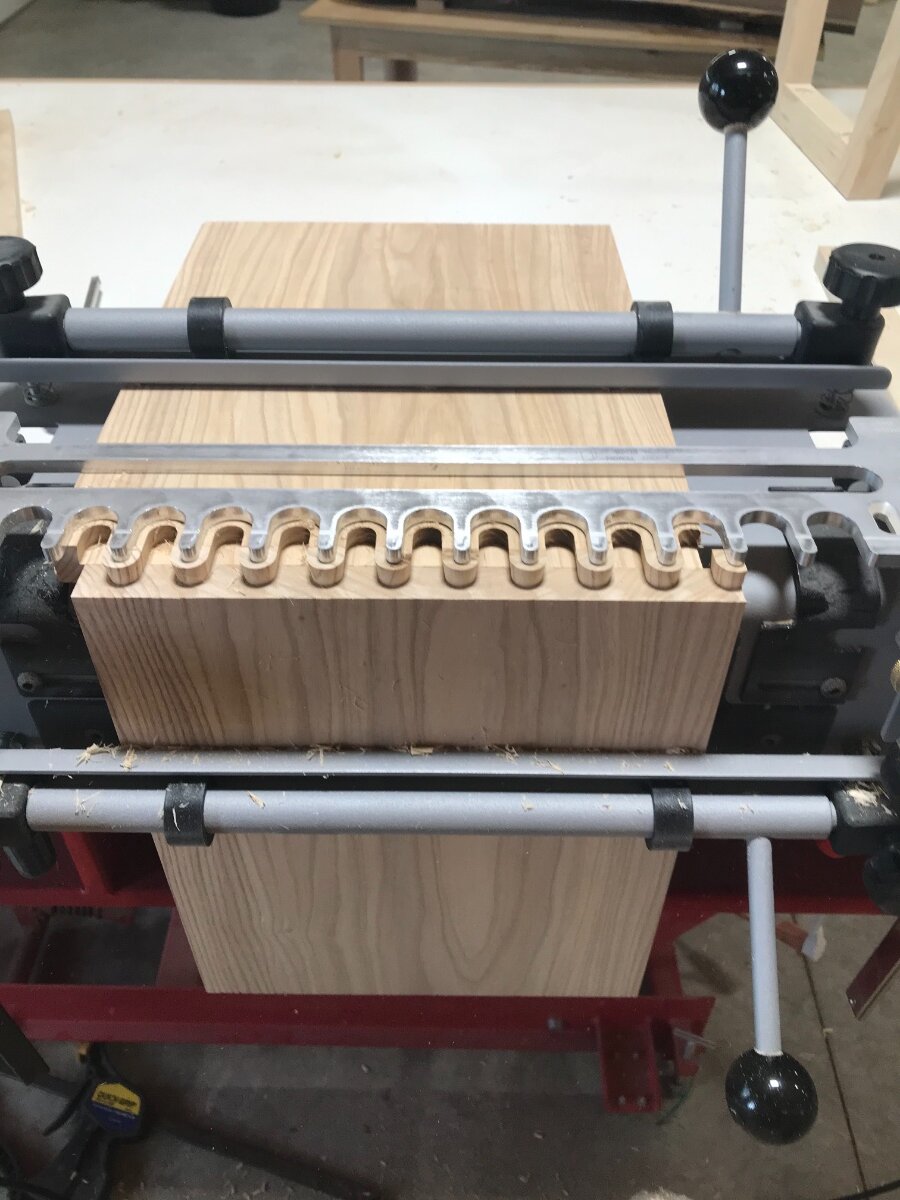
Thanks! Yes it is a simple little jig. Took me a bit to remember how to use it, had to break out the manual to make sure I did the math correctly.
-
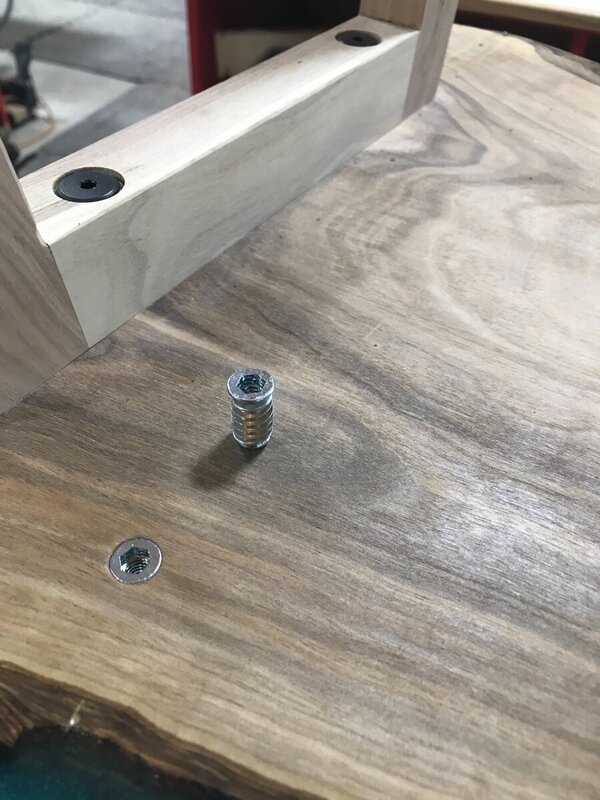
Got back at the desk today, actually got to spend the better part of my day in the shop. Started off making a couple of drawers to fill the case. Decided to dovetail them with the porter cable jig. Haven’t used this jig in a while so took a little time in getting it dialed in. Also attached the leg assembly to the top using threaded inserts and a finish bolt. Pretty easy process that just takes a little time. I mark the holes out by clamping the legs in place then using a Brad point drill bit to mark center by going through the holes in the legs. It is a little nerve racking drilling into a top that has had quite a bit of time in it. The insert in the picture is for the drawer box case. Had to dry fit it all! Need to order some shorter bolts for the drawer box to attach to the top. Also need to install the upper drawer slides. Have the drawer fronts glued up and will get them fitted hopefully this week. Initially wanted to do inset fronts, with the lack of depth in these drawers along with the drawer slides I’m pinched on room and will have about 3/8” of a 3/4” thick drawer front exposed. Thought is to cut a bevel on the fronts edges to give the look of inset.

-
I agree. Knock off the corners and call it a day.
-
Beautiful job! Had to be a bittersweet project to work on.
-
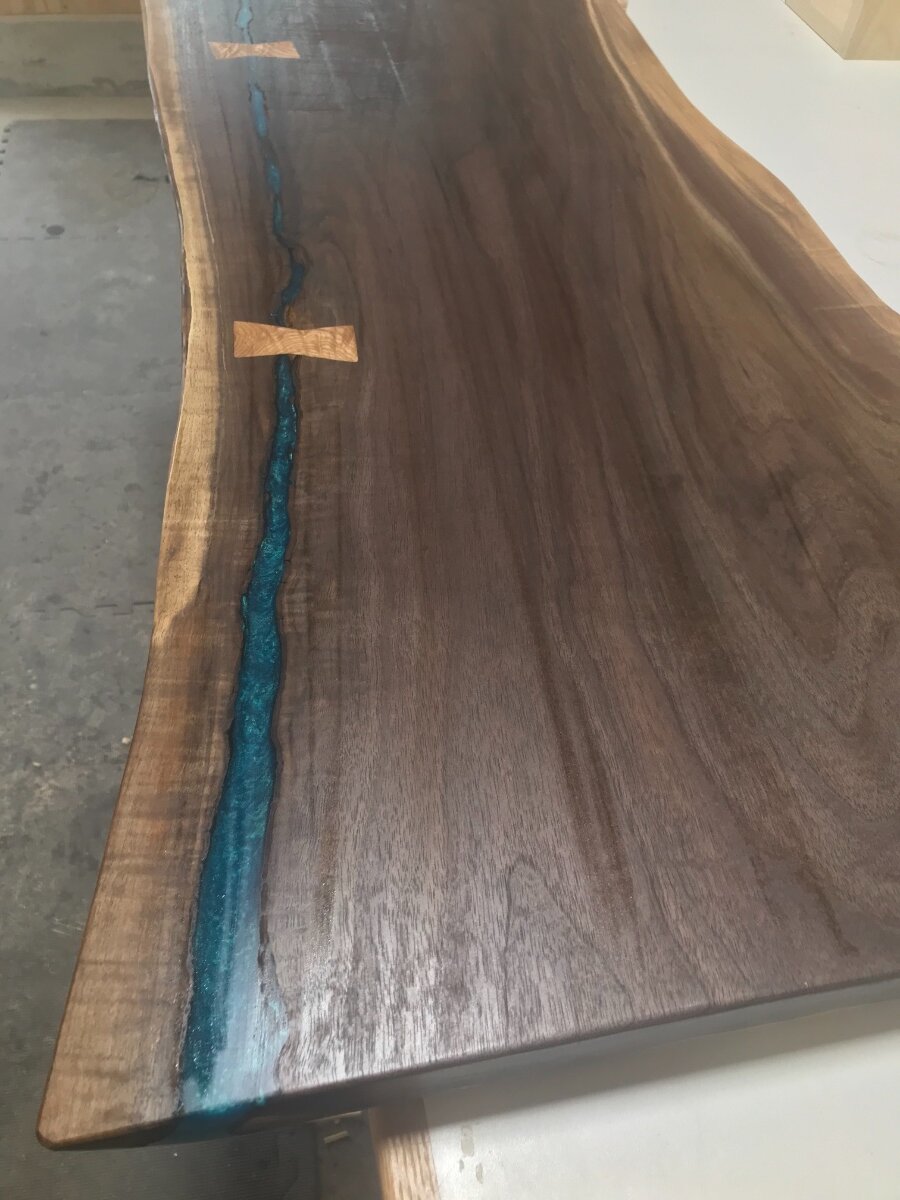
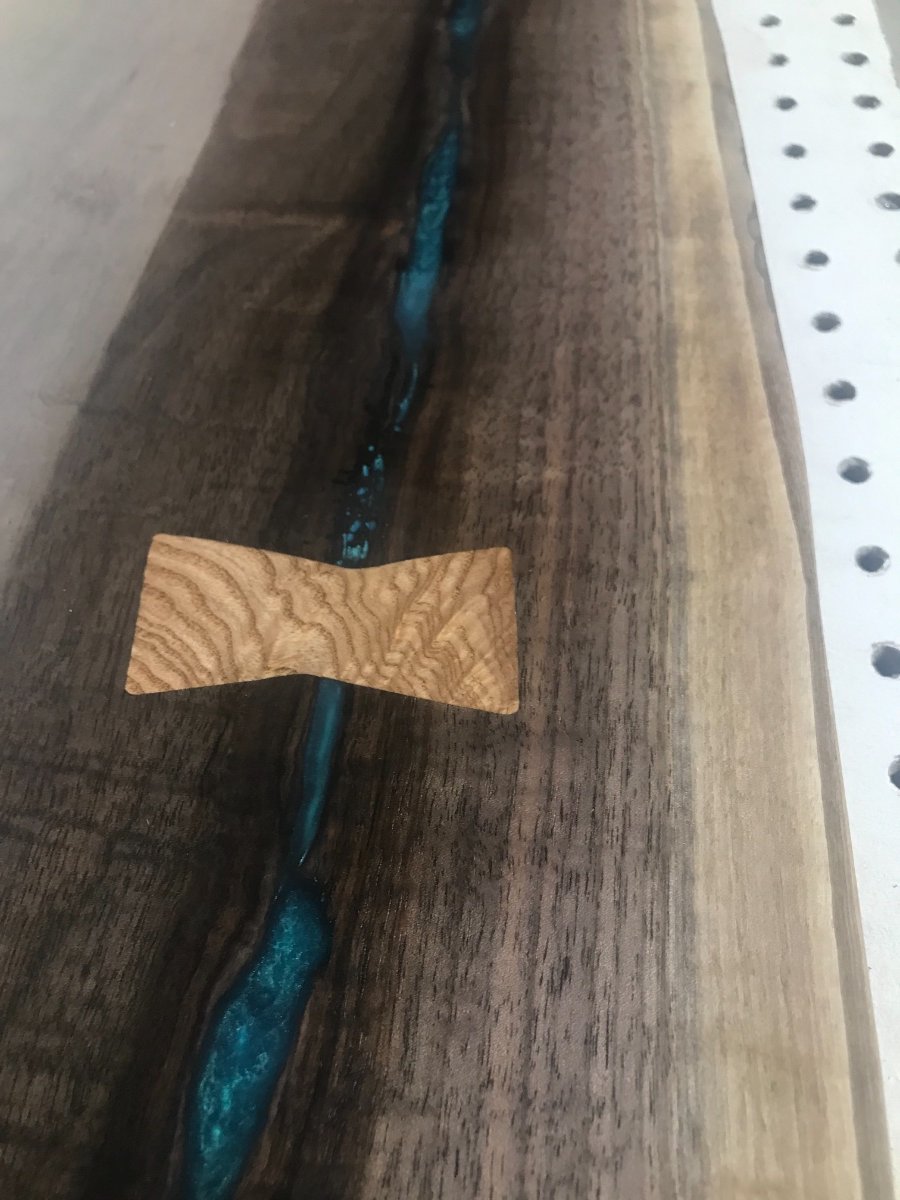
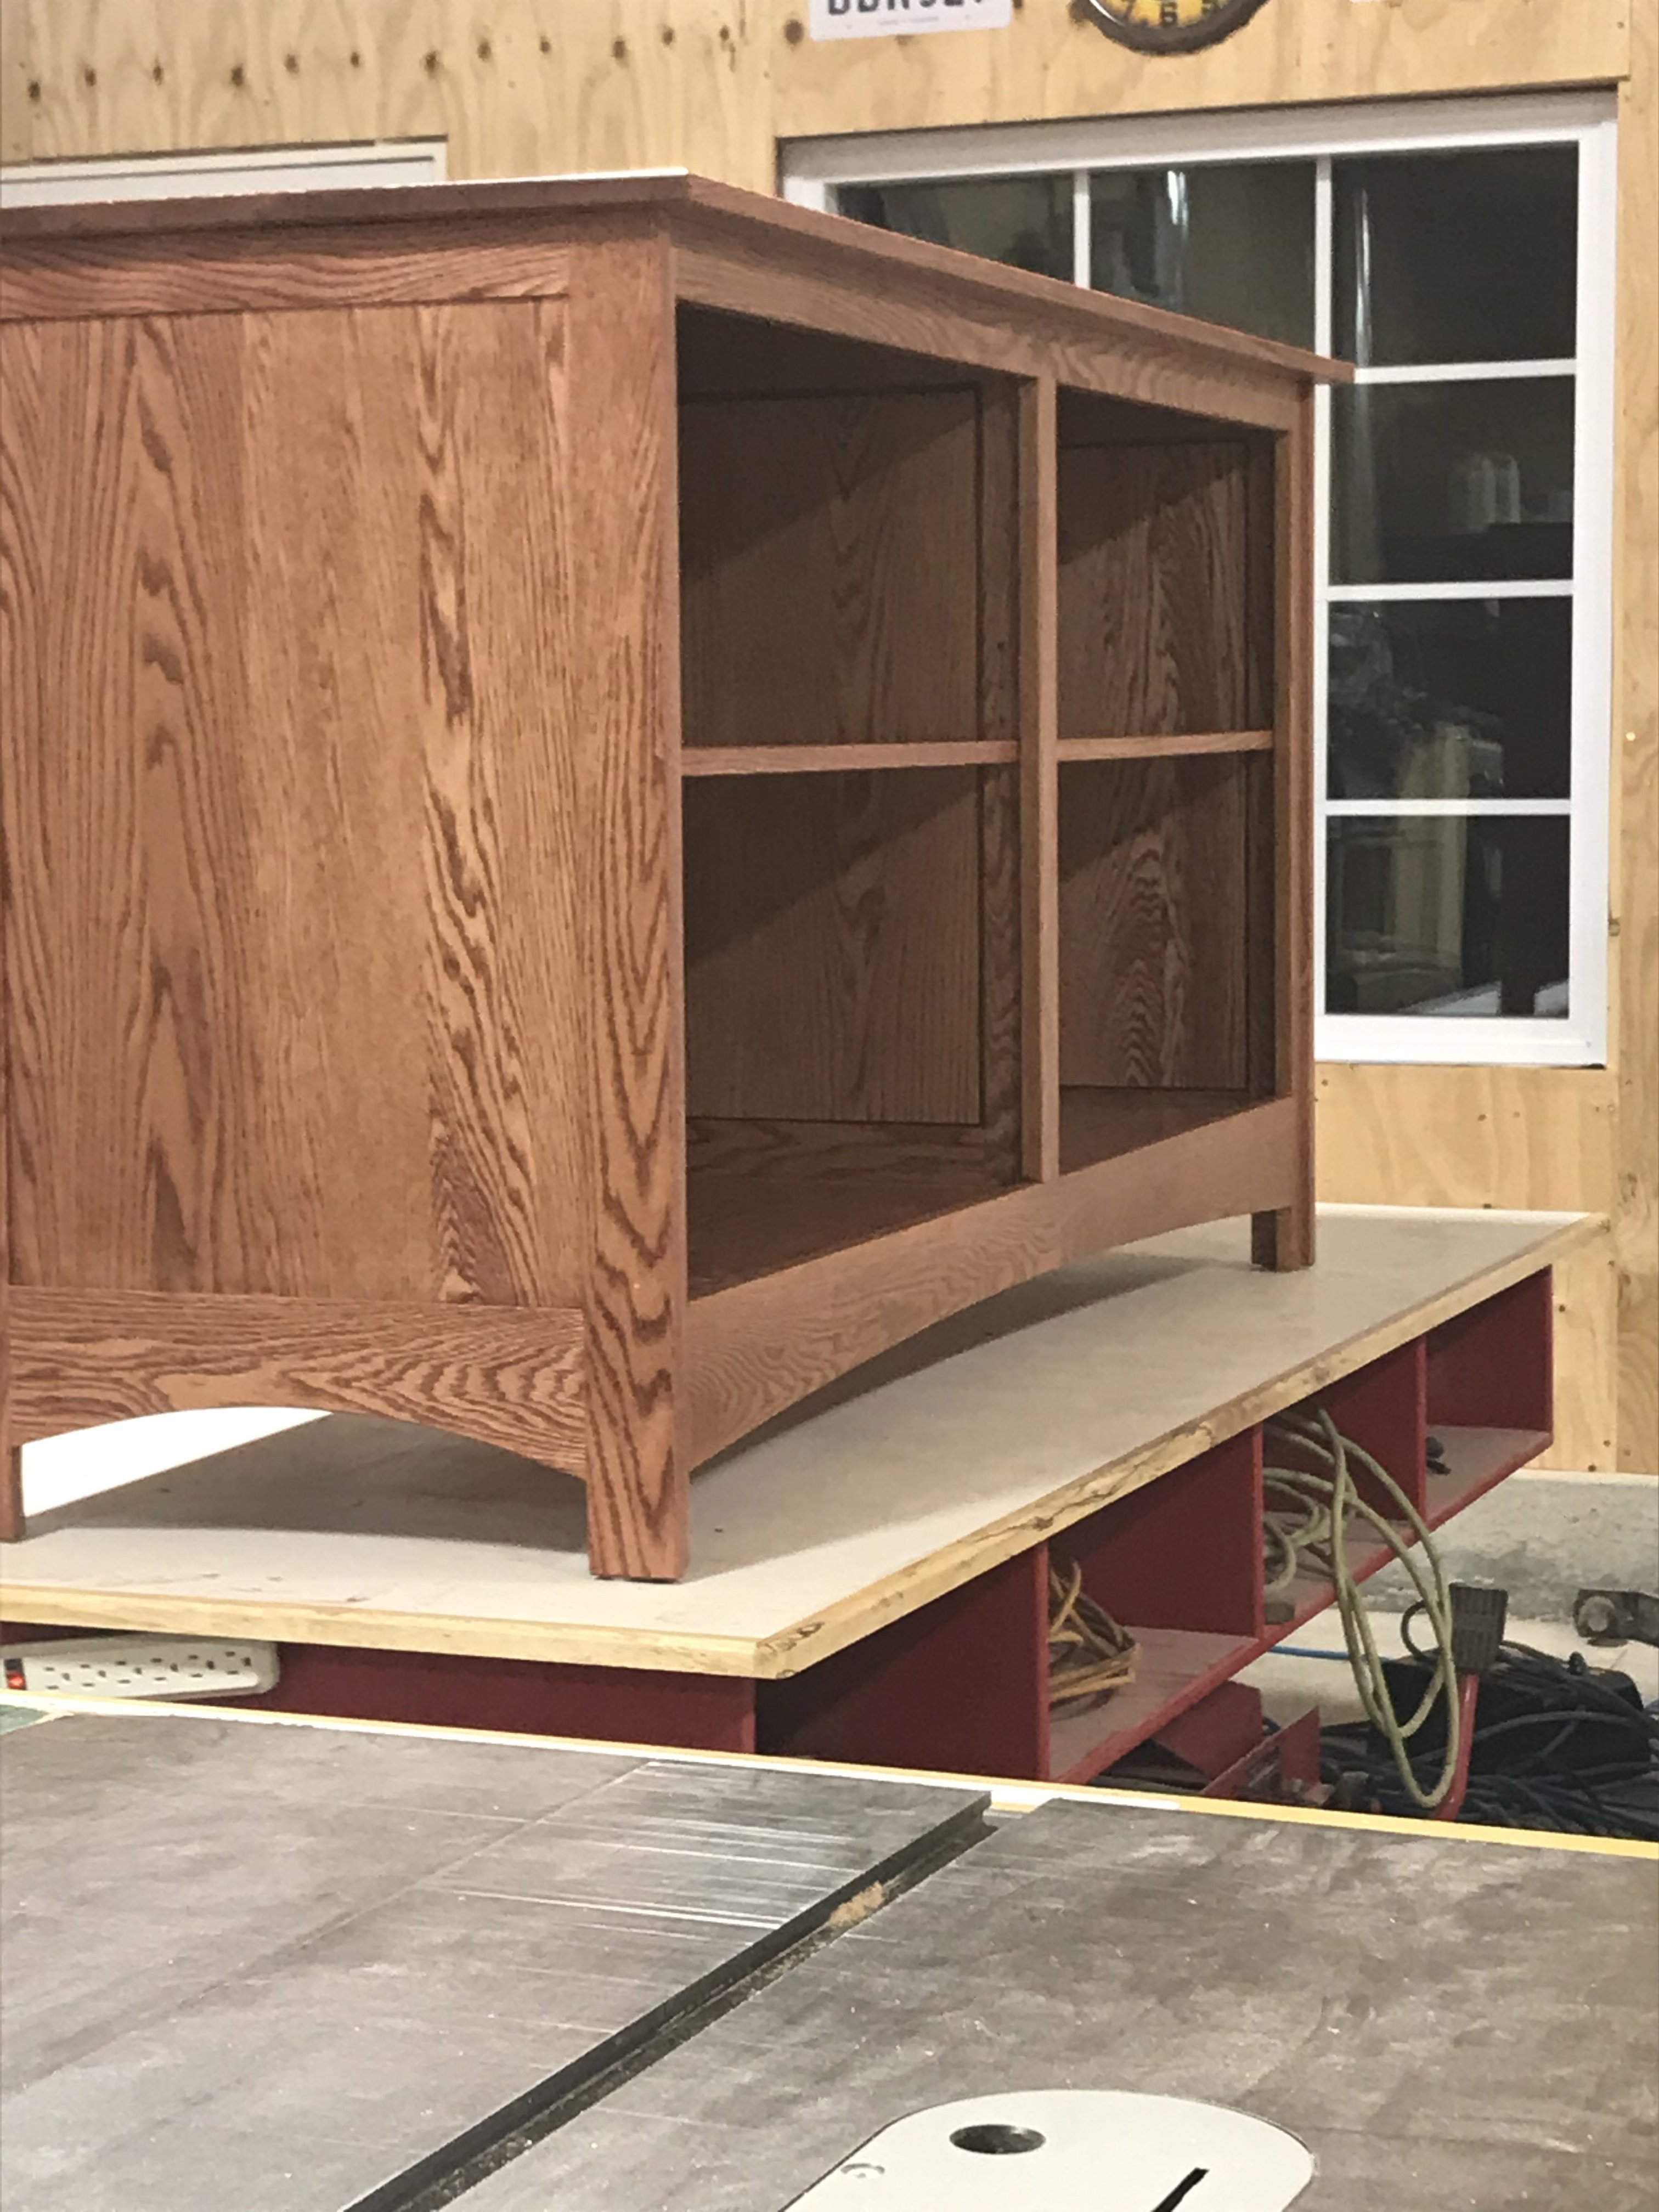
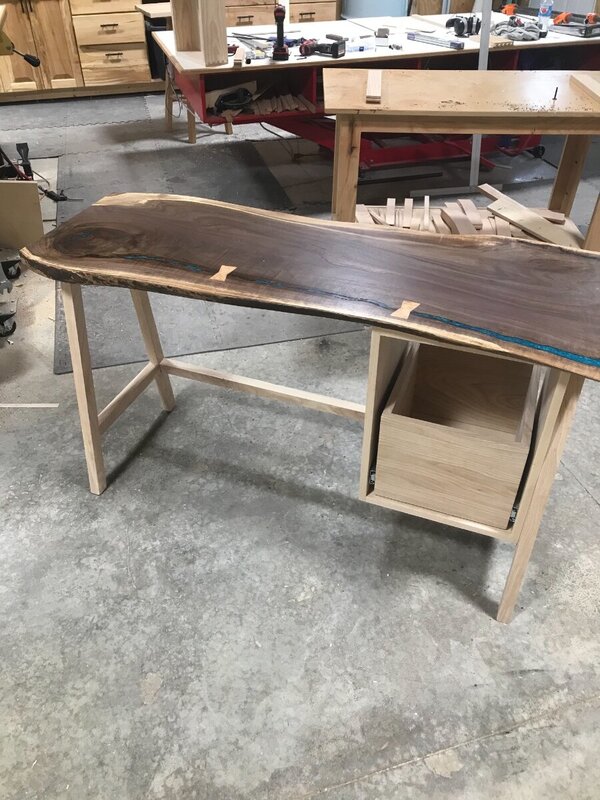
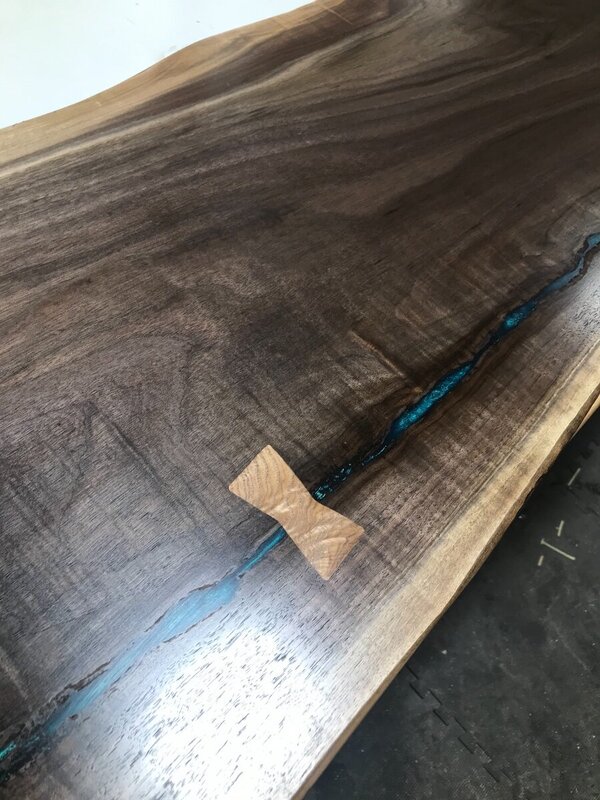
Ok had to run out to the shop and snap a few quick photos The drawer box cabinet and legs. Granted they are upside down. Box will be attached to the leg as well as having a through bolt into a threaded insert in the top. The top with a second coat of ars on it. Love how it popped the figure in the walnut!
-
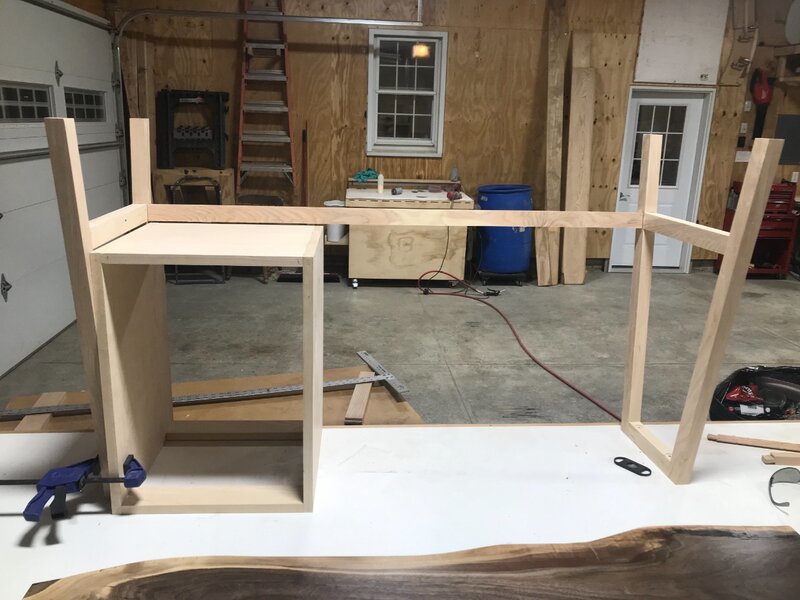
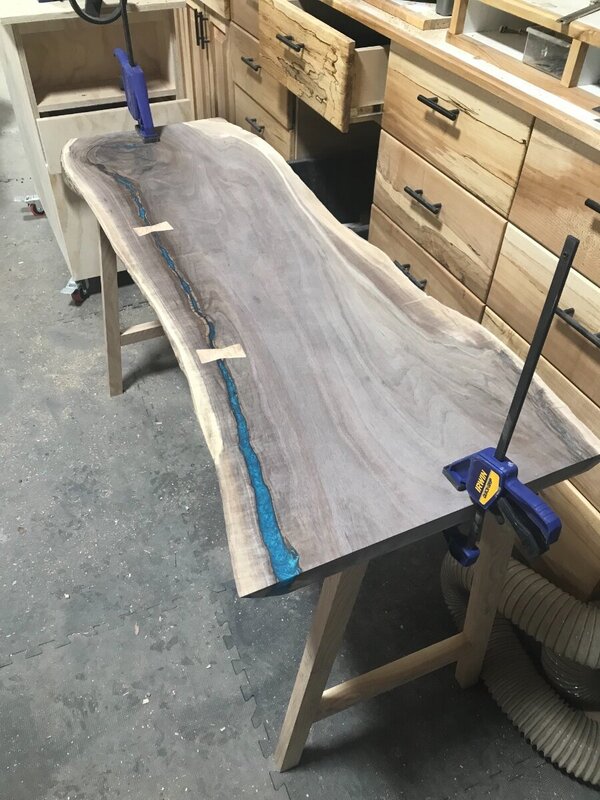
Think I lost a post with the server issue...... Havent gotten much time to work on the desk lately. Work is just taking up way to much time! I believe this picture was lost in the shuffle. Had a little dry fit of the legs. I do currently have the drawer cabinet built. Used solid ash panels that I glued up. Made them 14 3/4 deep to fit them through the planer which also ended up being a perfect fit for the desk. The planer handled them with ease! I assembled the box using biscuits for alignment. (Photo of the box coming soon) I also received in the mail the armor seal. Did get a couple coats on the top. Am really happy with the results! This photo was taken right after the first coat.

-
That foot board would give you a good toe hold for extra leverage tho!
-
Very nice work! I really like the through tenon look!
-
Hey this is good to know! I order quite a bit from there, if a big purchase is going to be made I’ll let ya know. Will be more than happy to help you out anyway I can.
-
Don’t glue it to your bench! Don’t know how big of dent this is but a trick I have used in the past is to cut the dent a little bigger to make look like a more natural defect than a perfectly round hole. Make it look like a pith pocket and fill it with epoxy.
-
Could you file that chip flat and find a piece of wood that matches in grain, glue it on oversized and cut it flush. Think it would completely disappear.
-
I know what you are saying with the double trigger. If I’m using my nailer a lot which also has the double trigger I just use a little tape to hold the safety trigger out of the way ?
-
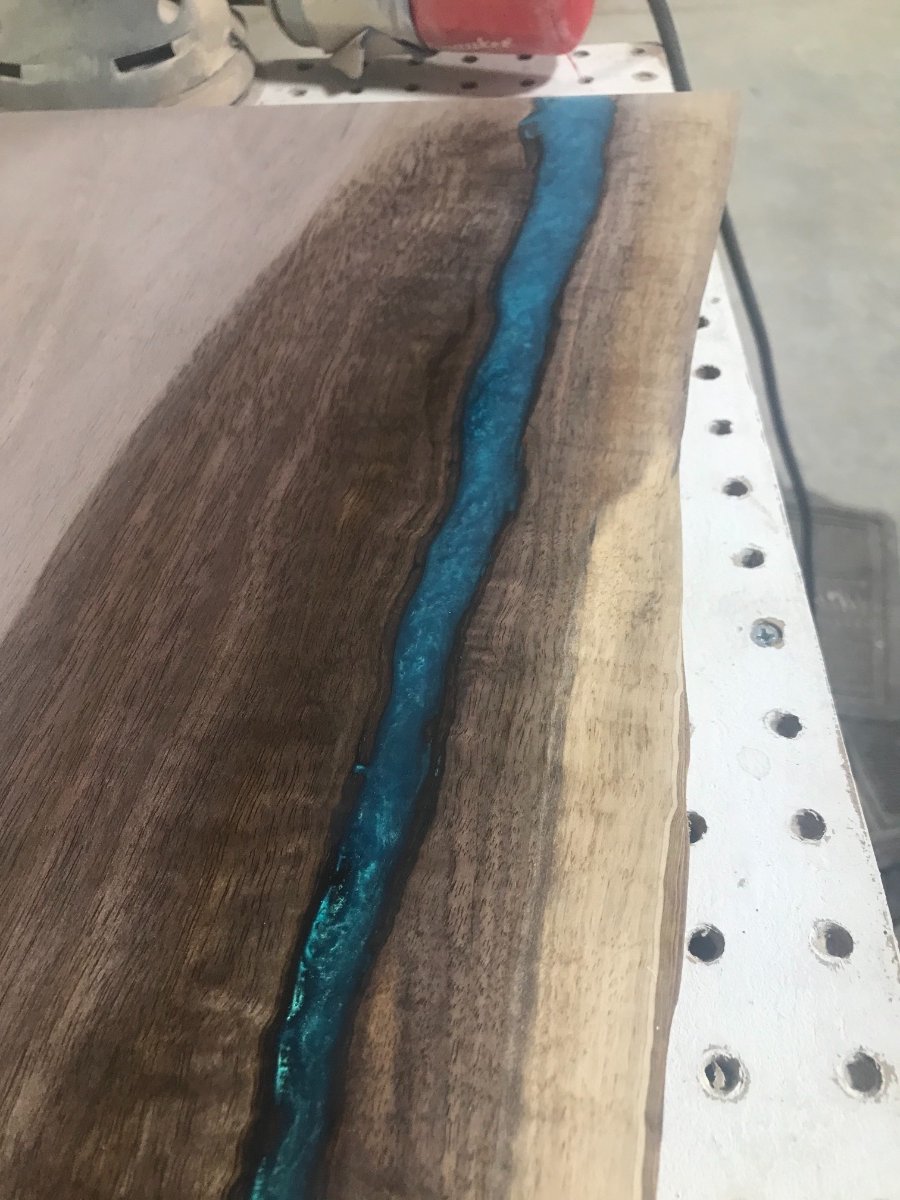
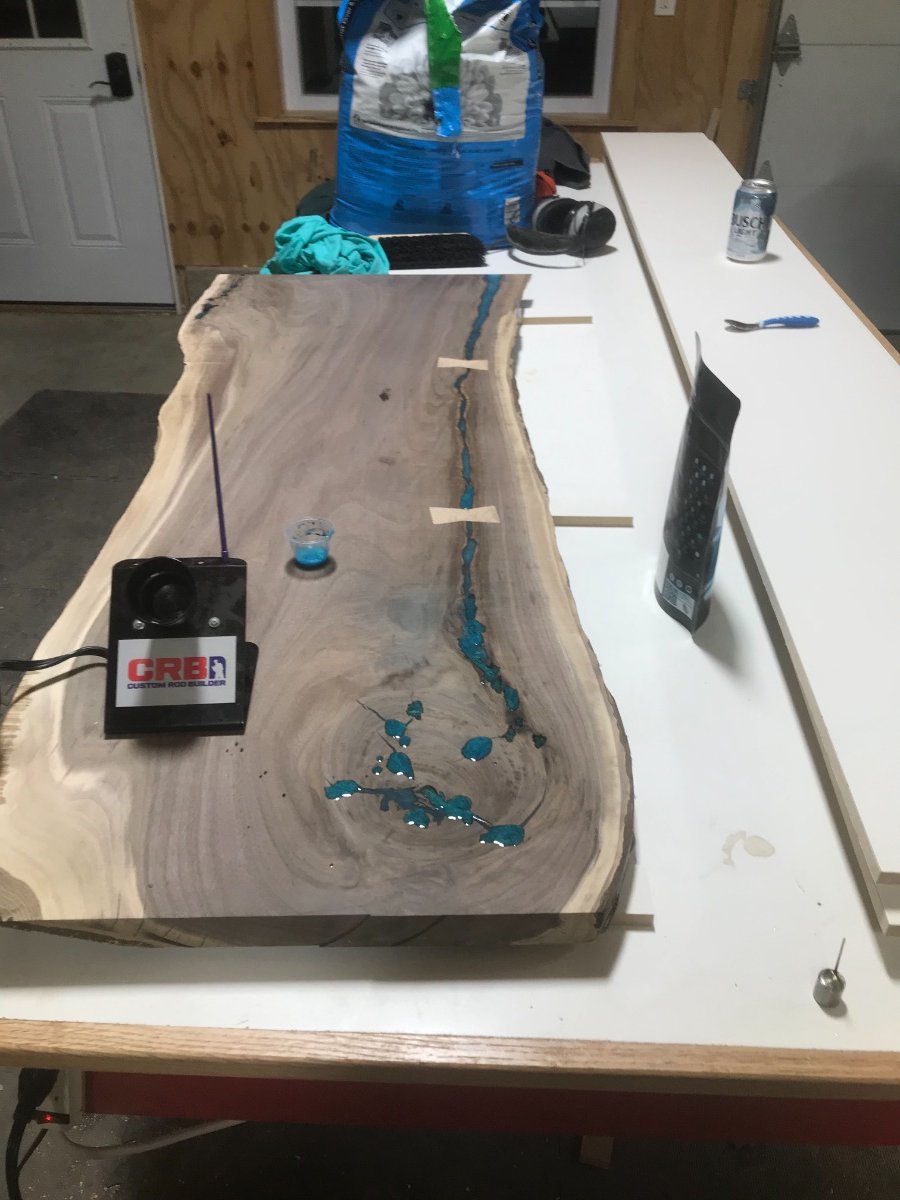
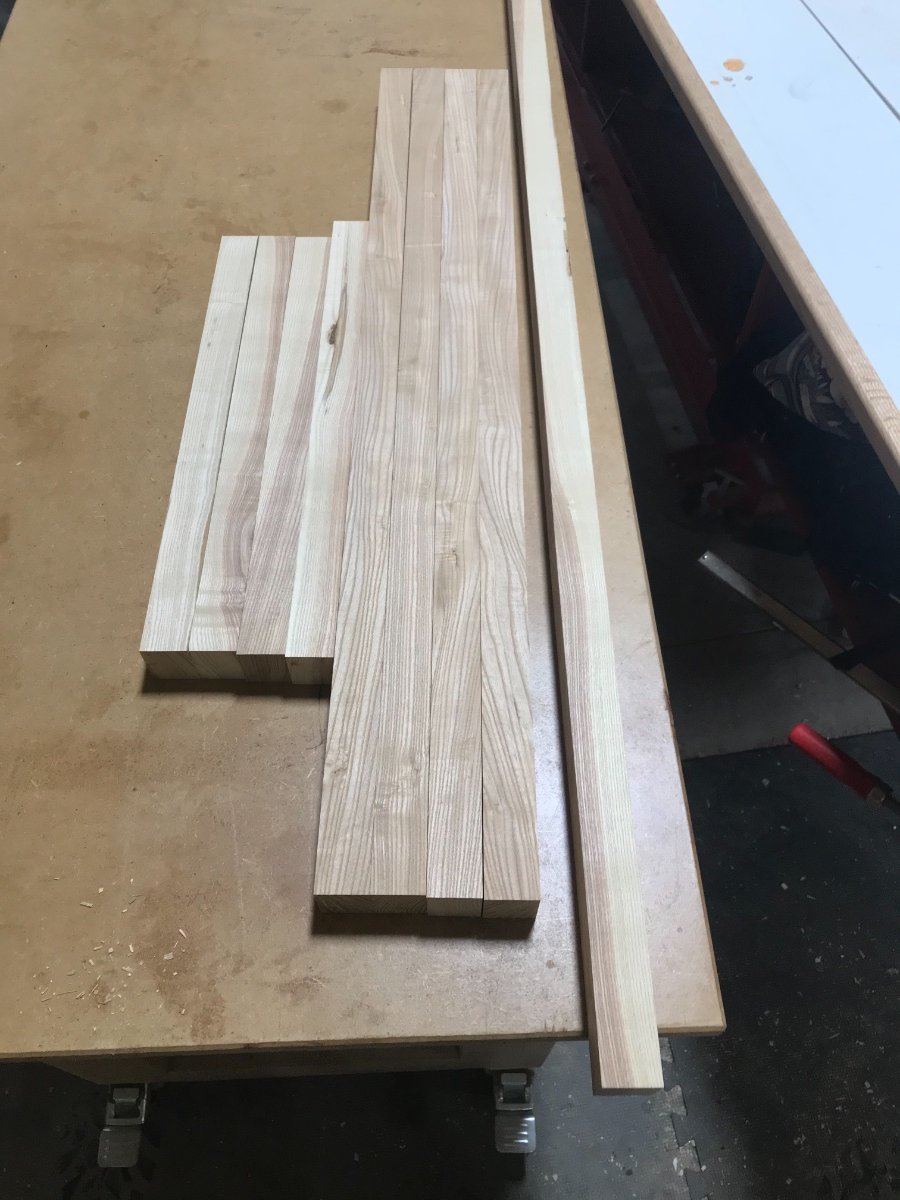
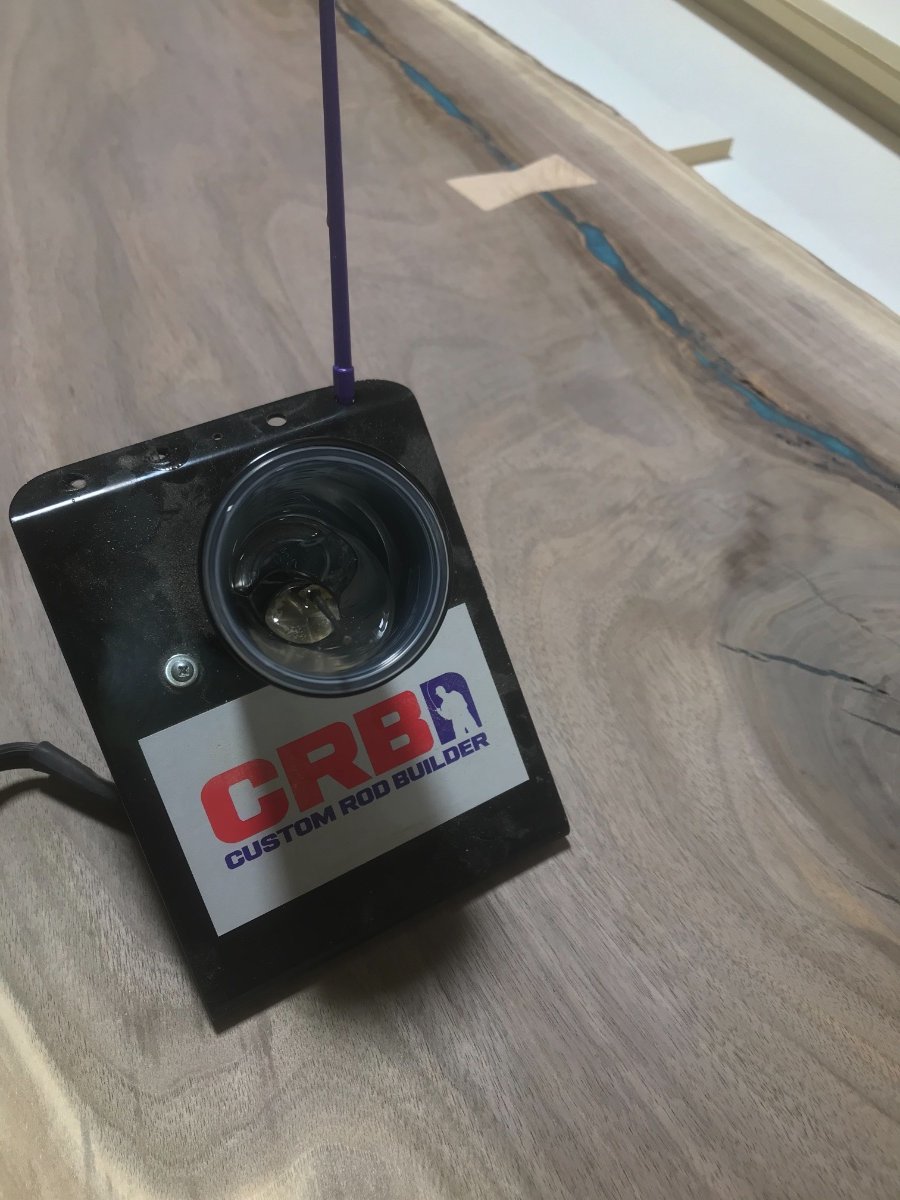
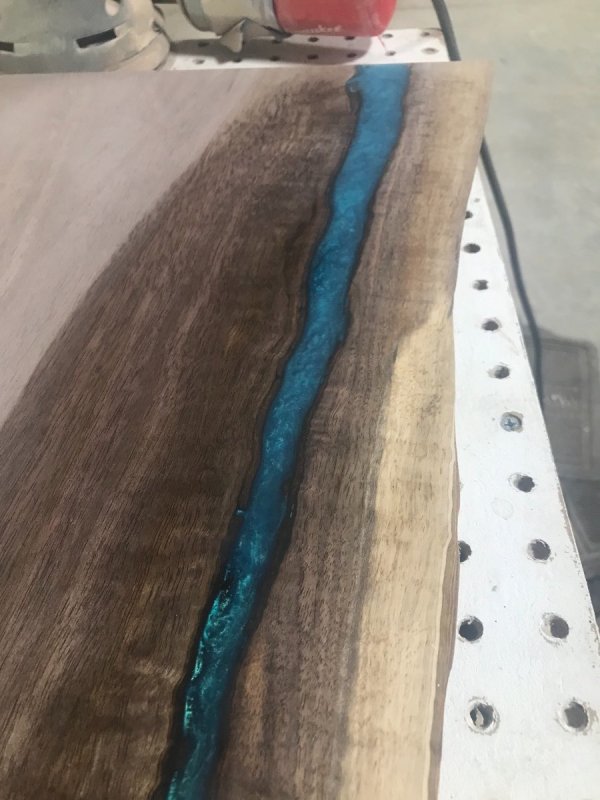
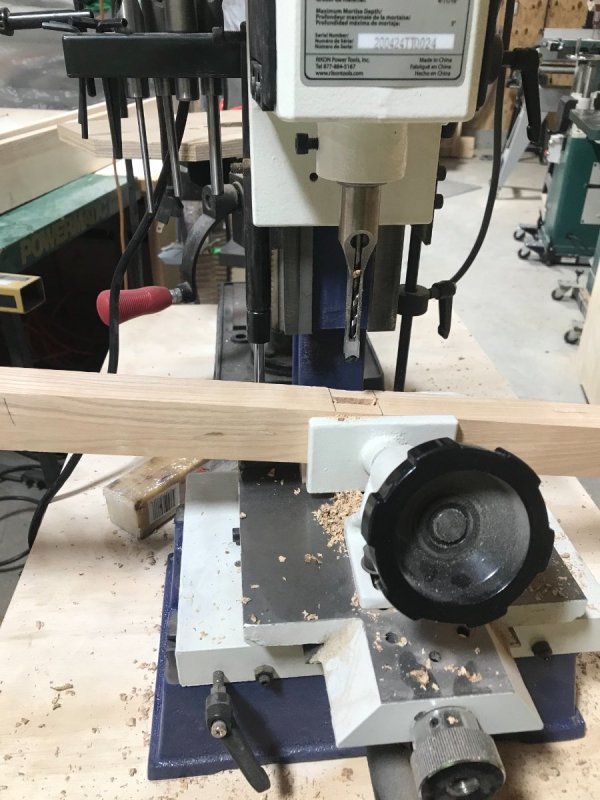
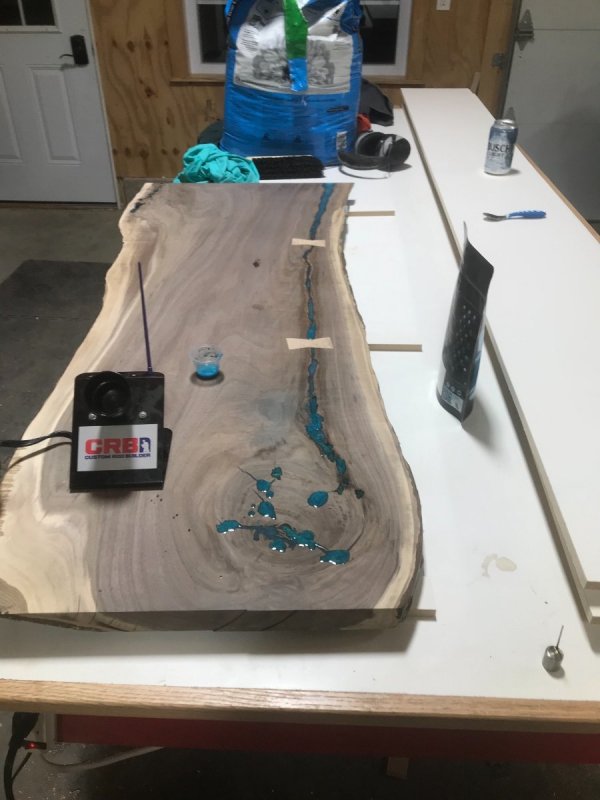
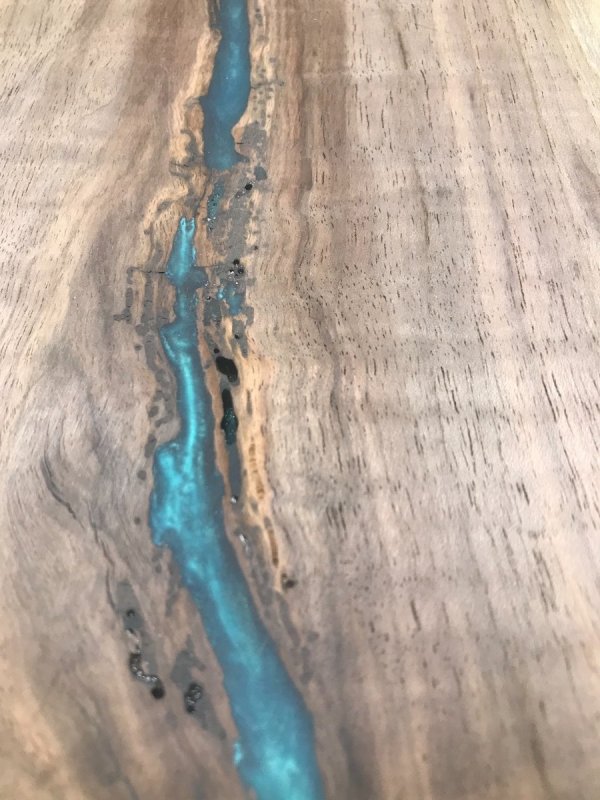
Live has been pretty busy lately and haven’t gotten much shop time in. Have made some progress on the desk..... Put the jointer to use and milled up the leg parts. Was a nice tool to use and really liked the longer bed. The legs are going to be ash. I kinda forgot how hard ash is! Had a little tear out from the jointer and planer. The leg stretchers will be held in with m and t. Figured since I played around with angled m and t on the chairs that I would carry that over to these leg frames. Had a few little holes show up in the top after getting the top sanded. Took a tool out of my fishing rod building room. It’s a little epoxy mixer. Has a metal billet that rides in the bottom of the plastic mixing cup. Spins pretty slow and doesn’t whip air into small batches. Kinda overkill for mixing a small batch but I figured I had the tool so might as well use it. All the pin holes filled. Did manage to get the top sanded up and rubbed some lacquer thinner on it. Was blown away how the epoxy popped! Am leaning towards your guys method of armor seal and lacquer over the top. Would like this top to shine some, thinking semi gloss?


-
I like the jet ones from amazon. Metal is 10x better than plastic.