Every purchase made through our Amazon Affiliate Page helps support this site

Jamie
-
Posts
1,467 -
Joined
-
Last visited
-
Days Won
54
Content Type
Profiles
Forums
Downloads
Gallery
Events
Store
Articles
Blogs
Everything posted by Jamie
-

Greetings from this aspiring Woodworker!
Jamie replied to RxR Sawdust Station's topic in New Members
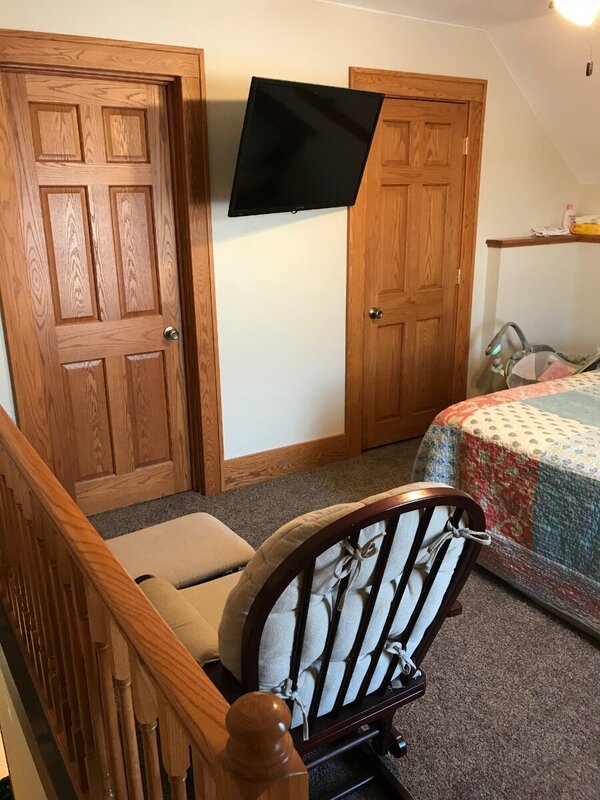
These were the only pictures that I could find of the process. I remember any cracks I did mud and used the mesh tape. It worked well, we were there for at least 5 years and none of the cracks showed back up.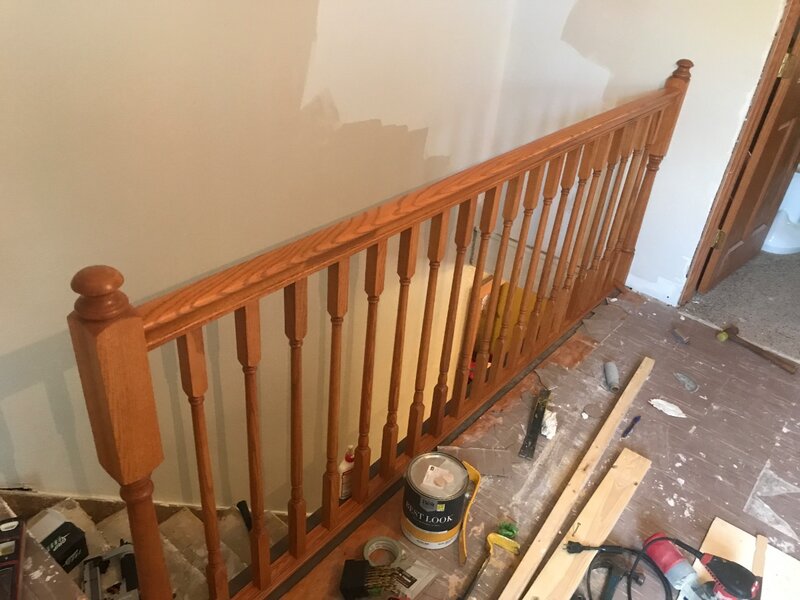
-
Greetings from this aspiring Woodworker!
Jamie replied to RxR Sawdust Station's topic in New Members
With your walls....we lived in a early 1900s home before the place we are in now, the walls were very similar to yours. I ended up skim coating them with drywall mud and re textured them. Was a messy process but with the right tools it’s not so bad. -
Greetings from this aspiring Woodworker!
Jamie replied to RxR Sawdust Station's topic in New Members
That took a little math to figure out! Stairs always give me fits. Nice job! -
If you look over her shoulder in the picture you can see her method of transportation. God I hope she never sees this comment ?
-
I will snap a picture of her creations tomorrow. It is nuts how many she put together. It’s all great till you don’t notice her clamping something in your vice till after the glue has dried. Luckily I got it unstuck from the vice jaws without much damage.
-
Thanks! Yeah it’s nice to have them out there, she doesn’t mind helping either which is nice. Saves me a lot of steps chasing parts. She is having a hay day with all the little offcuts, gluing them into all sorts of things!
-
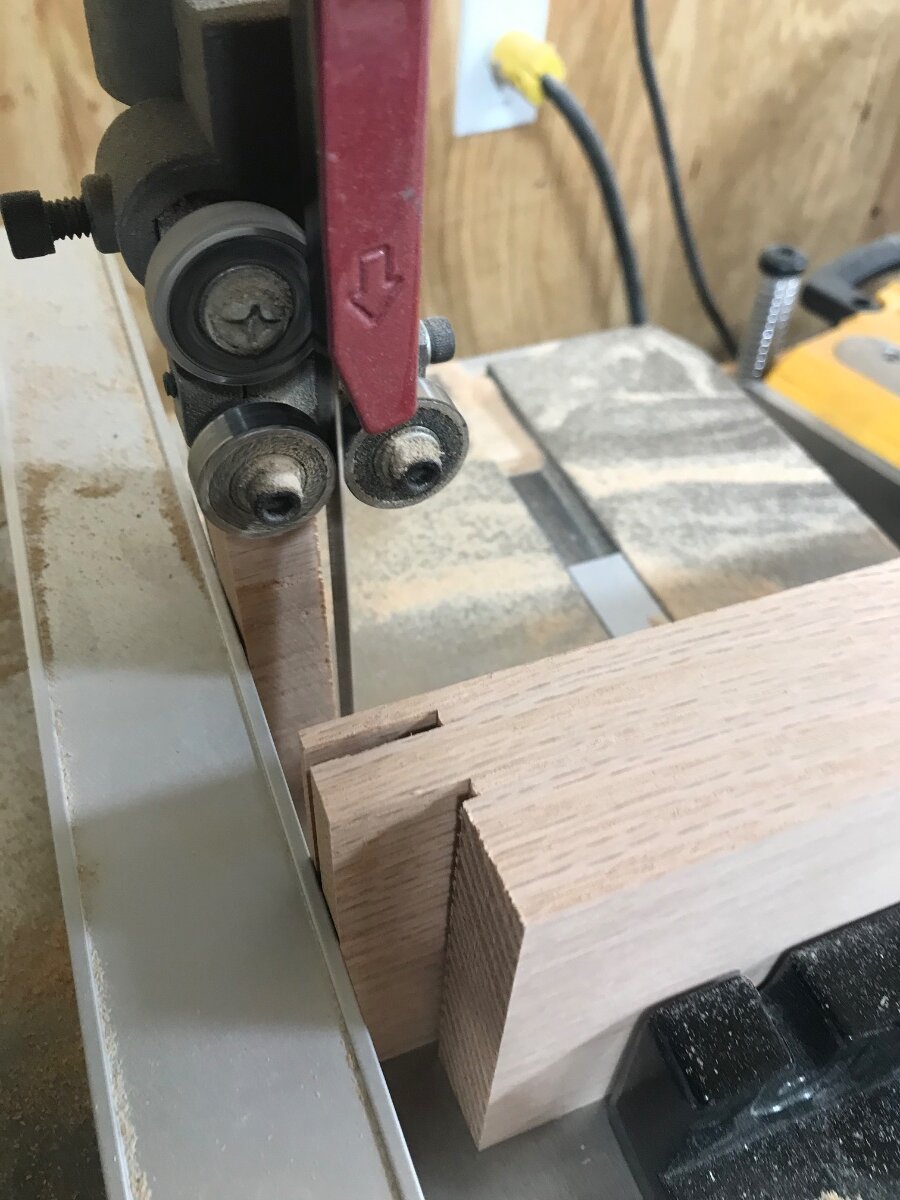
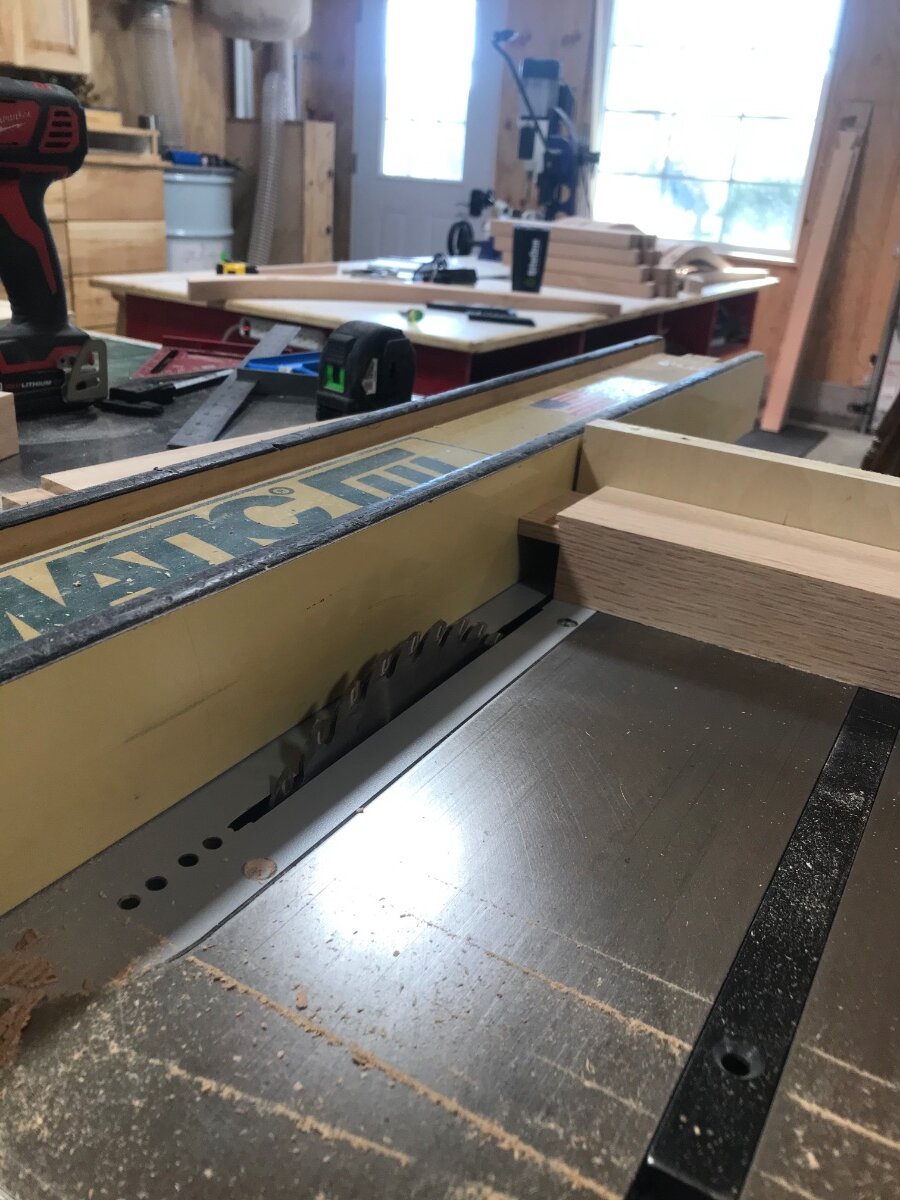
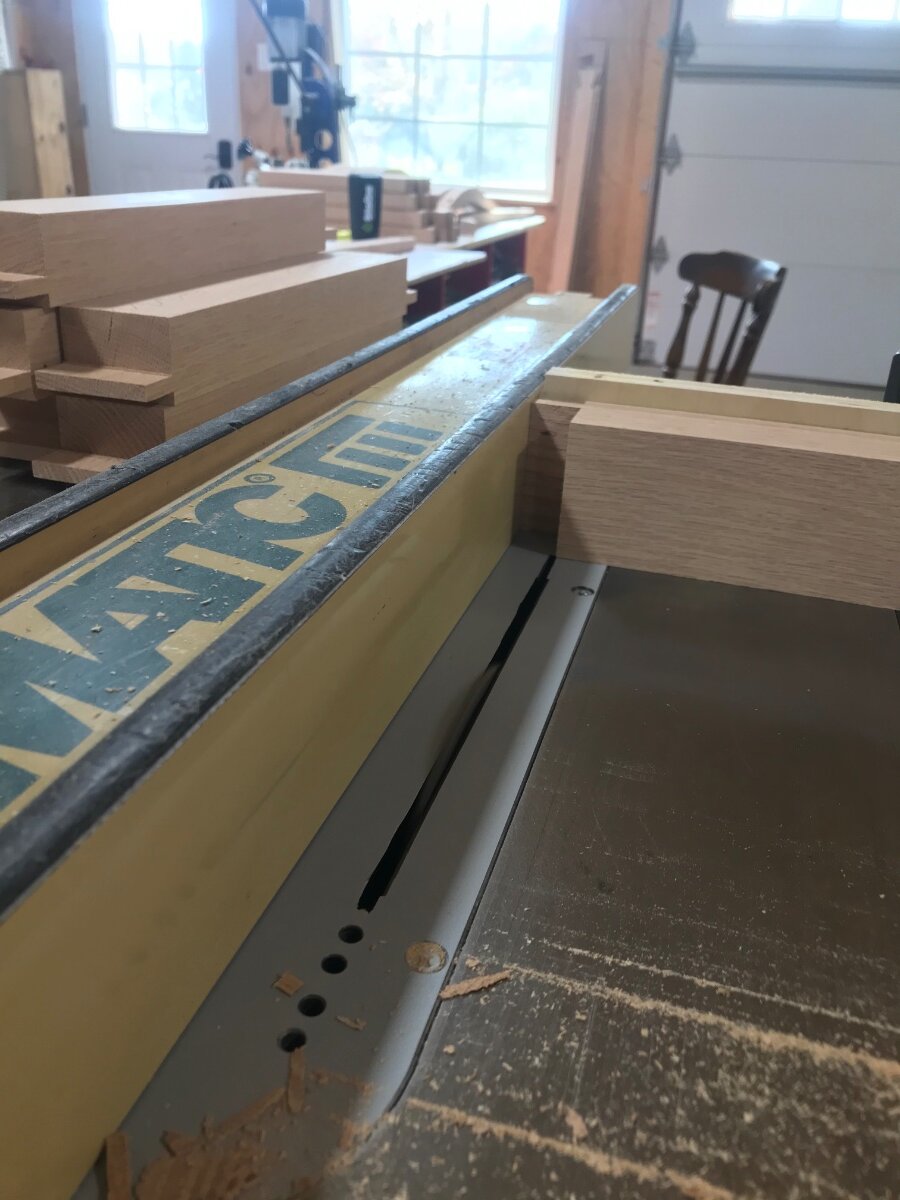
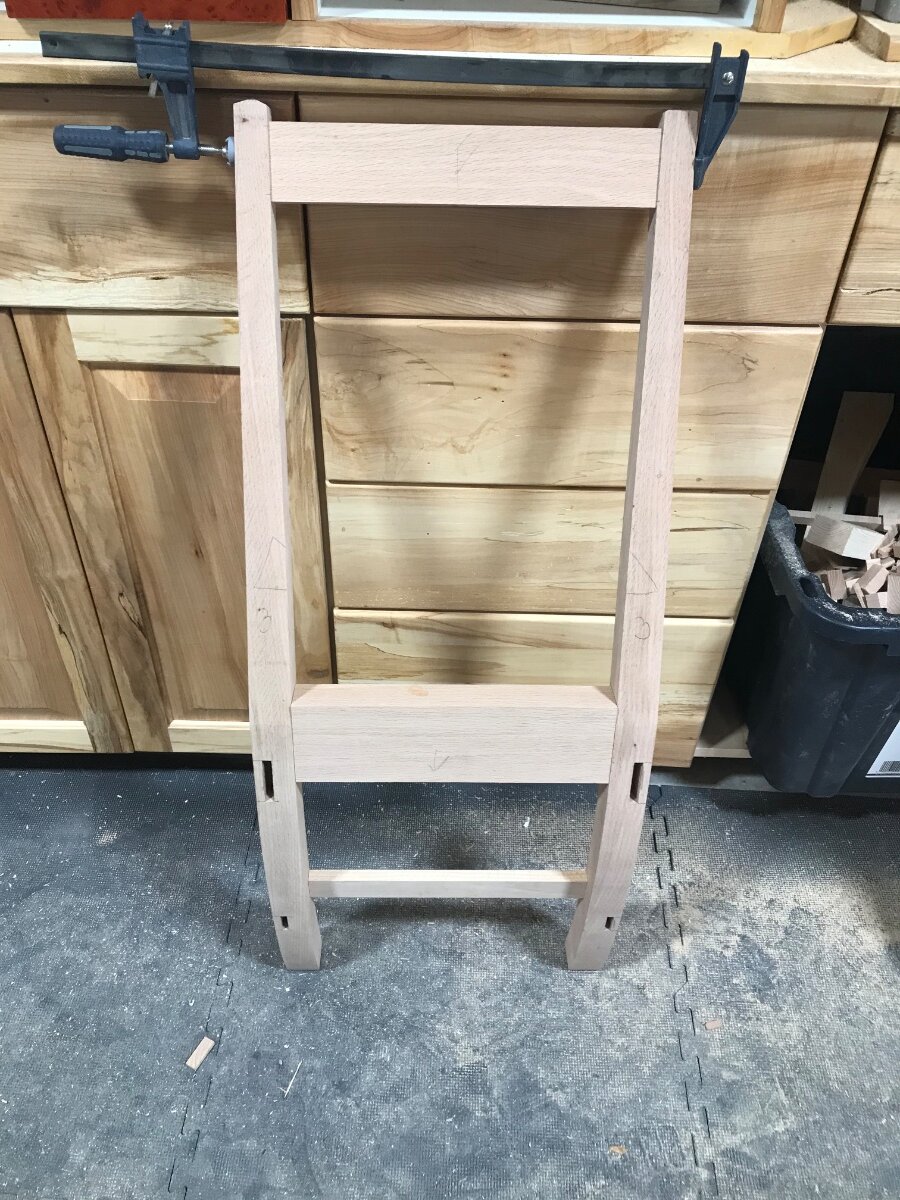
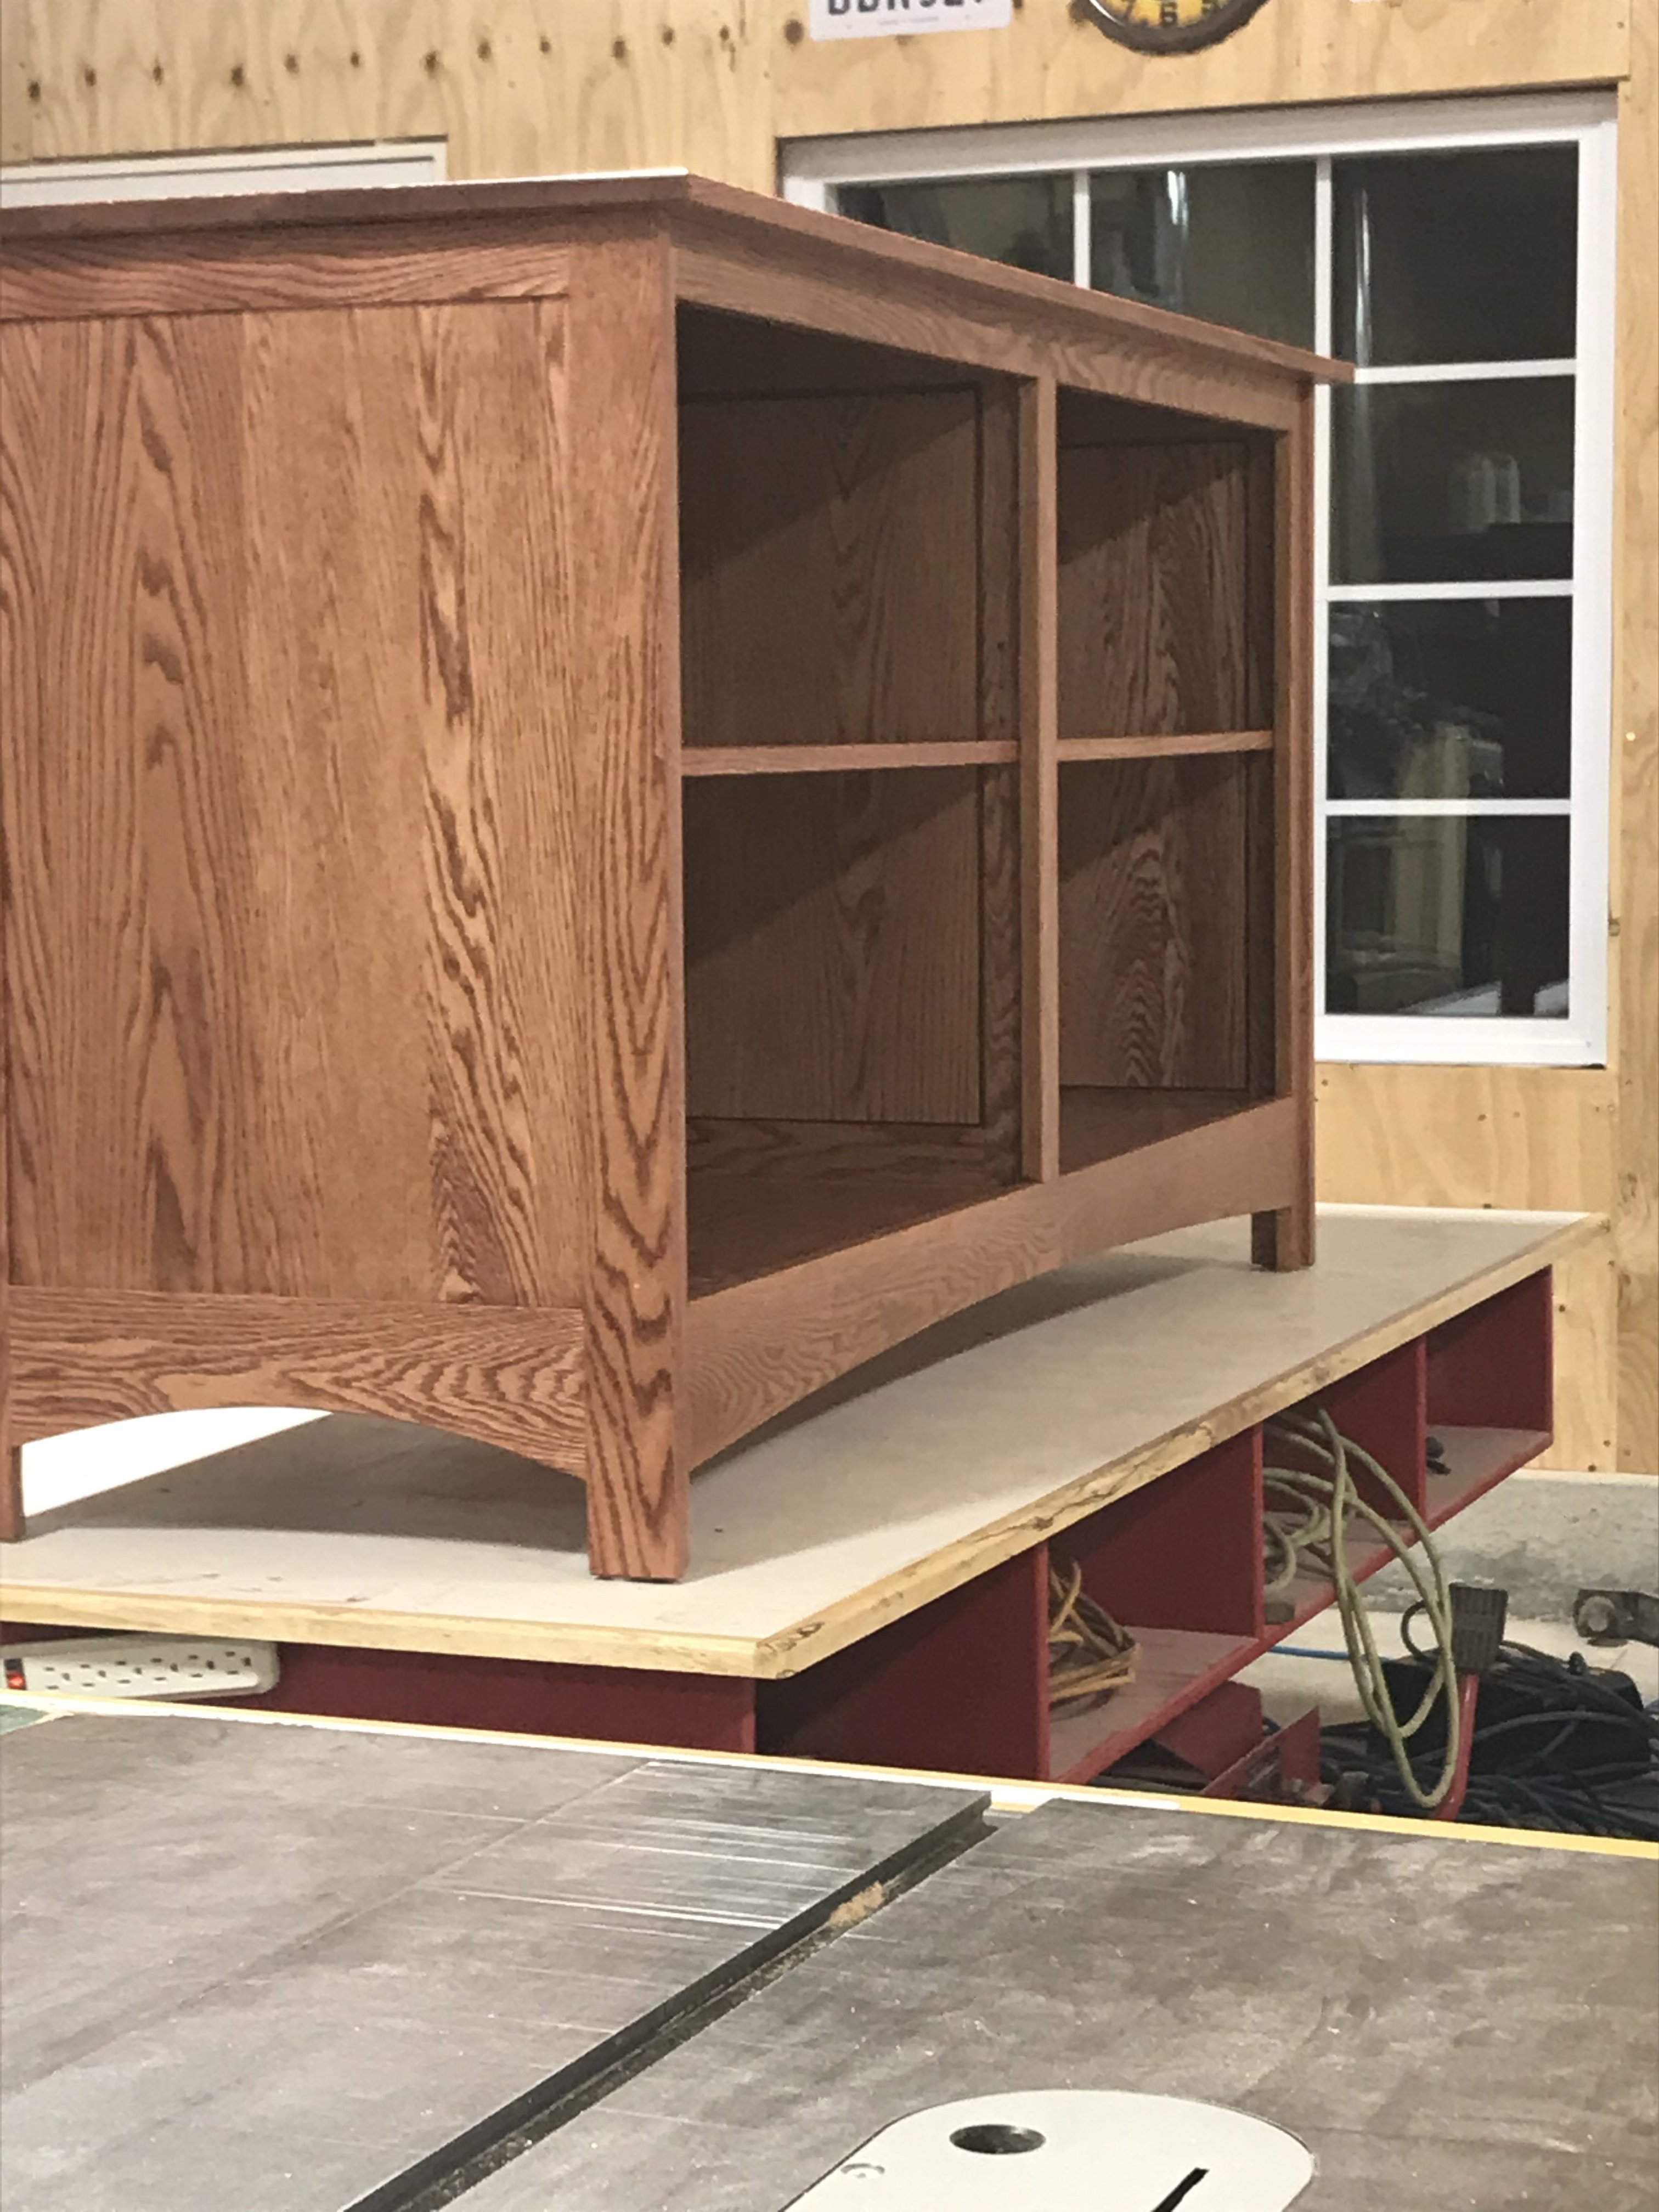
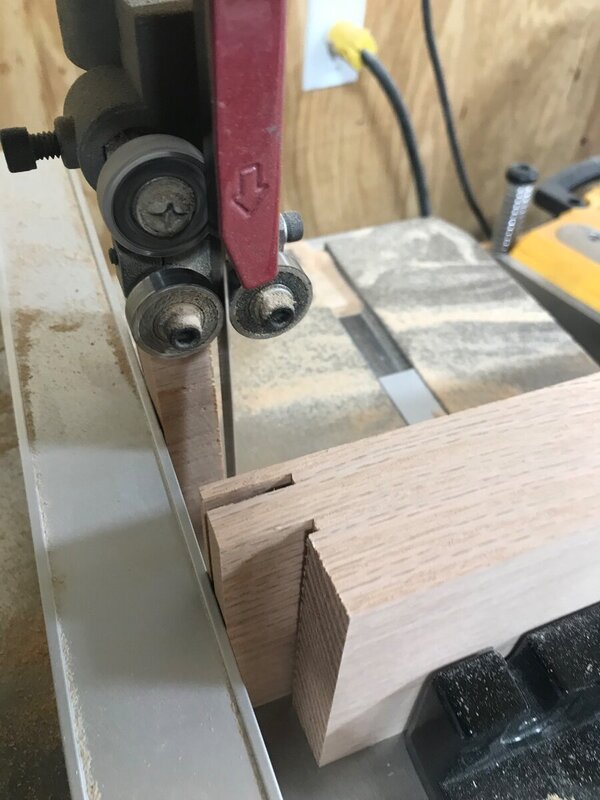
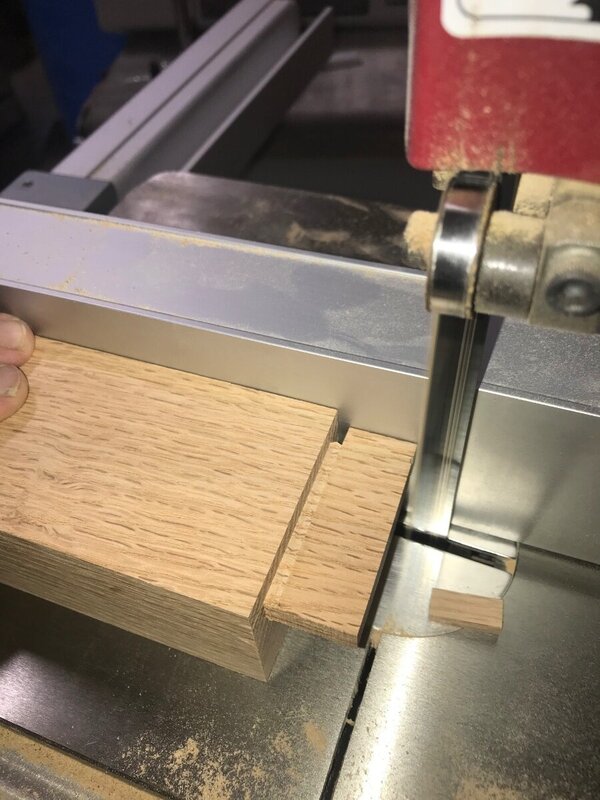
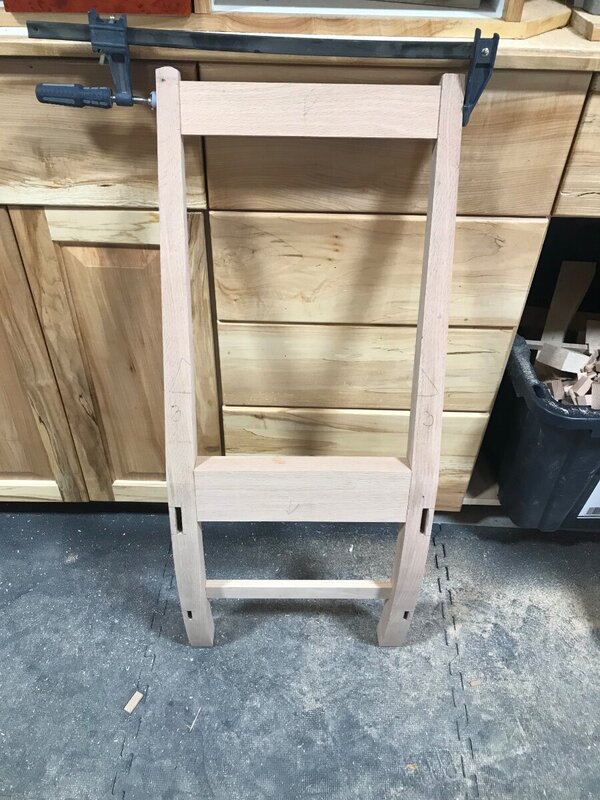
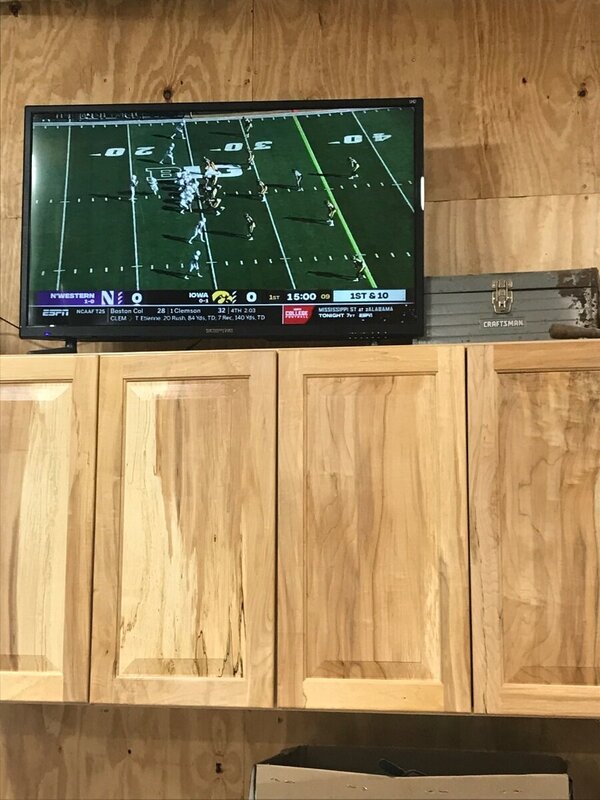
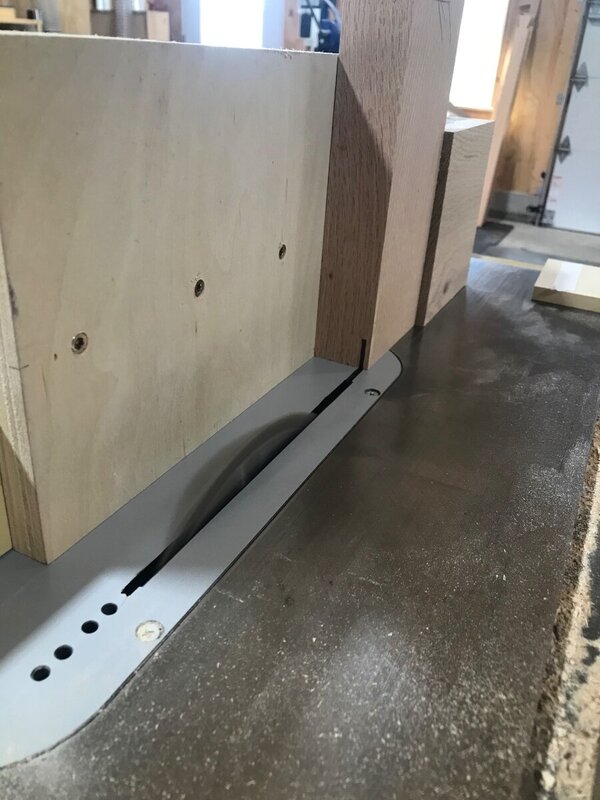
After cutting the tenons I nipped off some of the excess on the shoulders so when running them on the table saw the off cut would have some room to no bind in the blade. Used the miter gauge to cut the rest of the tenons, using the fence of the saw as the reference point. Lot of setups with the offset tenons. But the nice thing is with all the chair parts is that your not doing the setup for one cut, get to make at least 8 with each one. Without moving the fence all the cuts were made on the tenons. Cleaned up the excess material on the bandsaw. Leaving myself about a 1/16 of room in each of the mortises. Had to dry fit a back leg assembly! Have to admit I was pretty pleased with how well it came together. Moved the kids tv from their toy room that never hardly ever used out to the shop. Iowa game started today and all work stopped. Shoulda kept working on the chairs with the way the game went.


-
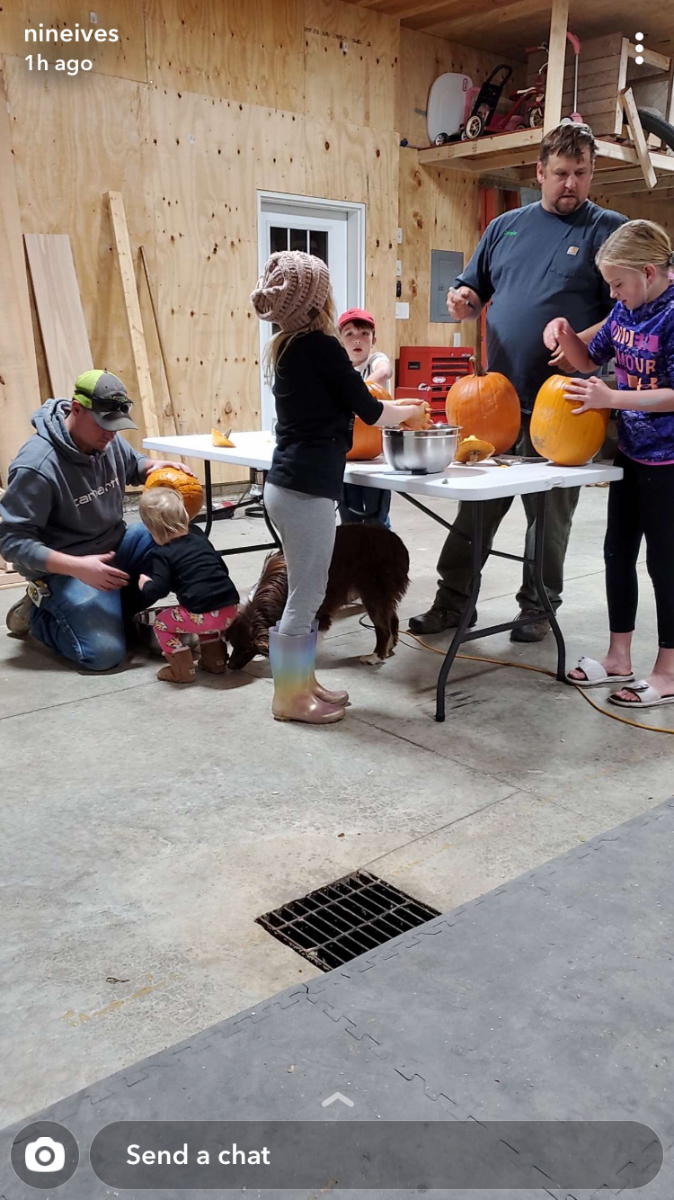
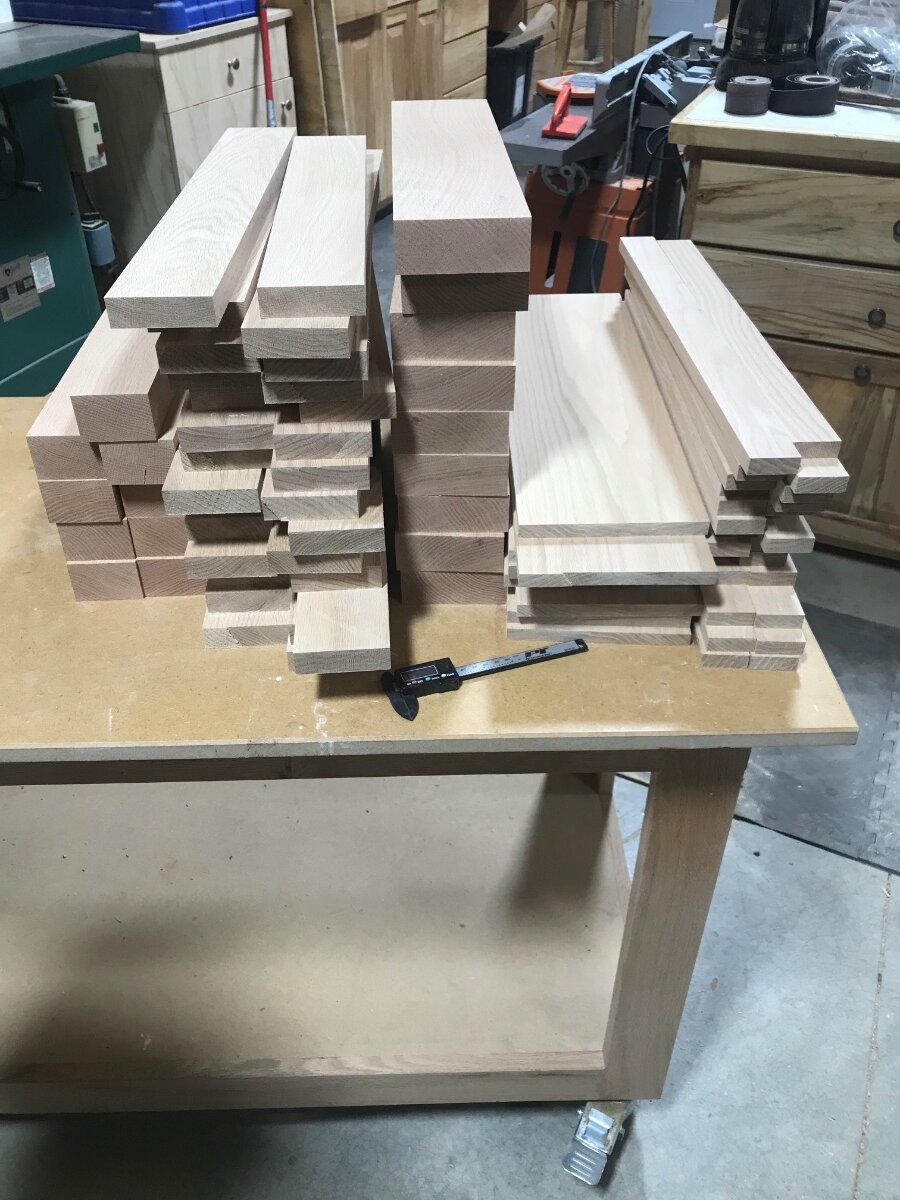
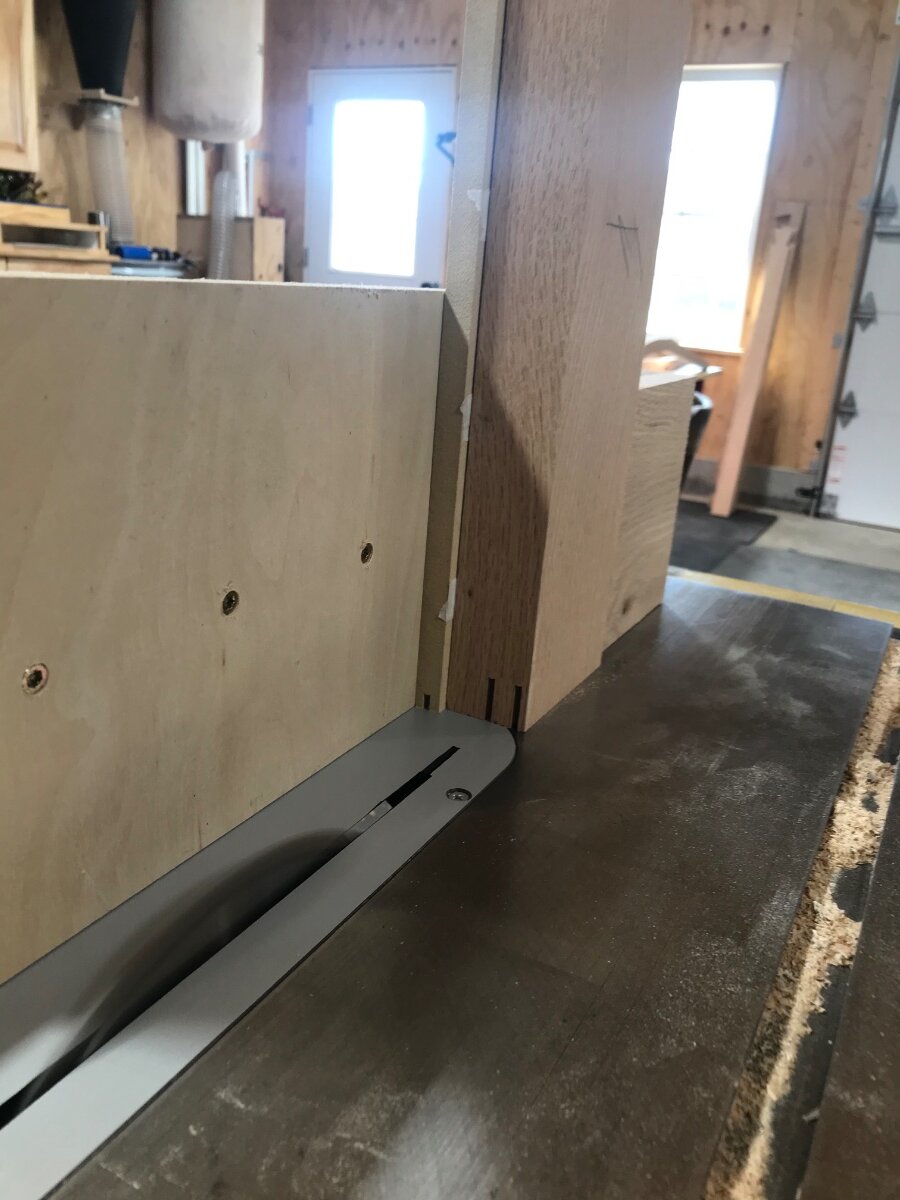
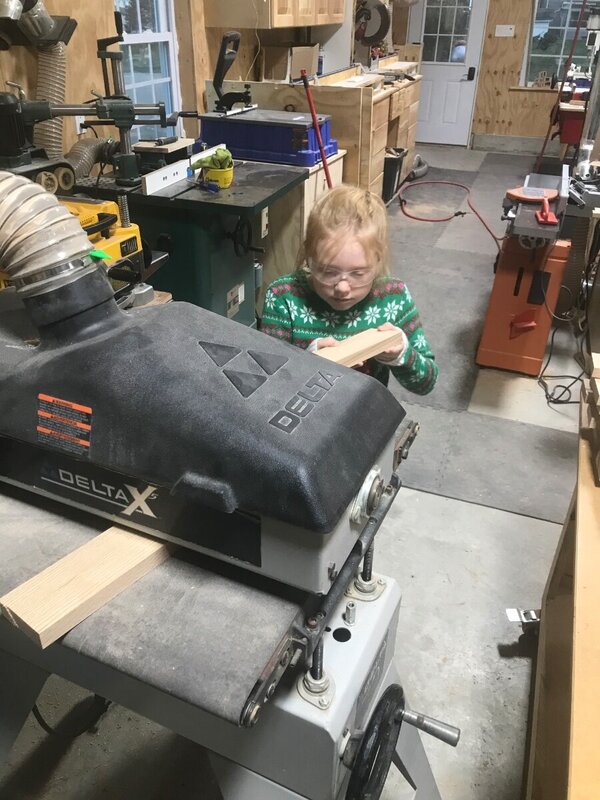
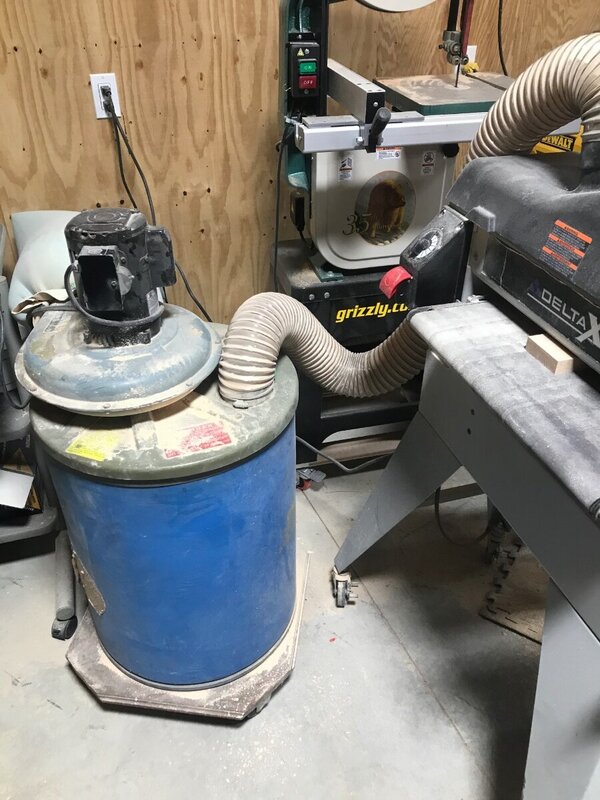
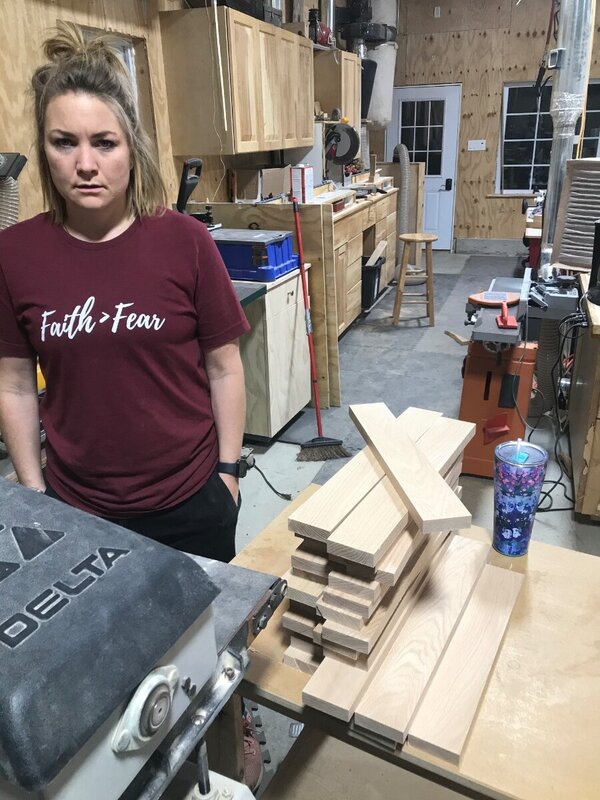
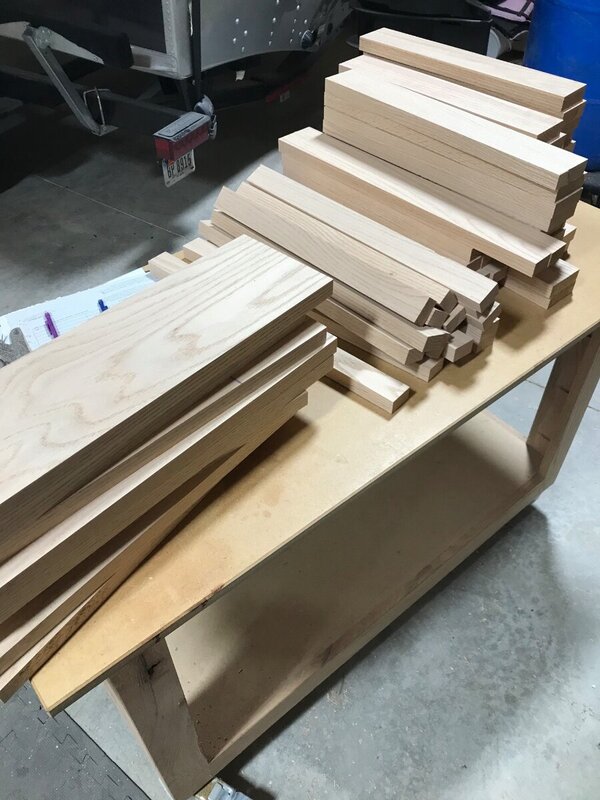
Quite a bit of progress since my last post. Started out drum sanding all the parts to final thickness. I planned them down to 1/16 of final dimension. The drum sander I have isn’t overly powerful so took quite a few passes. Started with 120 grit then 150 and a final pass with 220. This is the first time I ever used 220 grit on the drum sander. Hoping it will save some time when it comes to finish sanding. I ordered in some new rolls from industrial abrasives website and have to say I was really pleased. They offer them pre cut for my machine. Had the paper 2 days after ordering. Had a helper for a few minutes. Don’t know why she had a Christmas sweater on but if she’s happy with it so am I! Had to stop with the sanding to do a little pumpkin carving. I figured out a couple years ago that a jigsaw is the best tool for the job, I keep around an old black and decker jig saw just for this project. I had this old delta dust collector in my loft and decided to give it a try on the sander. Reason for this little experiment was every time I use my drum sander the fine dust doesn’t separate in the cyclone very well and plugs up my filter bags. Since I just cleaned them I went with this option. I didn’t have a filter bag for it so just used a pillow case, which I had to shake out a couple times during all the sanding. Am really considering ordering a can type filter for the dust collector, the price of them is scaring me off yet. Dis get some help from the wife. As you can see from her expression she was thrilled to do it. All the sanded parts, took a few hours to get them all run. I did cut all the parts to finished length on the miter saw, didn’t snap any pictures of it. Was really nice having the kreg fence. All the parts came out spot on. Using my newly made tenon jig to cut the many tenons. Cutting the tenons worked really well with a little tip I found. Cut a spacer the thickness of your tenon plus the thickness of your blade. The spacer that I have here is mdf that I planed down and tried to sneak up on the thickness with the drum sander, got it a little thin. Used some masking tape strips as shims to dial it in.


-
Yeah that doesn’t make much sense. Lucky to have good neighbors!
-
Good planning on your end. Do your chips go out in the trash?
-
Using your jointer would be a pleasure! Yuck! That is the worst part of a milling run.
-
Boring???? I think milling material down is the fun part! The plan is made already, milling is where you can see the process coming to life. Nothing more satisfying that seeing dust and woodchips going up the dust pipe.
-
Looks great! Nice job!
-
I went with around 1/4” drop probably more a strong 1/4 across 1 1/16” wide or thick legs.
-
If that is your worst mistake you have gotten by easy!! Good save with using the domino!
-
Is it better for you if we would watch the videos on your website vs going to YouTube?
-
Video series aren’t a bad thing as long as YouTube puts them in order. Nothing makes me madder than a video series that you can’t find say #3 out of 5 videos.
-
It’s a good feeling when the parts fully utilize a board!
-
Wow! The finish makes it pop! Great job! Looking forward to the videos
-
Got the back legs finished up! Just have to sand them all at some point. Started on rough cutting the remainder of the chair parts. Am going to adjust the jointer knives some before milling all these parts. Noticed I have a few knicks in them. Also will probably flip the planer knives as well. Doesn’t seem like I did that all that long ago, I wouldn’t think they should be dull this quickly. Still do a decent job but the planer just screams for mercy.
-
Thanks! I agree the sander was a better option. Only thing that made it more of a challenge is the angle of the taper and the shape of the leg. Can see why he went with the block plane for that reason. I found that my hand tool skills are not quite ready for end grain oak.
-
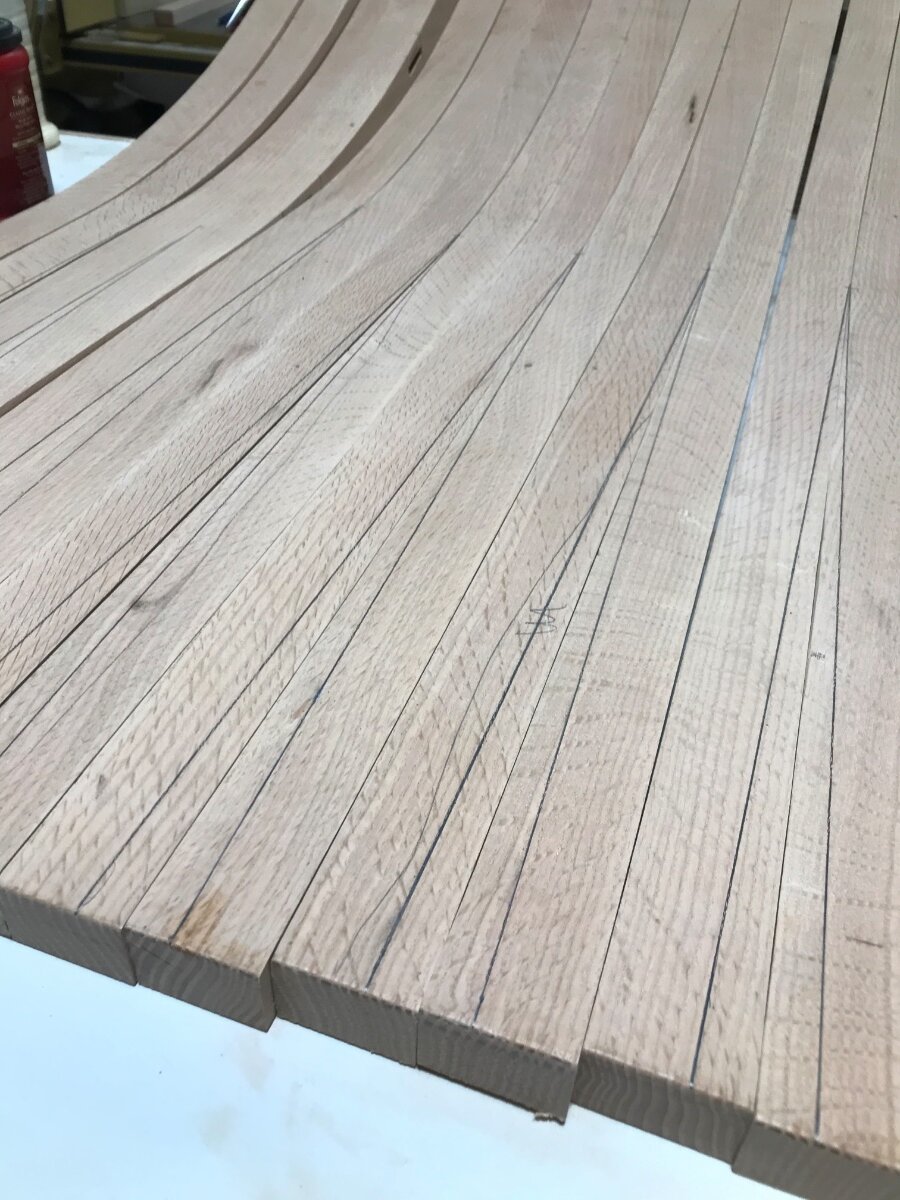
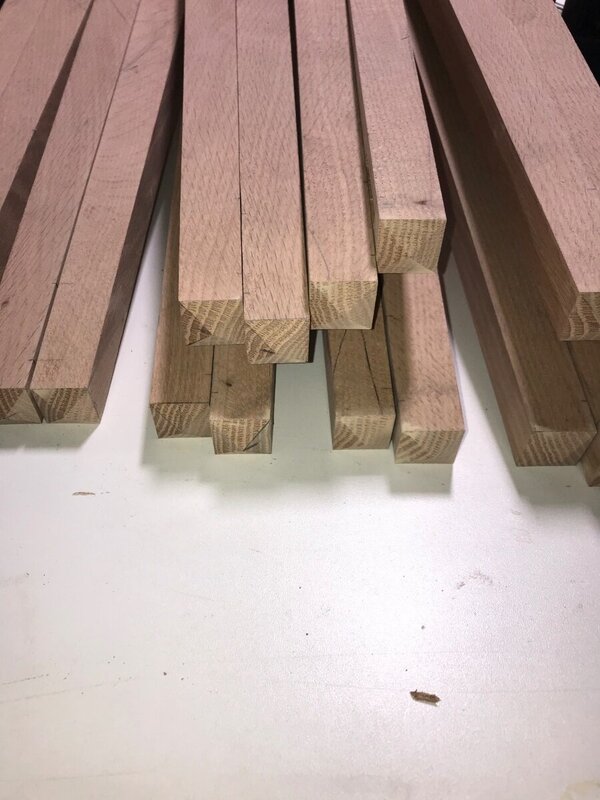
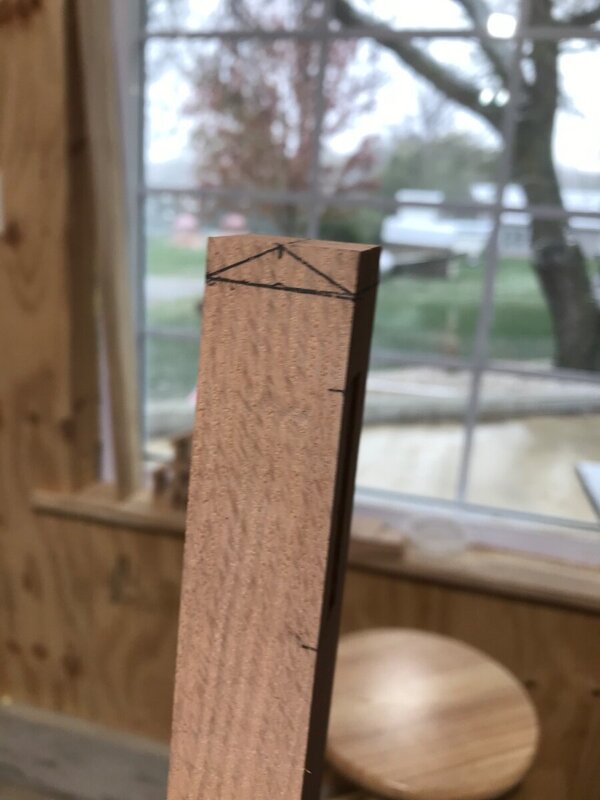
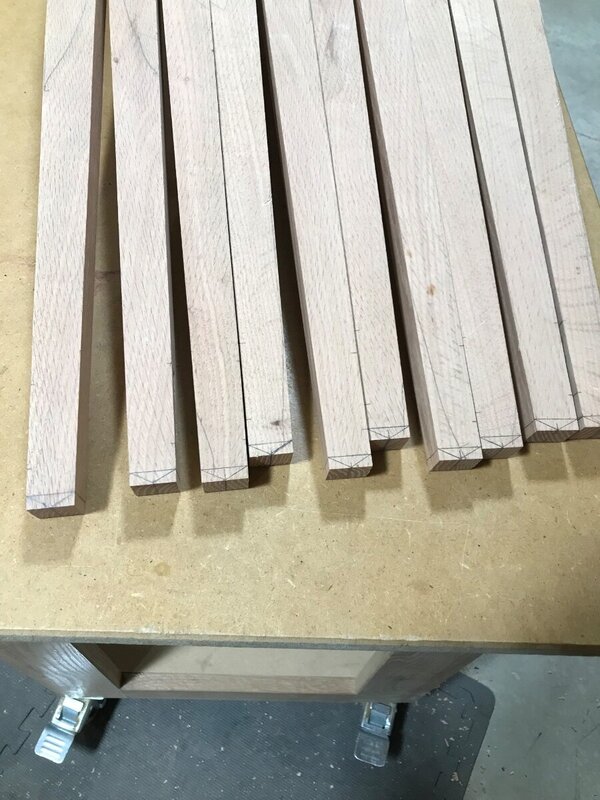
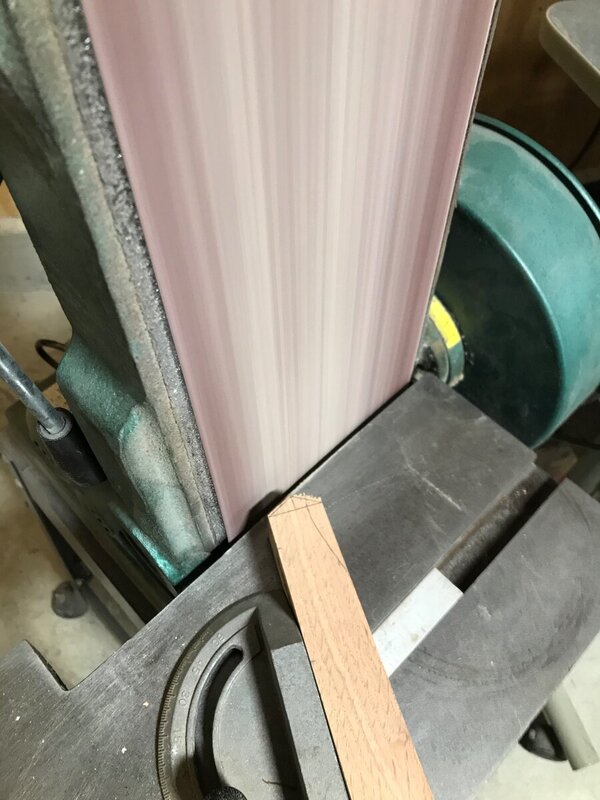
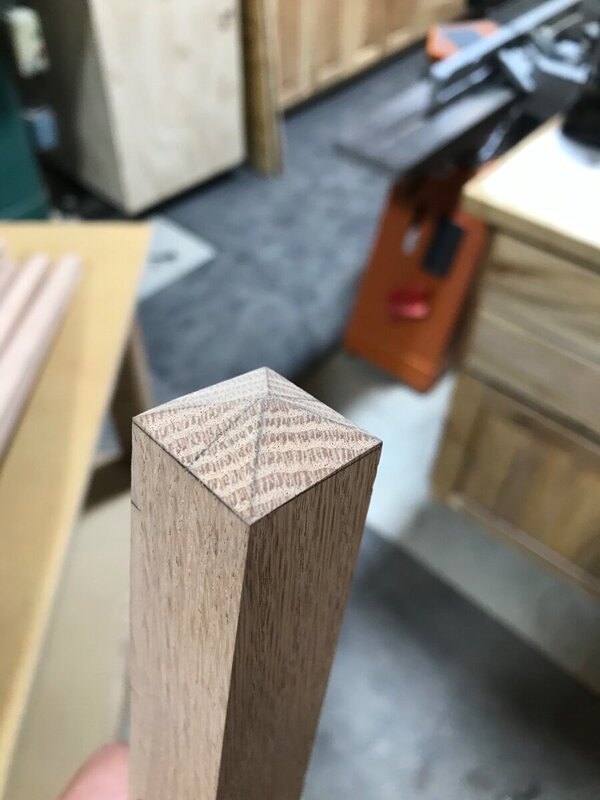
Got a good amount of time in the shop today. Started of putting the taper on all the legs. Bandsawing then jointing, holding the leg on the angle of the taper wasn’t to bad but with the grain direction made running some of the legs a little sketchy. Would expose quite a bit of cutter head at times. This is showing all the tapers marked out. To do this I would sandwich my template between the set and mark both at the same time. It feels like I spent most of the day marking out lines. After the taper was cut there is a pyramid detail on the top of the legs. Tom in the video series shows doing the pyramid with a bandsaw and block plane to dial it in. I tried a few practice runs doing it that way and couldn’t get the feel for it. Took quite awhile to mark out all the legs. Used 2 combo squares and a Milwaukee trim square to lay them out. The Milwaukee square I’m really enjoying using. It’s a 4” carpenter square that is really handy. All the legs marked out. With the block plane out of the question I went a different route. Trimmed the bulk of the waste off with the bandsaw then used the disc/belt sander. Took a little setup to move the table to the disc side and fine tuning to get the angles correct. Was well worth the setup time as it was faster to do the cutting and sanding than even marking them out. After the first two slopes are cut its back to the bench to mark out the second set of cuts. The end result. Takes a little to dial them in, all in all a lot of time spent on such a little detail.

-
Looks awesome!
-
That bevel is a great addition! Did you cut the bevel on the curved top on the table saw as well?