Every purchase made through our Amazon Affiliate Page helps support this site

Jamie
-
Posts
1,467 -
Joined
-
Last visited
-
Days Won
54
Content Type
Profiles
Forums
Downloads
Gallery
Events
Store
Articles
Blogs
Everything posted by Jamie
-
Welcome!
-
Jeeper @Nic_k you shouldn’t have mentioned that we met! These guys will hold that against you! Jk Welcome! Happy to see you here!
-
Wow what a beating tonight.
-
Are you sure you are building that in your shop? I mean where is the dust on the floor??? ? Looks great! Good thinking on the wooden clamps to be the extra set of hands.
-
I would argue that point, the cherry end tables that I made had a ton of pigment in the stain. They have really deepened up in color. Maybe cherry acts differently than mahogany.
-
Now it makes sense to me! That might be the way to do it. Thanks!
-
If that’s the case the top color sample might get way darker than you would like. Go with you traditional way of doing it. I like the look you get with the armor seal.
-
The bit I have does have the bearing on both the top and bottom. I am running on the bottom bearing. I have no way to flip the jig or piece over because of the way the hold down clamps are positioned.
-
Gotcha. Does sapele and mahogany sun bleach? Or should I say darken in the sun? Might work to set them outside to deepen the color before you stain them?
-
I don’t know if I could do that in this situation. Would have to make a completely new jig opposite of the one I have made already. I may just have to do my homework on a spokeshave. Don’t own one, never actually have put my hands on one. I will admit I ordered a couple card scrapers to clean these legs up. There again have no experience using them. Thank god for the university of YouTube.
-
I do like the top sample better. Don’t know the process but to me it shows more depth in the grain. Are both samples the same color of stain? Top seems to have more black in it that seems to catch more in the open grain portions.
-
Thanks! That’s good advice, I’m going to use that when I get to a tricky grain spot. With the curve of these legs there is really no way to get away from cutting against the grain. On one side or the other I will be fighting the grain direction. In oak it’s more so the ray direction that gets ya.
-
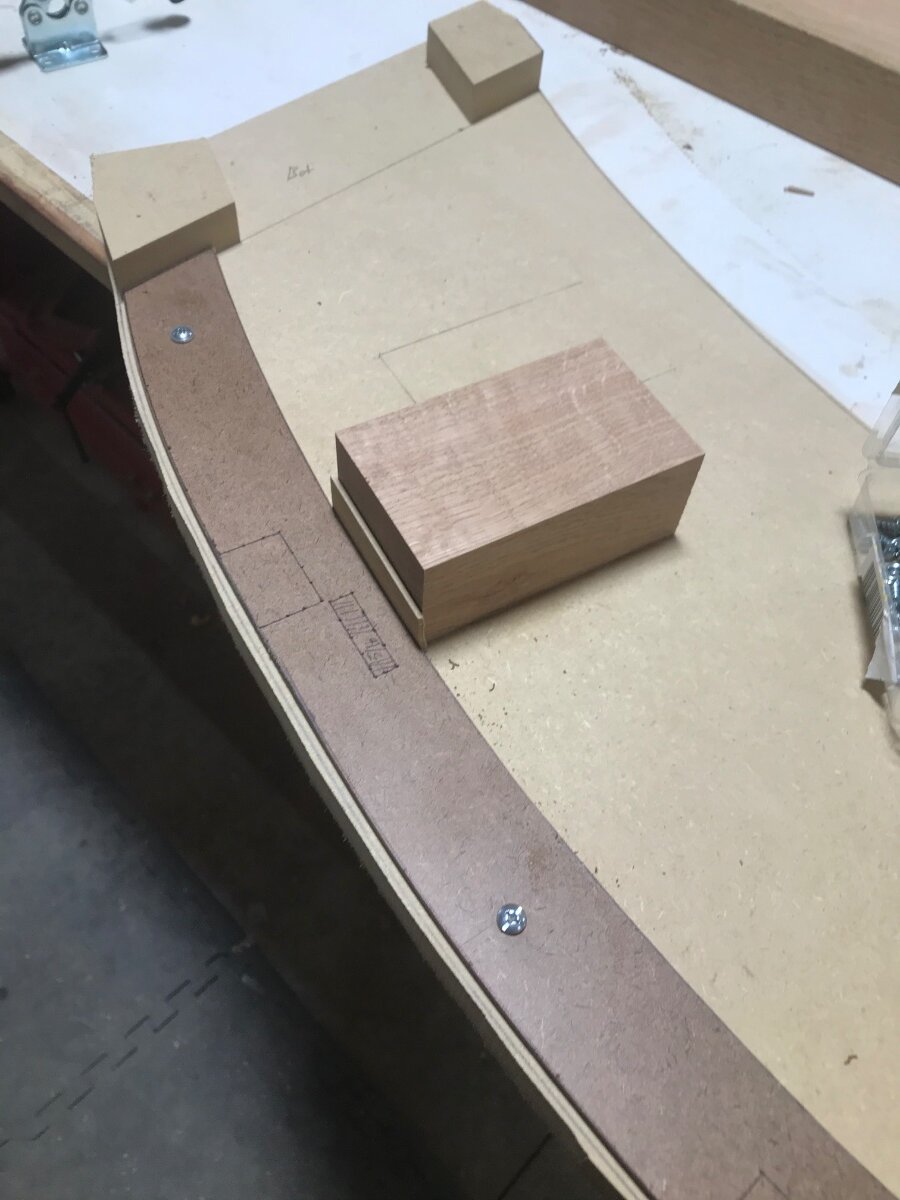
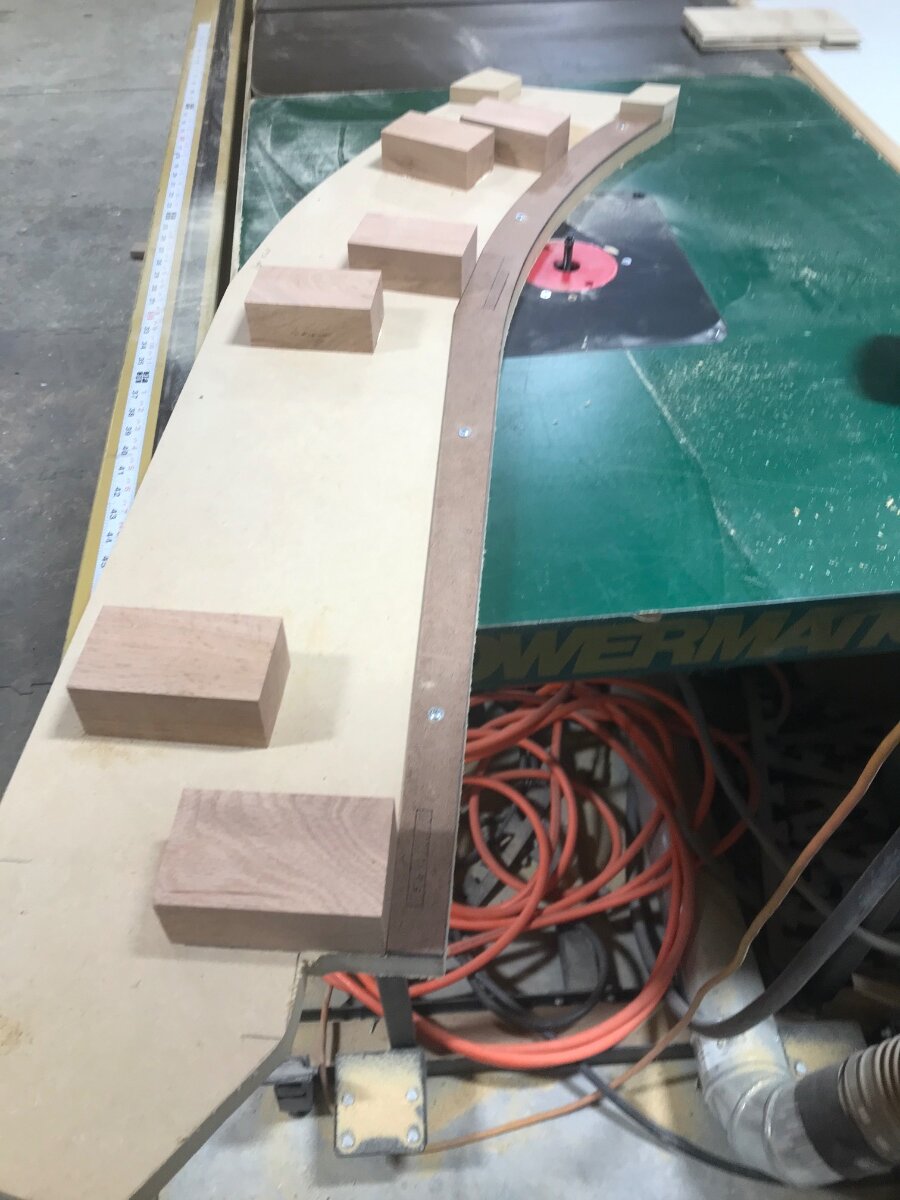
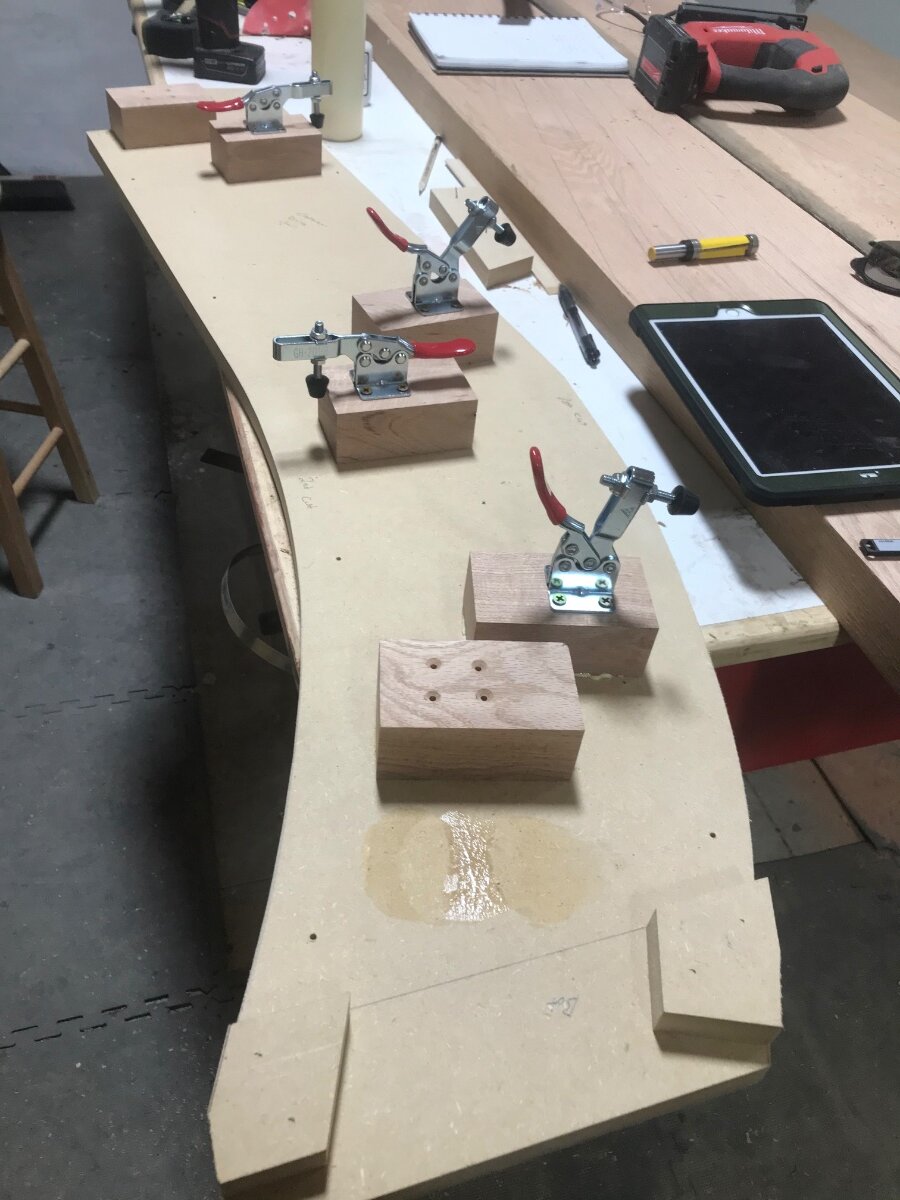
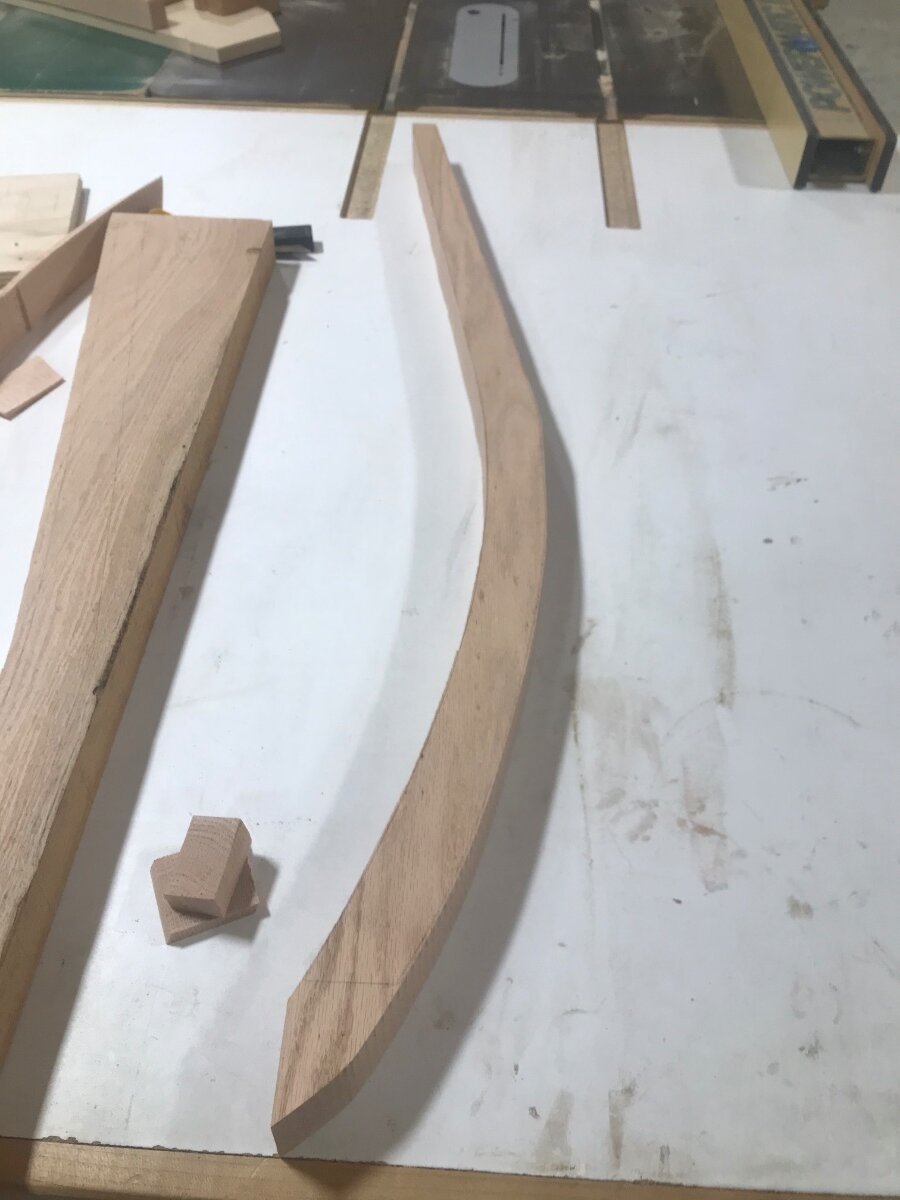
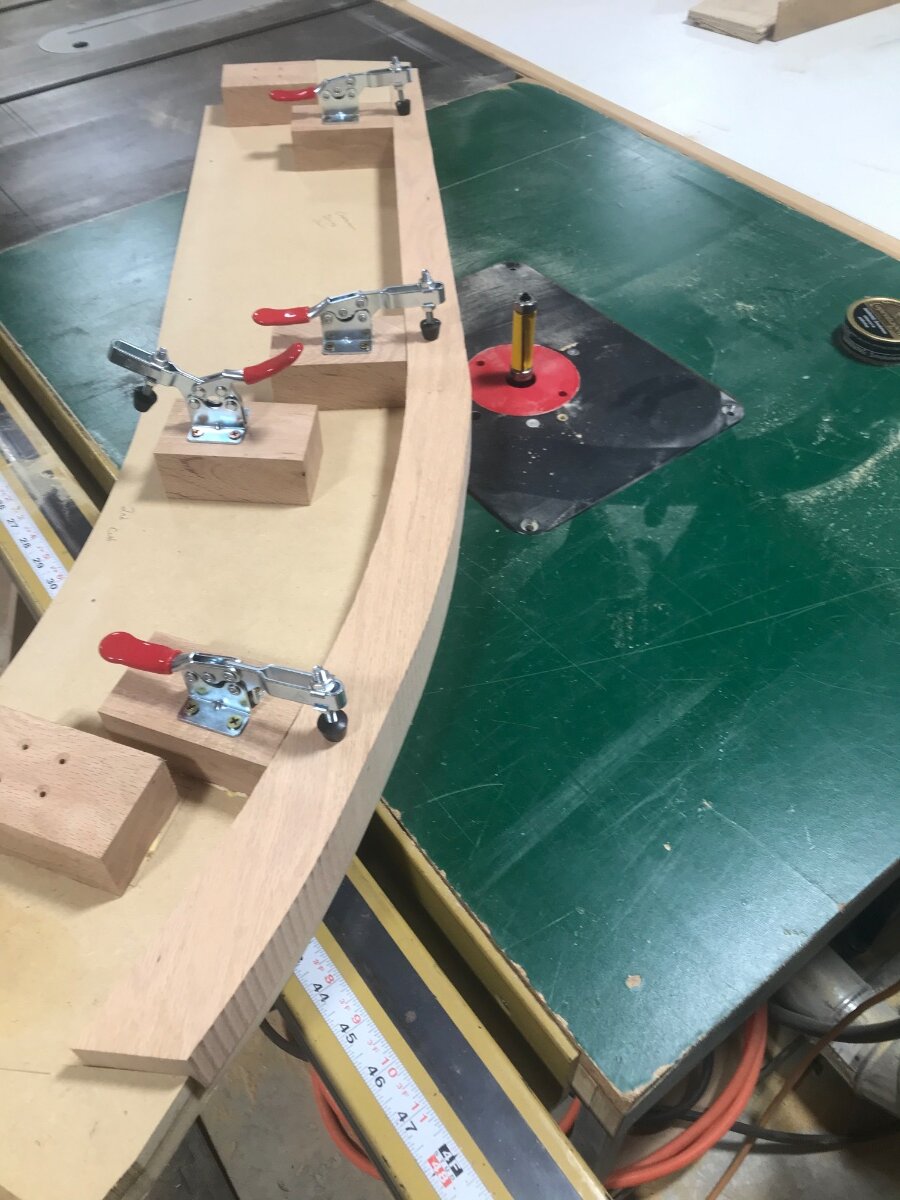
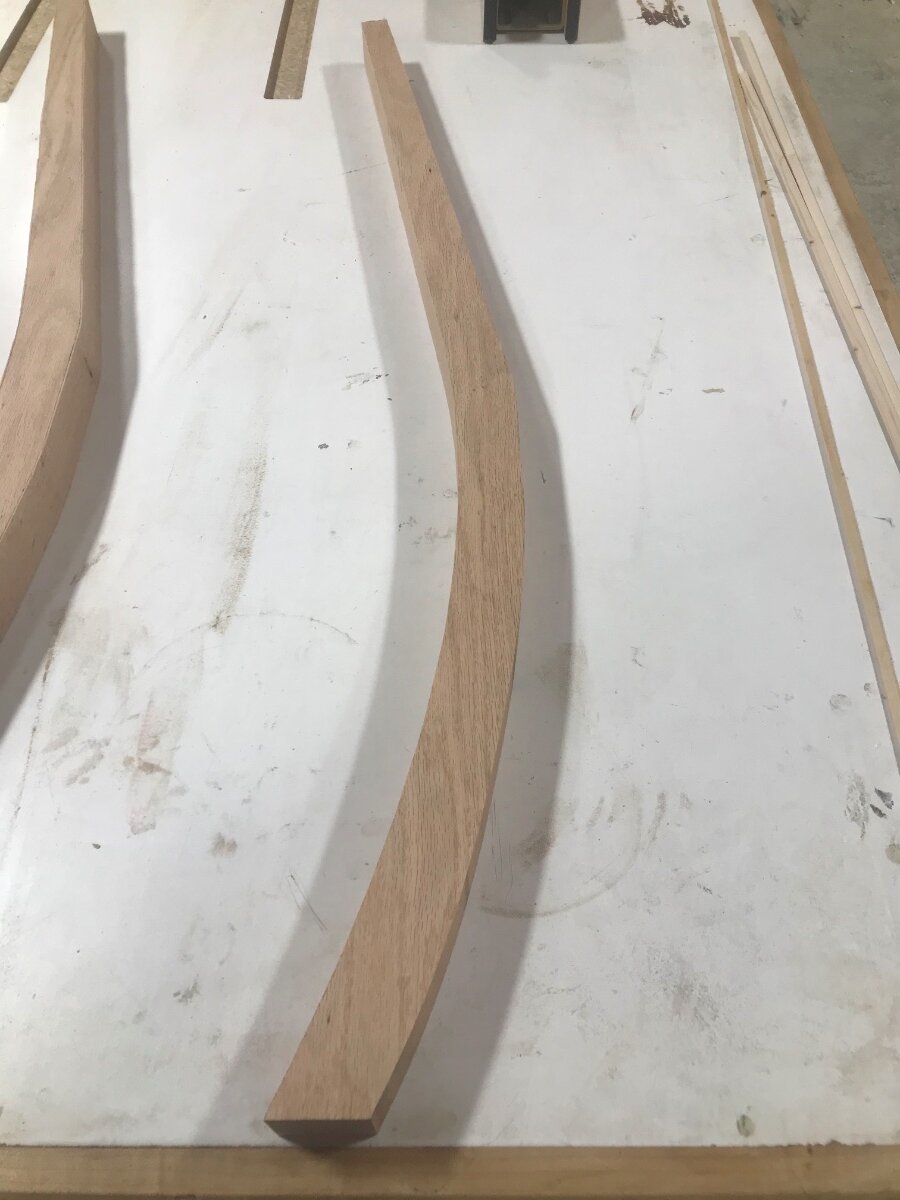
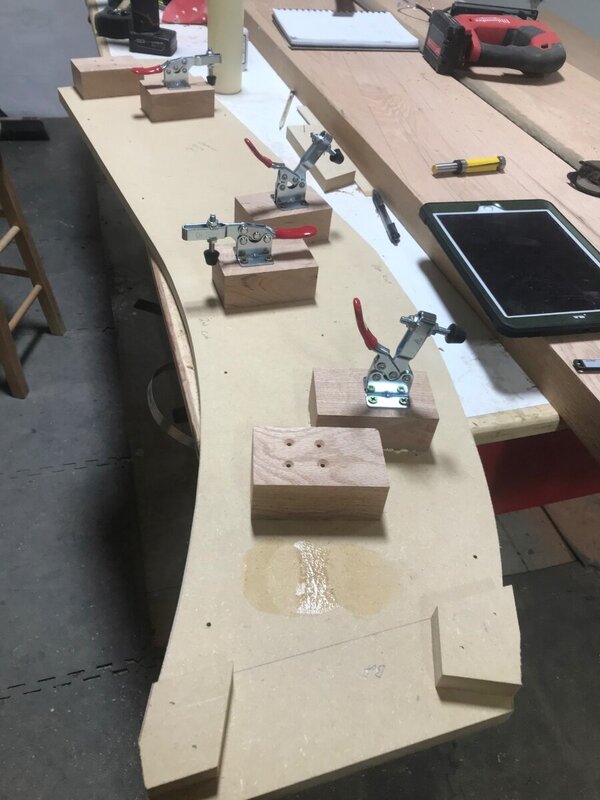
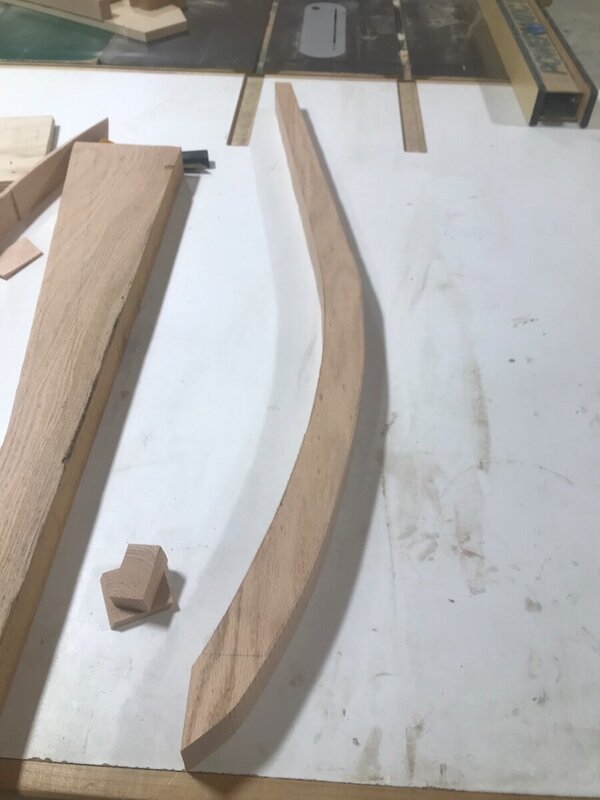
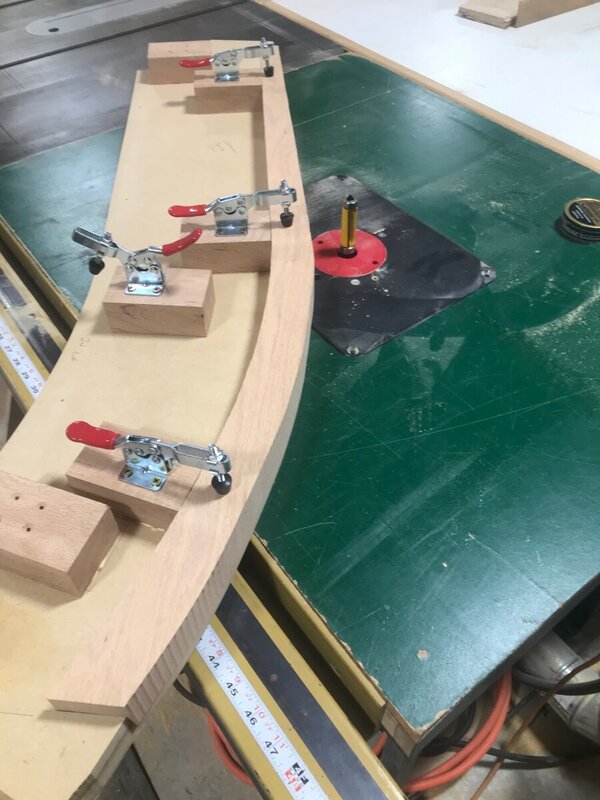
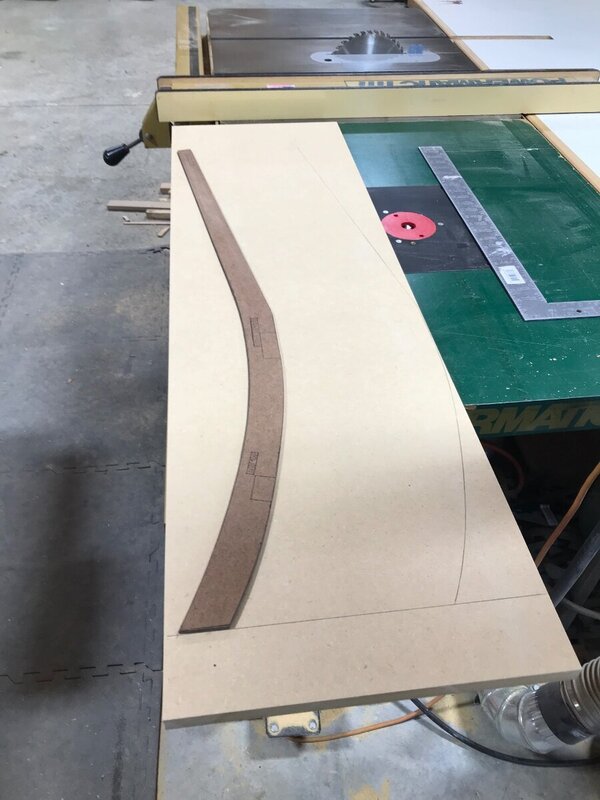
After work I got to work on the back leg jig. Gonna try my best to explain what I have going on here. I rough cut a mdf sled to use as the template for the back legs. Each side of the template cuts the front and the other side cuts the back shape. I screwed down my 1/4 template that I took from the drawings and set blocks on the jig. On the front of the chair which would be my first cut I needed to set the stop blocks 1/16 farther back from the front edge to allow for the cut on the opposite side. To get the 1/16 shim I just ripped some scrap mdf. long with cutting the leg blank strong of the line everywhere except for on the bottom of the leg. In this photo I am flush cutting to the 1/4 template. I also set the final length of the leg to the template. Added some clamps to the template for holding the leg blank. Only had 4 of them on hand so will have to switch them up in the process. Am going to check the hardware store tomorrow to see if they have any. Roughed out a couple of leg blanks on the bandsaw. Decided that I should take one of the legs and run through the process that I have planned to see if there were any snags in the thinking. After I roughed the leg I was able to get it over the jointer to make one face flat. Just had to curve my way through it. Worked pretty nice I must admit. Next went through the planer to get closer to 1 5/8 thick. Not sure if I should drum sand them before routing the edge or after. Will plane them to 1 11/16 and leave the final bit for the drum sander. Was excited to try the jig out! On the first cut it worked pretty well. What I didn’t realize when I bought the bit is that it has a slight downward shear angle. Which is opposite of what I need in this situation. I did get very minor tear out in a spot or two that had grain going opposite of the cut. I didn’t try climb cutting any of it. The end result Happy with most of the process. Just need to decide if I want to wait a week for another bit or go with the one I have it did cut pretty nice on the router. The first cut I should mention that I had the router on full speed and did get a slight burn. On the second pass I did slow it down some and did reduce the burning.


-
Great recovery! Project is looking great!
-
Those mortises are actually on a flat spot on the legs. Will have to cut a curved support to hold them in position, with the moving table on the rikon it shouldn’t be much of an issue. Good thinking tho!
-
No worries! I was off as well! I do recall running the dovetail bit on the shaper it did seem slow, but was only cutting 4 inch long pass so just took my time. I am still going to try the straight cutter on the shaper, mostly want it to work on the shaper for the dust collection.
-
Lol! Bosch is 2.25 hp with speed from 8k-25k. Was reading on grizzlys site about the shaper that I didn’t realize that until the cutter is over 3.5 in diameter that should run it on the 10k speed. I have been running it on the 7k except for when I had the router bit collet in. Which I can only remember doing it one time and that was for the sliding dovetail on the end tables.
-
I agree that it seems high. I have 20k max in my head for some reason on the Bosch. Just did a quick search and every chart I found had for bits under 1” diameter that 18-24k was the recommendation.
-
I am for sure going to try it! Did a quick search and for a 3/4 bit the company says 18-24k rpms
-
Thanks! I actually misspoke and it’s a 3/4” bit on a 1/2” shank. I should do some looking on bit speed. I’d like it better on the shaper as it’s 3hp vs 1 3/4 on the router. Well I am remembering correctly. They might be 1 1/2 hp. I have seen on these jigs where you can cut the leg to length on them as well. Am leaning towards that method as it would be more accurate than cutting to a line. The main reference point of this jig is to register off the bottom of the leg, what that being said the leg will have to be cut to the line on the bandsaw while roughing out the sides.
-
With the epoxy how do you deal with squeeze out?
-
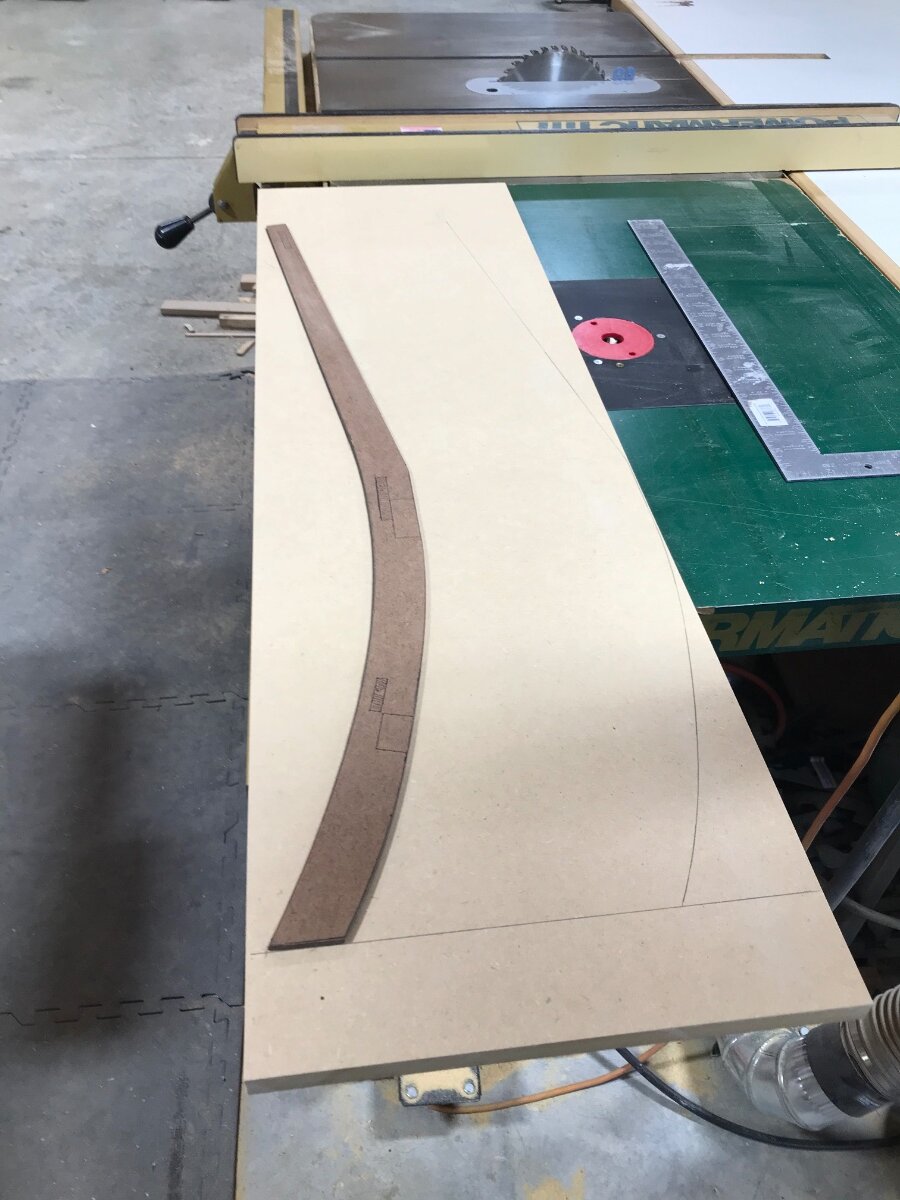
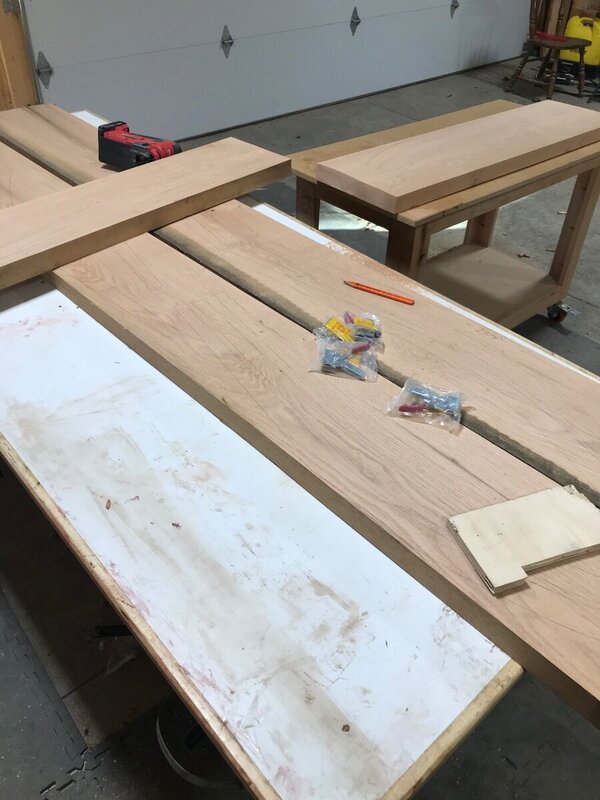
Did get a little time in the shop this morning, with the template complete I roughly drew out the back legs on some of the planks. Going with 8 chairs as of now and got 17 back legs spaced out. One extra for just in case. The planks that I’m using are 10-13” wide so a little to big for the jointer. I did skip plane the planks to see what I’m working with and to take some of the unevenness out. Planning on roughing the legs out on the bandsaw then passing them individually over the jointer to get a flat side before planing and sanding to a finished 1 5/8 thickness. These planks started at 2 3/16. Also got started on the back leg router template. It’s a two sided jig where the template is used to shape each side of the jig. Not sure if I will chuck the router bit up in the shaper to cut the legs or not yet. I believe on my shaper I can get 10,000 rpms out of it. Not sure if that would be fast enough for a 1/2” flush trim bit?
-
Actually was curious on both. Thanks for the answer. Do you use the same west systems that you use for filling knots and such?
-
Sorry didn’t read @Chet post before typing this. cant seem to edit posts anymore.
-
Good idea! Could half lap them to be able to break down for easier storage as well