Every purchase made through our Amazon Affiliate Page helps support this site

Jamie
-
Posts
1,467 -
Joined
-
Last visited
-
Days Won
54
Content Type
Profiles
Forums
Downloads
Gallery
Events
Store
Articles
Blogs
Everything posted by Jamie
-
Yeah I was going to say the same thing! With the lack of rain my schedule is pretty free.
-
Each of them are about 3 hours from me. Hopefully you bring some rain along with you!
-
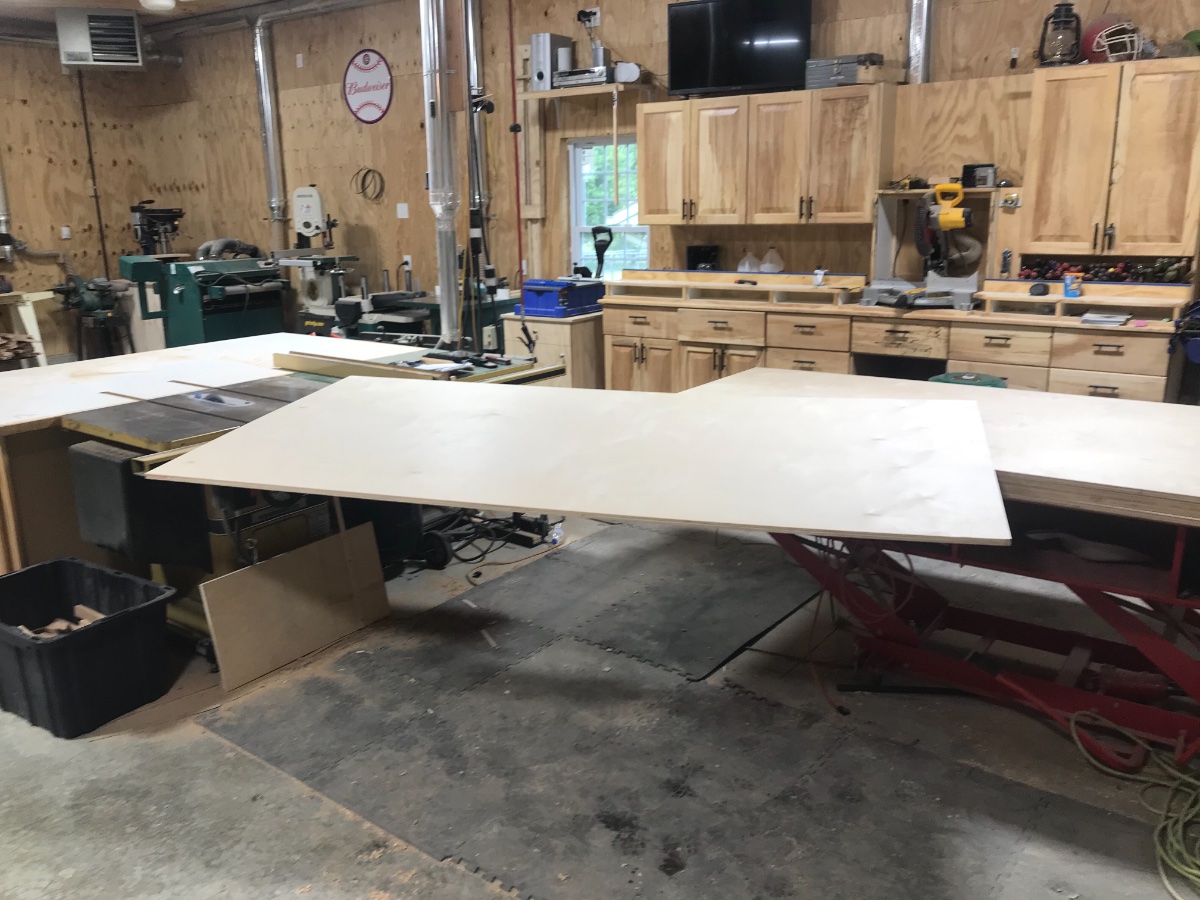
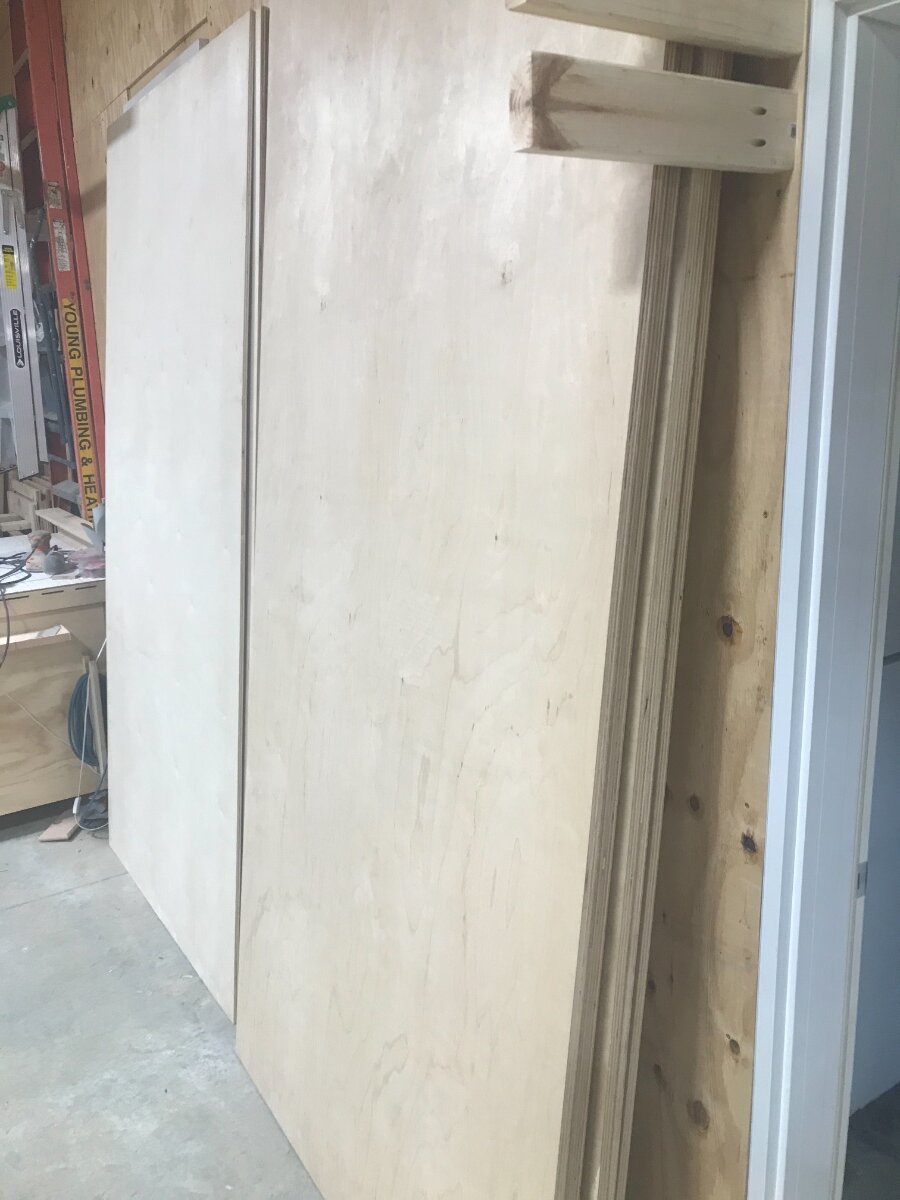
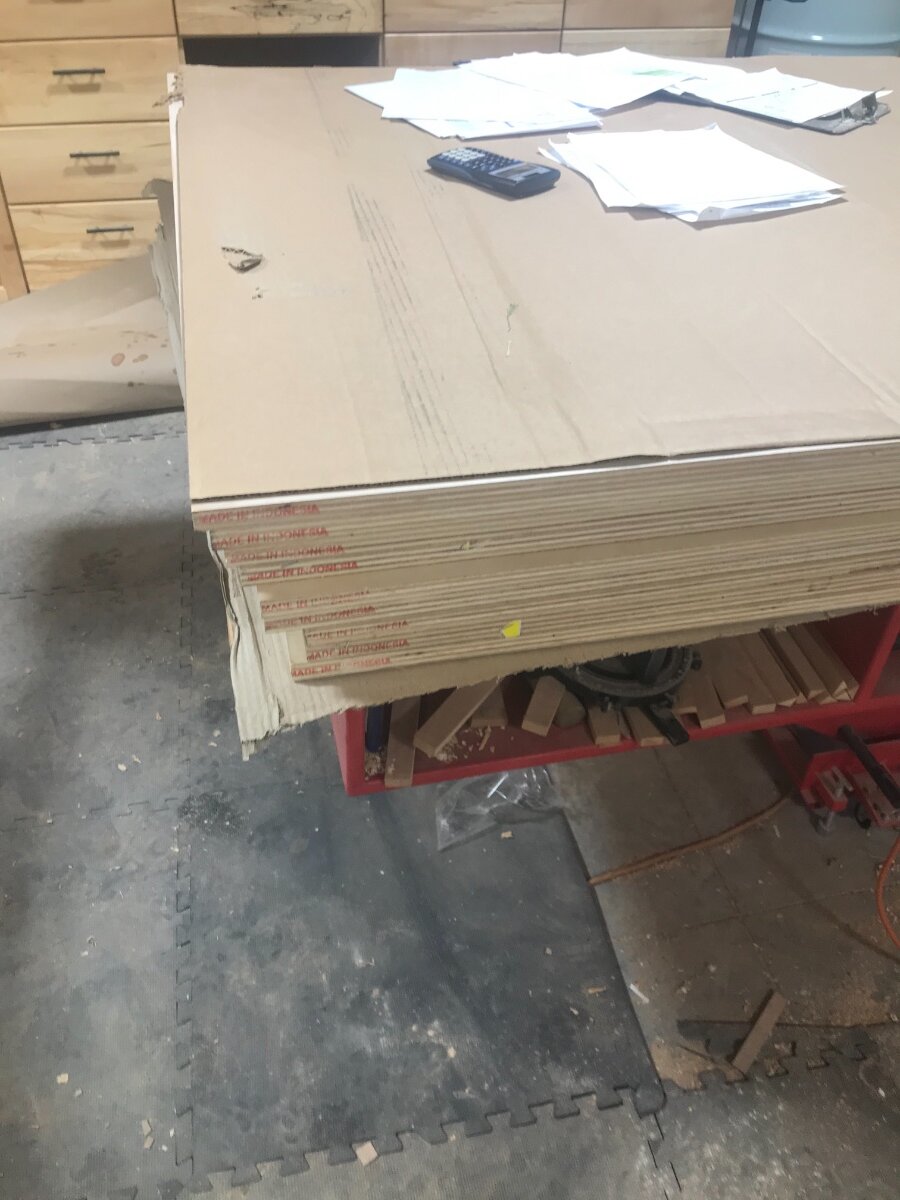
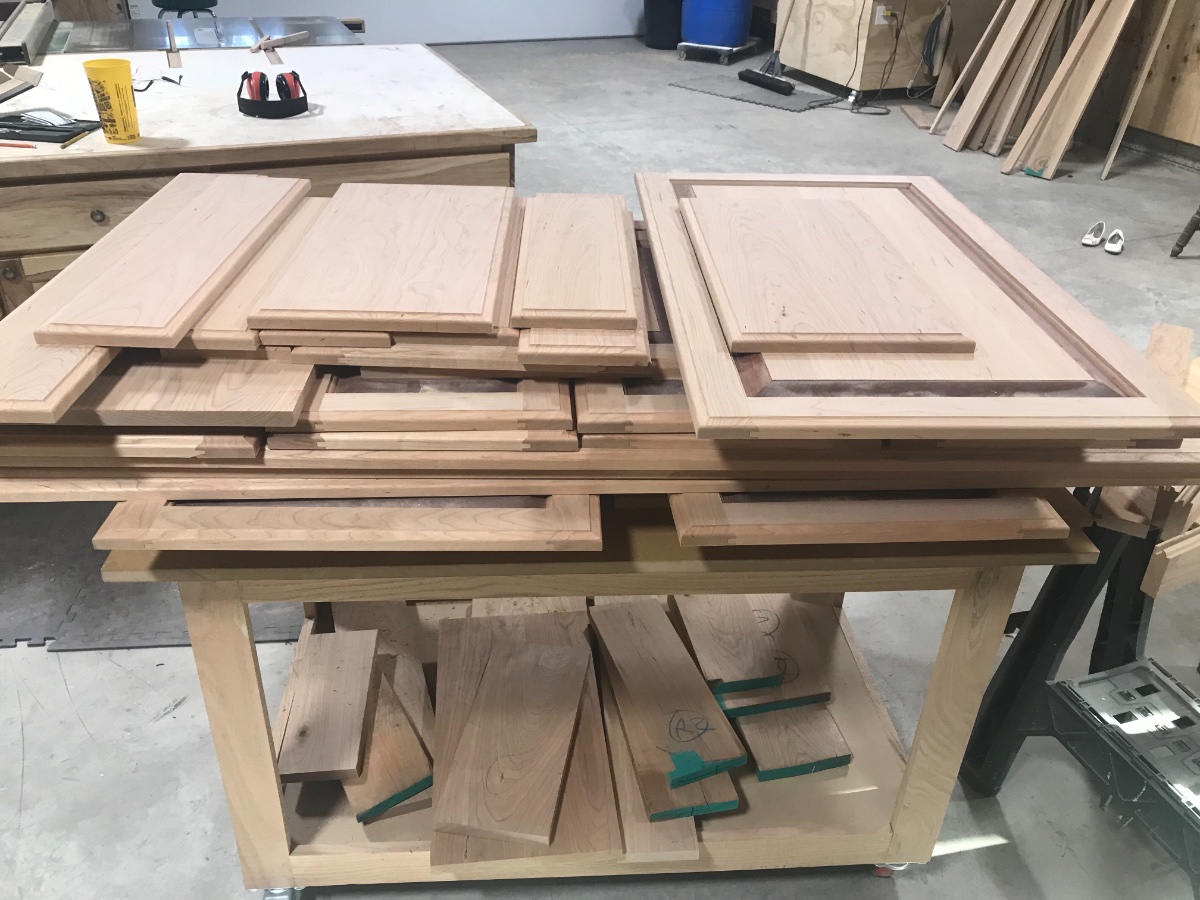
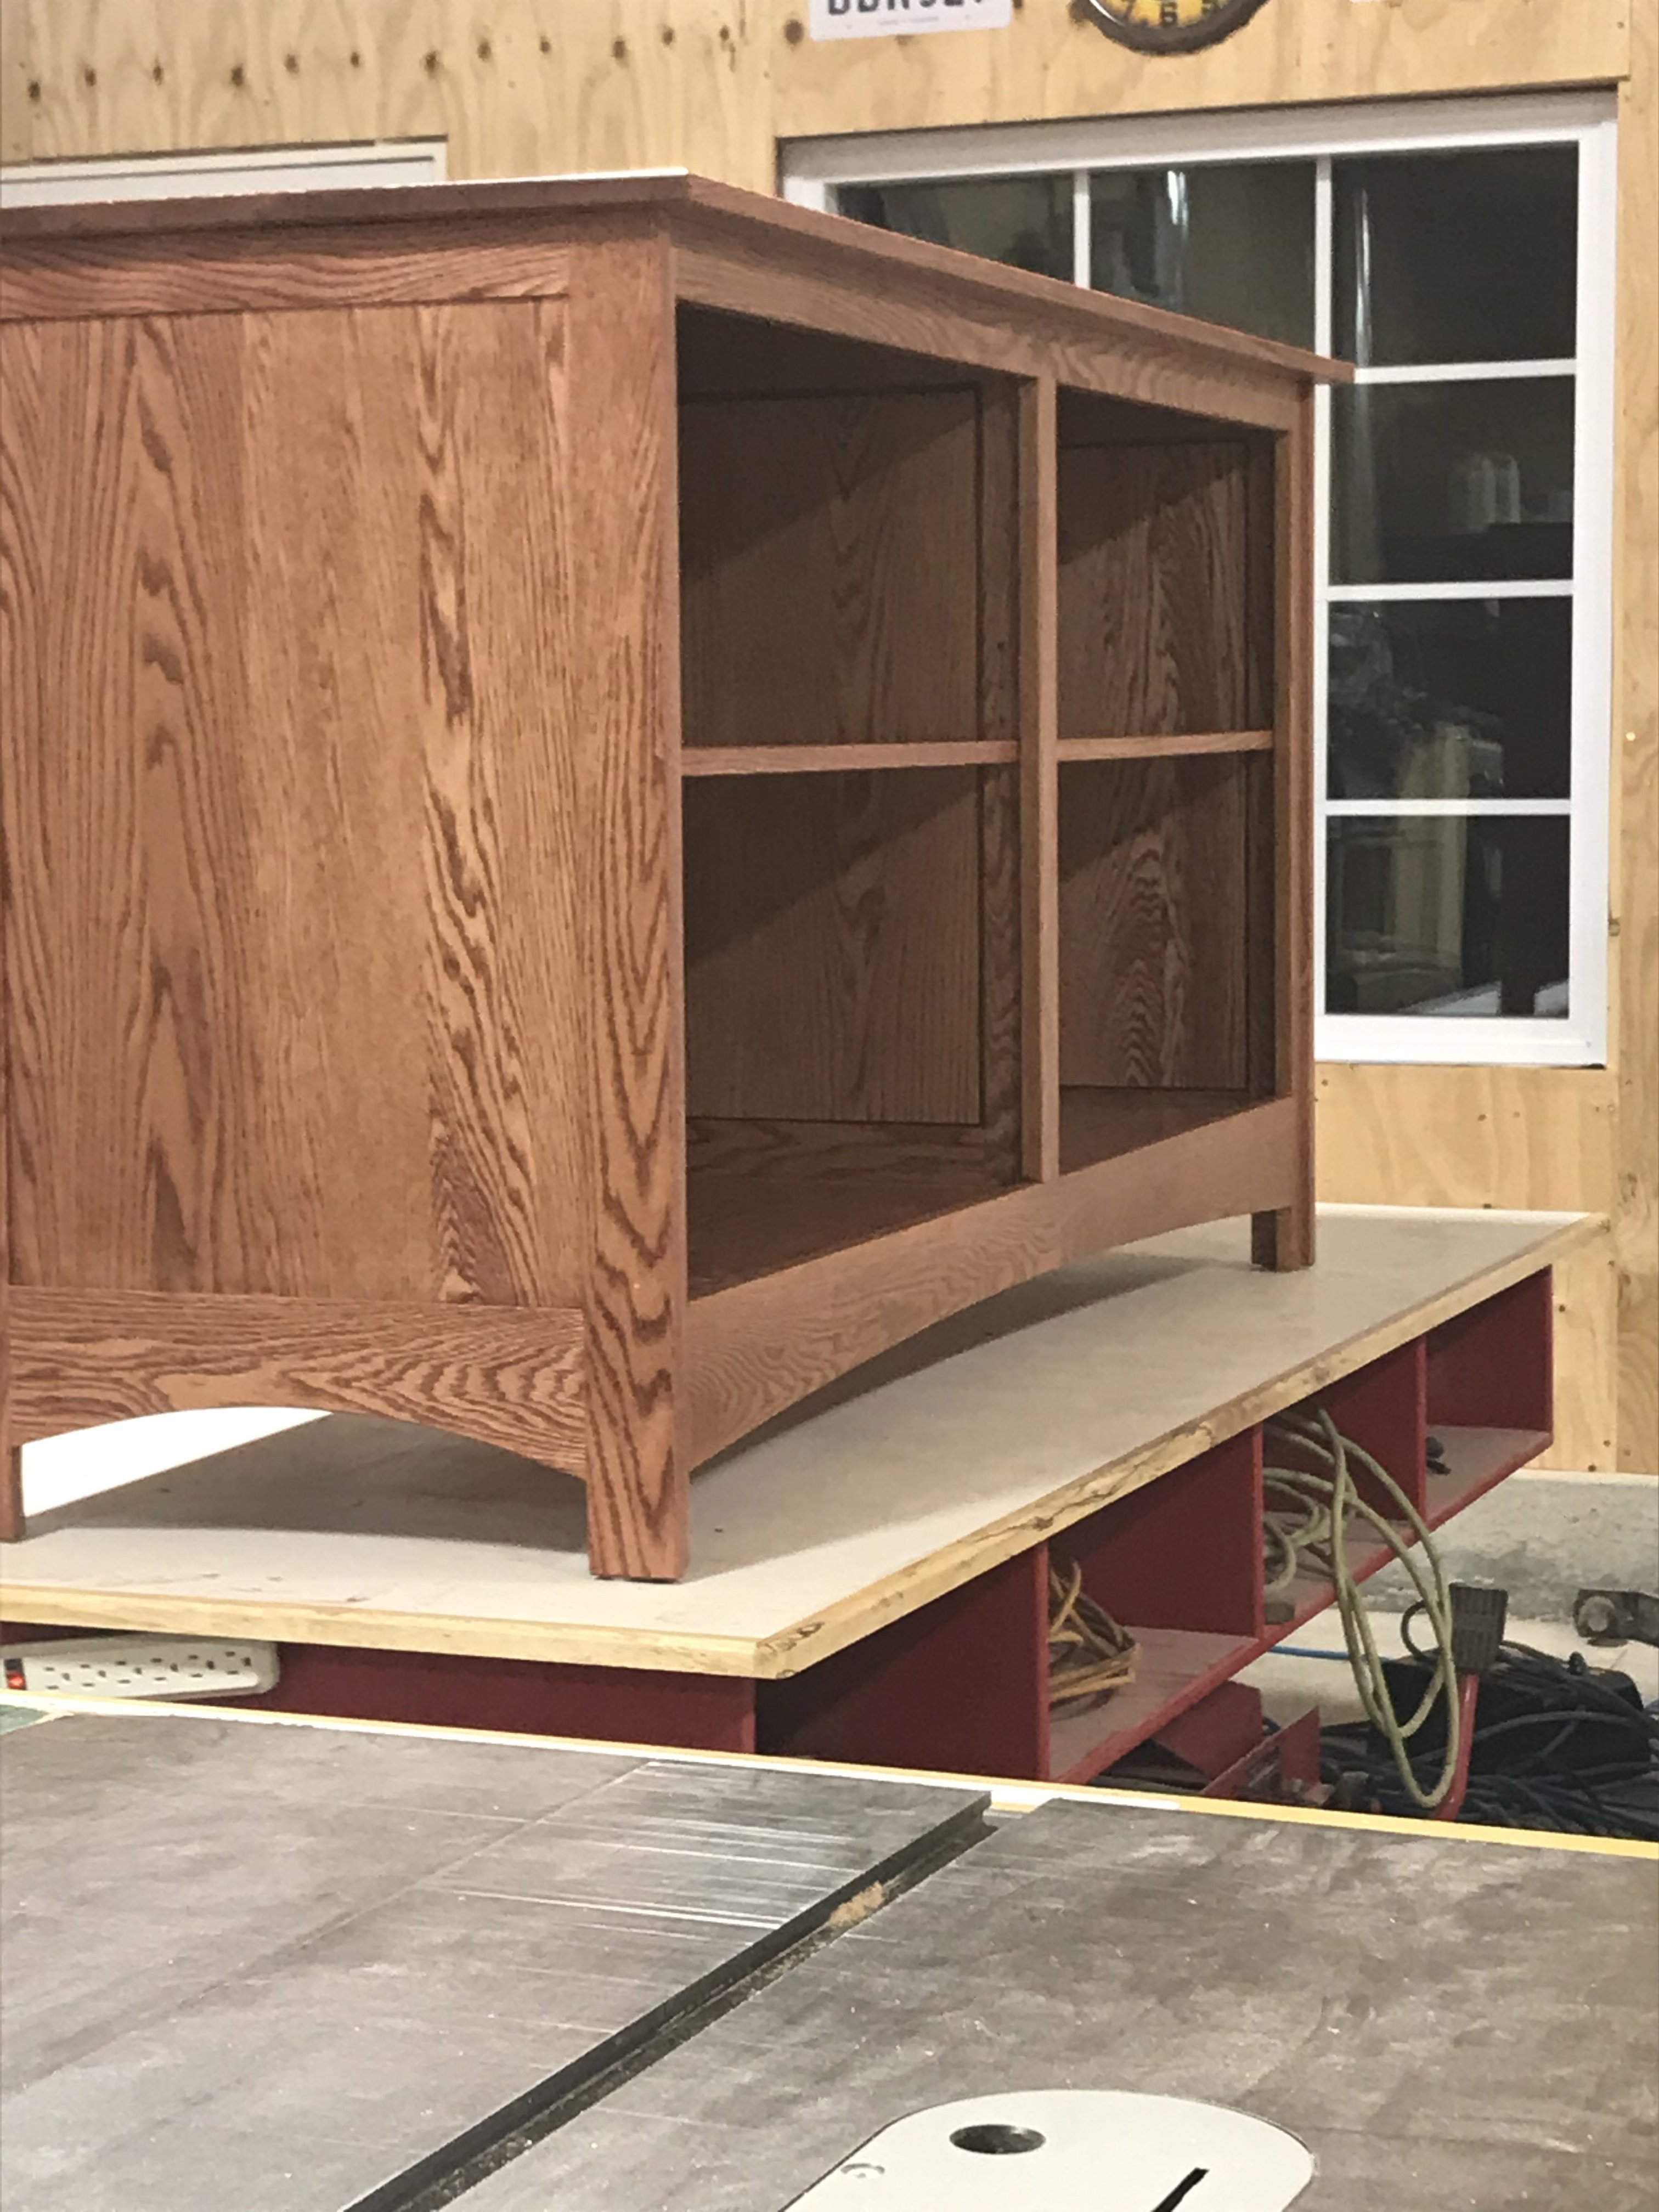
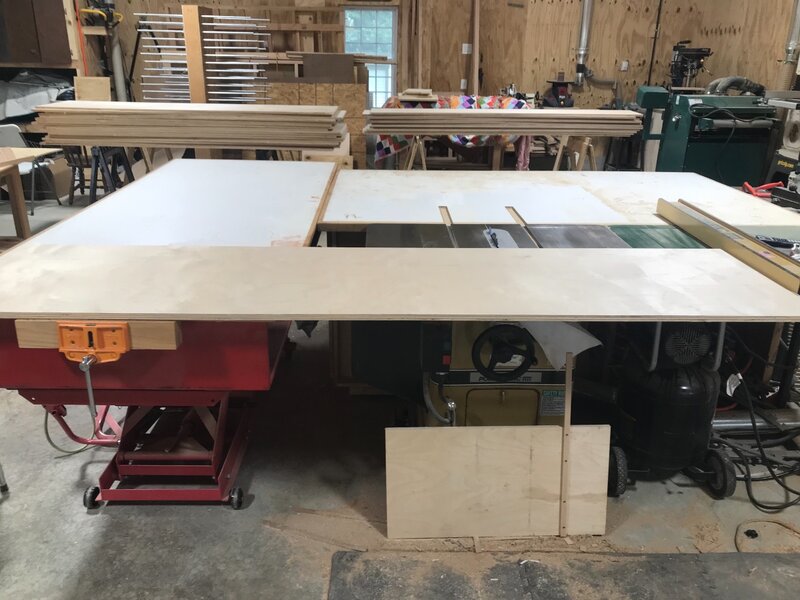
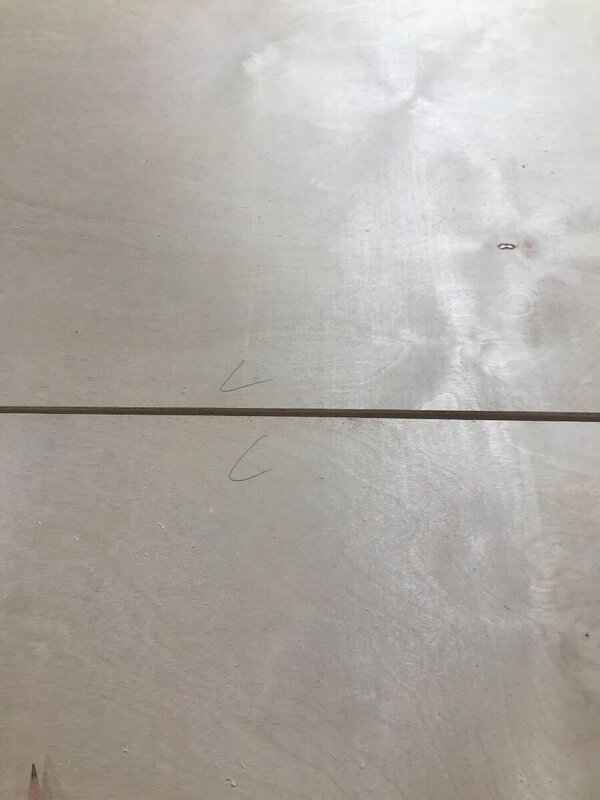
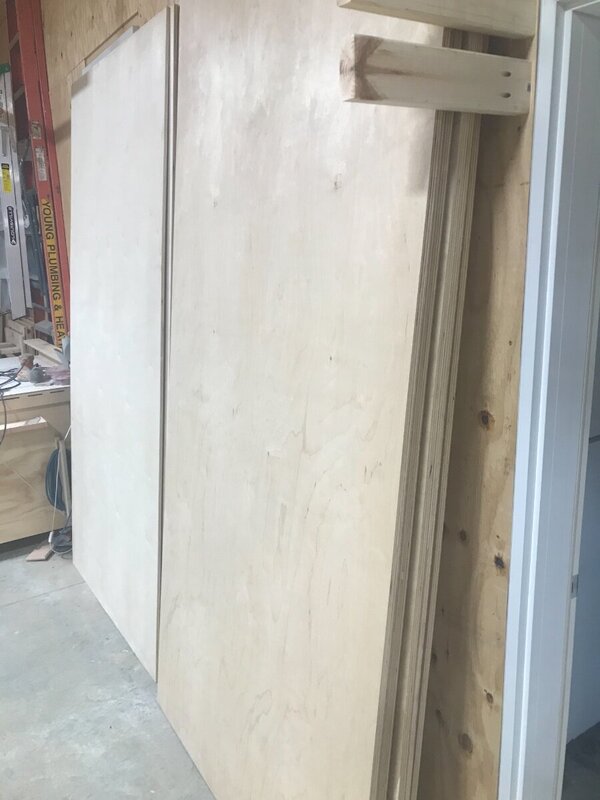
Been moving along slower than I had hoped for on this project. Did manage to get the plywood picked up that I ordered In to a local lumber yard. It is an import birch ply 3/4 thick and 1/2. I haven’t checked them with a caliper yet to see the actual thickness. To be honest not really impressed with it. It is an imported product and the veneer seems super thin on it. Mostly the reason for the slow progress is life, ball games take up a few nights a week and one day on the weekends. The are fun to get to tho! My wife is coaching the team this year and my oldest plays. Here is a quick shot of mom pitching to daughter. With being from a small town we also take care of a lot of the field maintenance. We also took a little trip to see the blue angels preform. Have seen them a few times in my life and they never disappoint. The F-35a did steal the show though. Impressive piece of equipment. Brought the plywood home and had a neighbor call me up to unload it! He seen me pull in and ran over to help! In total it’s 16 sheets of 3/4 and 9 of 1/2. All for $1800 😟 Staged some of it against the wall and the others on the adjustable bench. I always start breaking down the sheets in half, after figuring how many I will need. With the adjustable bench it makes moving the sheets to the saw a one man job. After they are ripped to 23 15/16 I mark each cut side with a c, they all get stacked with the cut edges facing the same way. With the sheets all ripped it’s on to cross cutting. I knew I would need a hand for this or find a way to support the left side of the blade. Decided to move the bench and line it up with the saw top. Was a little hesitant on how well it would work. To my surprise it worked incredibly well! Did manage to get the base cabinet sides cut to length before having to head to the house. Hopefully can get some time in the shop this weekend.


-
I’ve used ones very similar to those and had no issues.
-
Iowa? What town?
-
Will be staining them, didnt plan on using a blotch control. With this stain its all about how you sand and consistency with it. End each door with a fresh piece of paper.
-
Gotta appreciate great customer service.
-
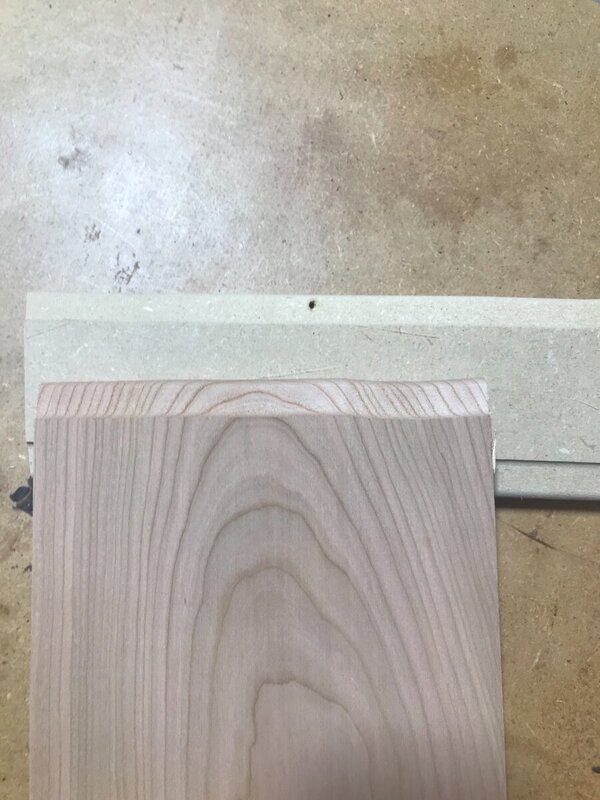
That stinks on the drive! Panels look great! Did you back cut them or mill them down thinner?
-
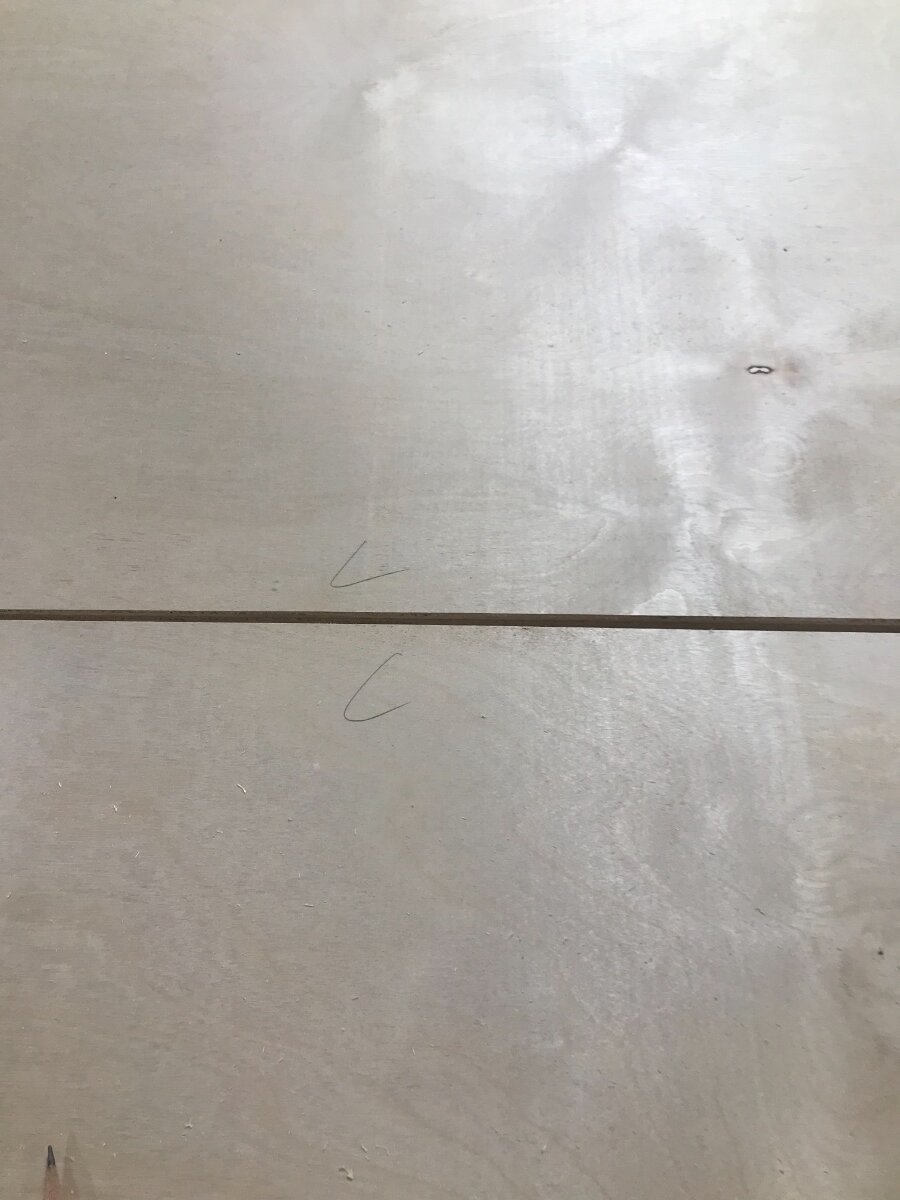
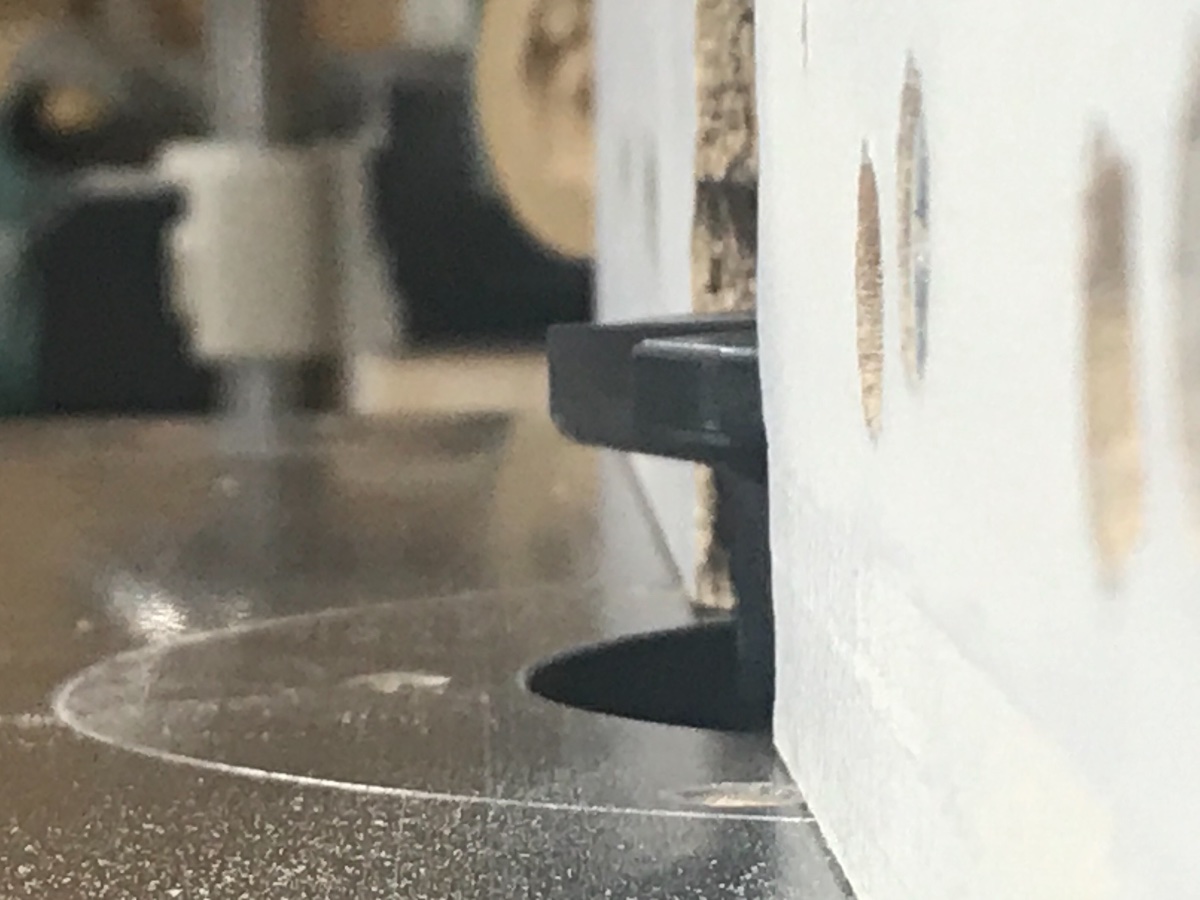
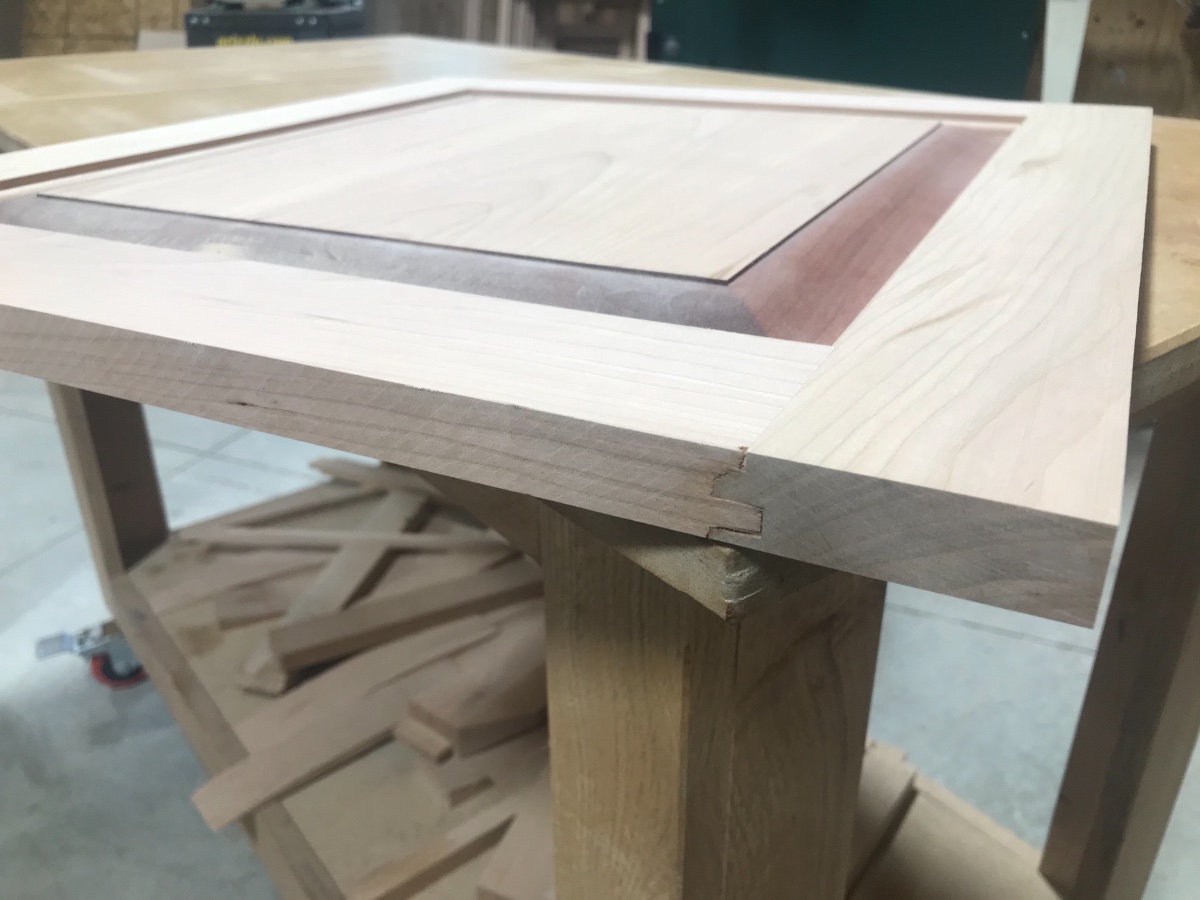
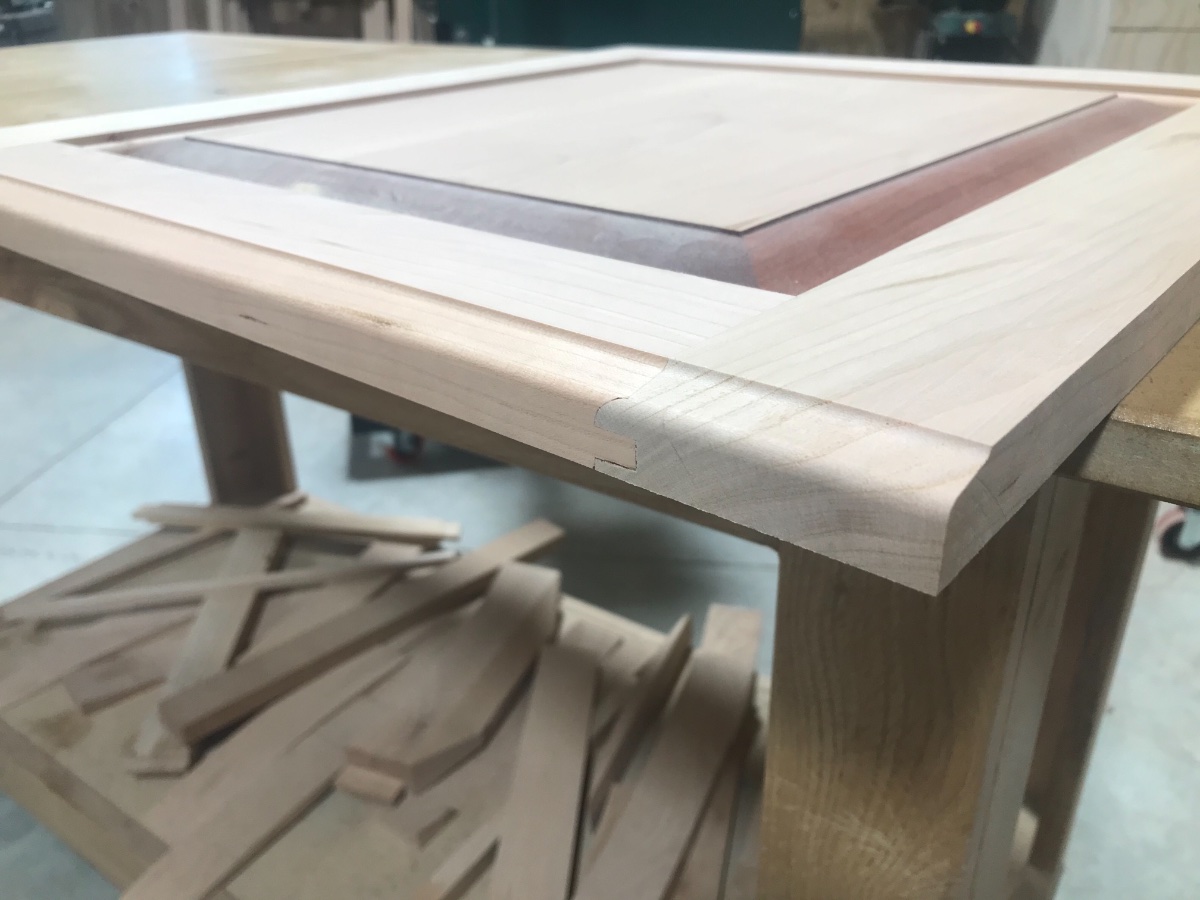
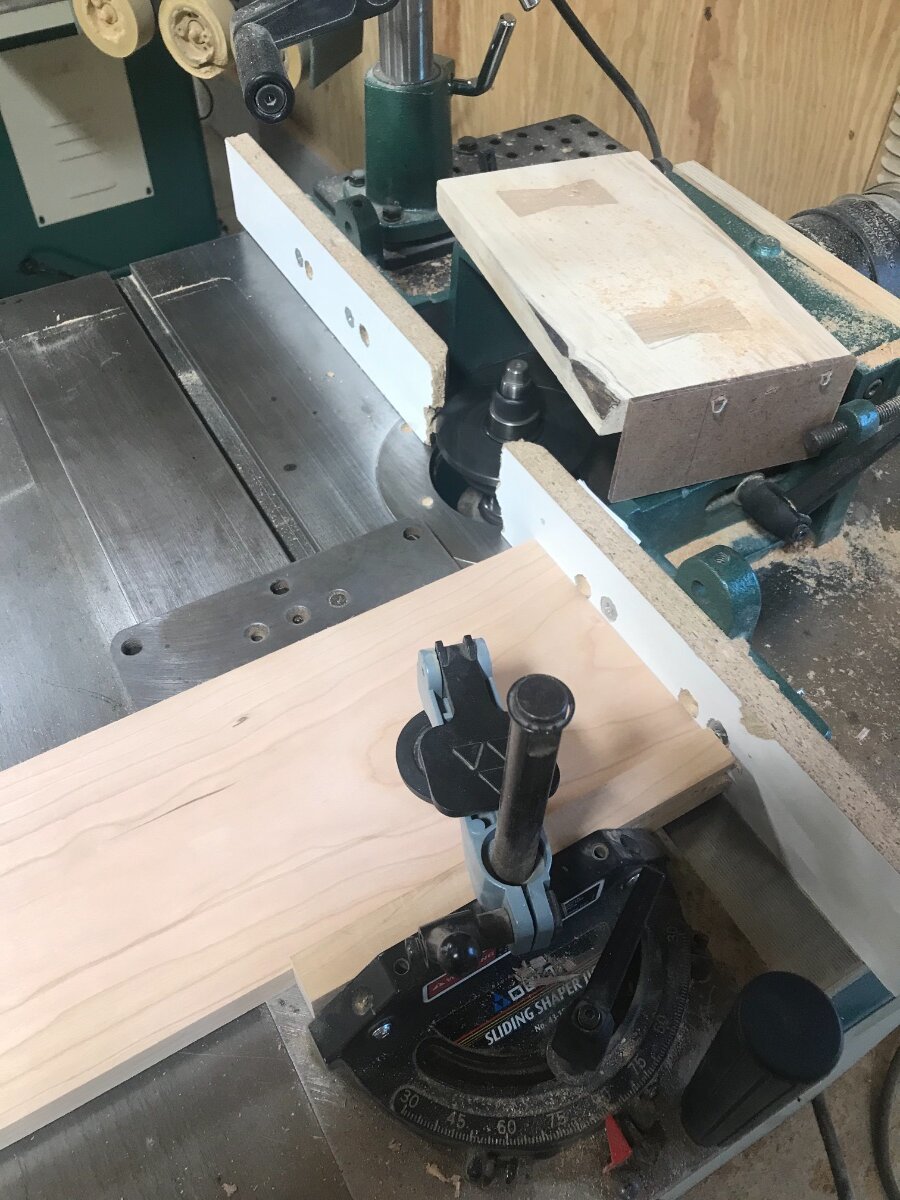
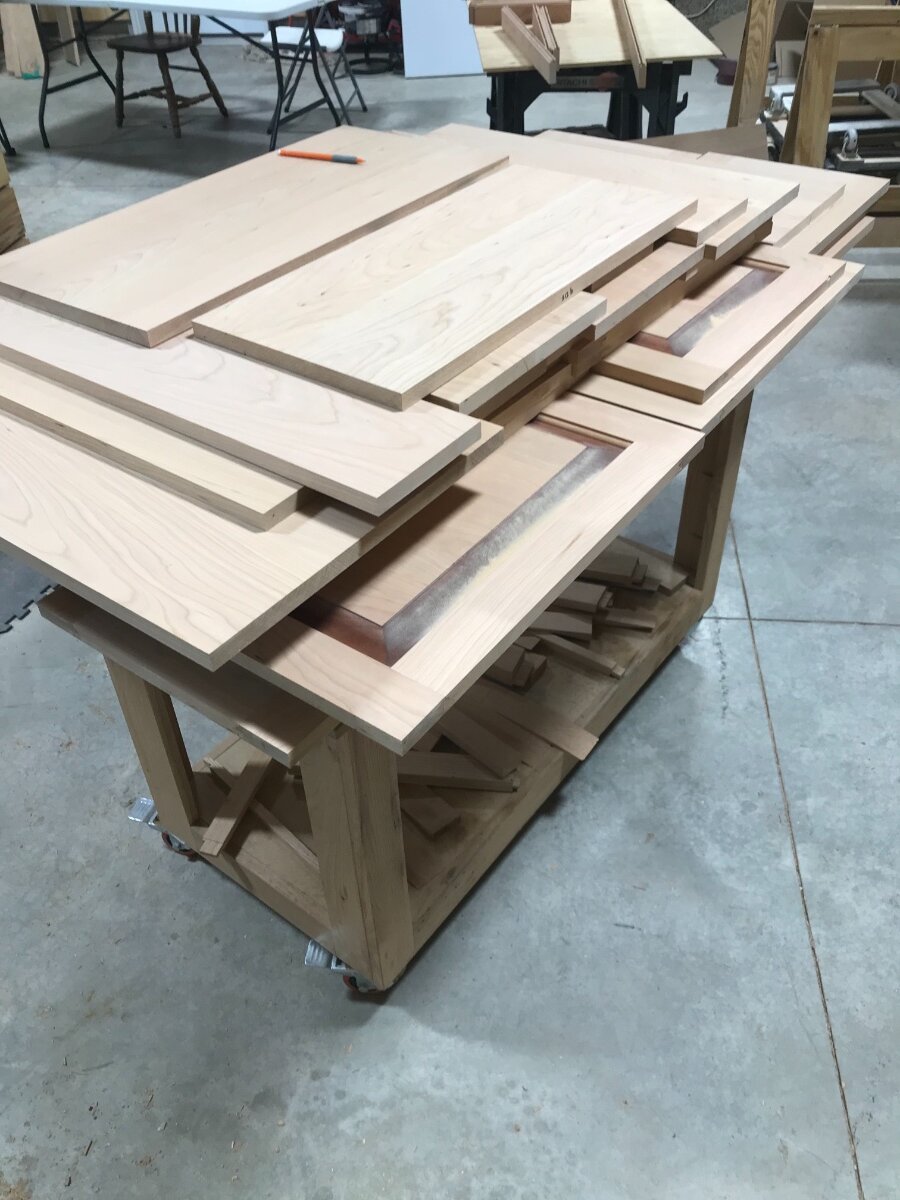
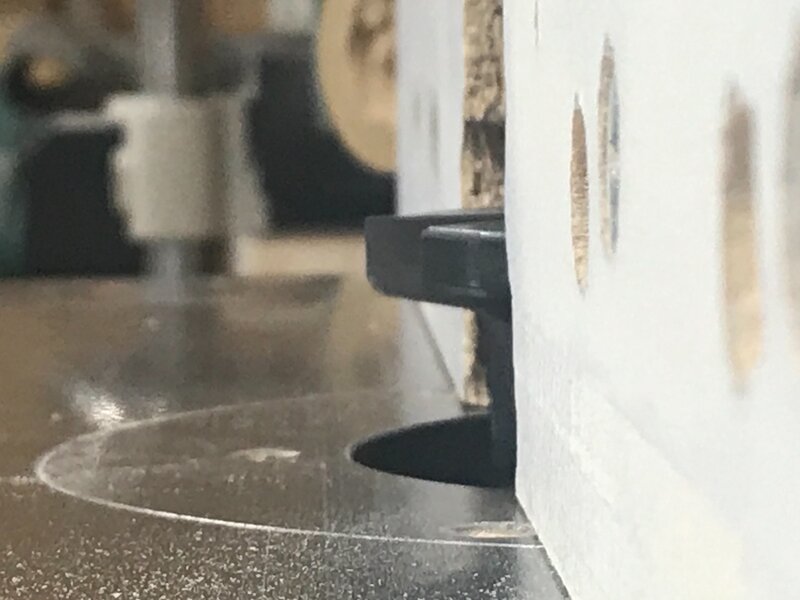
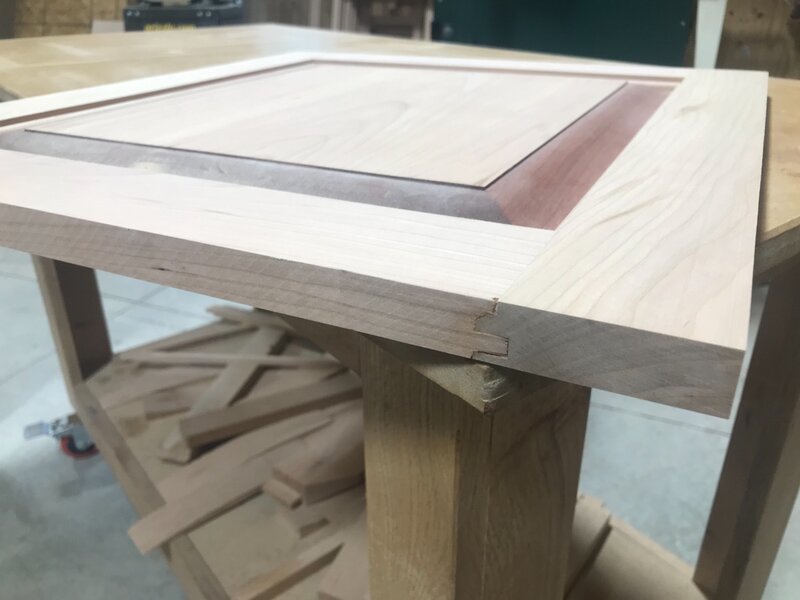
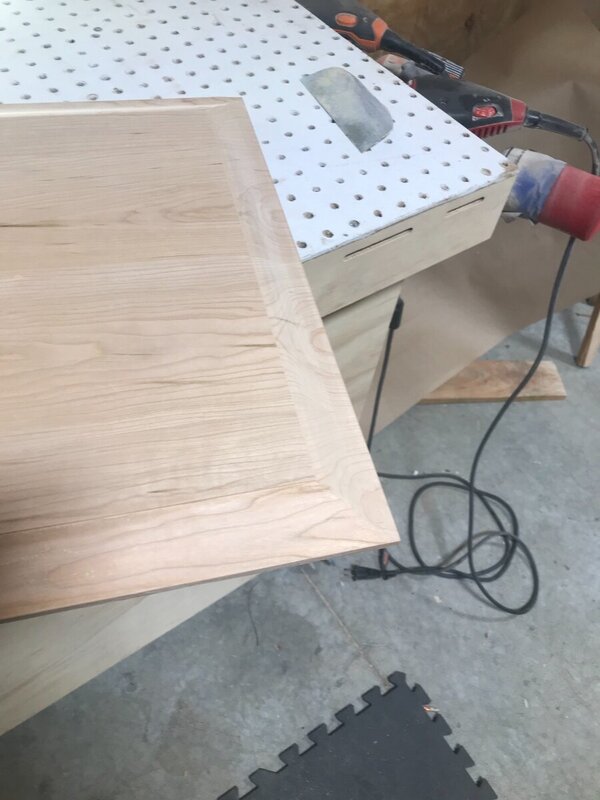
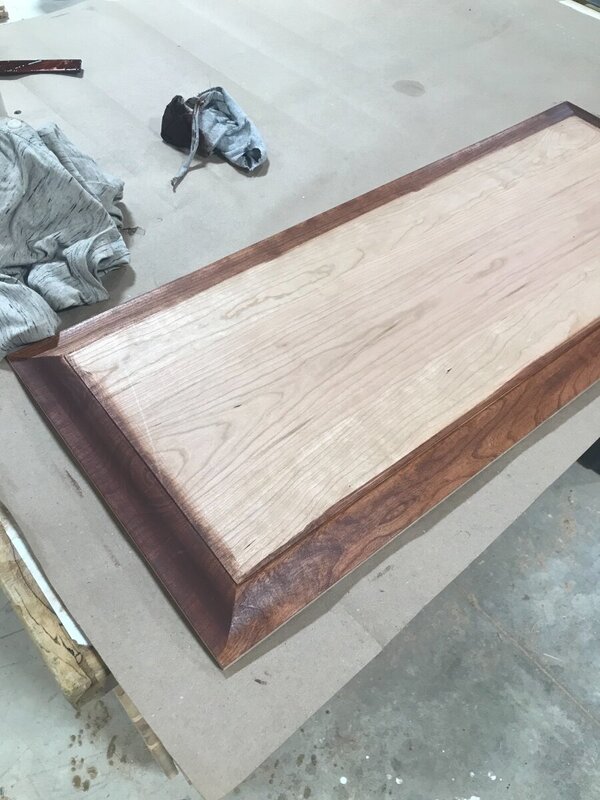
Been a busy few days around home between little league games and life in general. Got some shop time in tonight......had to do a little shop maintenance with cleaning out the dust collection filters along with the down draft table filters. That has to be the absolute worst thing I have to do in the shop. Once I had that mess cleaned up I moved on to putting the door edge profile on. It is insert cutter that I got from Byrd. Hit me hard in the pocket but is a really nice cutter. The idea behind the cutter is to remove 1/16” from the edge of the door to clean up the saw blade marks. The shaper fence is set up just like a jointer fence, with the outfeed side set to the cutter and the infeed set at the removal depth. It can be a little tricky running this setup even with a power feeder. Have to really pay attention to your pressure with your hands shifting the pressure from the infeed to the outfeed side of the fence all while feeding a blowout block in behind the end grain cuts. Picture of the door edge before running. And after. Cutter cleans it up well and cut very smooth. Little hand sanding and is good to go. Did run into a little trouble running the 6” drawer fronts. Just not enough fence to keep it stable. Had a little snipe on this one! Did end up milling up a new front to replace it. Made a quick adjustment to the cutter height and grabbed the clamp sled. Made it much easier and safer. Could have also made a different fence for the shaper with a smaller opening that would’ve allowed me to run them through without adjustment. All the doors edged and ready for finish sanding. Haven’t decided if I’m going to just leave them for a bit or get them stained and varnished before I start in on the plywood. Would like to do all the spraying at one time to avoid having to cover all the tools to spray in the shop more than once.


-
If I remember right don’t they make the slides to accommodate thicker material? Going purely off memory here.....I think type “a” would allow to go with 3/4 to 7/8 box side thickness.
-
The lighter color makes it hard to pick up. Thanks!
-
Are you going to put a coat of finish on the top?
-
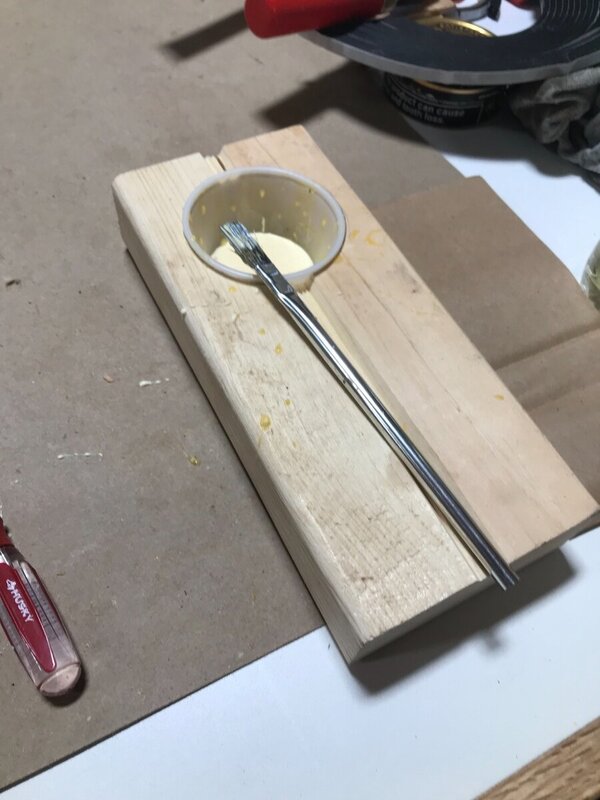
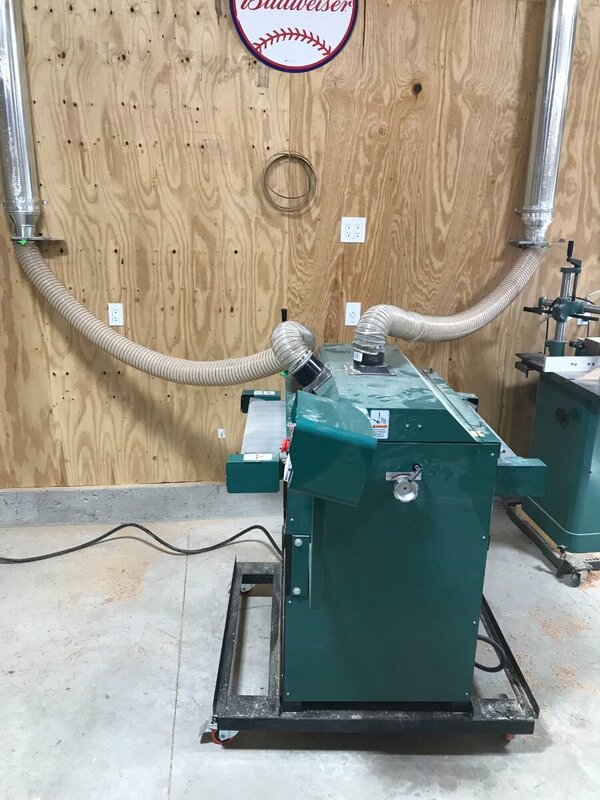
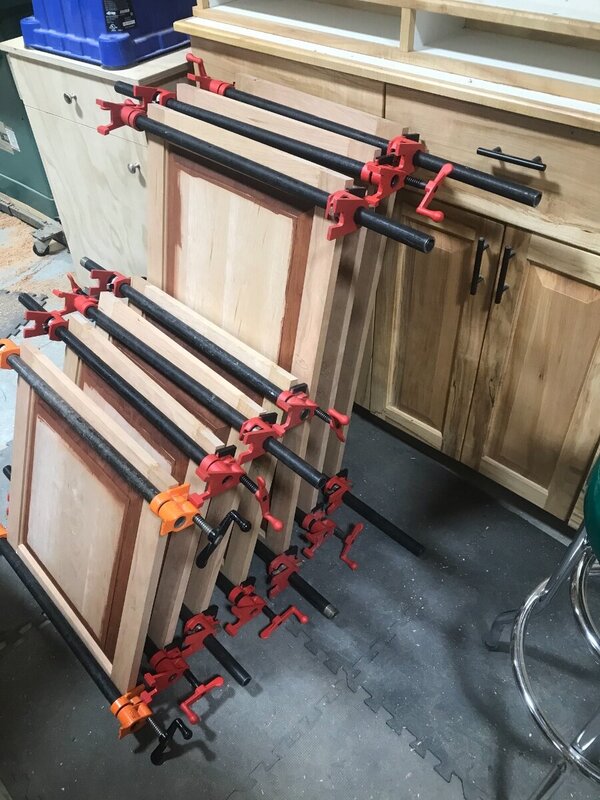
Got some shop time in over the weekend. All the doors are assembled with the same process as In the previous post. I did make a little glue brush holder to keep it from rolling around. I can’t take credit for the idea as I did see it somewhere, just can’t remember where. It’s a pretty simple little cup holder, 2x4 scrap which I cut a hole in to hold the cup and a couple groves to keep the brush from rolling. Made spreading the glue on the tongues pretty nice. Ended up taking the better part of the day to get all of them assembled. It was pretty warm outside and I’m lucky enough to have a window ac in the shop it helps but once machines are running it doesn’t keep up very well. Does take the edge off though. Next step for the doors was through the drum sander. Figured with this many parts I’d get as much dust collection to the sander that I could. Moved the planer and bandsaw out of the way, and connected the two 4” lines to the sander. Figured it might be better than one 4” line being split to both ports. Did spend a little time tuning the sander up as well. With the sander being new to me I didn’t get any pictures of the progress. I started out with 120 grit and 150 grit. Ran all the parts through 2x on both the front and backs. Then switched grits to 180 and 220. One nice feature that I need to play around with more is the separate adjustment of the back drum. Think it could really be a factor if wanting to get a really nice finish pass. And all the parts sanded. Did get the shaper set up to run the door edge. That will be the next step for me.

-
I would argue the point on the jointer all day, I think it should almost be the first tool you need. The first stop in any furniture build with a piece of lumber would be over the jointer. Hard to do fine work with out of square lumber. Now that being said there are ways to get straight edges on boards without a jointer, and flat faces for that matter. Just take a ton of time and effort. Many ways to skin a cat
-
That’s awesome! Congratulations! Thank you so much for sharing the info
-
Welcome!
-
Wow great work! Just a great design! Nice job!
-
I was thinking a Cubs logo would really set it off!
-
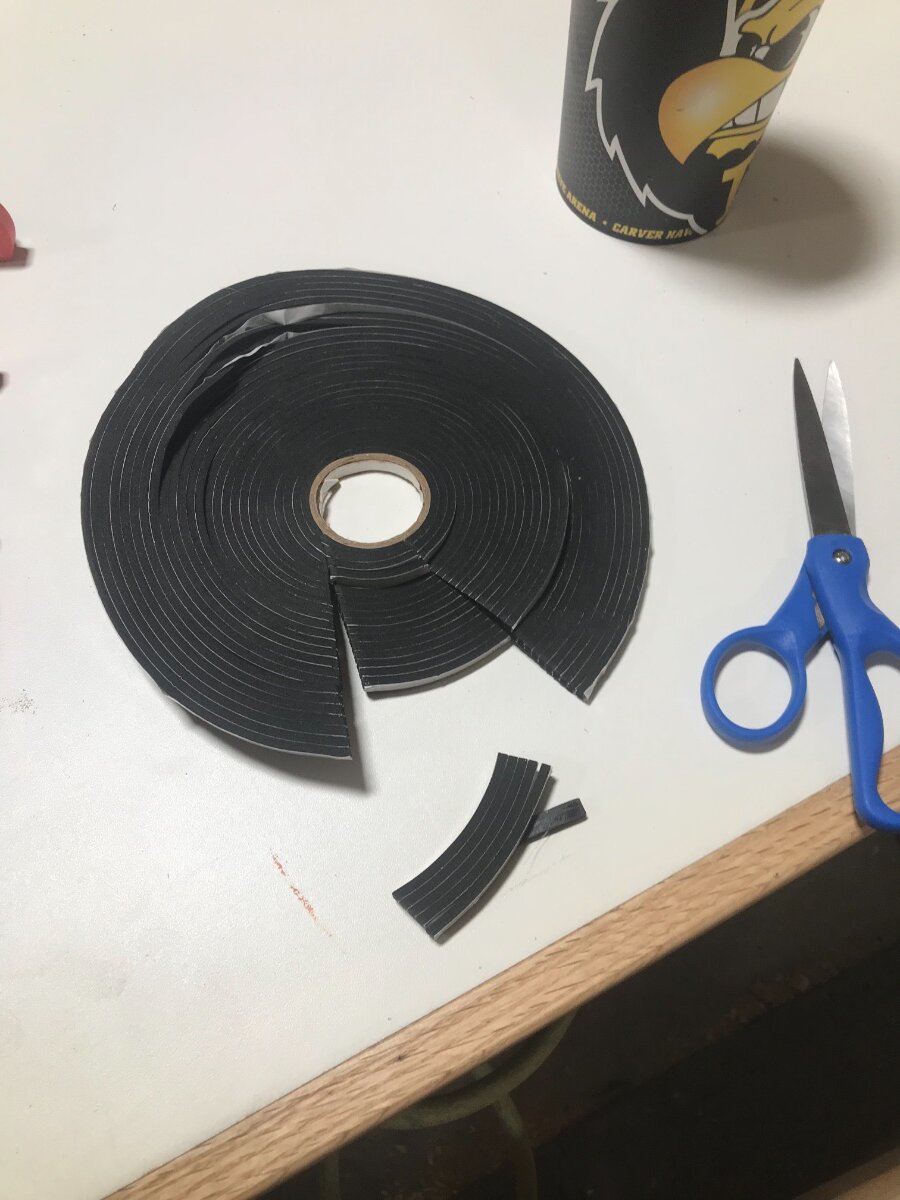
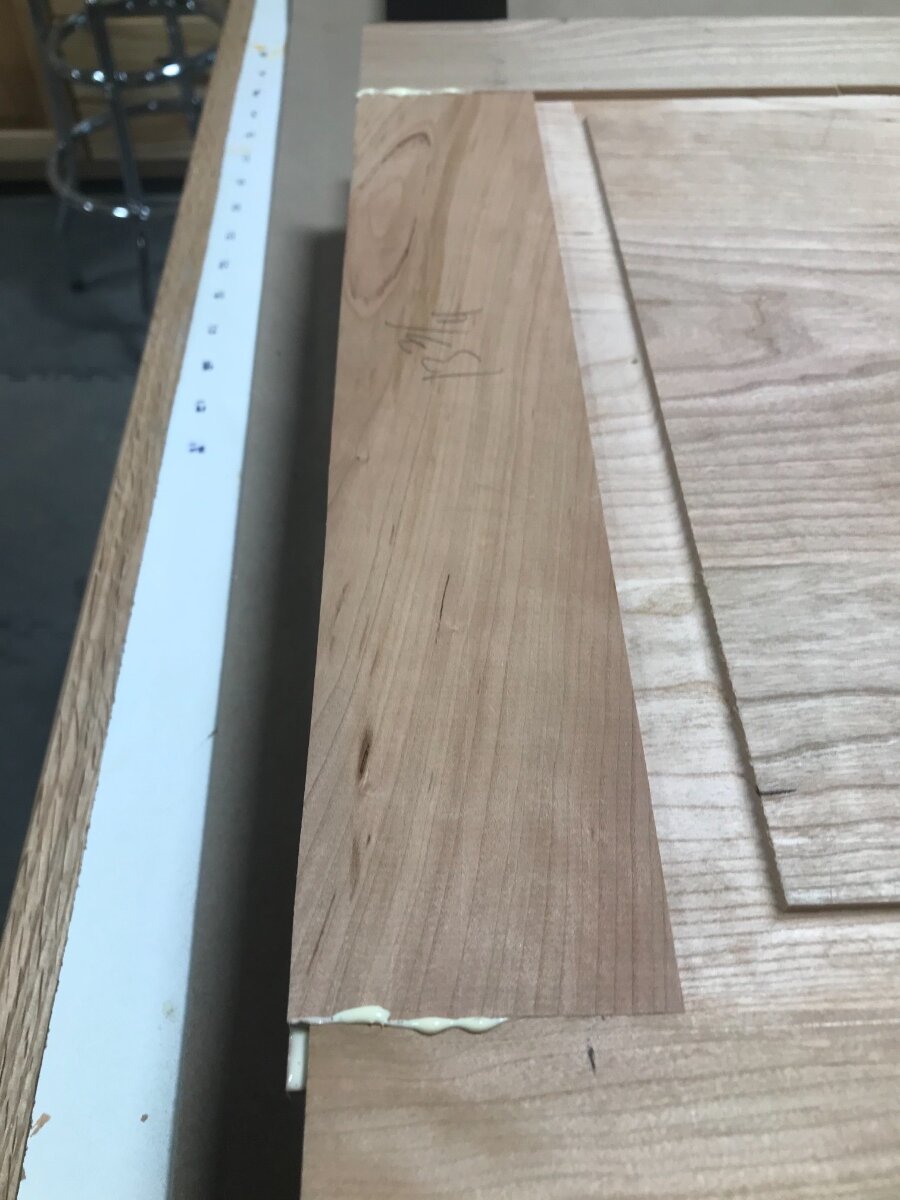
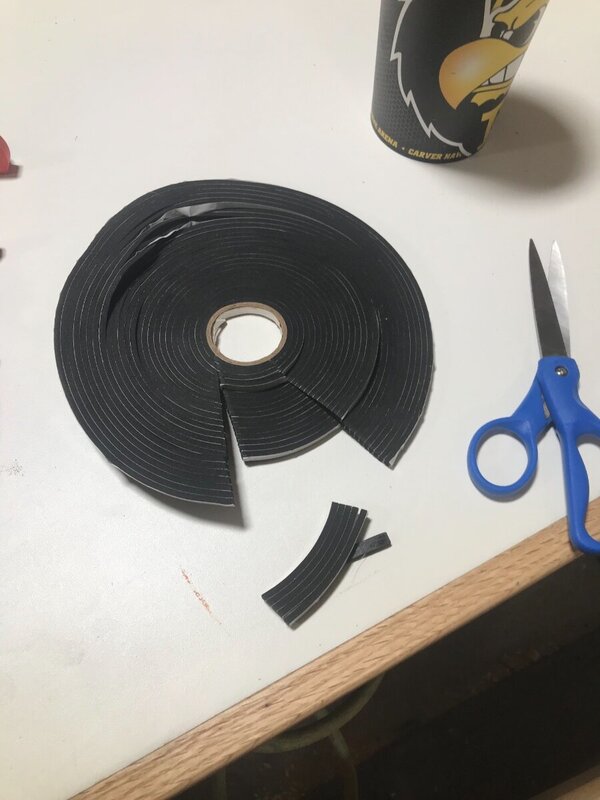
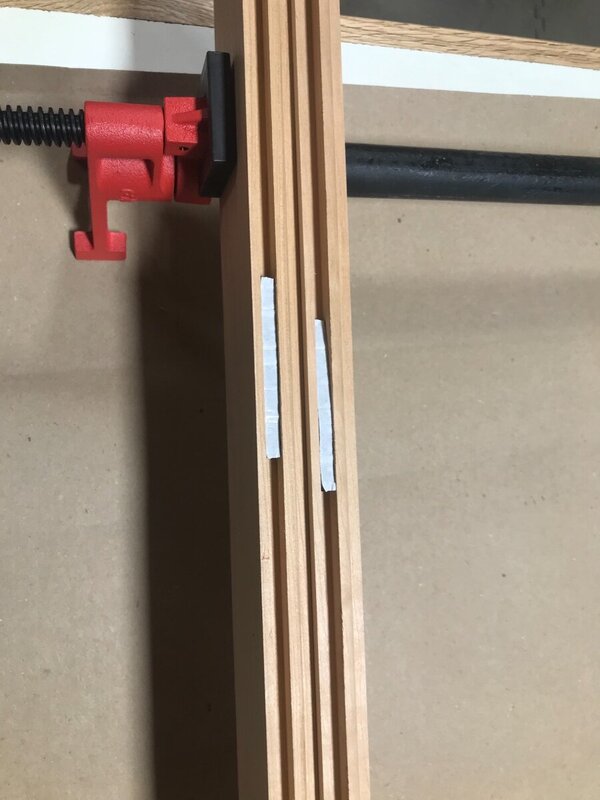
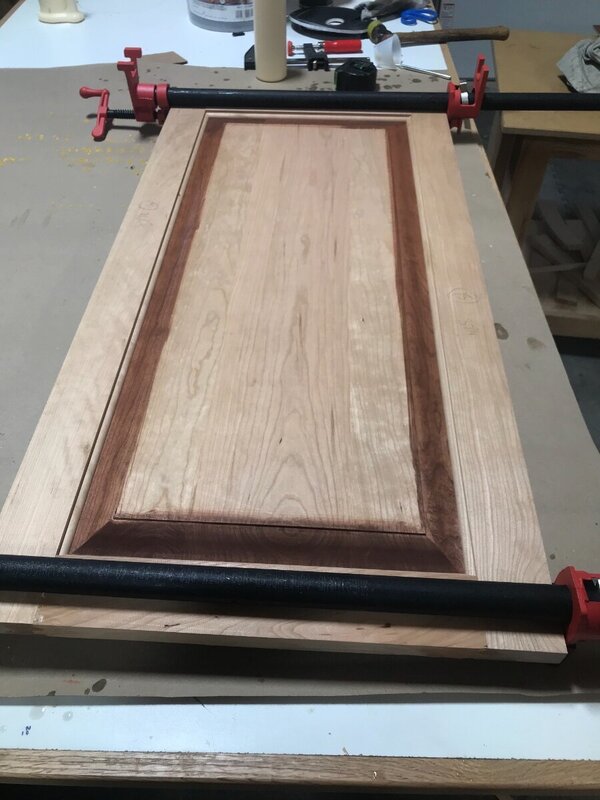
On to door assembly......start out by hand sanding the mill marks on the raised panels. Not a fun process to do and only way I’ve found is to do it by hand. I can’t seem to find my hand sanding pad, I believe an 8 year old was last seen using it. I just use a piece of sticky back paper folded in half to do this set. Get a little hot to hold at times. I decided to pre stain the door edges. Have never done this step before but after talking to my buddy at the cabinet shop they have switched to this method after having some door panels shrink and it leaving a line of unstained material. With as dark of stain that is going on these cabinets I thought it might not hurt. Only staining the fronts. I did manage to find a space ball alternative, found some weather striping that is 1/4 wide by 1/8 thick. Just cut it down to 1”-1 1/2” pieces. It is a little tricky being that it’s sticky on both sides. Found using a small flat head screwdriver helps seat it. One advantage to it being sticky is that it doesn’t fall out once it’s in place. First door went together fairly easily. I always leave the rails stick off the end of the stile to allow me to tap them flush. It is a lot easier to tap them flush than to try to tap them back out. Just not much to make contact with the hammer. Once they are flush I give them a light squeeze with the clamps and check for square. I did have to adjust every door just a hair to get them spot on. And here is my progress for the night. Takes quite a bit of time to go through all the steps. Doing them in small batches to break up the hand sanding. I decided against putting a pin nail in the back rail and just letting them cure in the clamps. Figured that by time the next batch is ready the glue will be set long enough.

-
Nice job @Coop really like the way you applied the moldings. Great design!
-
Yes! Id love to see them!
-
Yep have seen it bare tool. It’s like grabbing the m18 jigsaw. The instant power is something.
-
That’s just my Iowa dialect, messes everything up! Or maybe it’s being 1/4 Norwegian.
-
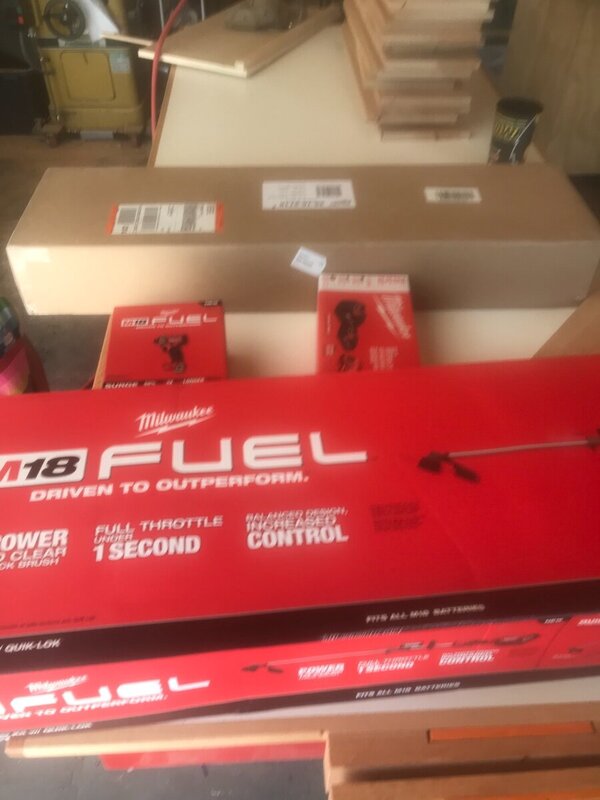
Don’t know if this is relevant to here but it’s such a cool tool I thought I would share. Found a pretty good deal on the weed eater and an edging attachment on Home Depot website. $303 for it all. Came with a rapid charger and a 8amp battery. Tried it out for a couple minutes and have to say I’m blown away by it! As much power as a gas! Easy to operate and refill. It is heavier than the echo battery powered that I’m replacing but night and day difference in preference. Also picked up the m18 surge impact driver. If you guys have never seen one of these the are insanely quiet for an impact.