Every purchase made through our Amazon Affiliate Page helps support this site

Jamie
-
Posts
1,467 -
Joined
-
Last visited
-
Days Won
54
Content Type
Profiles
Forums
Downloads
Gallery
Events
Store
Articles
Blogs
Everything posted by Jamie
-
On narrow pieces you could also use your router table, I have used straight cutting bits and they work, not nearly as nice as the spiral bits. The straight bits do tend to smoke a little ?
-
The first pour from a fresh gallon is always a little messy! If you go quick it’s only a little mess! ? That turned out great! How does it feel to sit at? Everything you expected?
-
Do they come with a manual? ?
-
Wow! Great progress! Looks good!
-
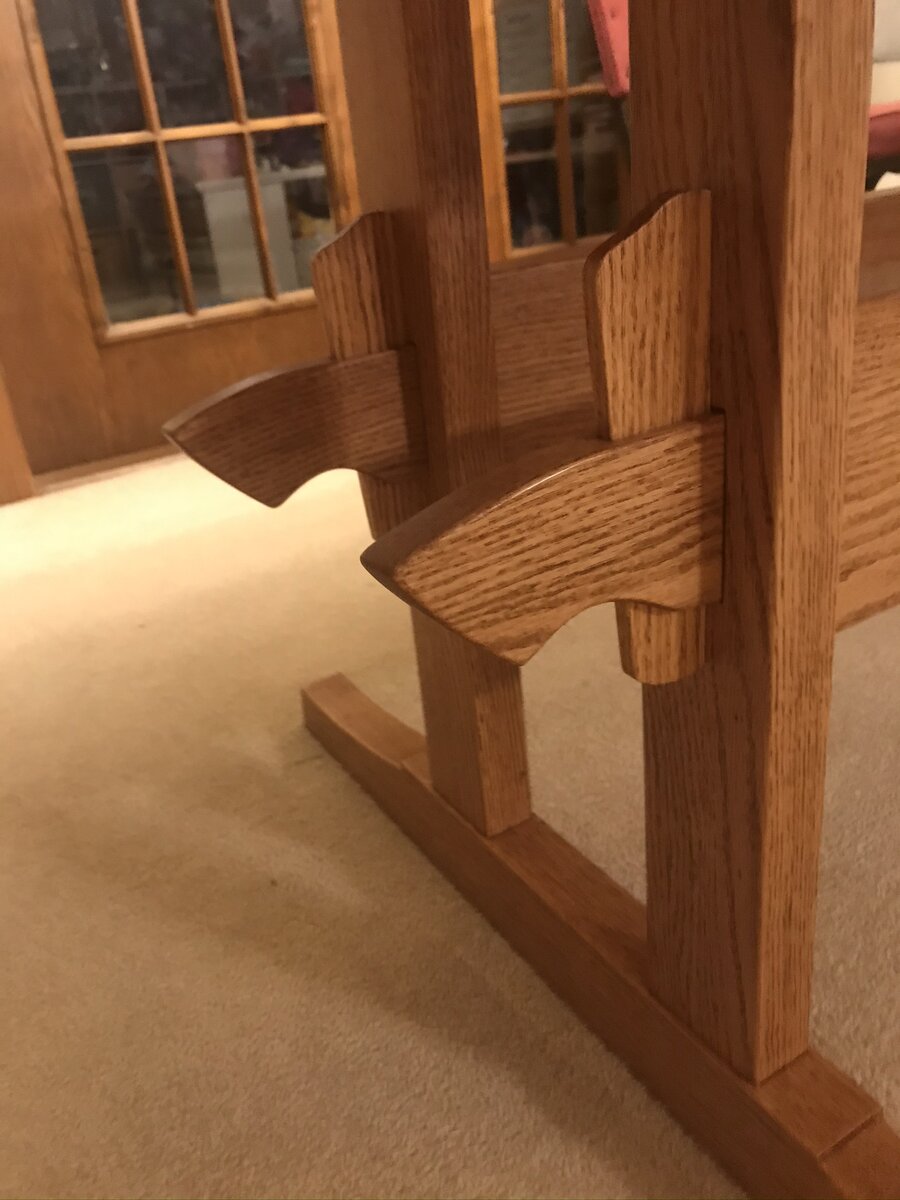
A sliding dovetail might be a neat look on it. Not to hard to do with a straight edge and a sharp bit. I thing for the domino as well just a straight edge guide would work well. I don't have a domino but have done that with a biscuits a time or 2. Your math seems spot on with the size of the drawer. I would prob wait to make it till your side supports are in. Yes that is the rail I was referring to. With that being lower down it would make it like a 8" rail wide or however far down you put it. Would take quite a bit more force to get the legs to bust off with it in place. I like how they made it a smaller piece. Keeps the design light but adds to the overall strength.
-
Also are your going to be adding the rail that is down from the top? Looks like it would add quite a bit of support to the legs.
-
I like the look of the legs being wider. From the original picture it looks like the legs on it go out even farther. Not sure if its more angle than 5 degrees or they are spaced out wider. Going of that print....I think having the legs go all the way to the top would be a stronger joint.
-
Awesome! I agree that they aren’t that hard to do, back to what you mentioned before......nice to solve a problem without throwing a bunch of money at it.
-
Well now you know!
-
I’m gonna have to check that out! Thanks! I did look at his project, and I agree that the money would be worth it for the tips one would pick up. I do like the fact that he did loose tenons without the domino.
-
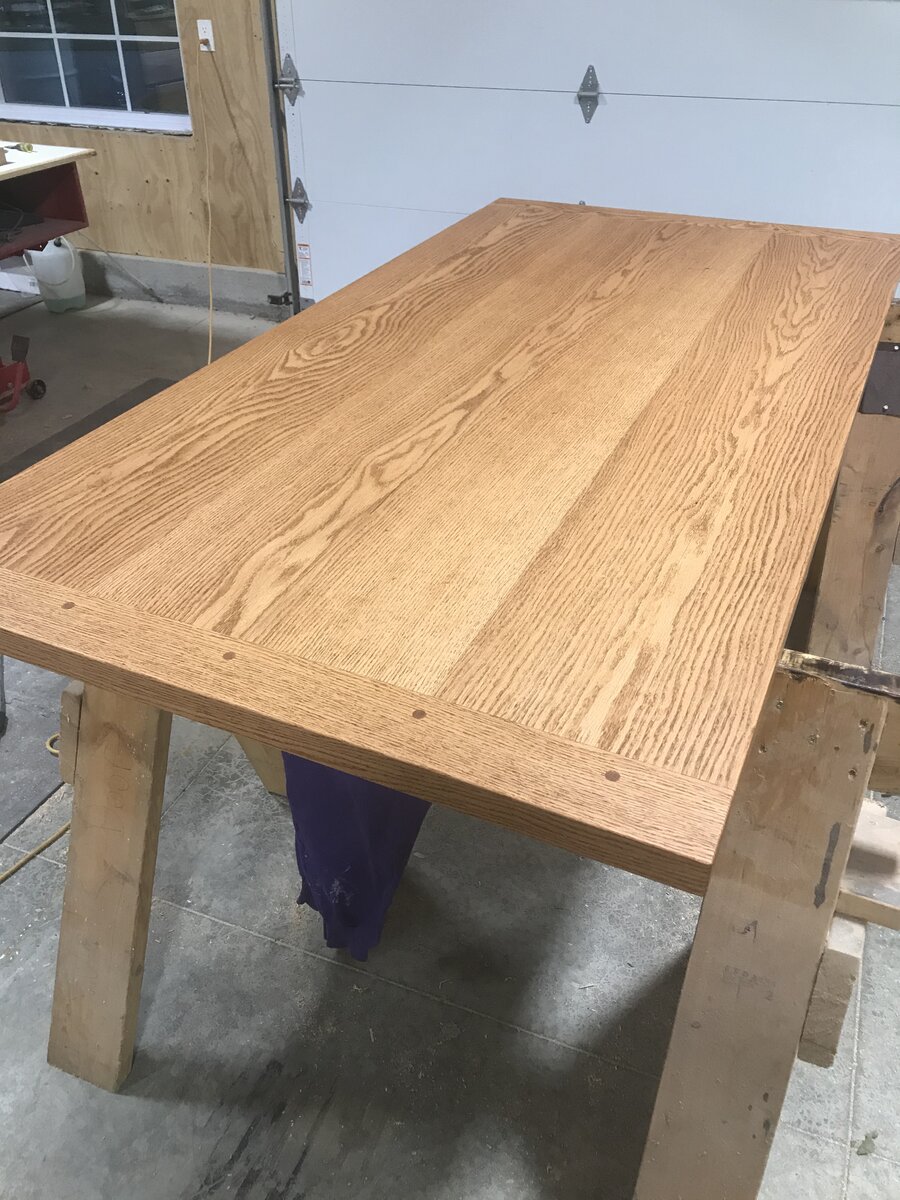
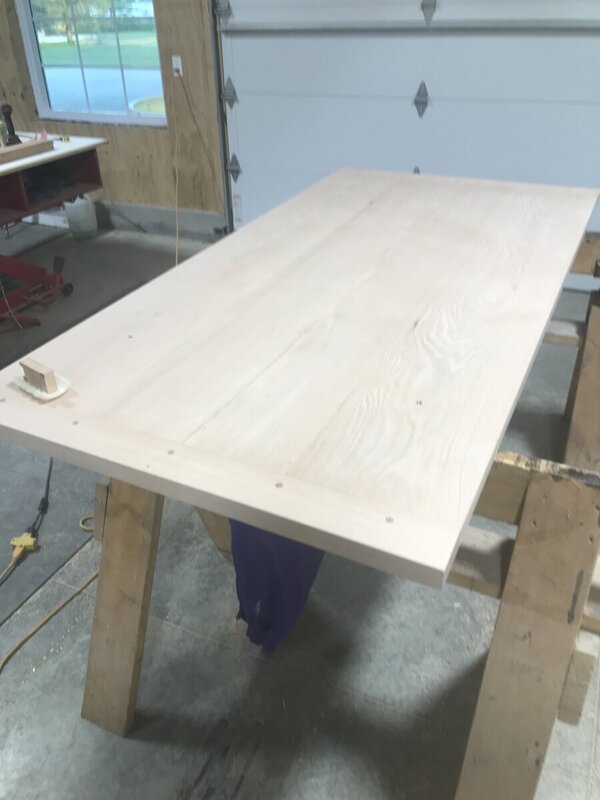
I like how your grain patterns match up on the top. It’s neat how you make the knot a feature piece.
-
That’s a lot of firewood! Hope you kept the final plans! I was thinking after I posted this that my grandparents and parents have some pretty nice chairs that I could barrow some measurements off of. That might be my best bet.
-
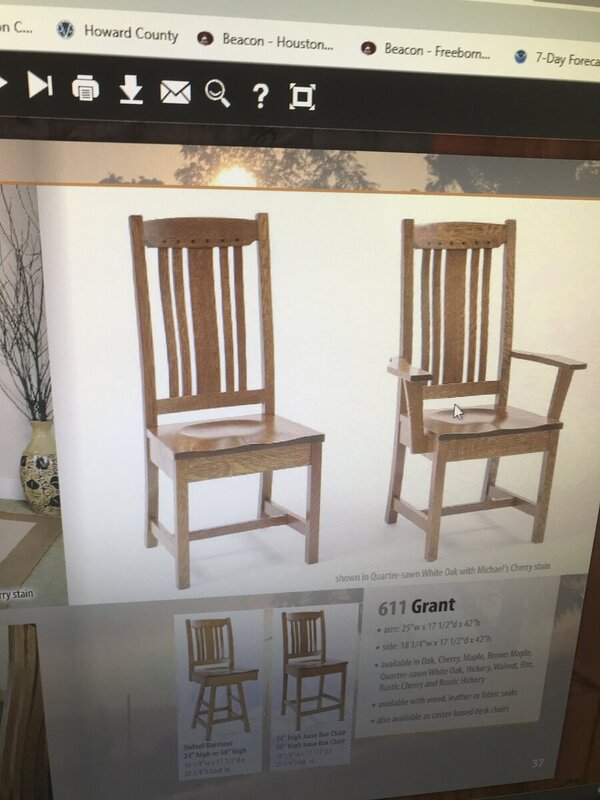
Does anyone have a source for chair plans? I think my biggest weakness in the shop is drawing up plans. This would be what I’m kinda thinking for a look. Only thing i would changes is the scallops on the top rail would be eliminated. I could probably apply my own measurements to it and come up with something. Only things that has me nervous about that is getting the proper angles to make the chair comfortable.
-
I have never seen these saws till now, very impressive! Congratulations on the order!
-
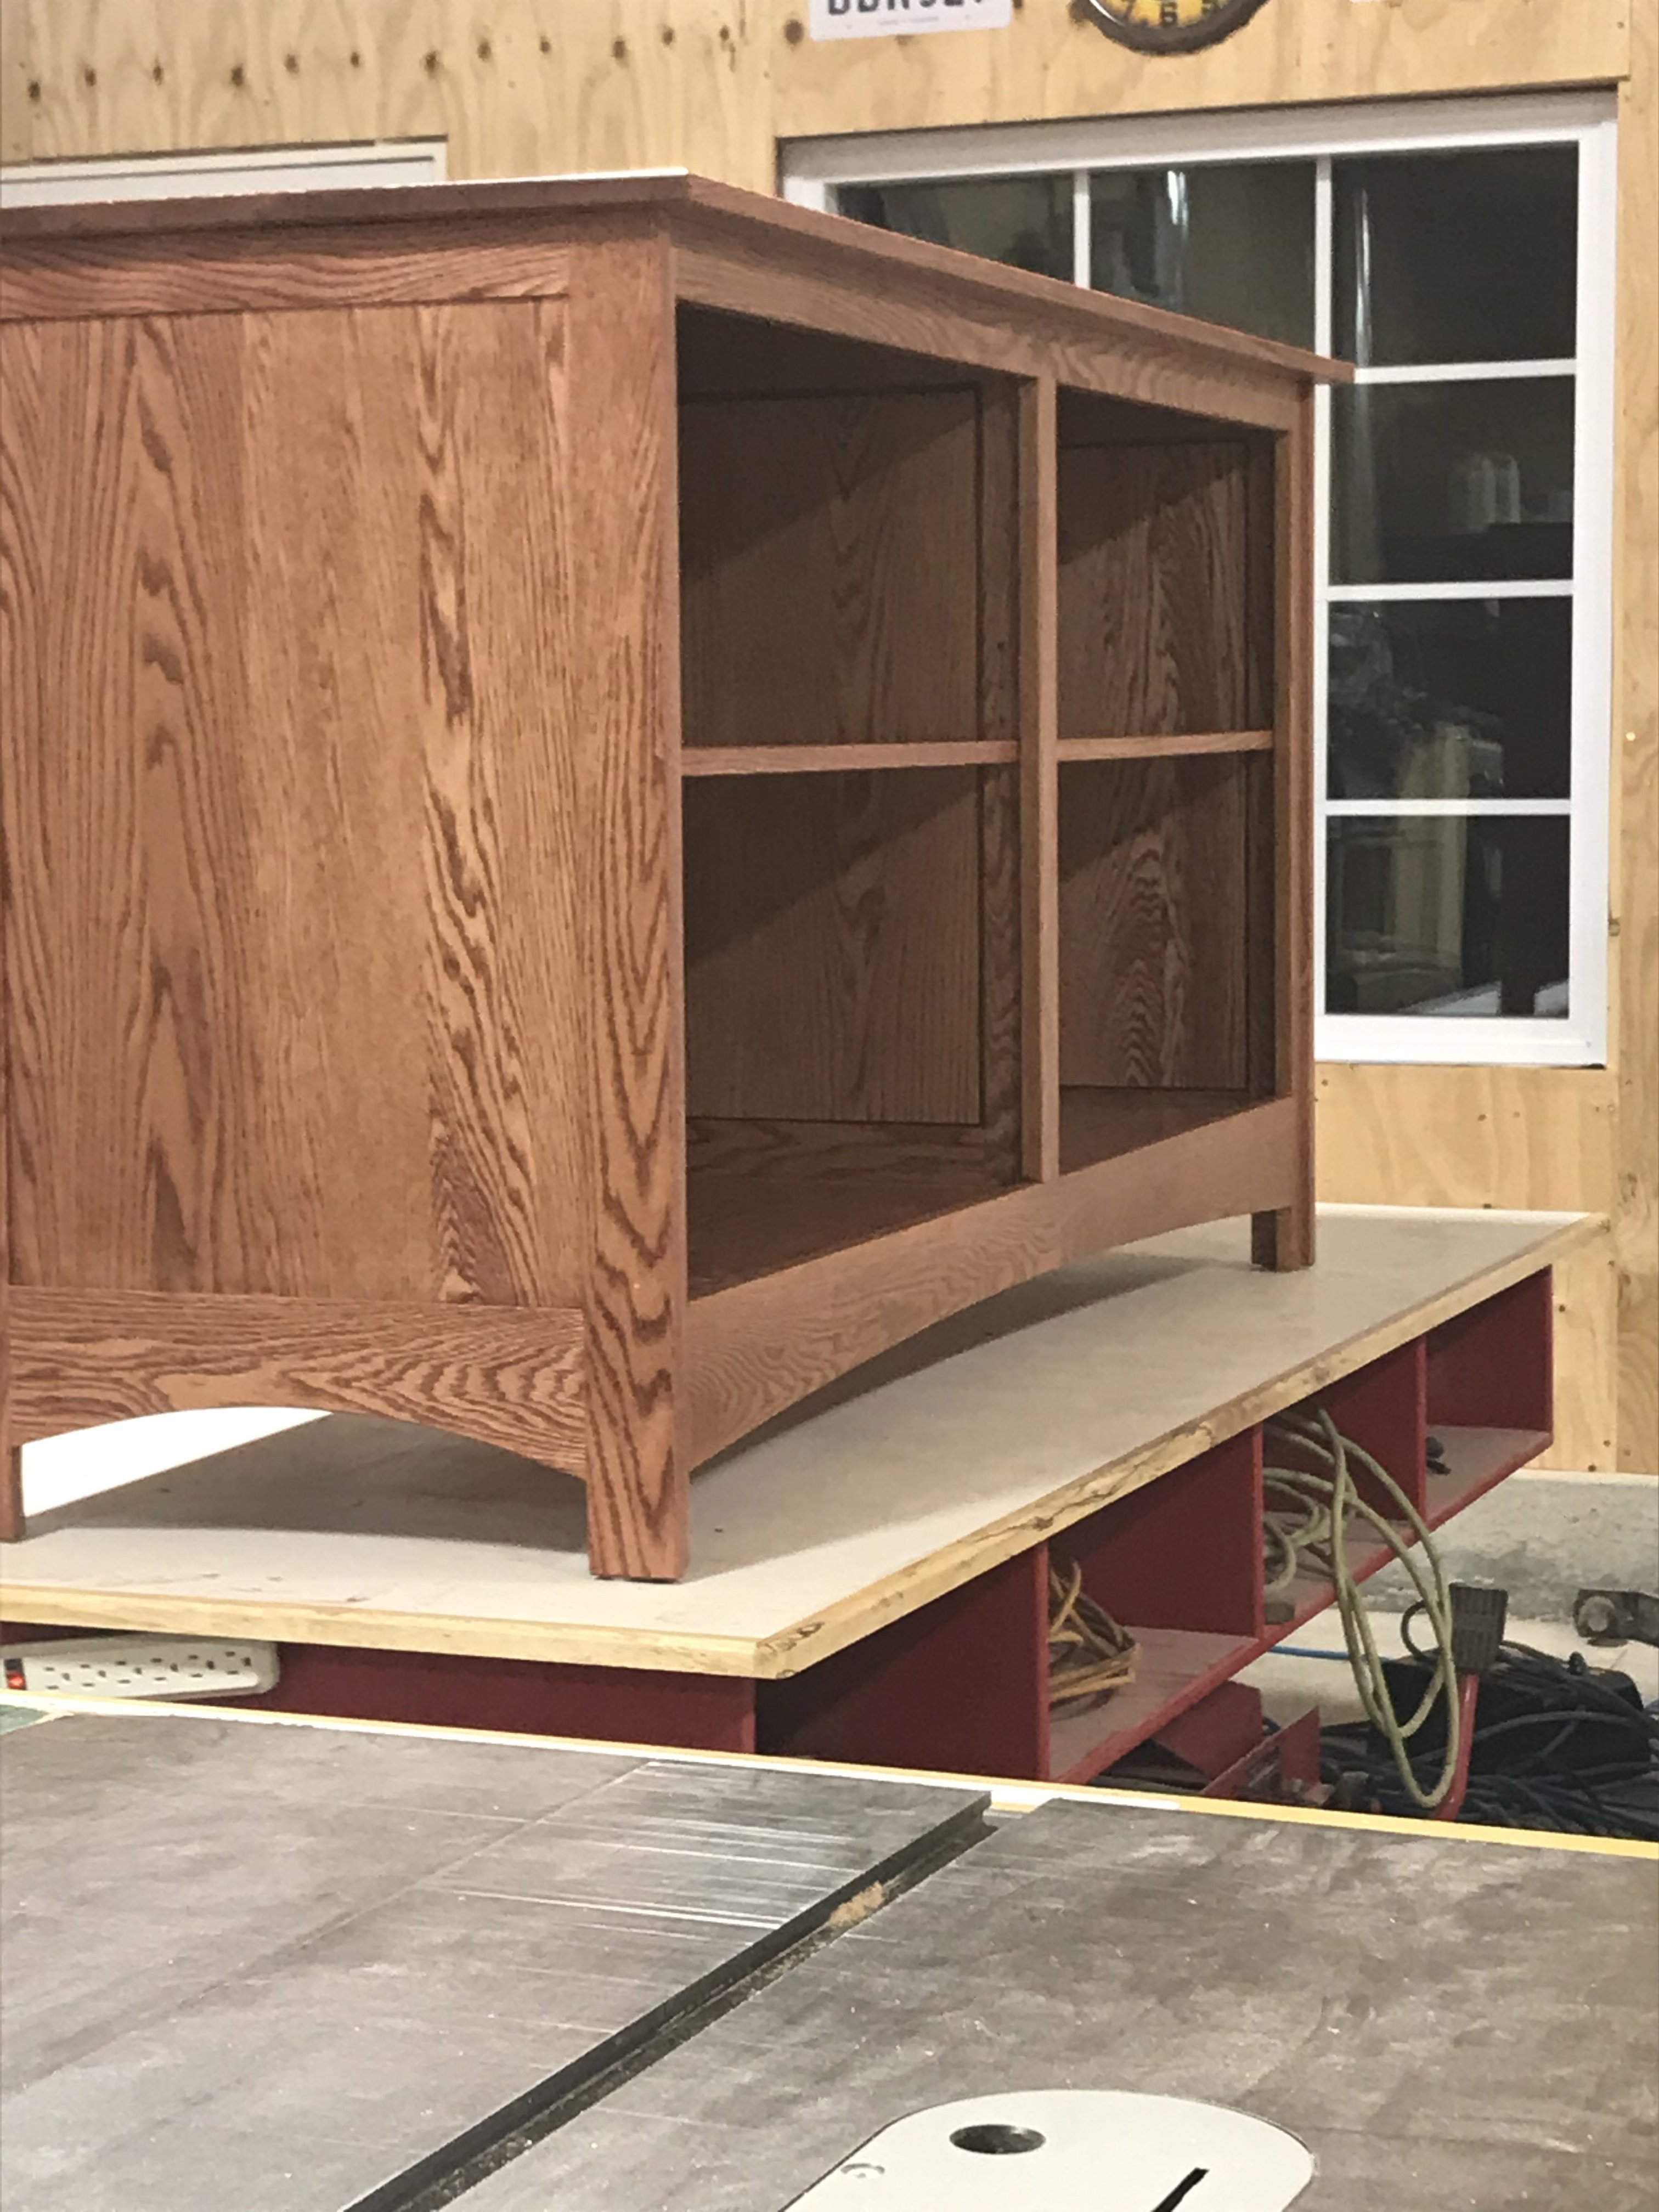
Looking forward to this build! Like the overall design, I agree that a drawer would be nice. Could maybe combo a drawer back support and cord management into the same piece.
-
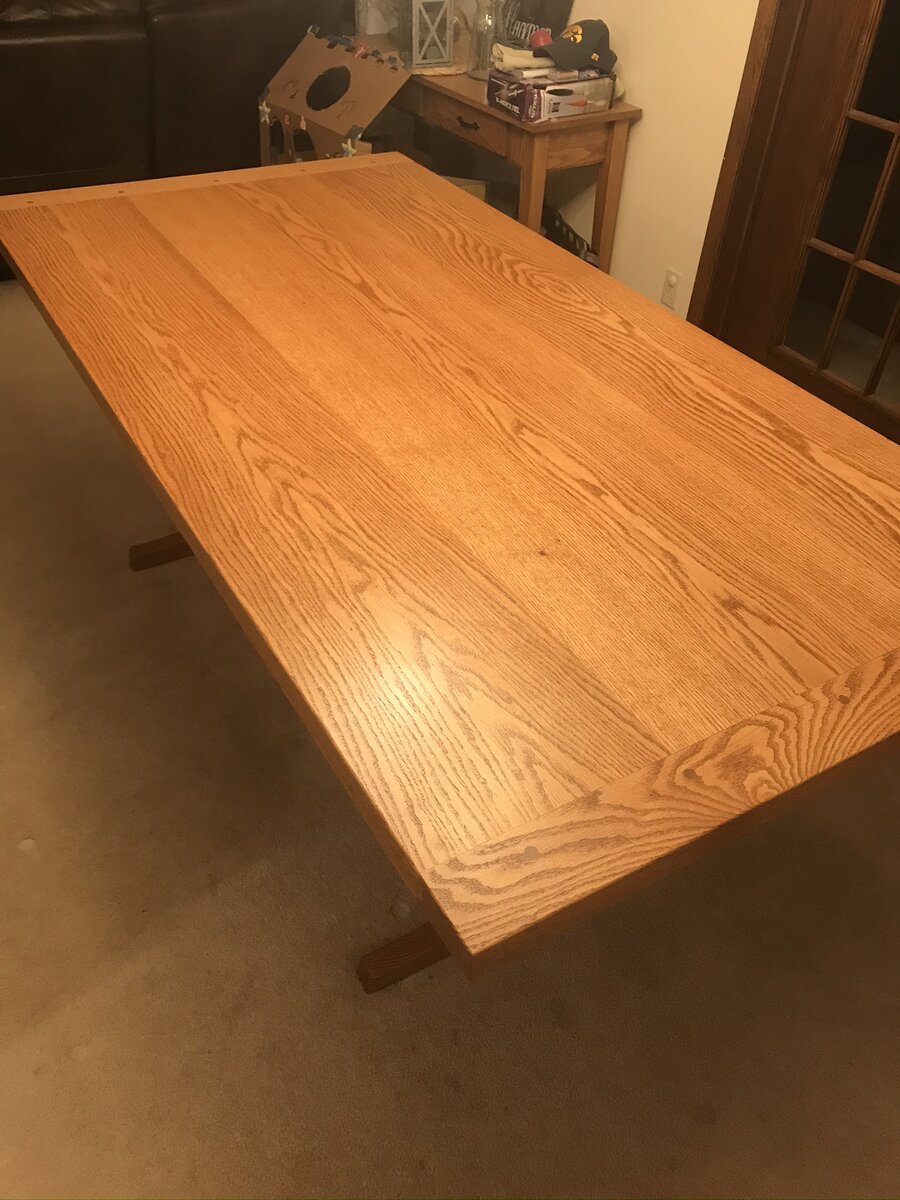
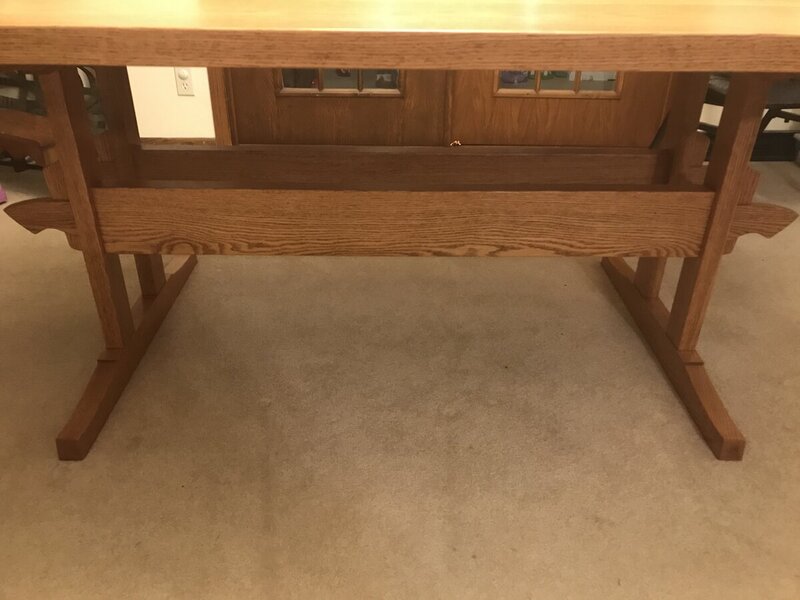
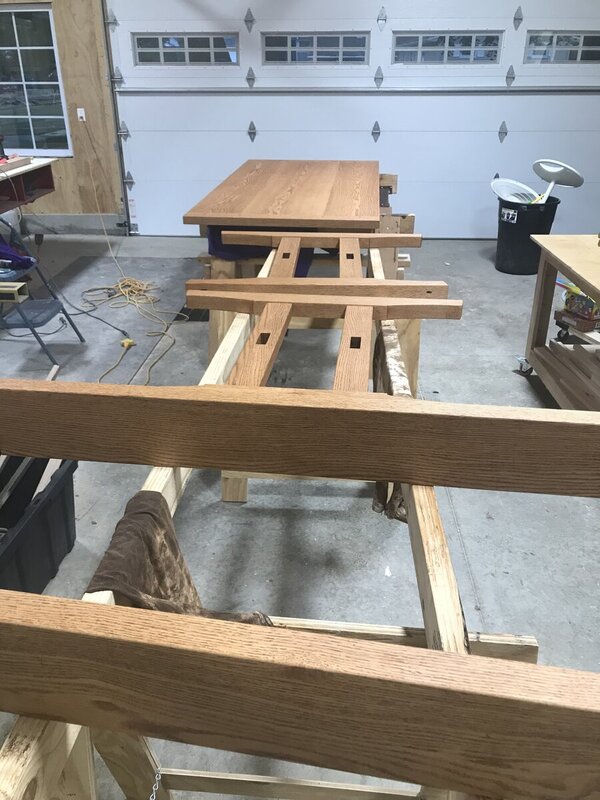
Final pics. Table is in place.


-
I agree over arm would be best. For covering the openings a piece of 1/4 ply with some magnets for quick removal might do the trick. On my pm I have used a piece of paper with a magnet for the last month or so with the intention of going with the ply.
-
That is one fine table! You have to be very proud of her! That will be a lifetime piece that she will always remember time with grandpa!
-
I used old masters brand, early American. Covered it with 3-4 coats of Sherwin Williams pre cat lacquer dull rub. Not sure how well it would work with a wipe on finish as sometimes the fibers of the roller can be a little fuzzy. I bet it would work if your wrapped a piece of cloth over it. Would hold quite a bit of finish that way. Now that I think of it I did do that one time when I was putting finish on the floor of our old house. In that case I just cut the roller in half and attached it to a long handle. I just used it to spread the poly, I would just pour some out on the floor and spread it the whole length of the floor, couldn’t stop in the middle or would get a start stop mark. Thank you everyone for the very nice comments and compliments. Also thank you for all your input on questions that came up. I think being part of this group pushes me to to want to try new things and challenges my thinking. Which is awesome. Thank you all very much. I will post a picture once the table is in the house.
-
It’s not big enough @Coop! The building is 30x40 with 11’3” ceilings. The reason they are that height is so it would get a little higher than our existing 2 car garage. The shop also is a boat house and I park my truck in there when I can. The area that I have the table set up for finishing is where I usually park. I would say the shop space is 18x40 roughly. The boat motor cuts into it some. I’m planning on doing a shop tour once the table is out of the shop and I give it a quick clean up.
-
Last night got the table sanded up and stained! Putting the stain or finish on a project is always very rewarding to me, getting to see it come to life. Did recruit Courtney to help with the staining. Which was nice to have her run the brush and wipe it down. I use a paint roller cut into 1/4s staple it to a piece of scrap and wipe the stain on with that. Works way better than a brush and a lot cleaner than a rag. The paint roller also holds quite a bit of stain so you can go a long ways without re dipping. Did spray it with lacquer tonight. Almost got it completed but ran a little short on finish. Will pick up another gallon hopefully tomorrow and will get the last coats on the top. I put 3 coats on the legs and stretcher. Also 3 coats on the bottom side of the top and will probably go with 4 on the top side. I sand to 280 between coats mostly with a soft pad. Did go with a block of mdf and the paper stuck to it on the top. With this project nearing the end it has me thinking about chairs. Since our table now is pub height the chairs won’t work. I priced a few out from an Amish dealer and wow did the price scare me away quickly. $349 for a oak unfinished chair with arms and $320 for a side chair. Thinking 8 chairs total would add up really quick. I do have quite a bit of the same lumber left from the table build that I could possibly build my own. I have never built a chair and up fir the challenge. I have fixed enough chairs that I know I don’t want to dowel them, am thinking that a domino might be needed ?. Can justify it because I’m not buying the chairs, right?

-
@Cooploose the quotation marks and it will work just fine
-
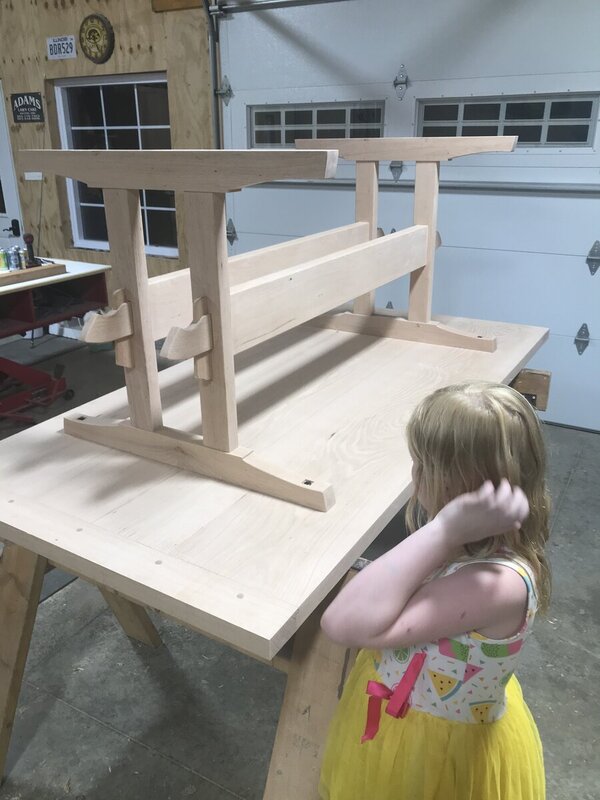
That is a great table and what a cool kid doing all that! I’m more impressed how she knows her limits on what tools scare her. I’m surprised the table saw didn’t freak her out! Great design and fantastic execution! Beats the first woodworking project that I did to pieces! Although I still have it and it does get used everyday in our house. My wife hates it but it will never leave the place. It’s a little step stool that is a toe smasher! Poor design that the legs are to narrow and wants to flip when you stand on it.
-
Yeah she like to check in on me! Especially when it’s close to her bed time, she has it figured out to ask questions around then. Usually buys her a extra 10 min or so before Mom is yelling at both of us.
-
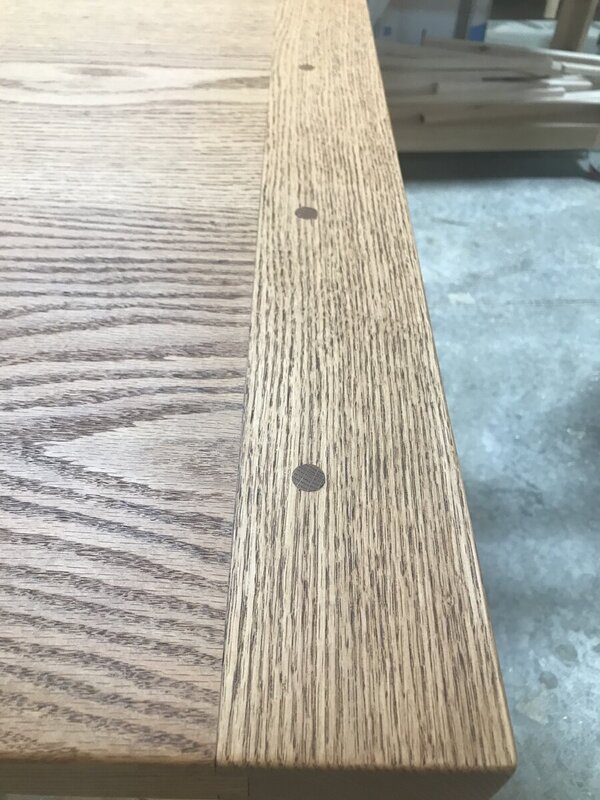
Did get the wedges fit tonight and the threaded inserts in the top. Have to finish sand the top and put the round over on it. The light is at the end of the tunnel!