Every purchase made through our Amazon Affiliate Page helps support this site

Chet
-
Posts
2,277 -
Joined
-
Last visited
-
Days Won
92
Content Type
Profiles
Forums
Downloads
Gallery
Events
Store
Articles
Blogs
Everything posted by Chet
-
No I don't unless I used my phone and I am all thumbs even trying that. ?
-
Yea I had told her there are smaller ones, and I think I am going to look into that.
-
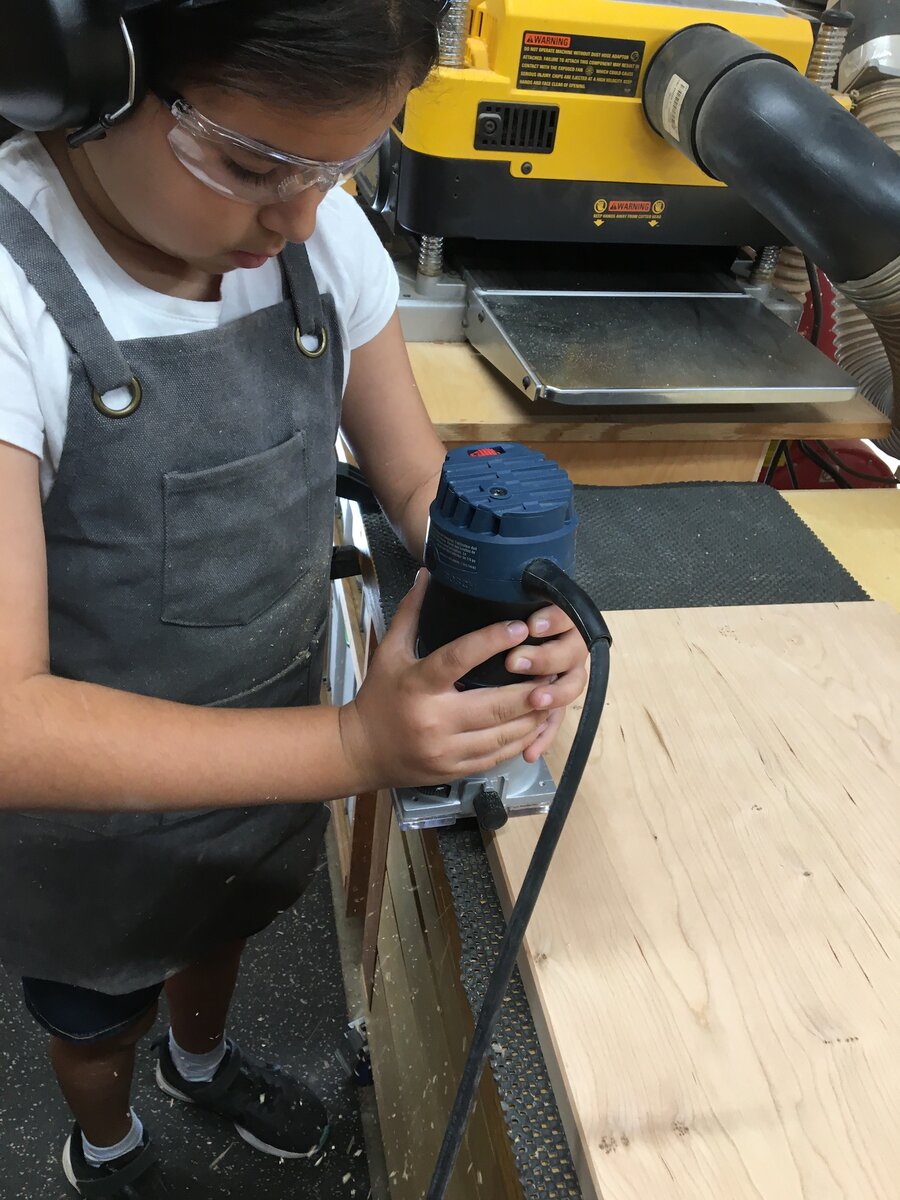
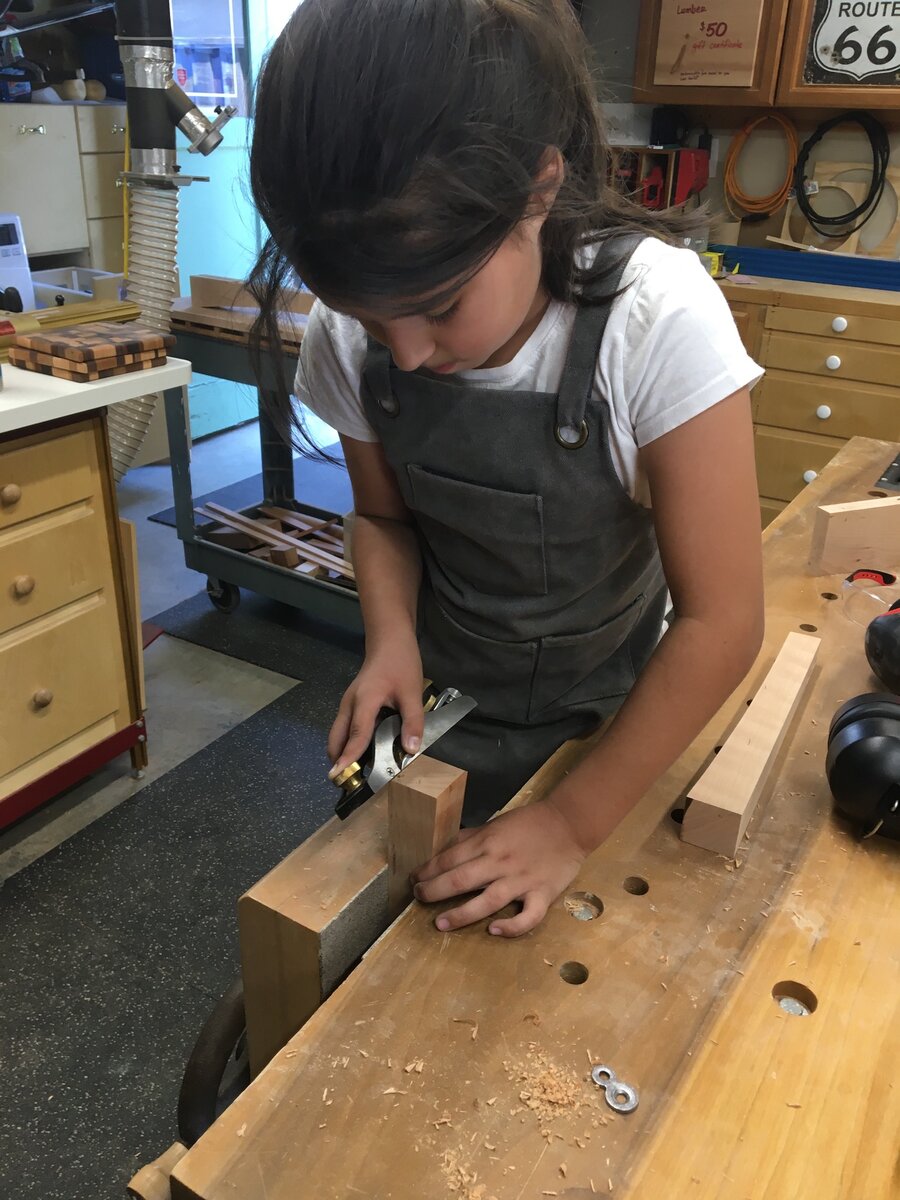
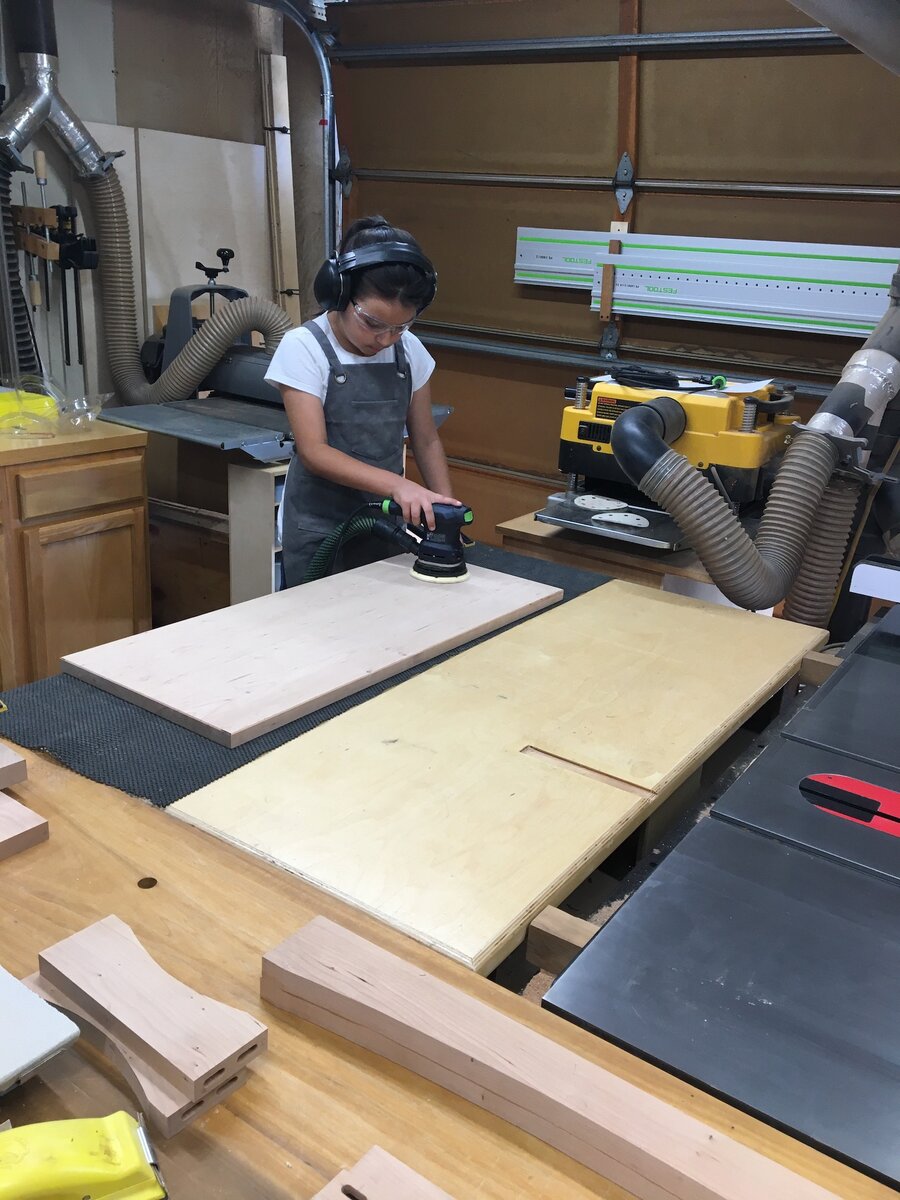
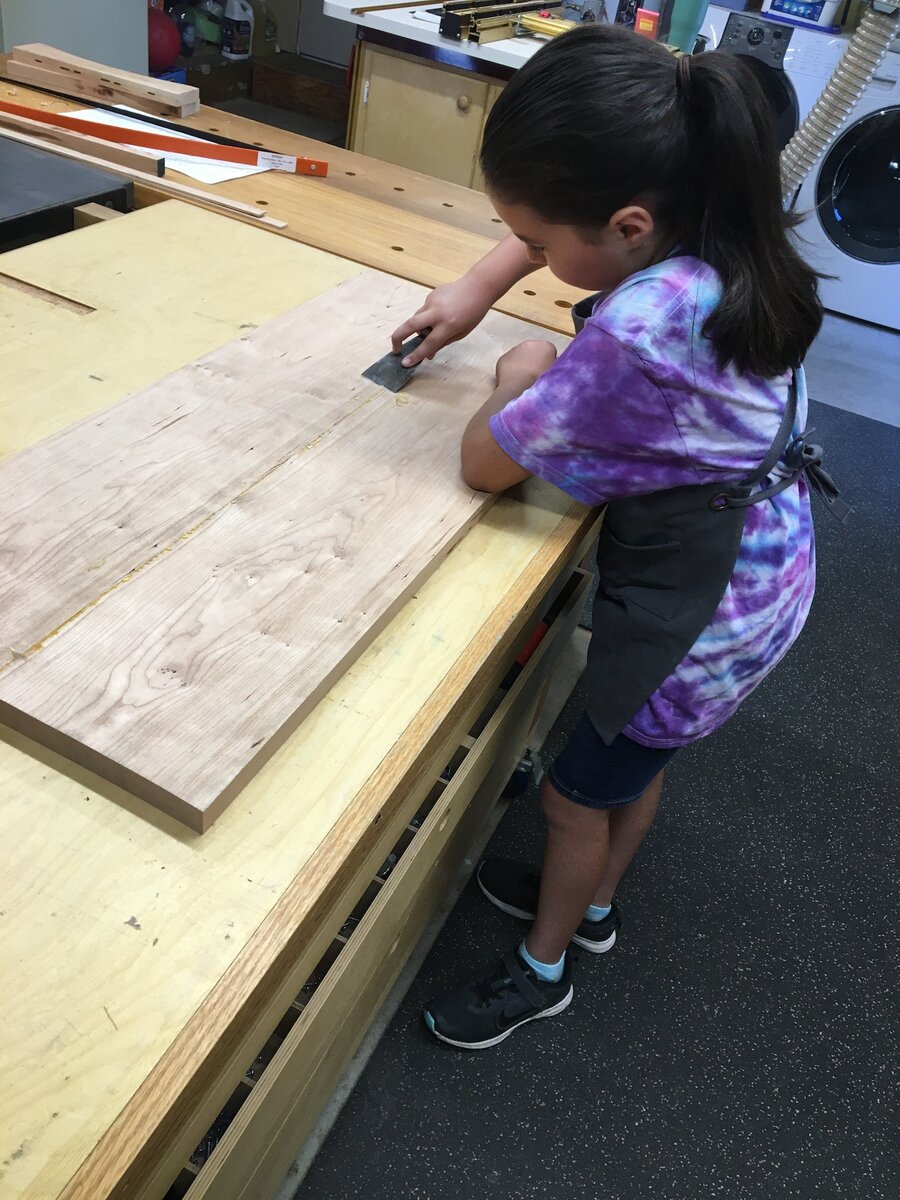
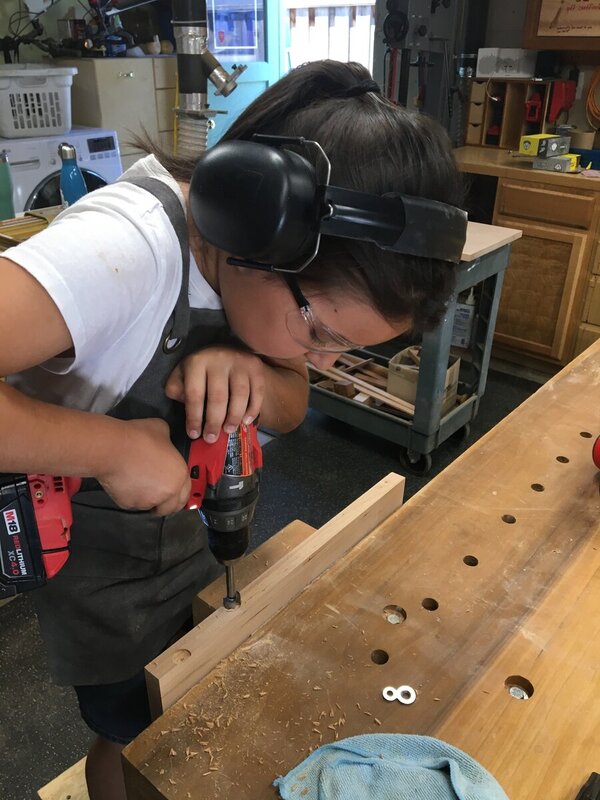
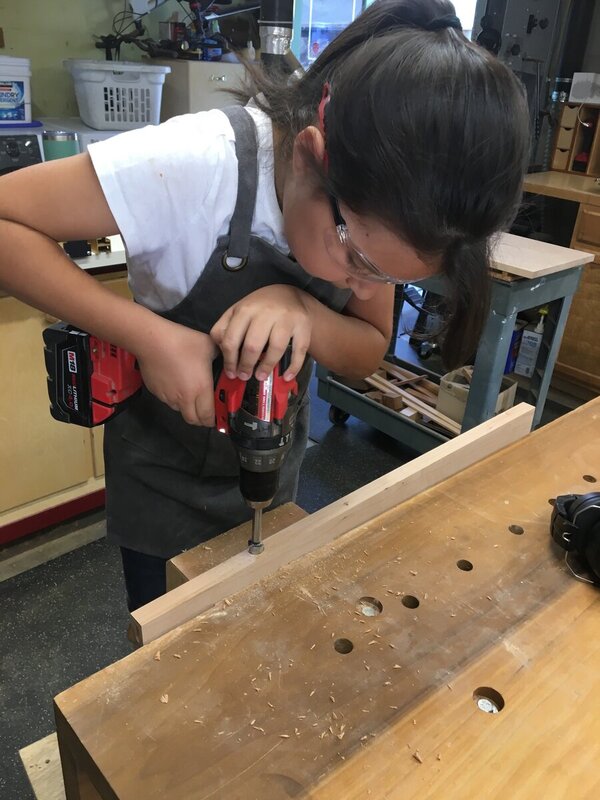
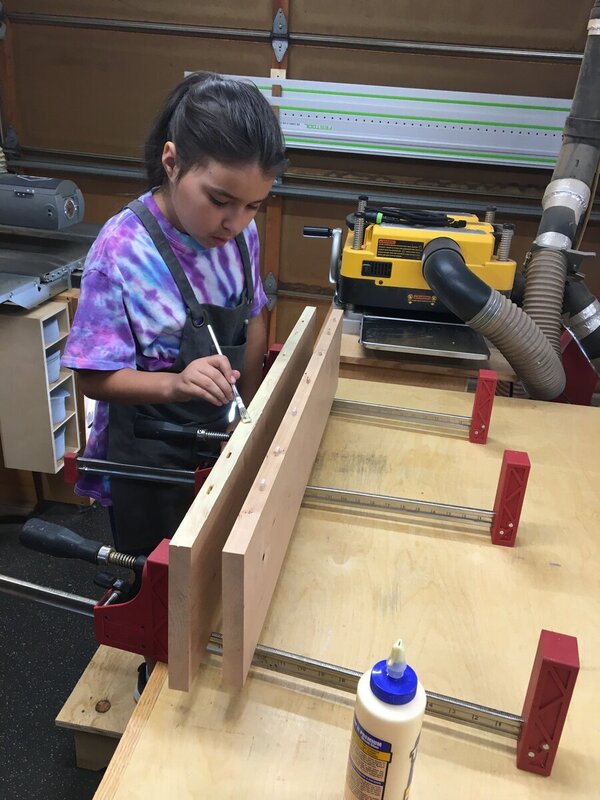
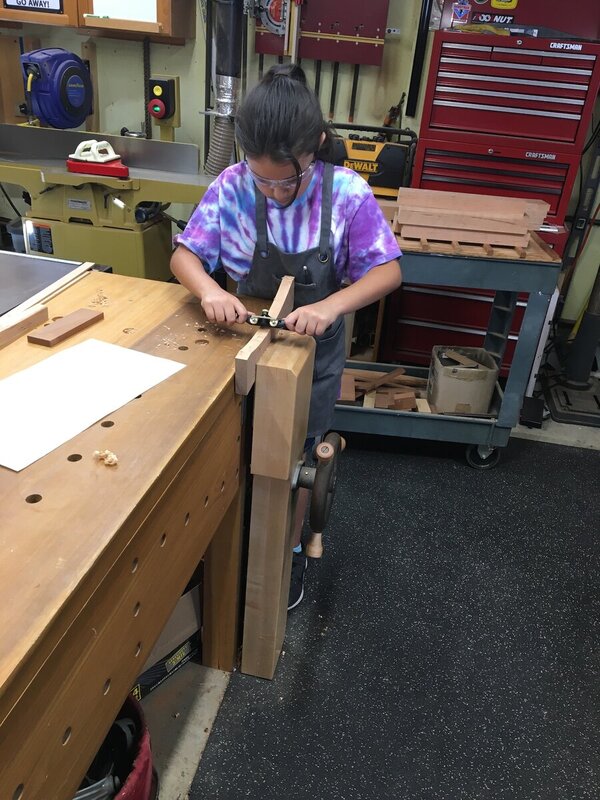
Today she started off by adding a small chamfer to the bottom edge of the table top. First some practice with a piece of scrap. Then on to the actual top. Then it was a lot of sanding. She started out using my ETS 150/5 but was a lot more comfortable using the smaller 125. Practiced drilling the holes for the figure 8's. Then getting it done on the actual aprons. She tried doing a chamfer on the bottom of a scrap leg and she was doing fairly well but she said that she kept losing the grip of the plane and her hand was always sliding so I ended up doing the legs themselves for her. One thing I have learned with this project is that we as adults take all the tools we use for granted but for a little one like her it is totally different. Then we glued up the base. No action shots here, it took both of us spreading glue to get it done, it was pretty warm in the shopped I didn't want the glue setting up on us. But I do have to say she has a real aptitude for spreading glue with a brush. I guess the art time back in kindergarten paid off.


-
Welcome back.
-
And you respond by yelling "but it's her faaault"? The table is really coming along Jamie.
-
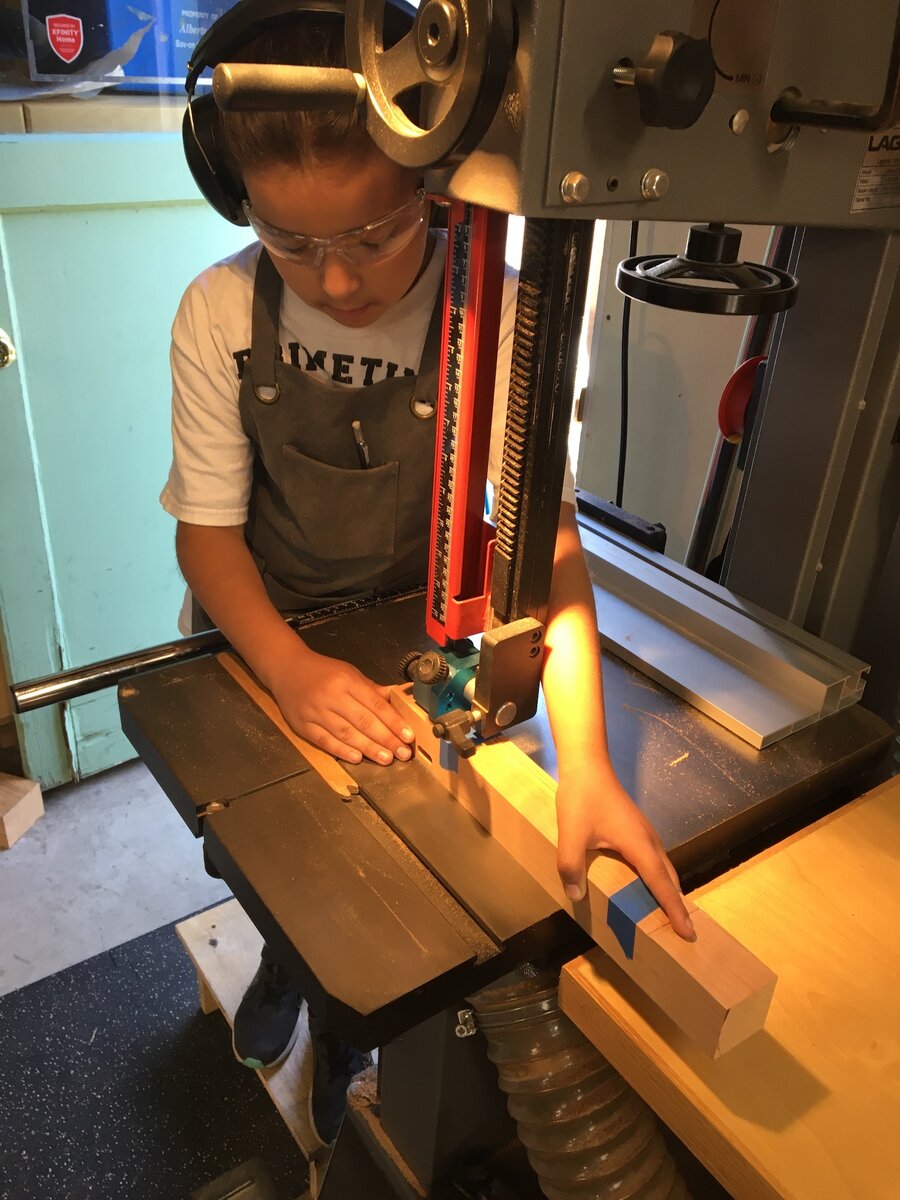
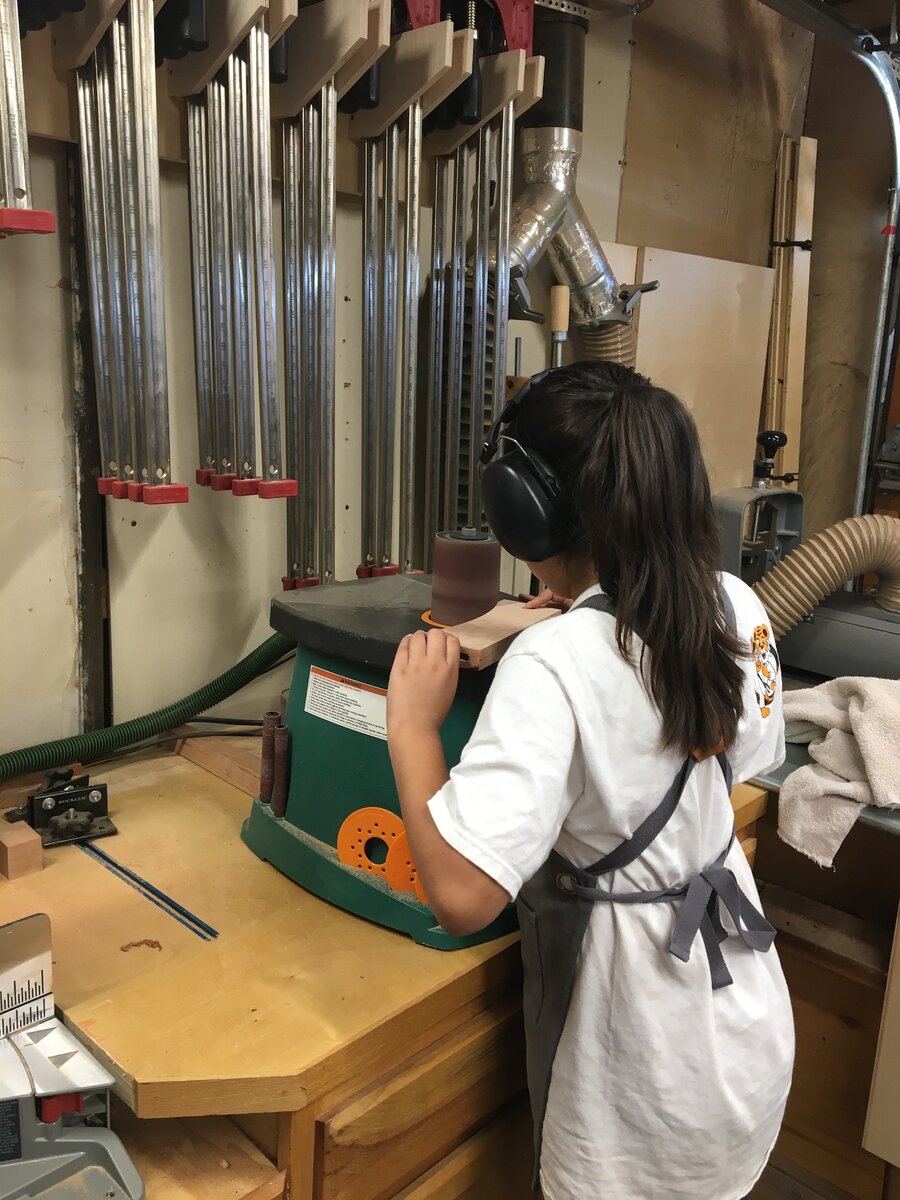
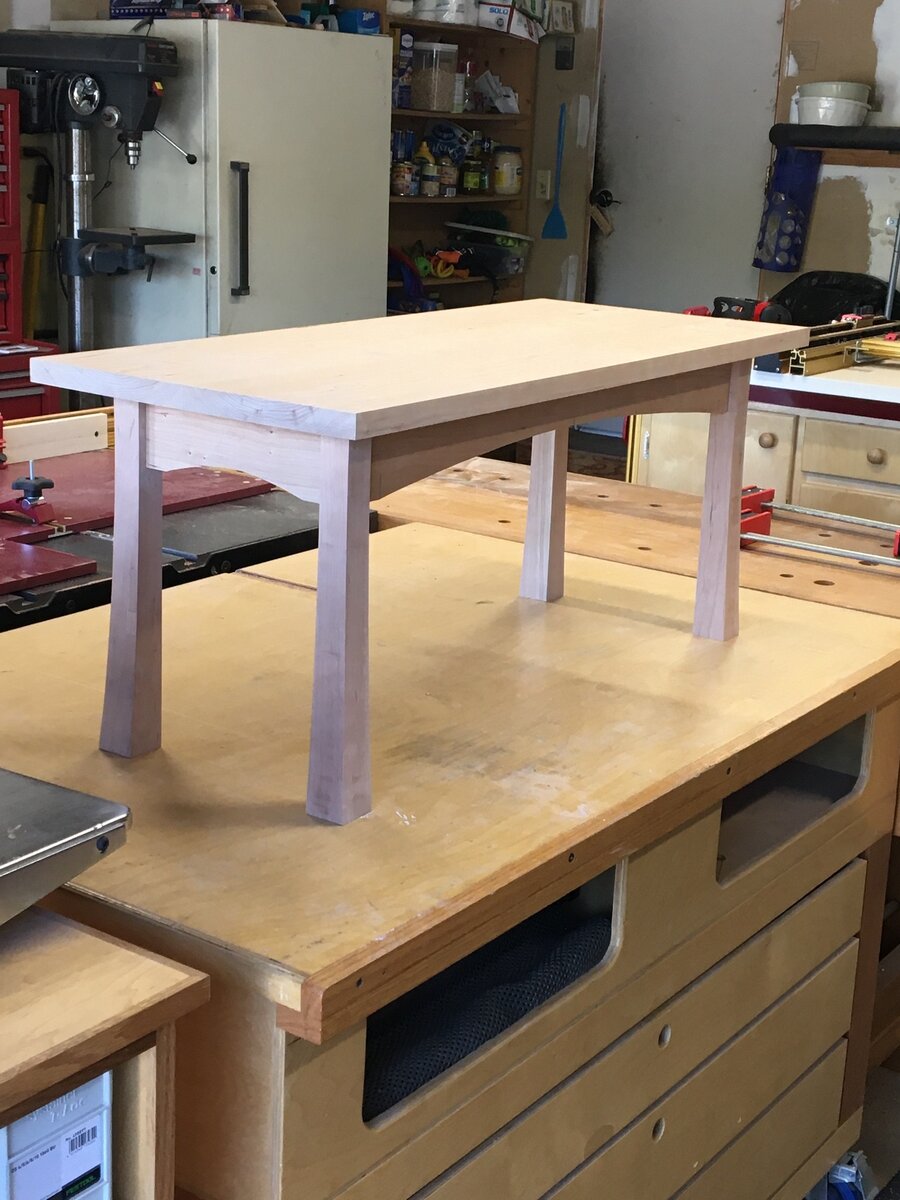
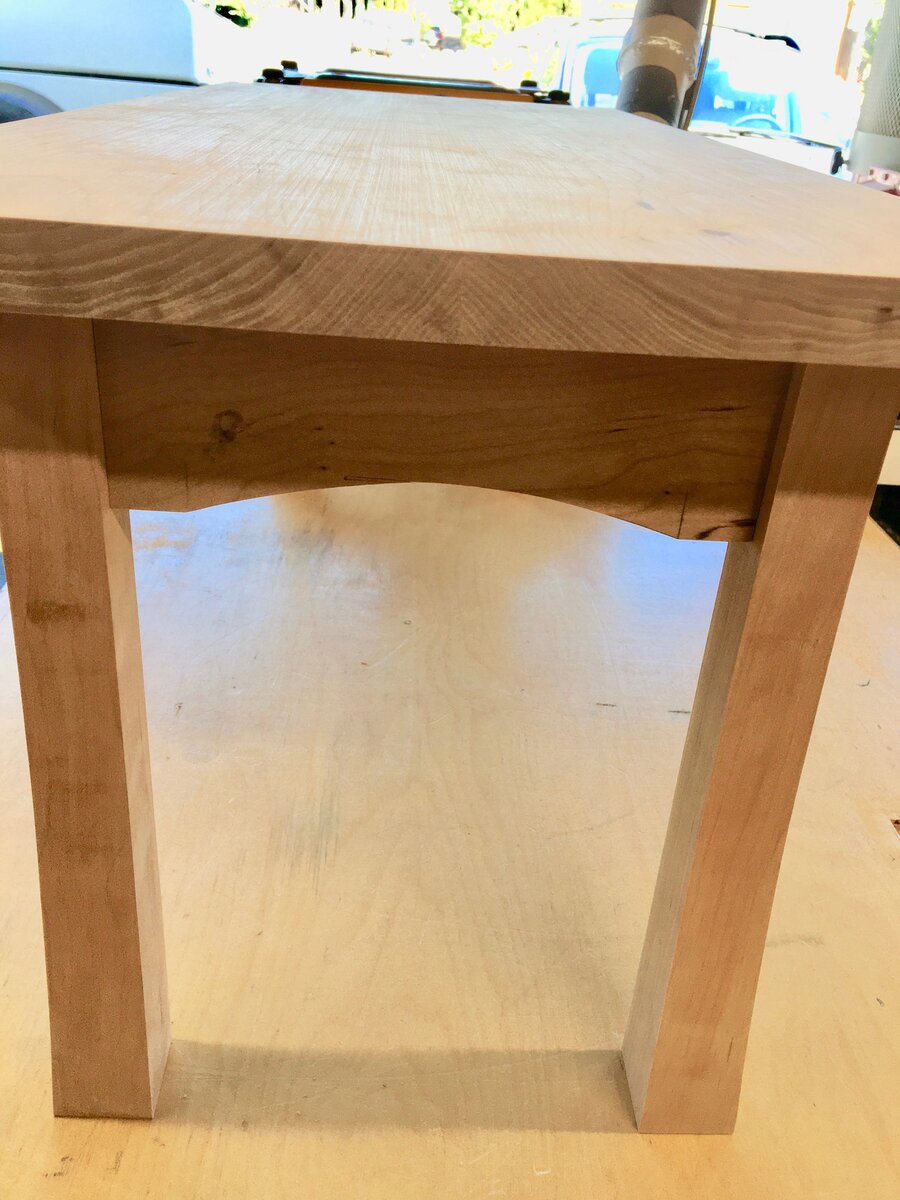
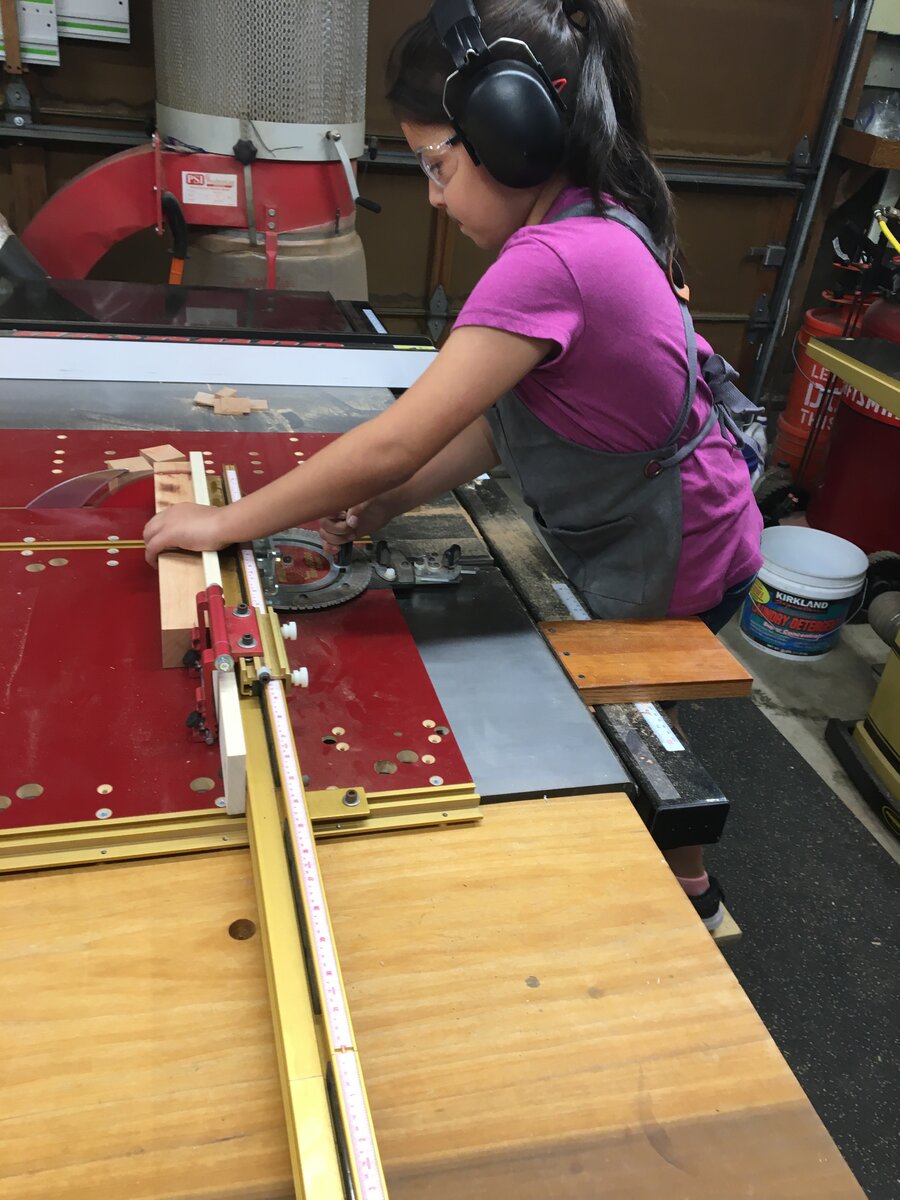
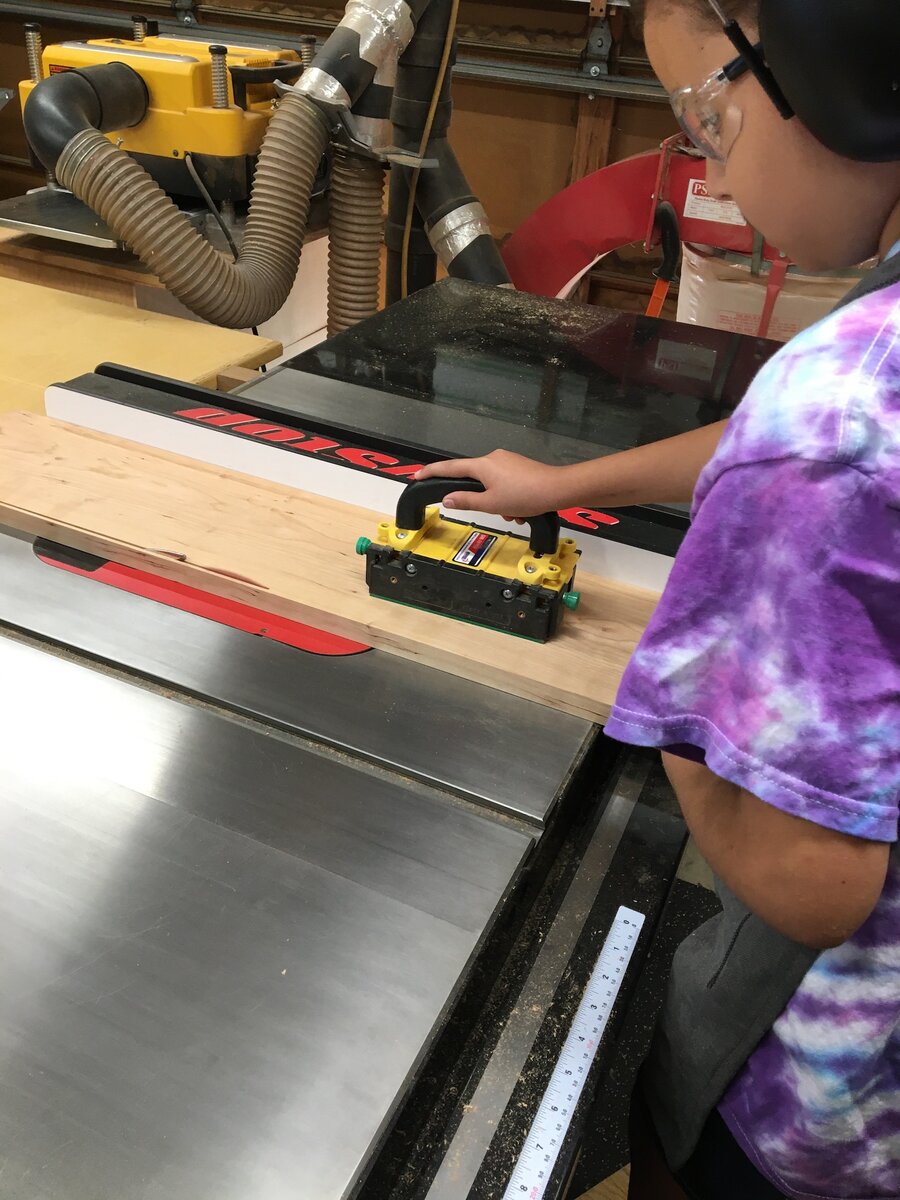
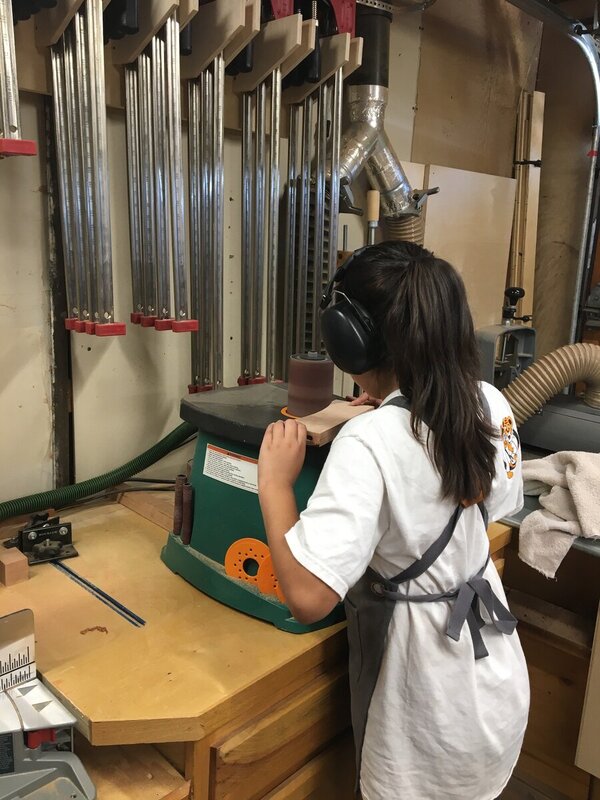
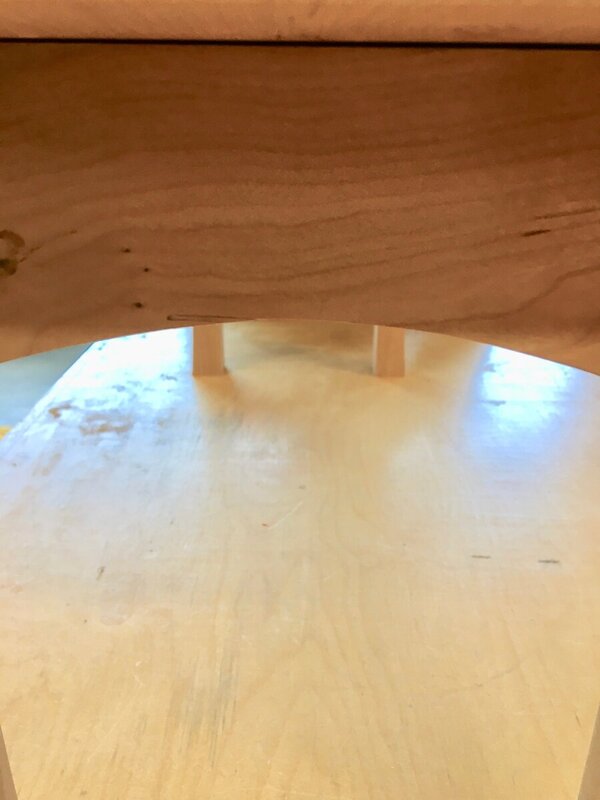
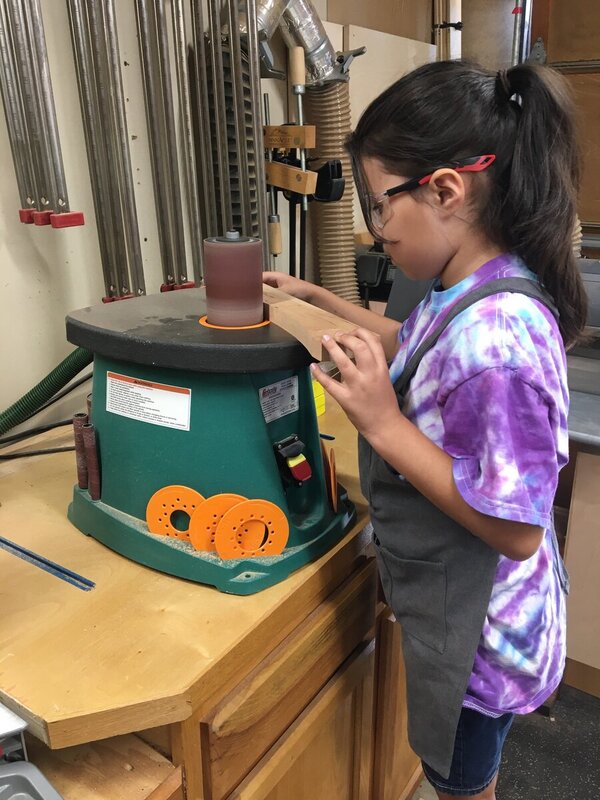
Well she cut a bunch of curves today. First up the legs. She did a curved reverse taper on the two outside faces of the legs. I cleaned up those cuts at the router table with a pattern bit so this makes two machines in the process that she didn't want to use, first the jointer and now the router table. I think she has made some good choices in not doing anything she is not comfortable with. Here she is cutting the curves on the leg. This is the second cut with the waste from the first cut taped back on. It looks like her back hand is in a bad place but I posed most of the pictures with the saws off. I failed to get any pictures of her cutting the curves on the apron pieces but here she is at the spindle sander cleaning up the cuts, first on the long aprons... ...then on the shorter aprons. She did have a mistake at the band saw cutting the curve on one of the small aprons. She lost sight of the line because it sort of blended with the grain. It would have been easy to just mill another one up but I told her that there are ways to fix small mistakes. I told her I could show her how or we could make a new piece all over. She wanted to see me fix it. I took a chisel and shaved a thin piece off the off cut, supper glued it in the kerf and to the under side of the curve so when she sanded the curve again after the fix it would flake of. Here, in the close up you can see it just to the left of the high point of the curve. But from a normal distance it is pretty hard to see. I told her to keep it a secret, don't point it out to people. Couple of pictures of the dry fit. Next up is to chamfer the bottom edge of the top, some sanding and a glue up.


-

Split Top Workbench (Not really a Roubo)
Chet replied to Woodenskye (Bryan)'s topic in Member Project Journals
I was going to suggest this also. I think Tmize used one on his bench for this same operation, he was fortunate to have a buddy that owns one. -
I meant shouldn't be to big of a problem
-
Does the cabinet have enough mass for the Moxon or could there be some un-wanted vibration when using hand tools? For mounting it to the cabinet, maybe some T - nuts on the underside of the cabinet top and long threaded bolts to go through the Moxon. You would have some holes in you counter top when the Moxon wasn't there but should be to big of a problem.
-
Bushwacked Garage Reno Complete in 2020 sometime ... Hopeful
Chet replied to Chet's topic in Member Project Journals
I would be interested also. I made some for my Bosch, it was a bit of a pain because the way the original was designed it didn't serve much in the way of a pattern. -
That is looking nice. Well done.
-
I have a gallon can of West System that I purchased the summer of 2016 and my grand daughter just used some this week, so, so far so good. I do think that I would consider buying a smaller size next time. I did have to replace the pump in the harder once. I have the slow hardener and I can't even tell you why that was the one I picked up.
-
Thats looking good and getting close to the finish line. Are you putting a shelf on the bottom?
-
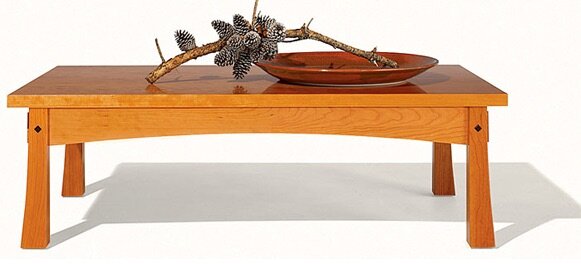
No. They will have a slight curve ending wider at the bottom. Yes. This is the table legs that she liked off an internet picture although her table will be taller.
-
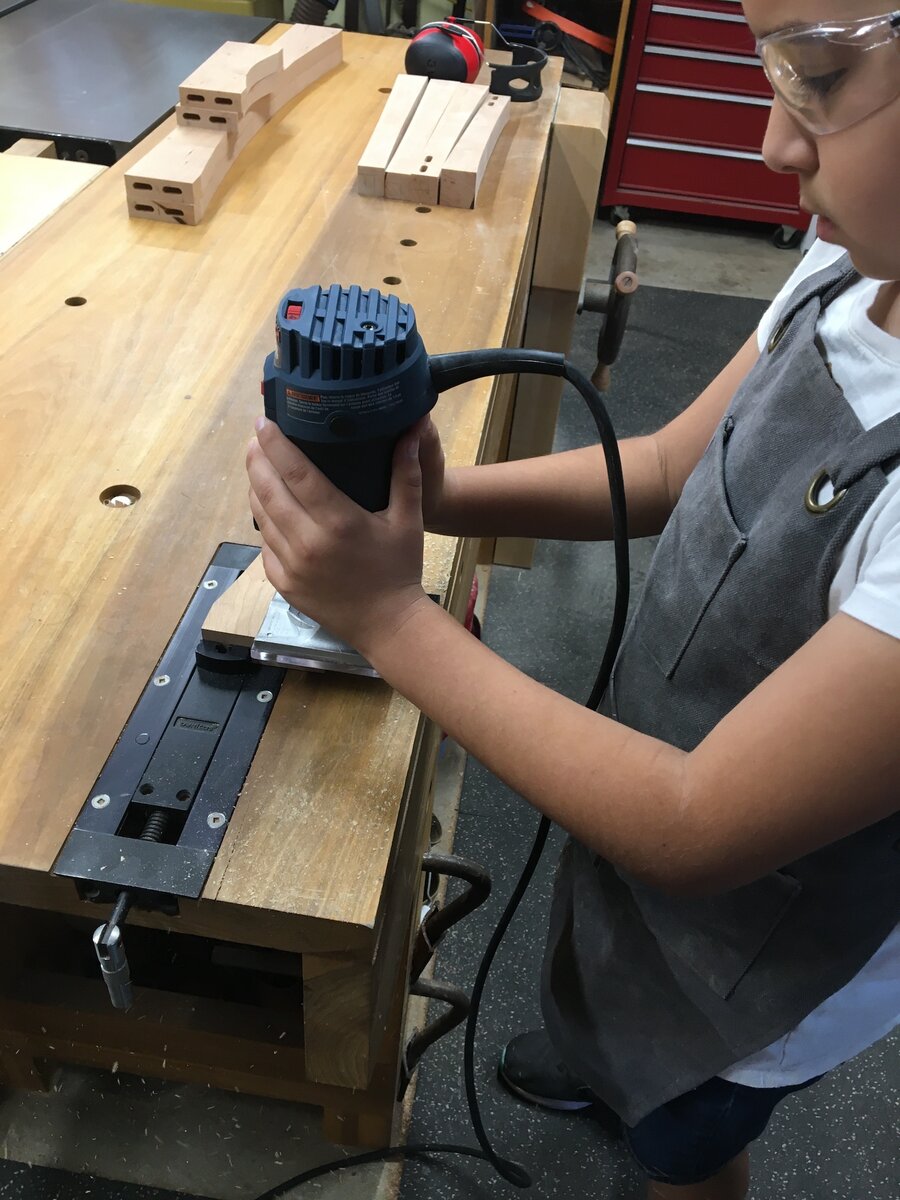
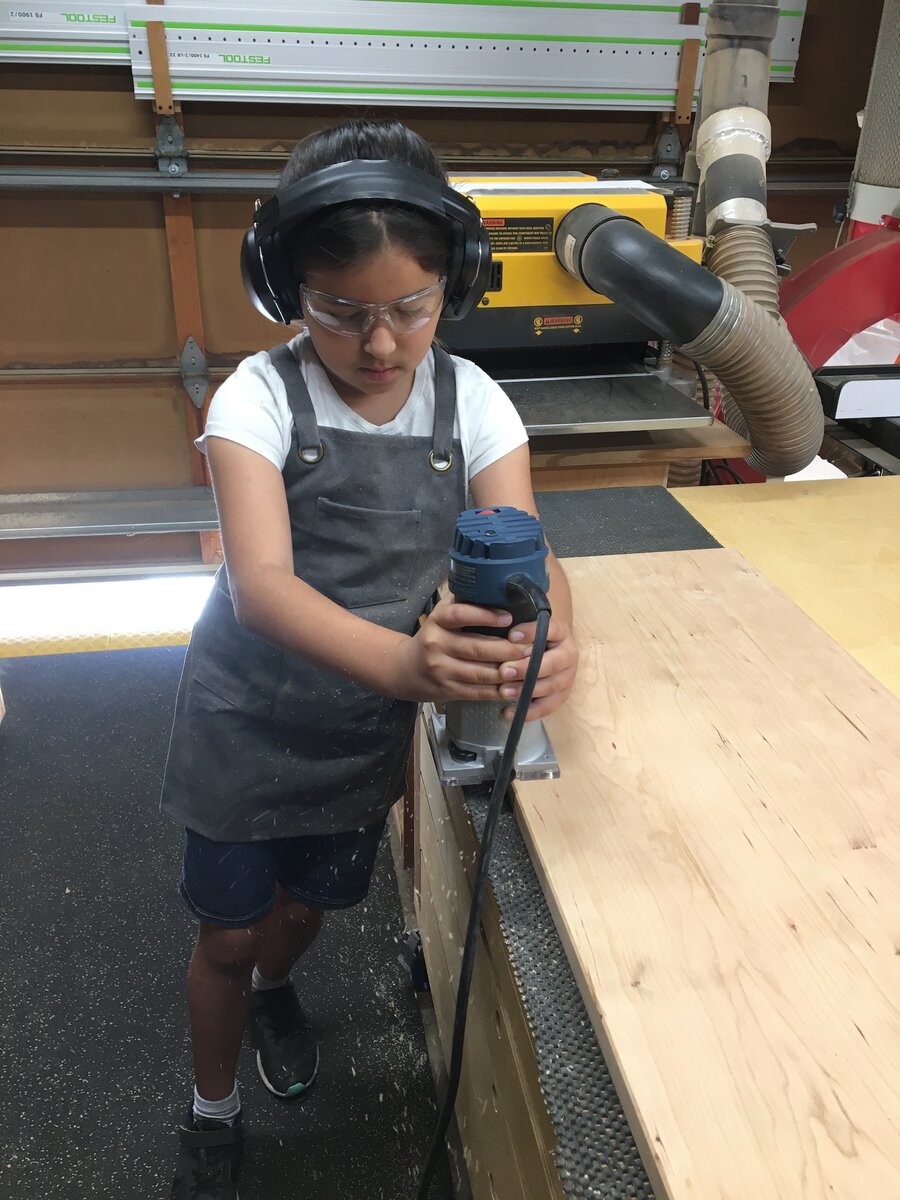
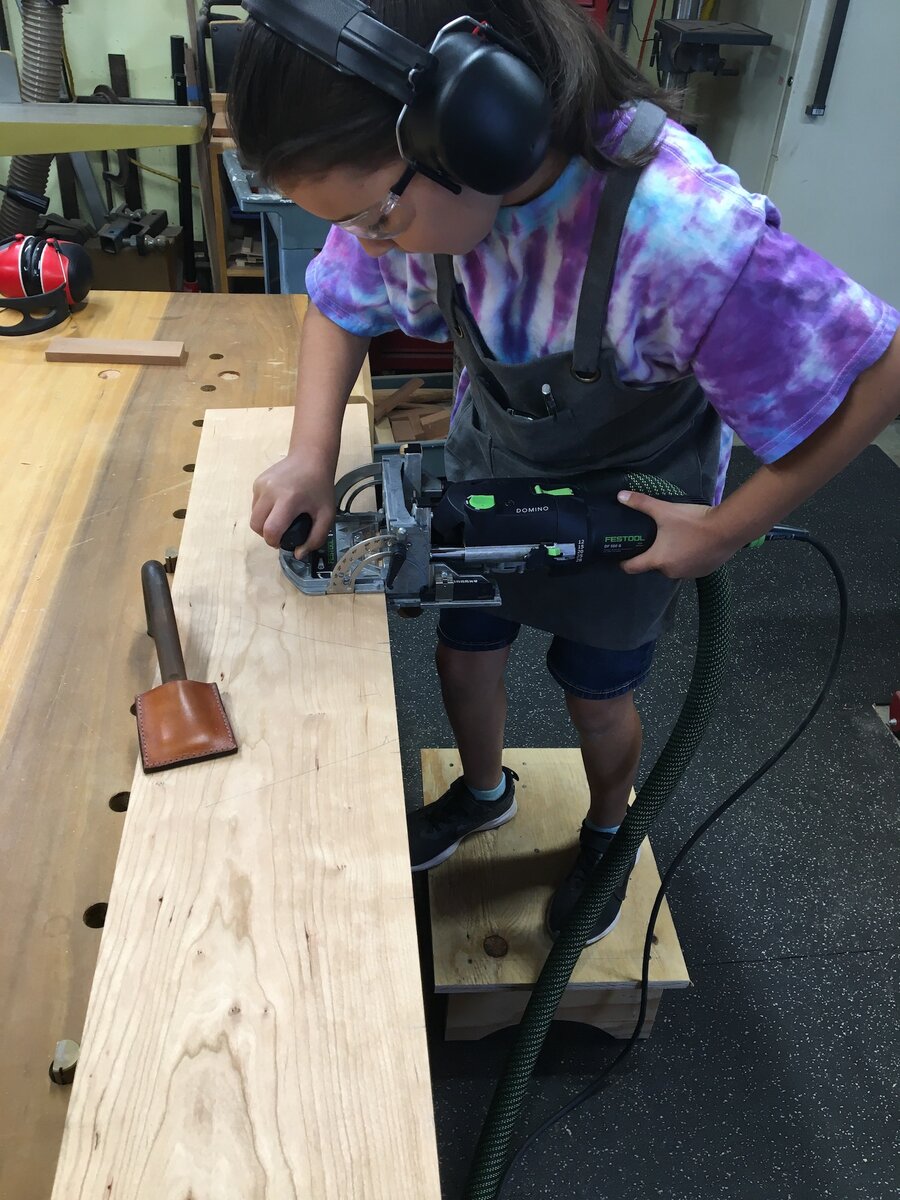
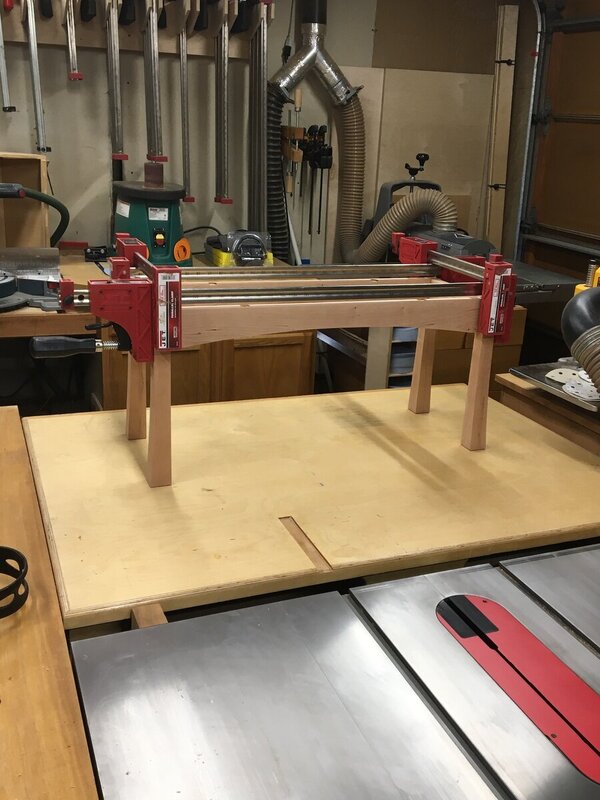
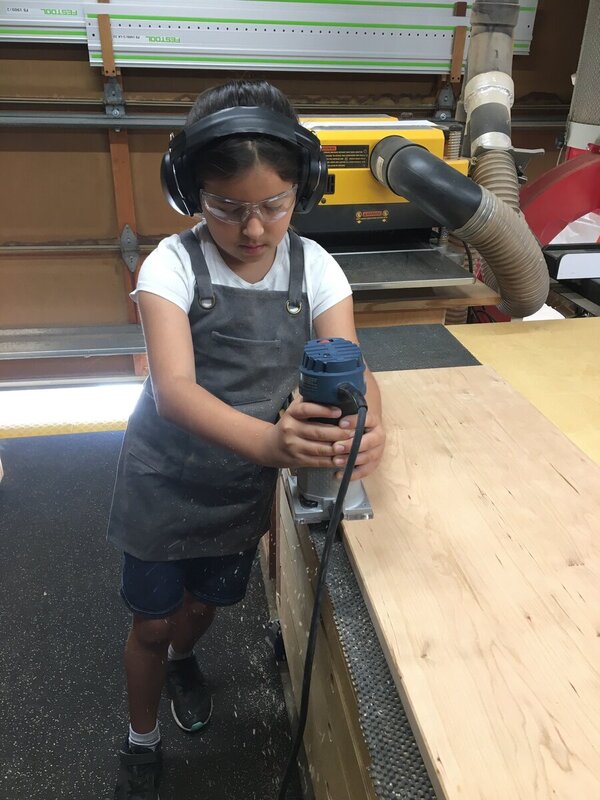
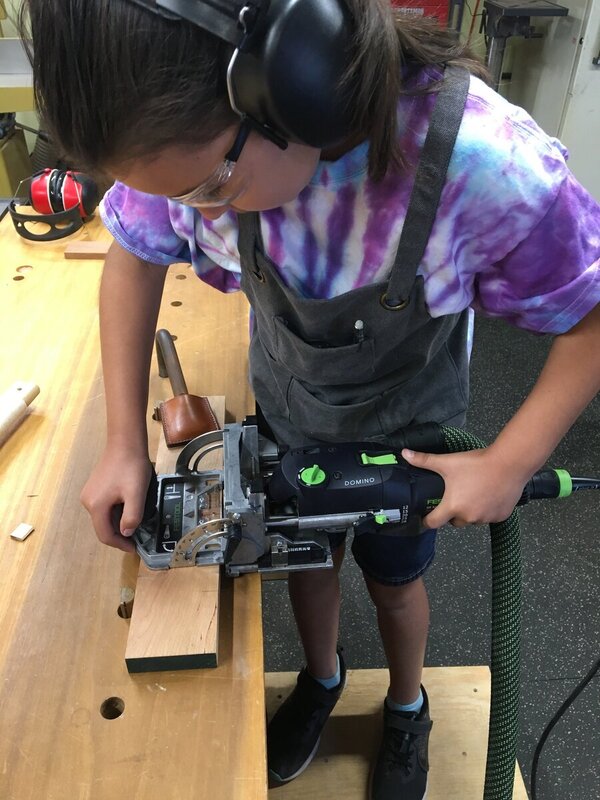
We pulled out both the router and domino. With out any bits in either one of the tools and no power I had her go through the steps of using each tool. Using the domino she can use more of her body mass behind the plunging process. With the router she was struggling with the plunge. You don't realize as an adult that it is more of an upper body strength to plunge the router. I wanted her to get the most experience and do as close to 100% of the work that was safe and humanly possible for her so she would come away feeling like she built the project, I didn't want her feeling like she was just helping grandpa. So far the only thing I have done is anything requiring the jointer. How close was I to your thinking? ?
-
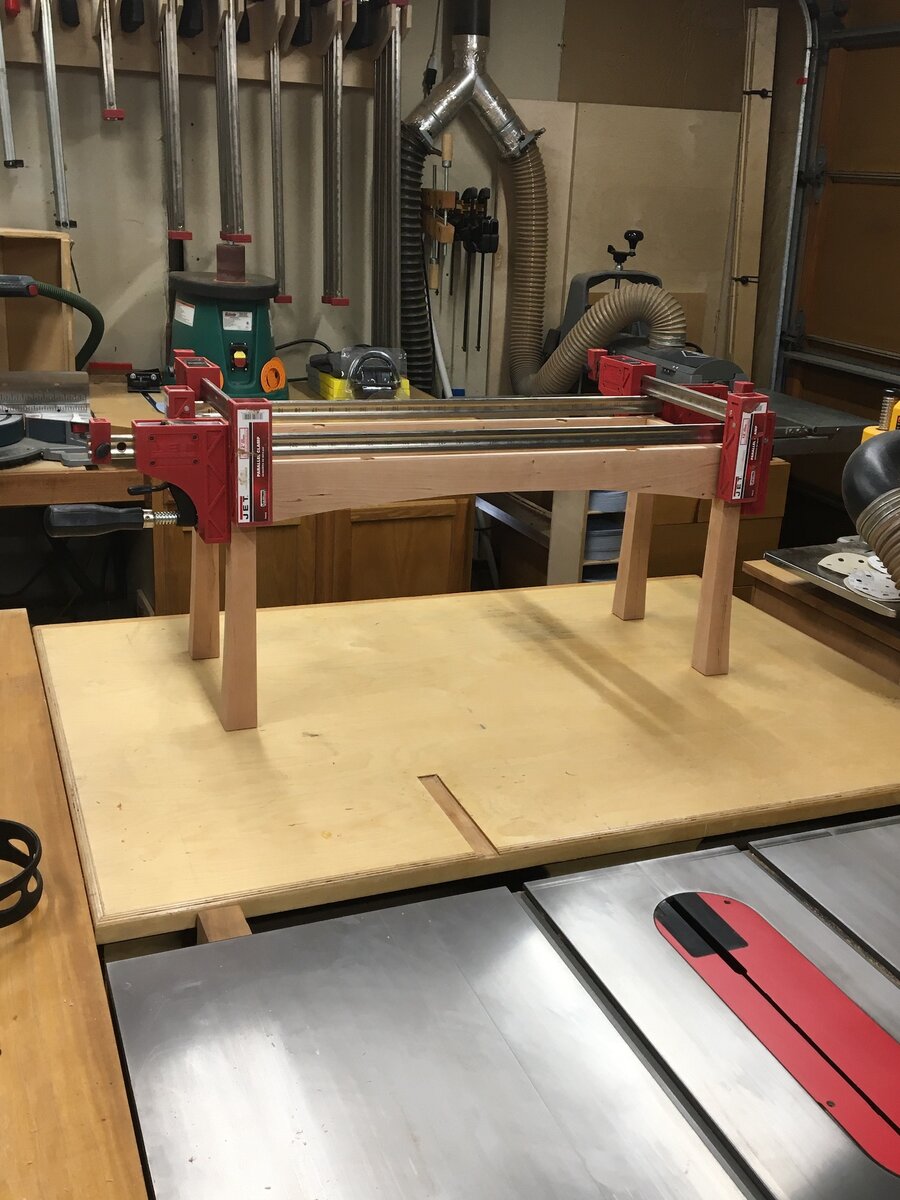
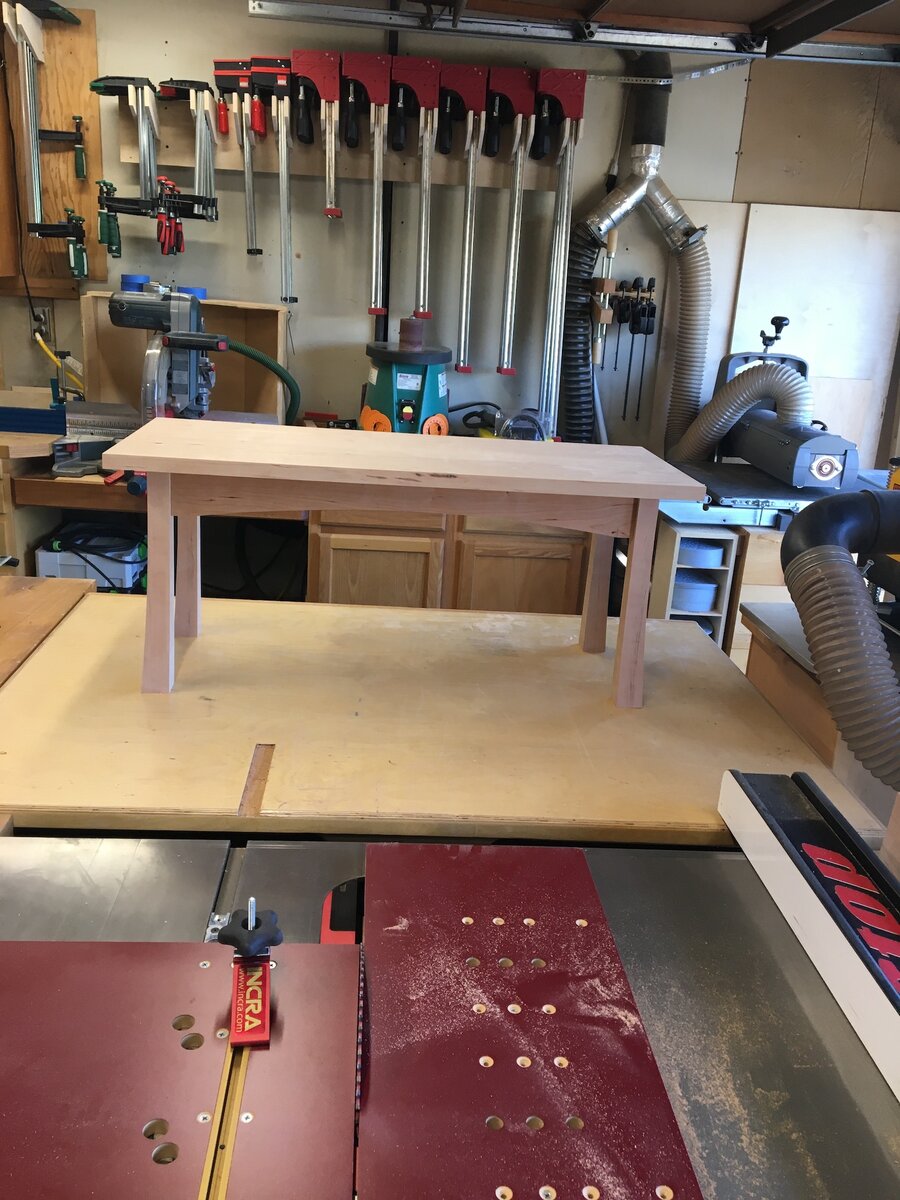
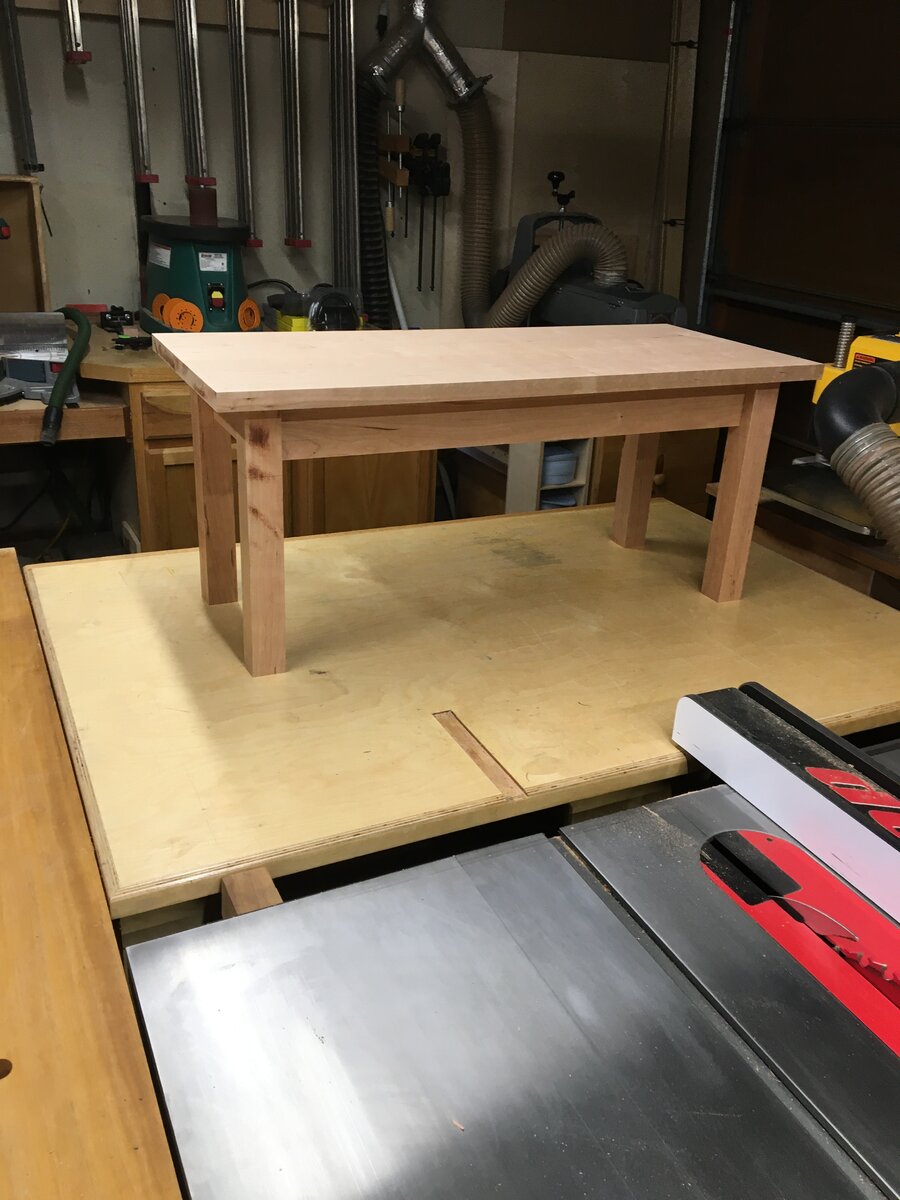
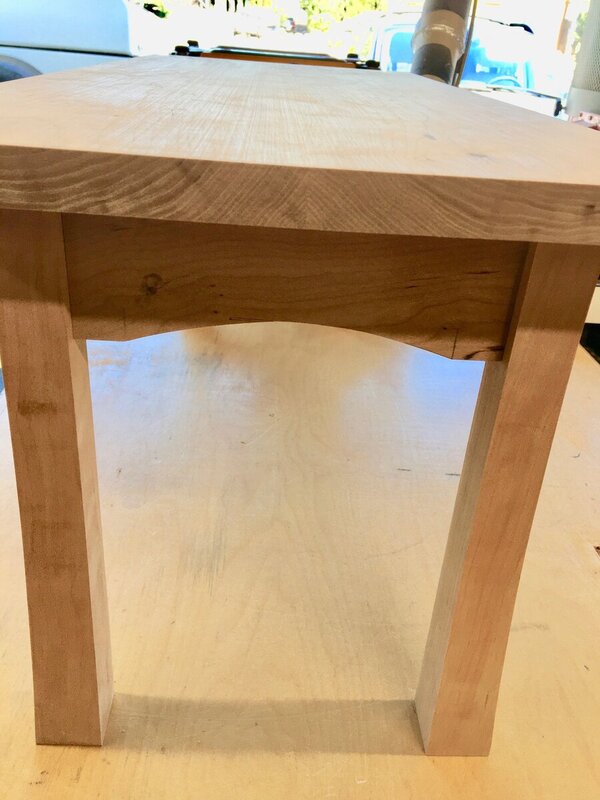
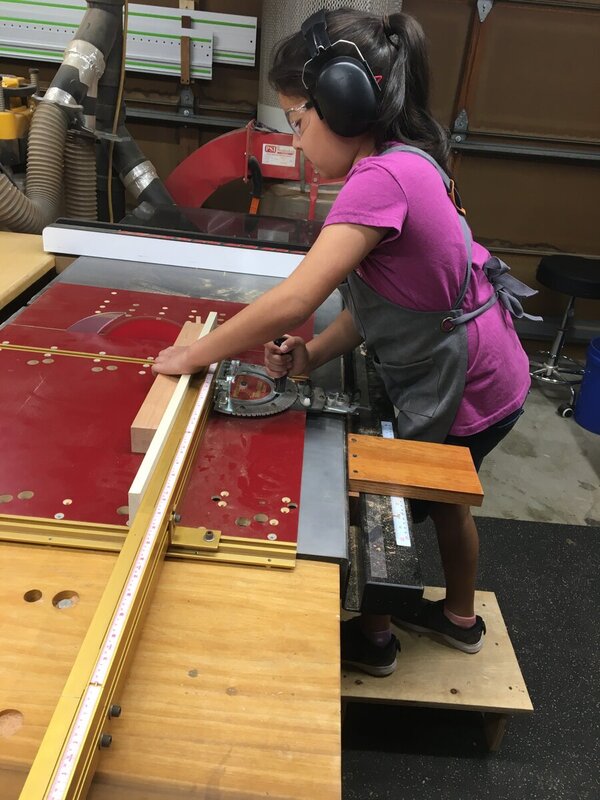
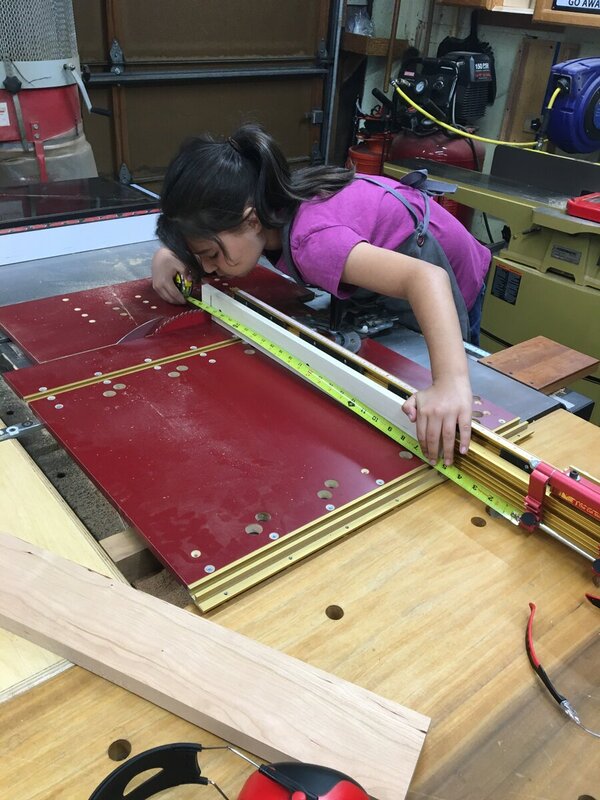
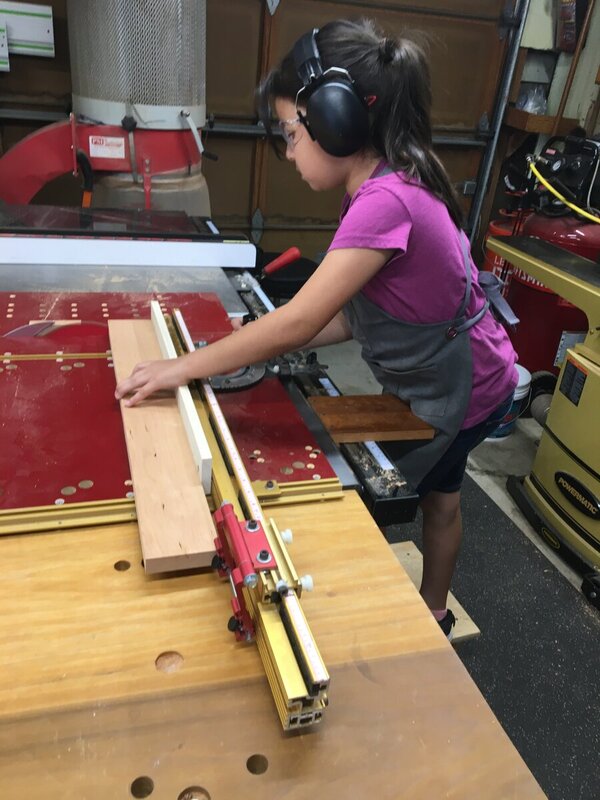
We started of today by cutting the legs and aprons to final length. First she trued up one end of all the legs using the cross cut sled. Set up a stop block to cut them to final length. Here she was learning how to check the setup of the stop block for correct length before cutting the long aprons to final size. And making the cuts. Next we did all the joinery for the legs and aprons. For this we used Dominos. I forgot to take pictures of this because I was enjoying watching how well she has adapted to using this machine in such a short period of time. If anyone is interested in how we decided to use dominos for this instead of a more traditional mortise and tenon joint for her first project, let me know and I will be happy to share it with you. This is the first dry fit of the project. This brought a real smile to my face to see her work on her first project come together this well. The table looks chunky right now but we still have to add some curves to the aprons and legs and a chamfer to the underside of the top among other things.


-
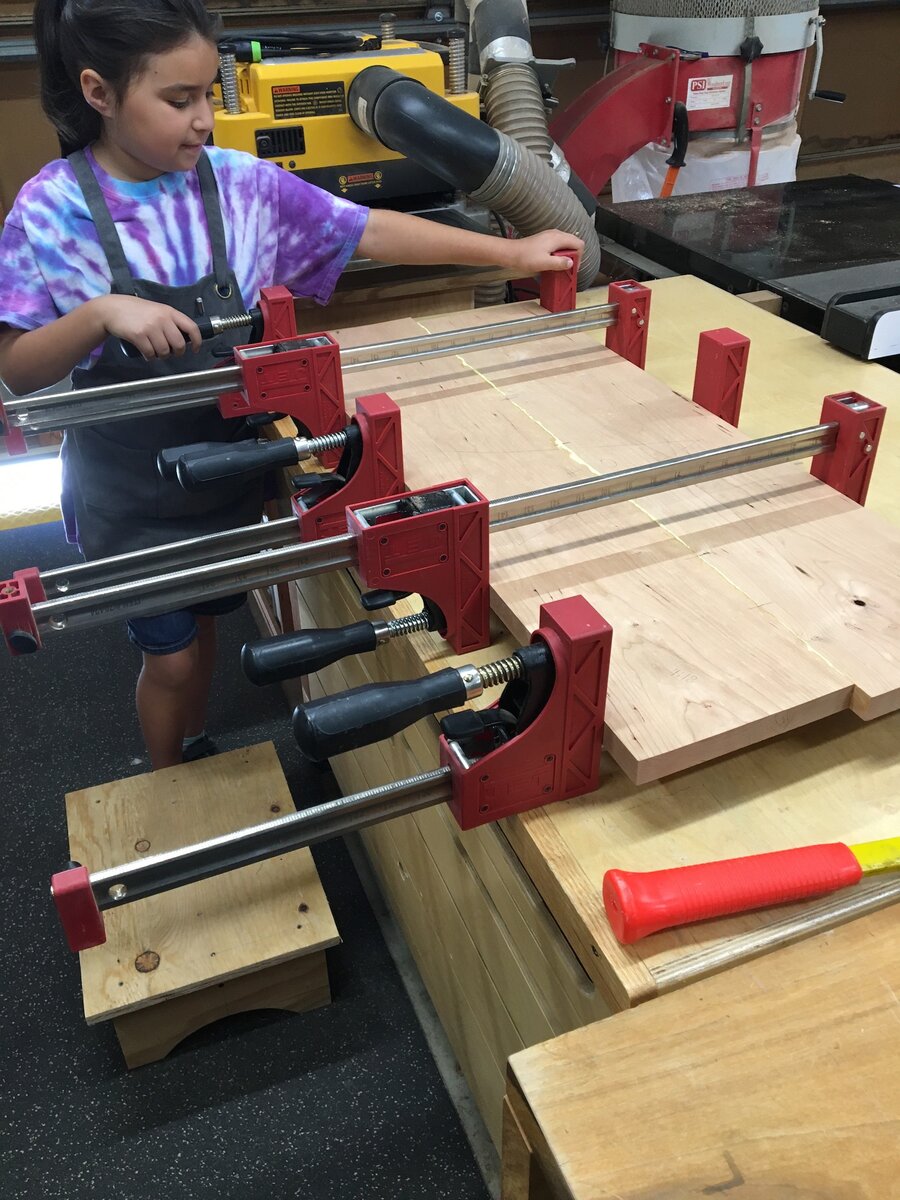
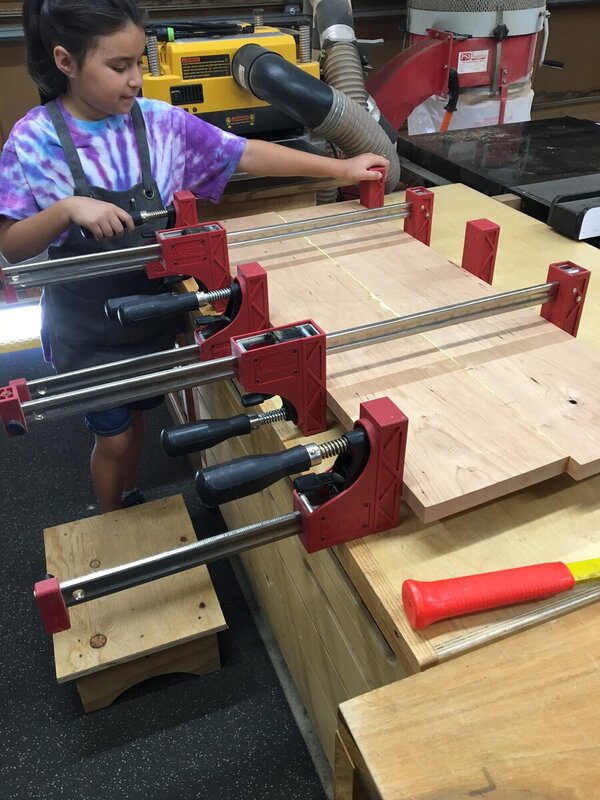
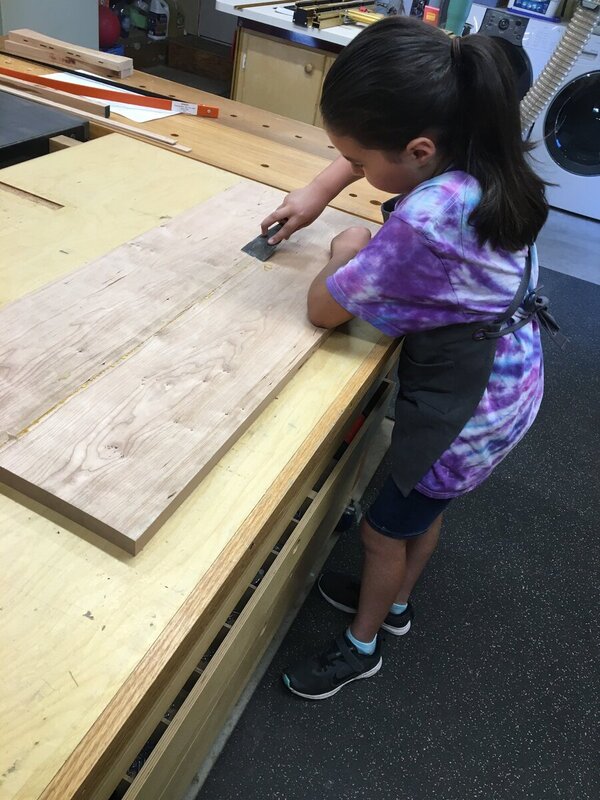
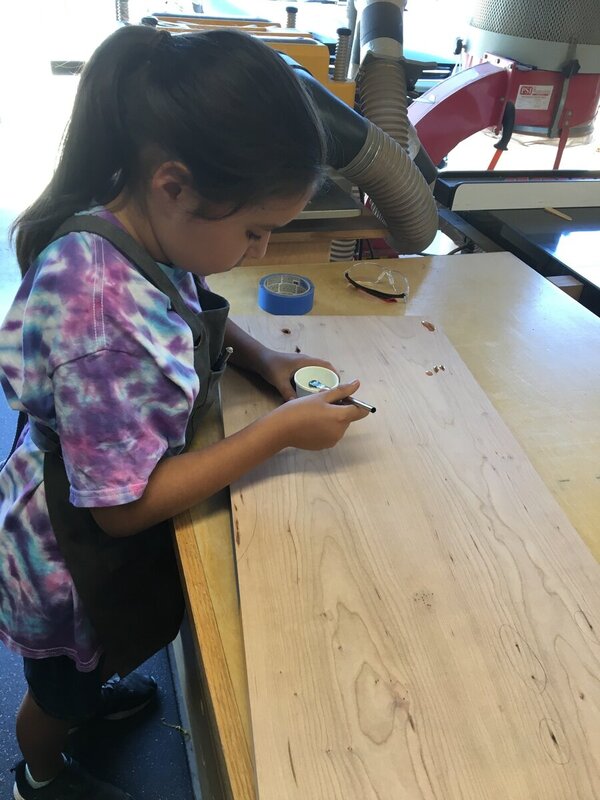
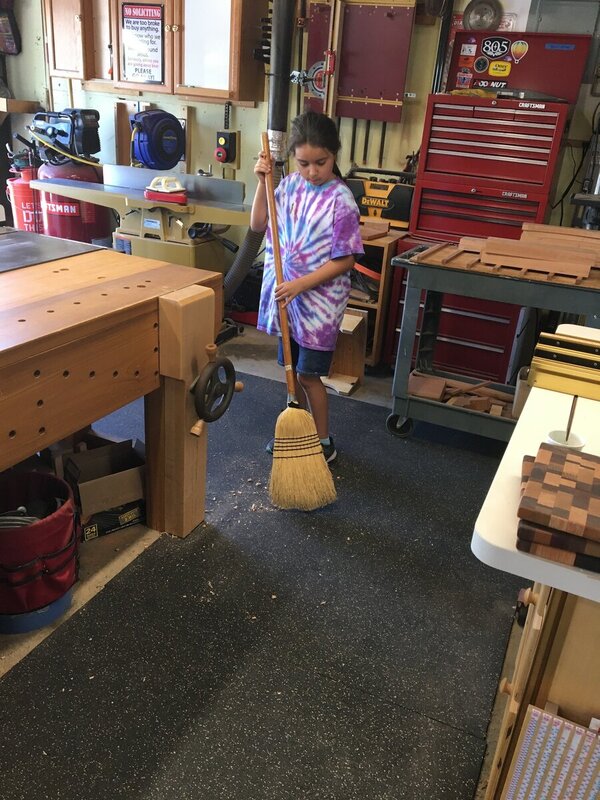
Not to much to show for today but the first thing she did was rip the top pieces to width to get ready for glue up. Then a little lay out for Dominos to help with the glue up. Then she practiced using the Domino on some scrap. Then on to the actual thing. Then it was time for some glue. ...and into the clamps. After this she practiced cutting curves on the band saw and then cleaning the curves up on the spindle sander. and then the spoke shave. After this and some lunch we took the top out of the clamps and cleaned up some squeeze out and ran it through the drum sander, and I didn't get any pictures of that. She learned how to do an epoxy fill on some small knots in the top. And she learned that everyday, at the end of the day the shop gets cleaned up.


-
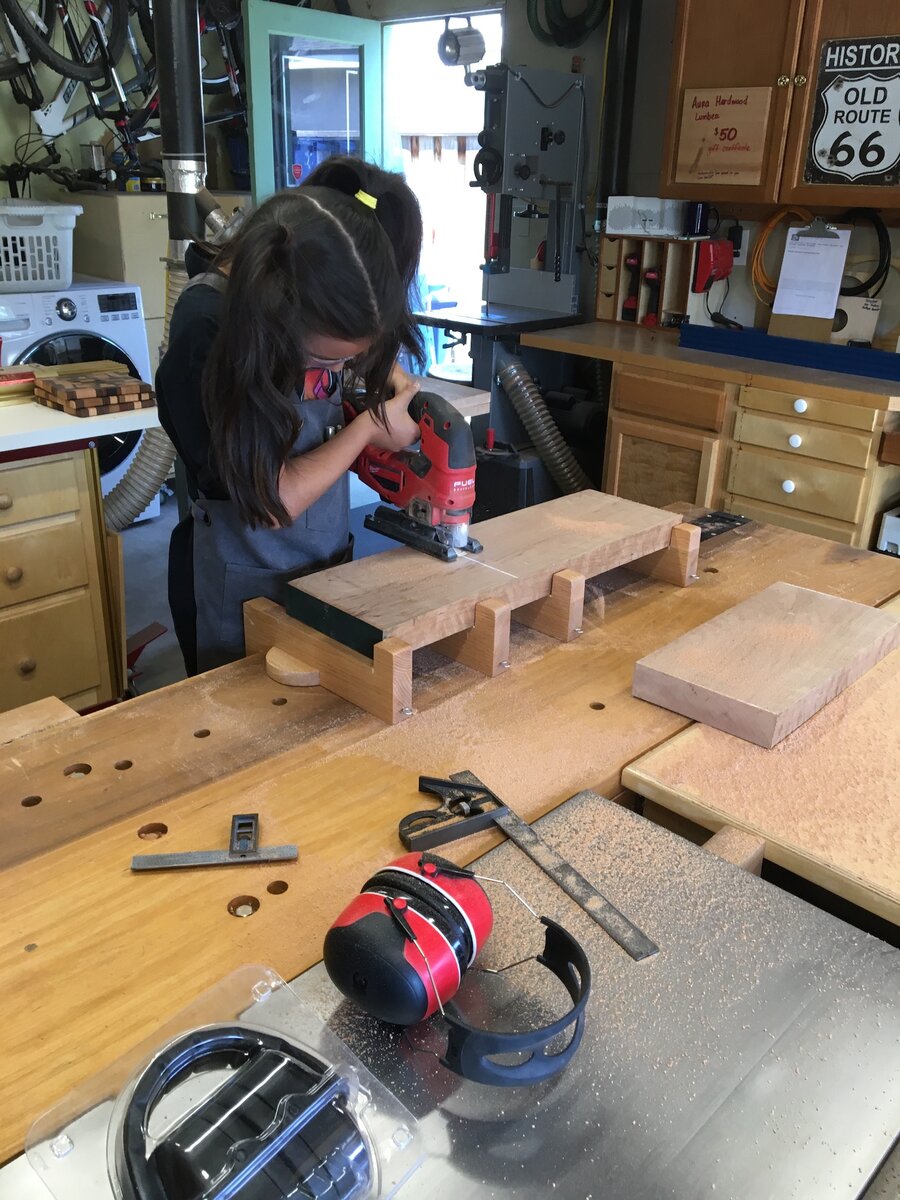
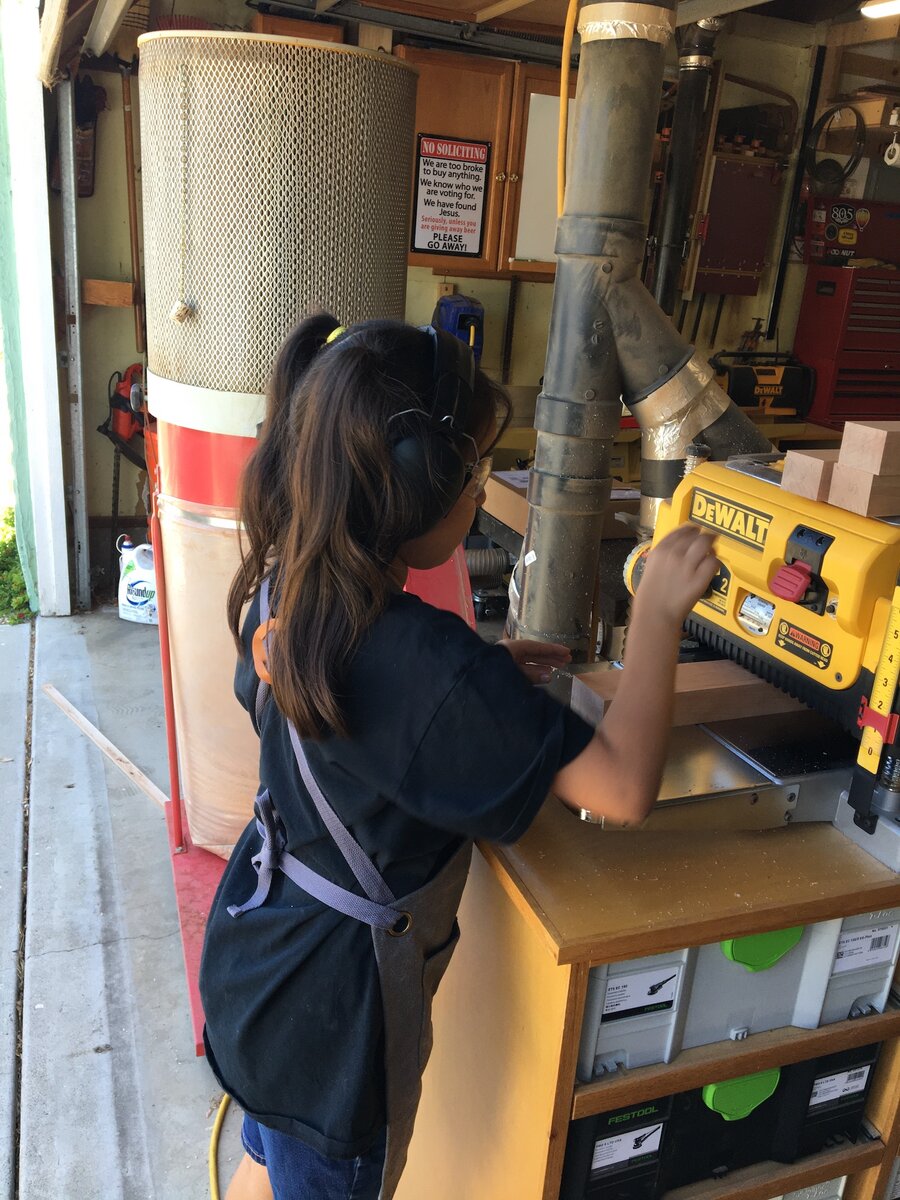
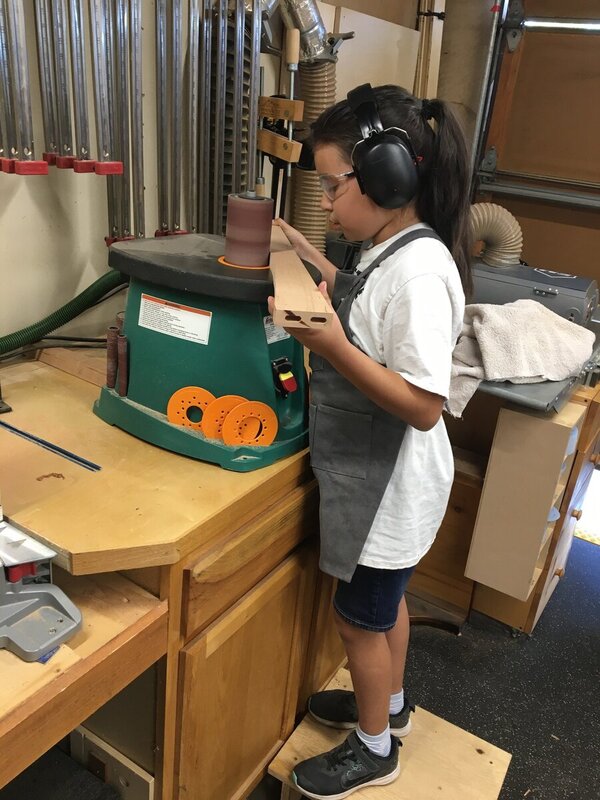
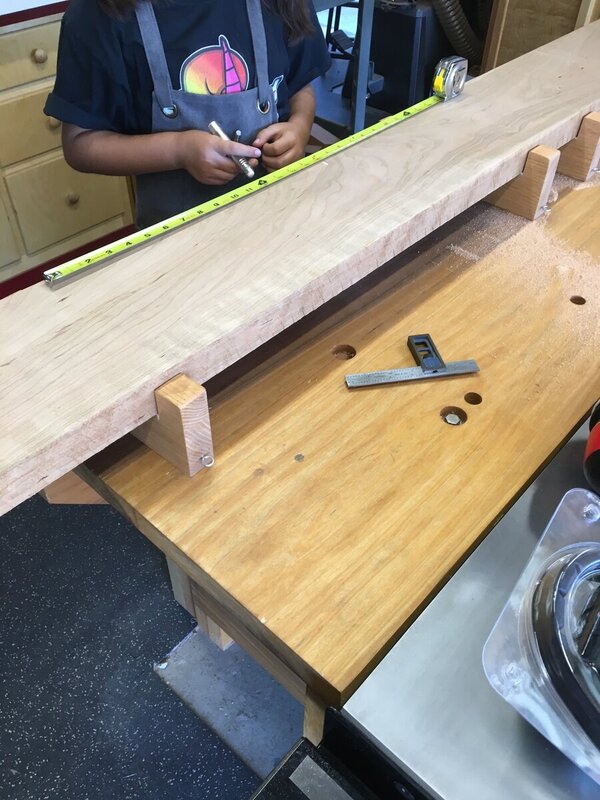
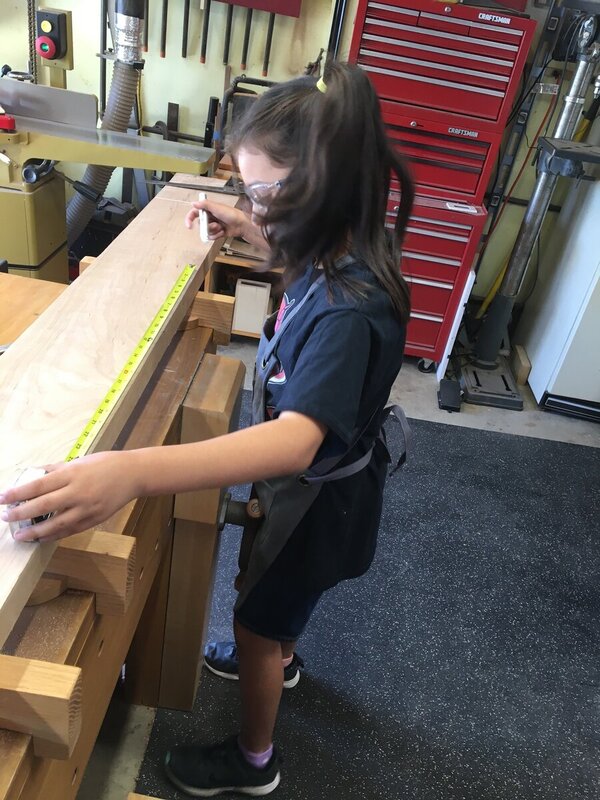
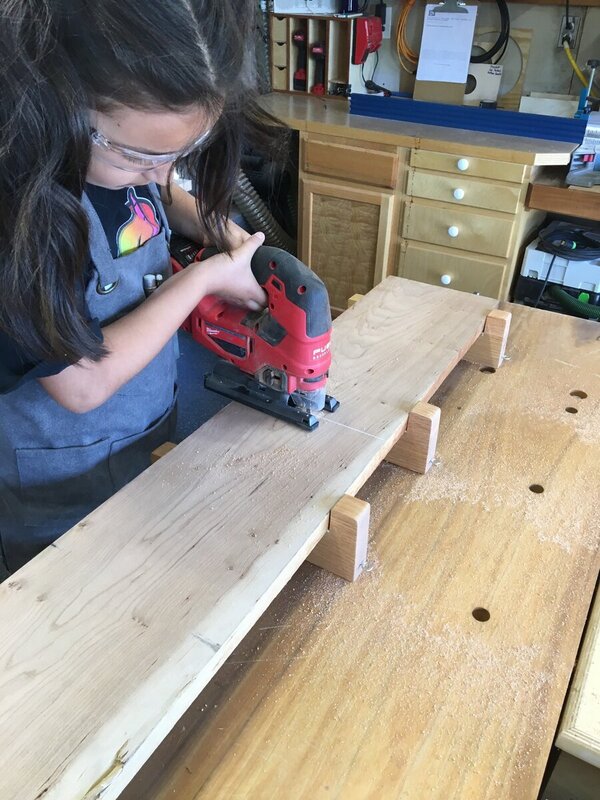
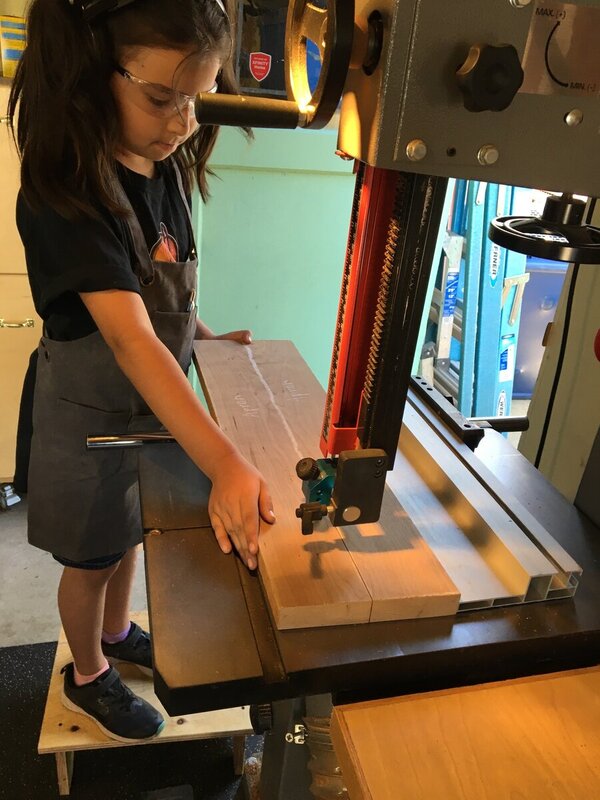
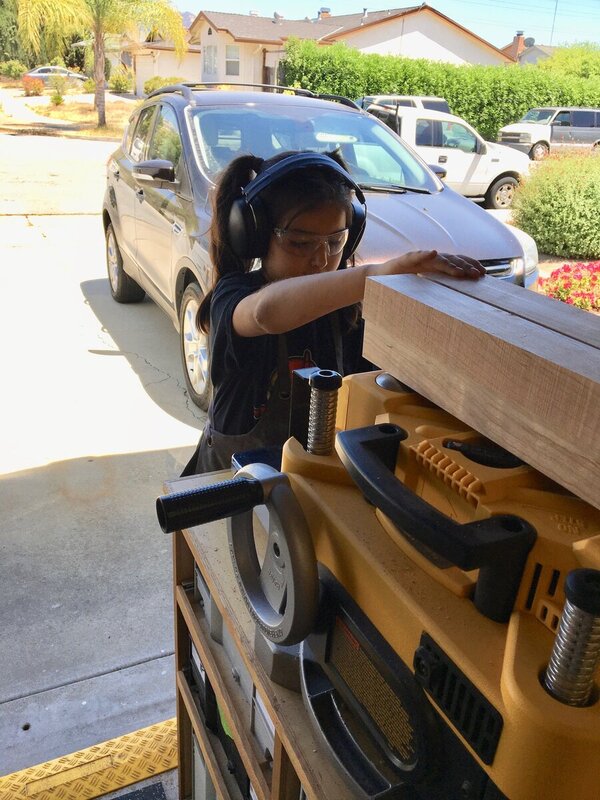
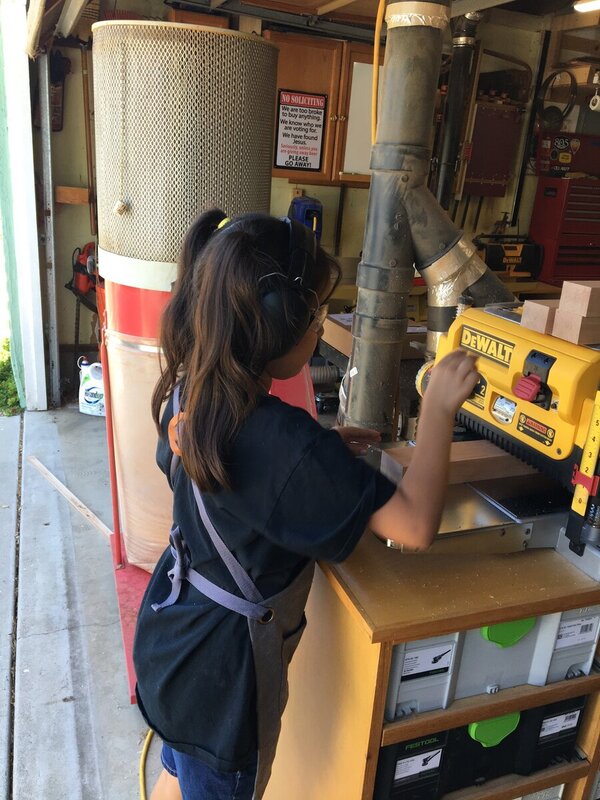
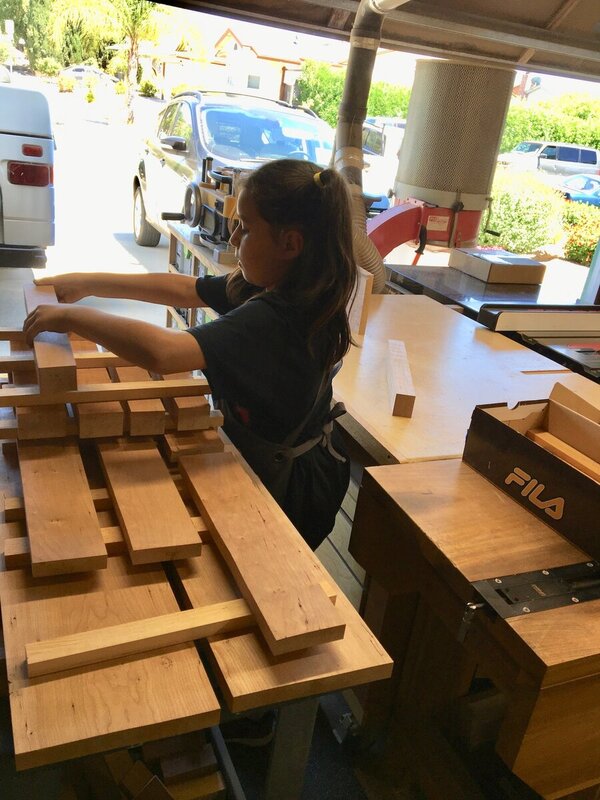
I started a new project/adventure yesterday. Of the four, my 10 year old grand daughter is the grand kid that has always shown the desire to learn woodworking, she is also the youngest. The intelligent questions that come out of her mouth can stun a college professor. I talked with her about what see wanted to build and she decided on a coffee table to replace an old one that got used for something else. So that is the project. We spent some time looking at pictures of coffee tables on the internet, after we got some ideas we drew up a design and I showed her how to make a cut list. Then off to the lumber yard. Yesterday in the shop we rough cut all the pieces, jointed and planned them and then stickered them for a couple of days. She is a quick learner and understands the process of being safe so when I took each of these pictures I had her turn the tool off so I could take the picture with out worrying about her safety at the same time. When she was putting pieces through the planer, my wife took the pictures because I was catching for her. The only thing my grand daughter didn't want to do was running the pieces through the jointer so I did that for her and I was glad that she was willing to make a decision like that instead of thinking she "had to" do everything. Laying out the parts with a tape measure and chalk. Rough cutting with the jig saw. Ripping the pieces to rough width on the bandsaw. Running them through the planer. And sticking the parts.


-
Some good progress there.
-
Happy Father's Day to All. Rib Eye Steaks and Corn on the Cob later for me.
-
I have had a long standing philosophy when it comes to bad things happening in the shop. When things start to take an unwanted turn I think it is best just to turn the lights off and go back in the house. Sometimes this may happen right off the bat and sometimes you may get most of the way through the day. I a not saying the minute you make a mistake, go back inside but there are things that happen and you feel like you are really having to push to get through it, those are the times you just need to quietly back away, don't press you luck.
-
I think he is talking about when he glues up the base itself.
-
Thats better then nothing at all.
-
Like most of the country the kids around here got screwed out of the graduations. A lot of the families decorated the front yards with posters and banners telling the world their kids graduated, there are four houses on our block and it looks pretty cool. But one of the best I have seen is right next door and I couldn't resist taking picture. Lights don't show up real well because it was still pretty bright out when I took the picture. I stood next to it and I would guess they are about 4 feet tall

-
Nice job Bryan. The blue plate showing under the edge of the sled - do you have a router in your wing?