Every purchase made through our Amazon Affiliate Page helps support this site

Chet
-
Posts
2,280 -
Joined
-
Last visited
-
Days Won
93
Content Type
Profiles
Forums
Downloads
Gallery
Events
Store
Articles
Blogs
Everything posted by Chet
-
I have the SuperMax 19-38 and I run 120 grit on it all the time. Couple passes through then I start with my random orbit. I start that with quick lick of 80 grit because 120 on the drum is about equivalent to 80 on the ROS. Then I just work through my grits. I have never wished I had more then the 19-38 it's a great machine.
-
It's always nice when a plan comes together the way you hoped it would.
-
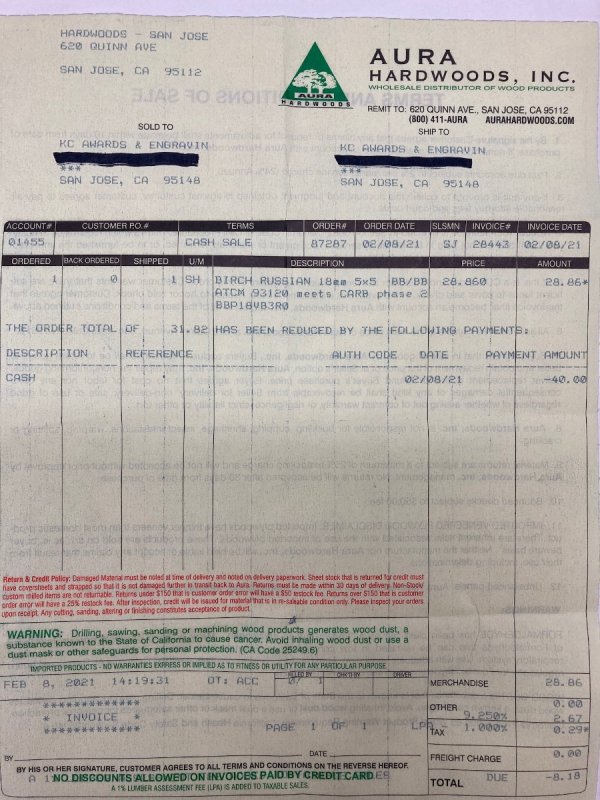
The 5x5 sizing is actually a hold over from the Europe aviation industry. The stuff I get has some kind of grading make on it for aviation use. Don't know what language it is in so I can't read it to see what it really says. The hardwood manager told me what it was. He said to get that seal it can't have voids. Like Kev said it has no voids

-
We make up for it with our housing prices.
-
Thanks Kev, I should have worded it differently. What I was really looking for was it any better/worse than what you had before. I know that Miter saws are repeat offenders for the most part. I don't know if you remember Mike (estesbubba) from WTO but he built a hood like a lot of people do but if I remember right he had two ports from his DC in the hood, but the thing that I have in the back of my mind about his is that he did some tests with the port placement and something makes me want to say that he got the best result with the two ports up high in the hood. Or maybe he had two high and two low. I tried finding it on the forum were he posted it but I failed. it wasn't WTO.
-
I put mine on the market today. I messed around with it quit a bit today and I am really happy with how it works. This would make cutting mortises in Things like chair parts and oddly shaped table legs pretty easy. Yea, the sales tax does suck.
-
Does having zero clearance like that were it is closed off for the most part behind the blade reduce you dust collection?
-
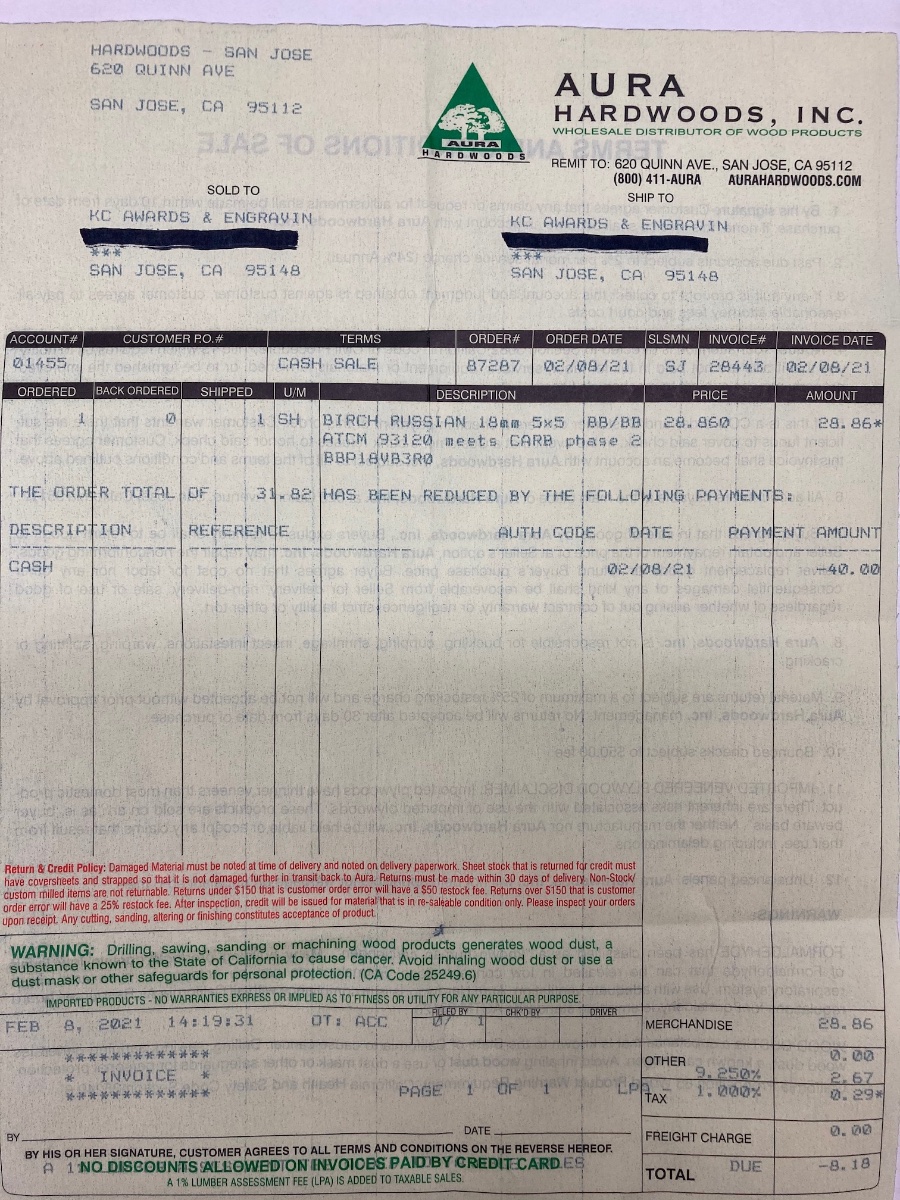
I am sorry Paul. I made a mistake it was $28.86. They have 5 - 6 foot tall stacks of 1/4, 1/2, 3/4 and 1 inch (or what ever the mm conversions are) all the time.
-
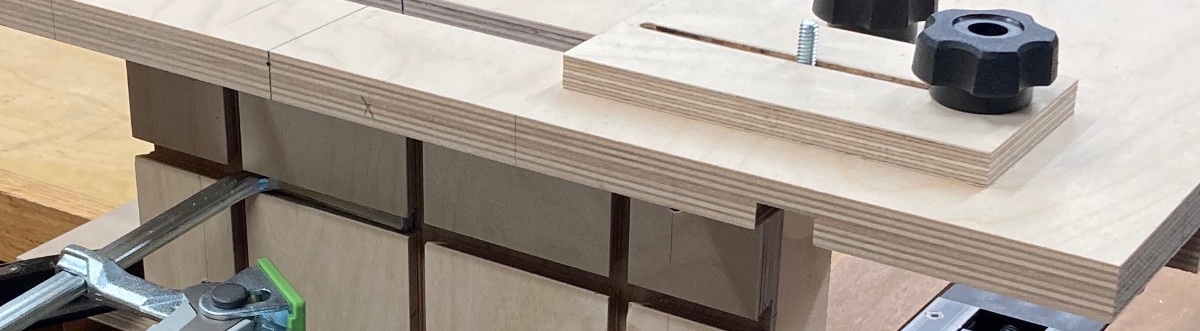
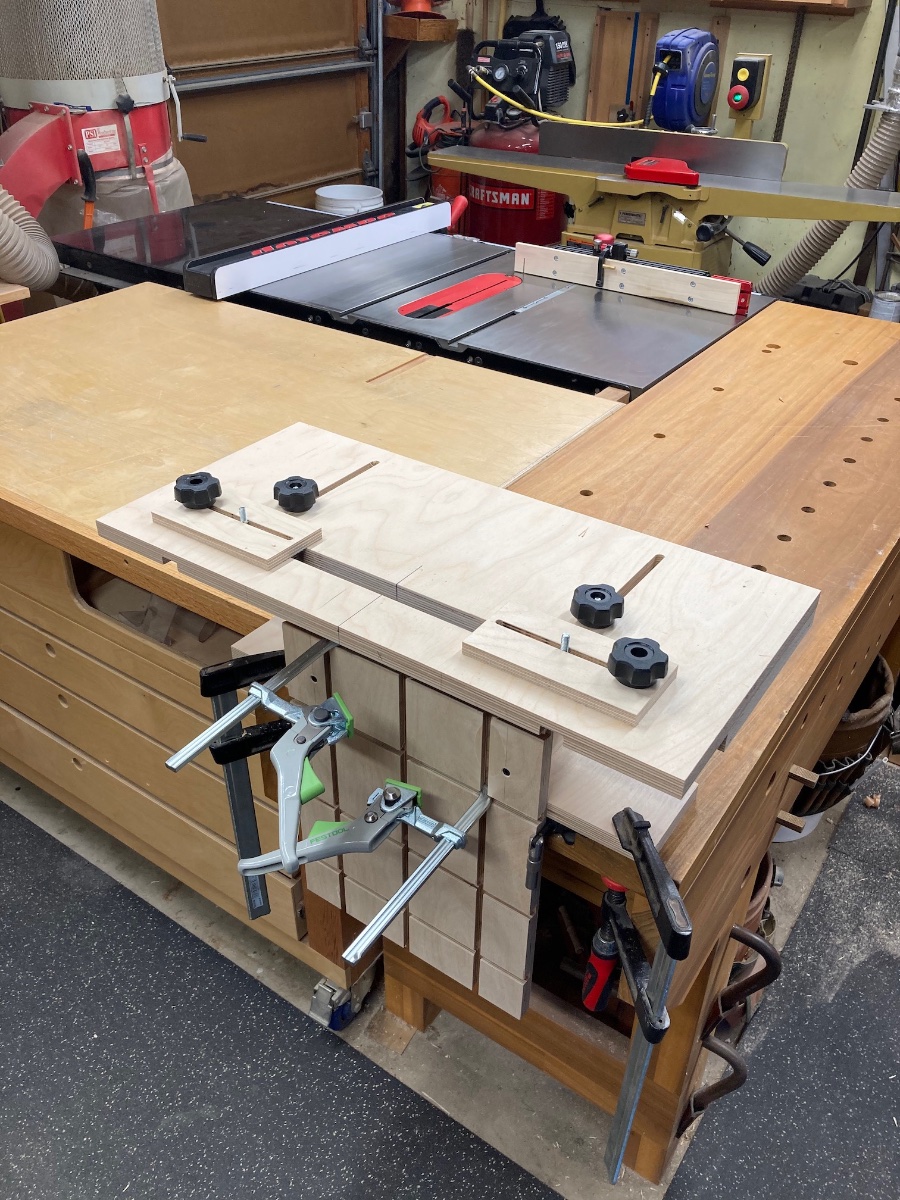
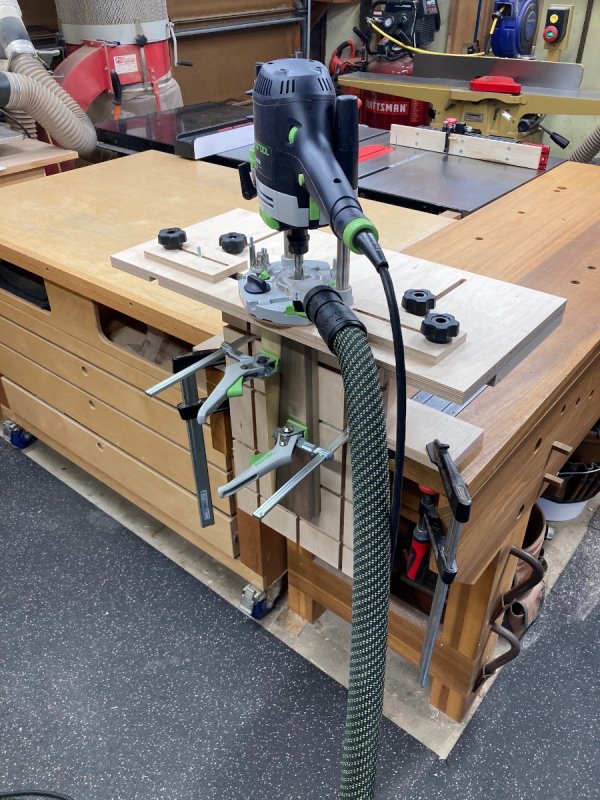
I spent a couple of afternoons making the Morley Mortiser for cutting mortises with the router to go with loose tenons. I haven't done any real projects with it yet but did a number of test runs and I am pretty pleased with it so far. It just clamps to your work bench when you are using it. It cost about $60.00, $35 for a 5 x 5 sheet of 3/4 baltic birch (most of which is left over) and $20.00 in hardware. I had the clamps for holding you work piece already so I saved some there. Instead of me explaining its use, I have posted Phillip's YouTube video. His plans are $9.95 Phillips video


-
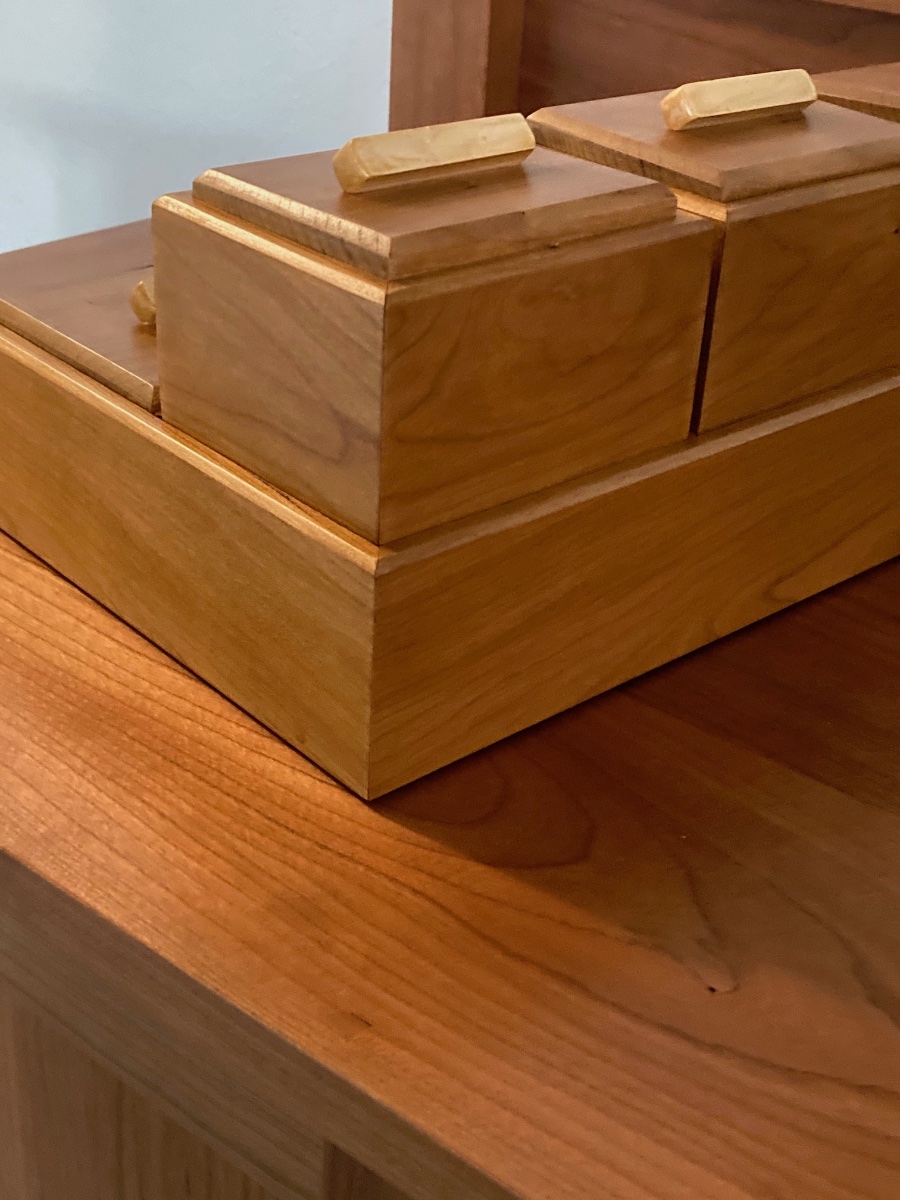
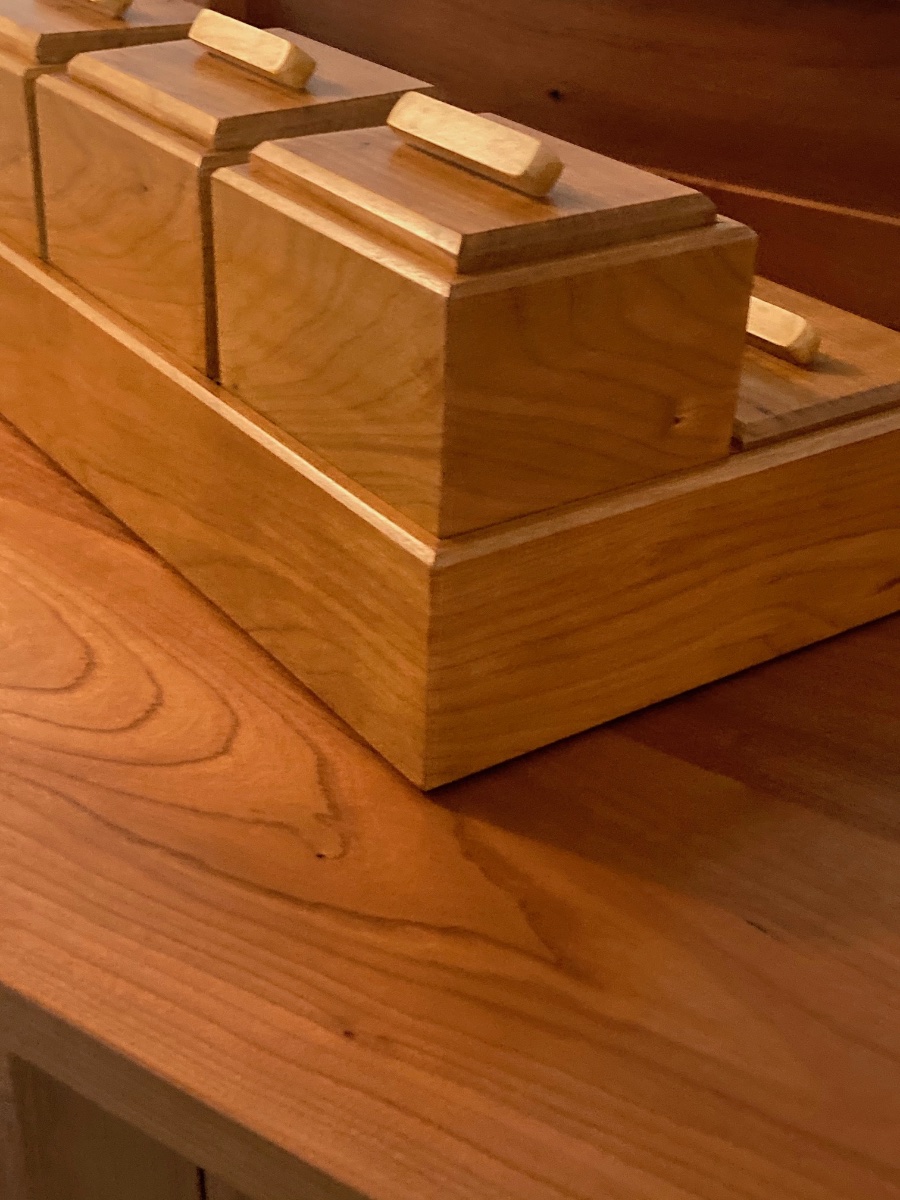
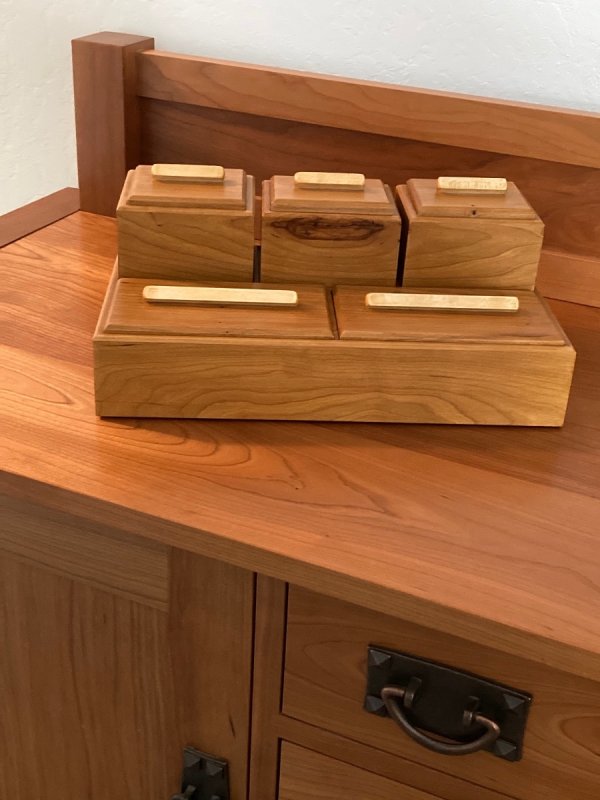
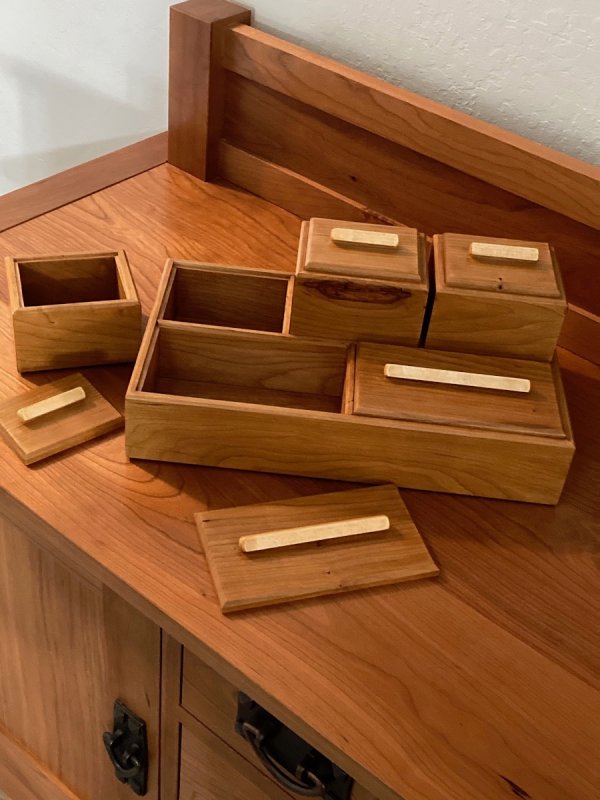
I was away from this project for a while. Then I went to post these final pictures and was having a problem that required the web designer to come to the rescue. I made some handles for the lids out of cherry like the rest of the box but they seem to get lost because they were too similar to the rest of the wood. So I went with birds eye maple to add some contrast. I sanded everything to 400 because I was going to use several really thin coats of shellac as the finish. This is something I have been wanting to try for a while, it took 7 coats to get it to the luster I wanted. Even though the shellac drys supper fast I let it sit a day and then went over it real lightly with a gray Scotch Brite pad. This gives it a super smooth feel. A couple of final pictures. A couple of pictures of ht back side grain wrap. This was a project to try some ideas I had and that part of the project came out well. There were some things I wasn't happy with. - The grain of the wood I used wasn't great, but I was expecting this because I was using stuff that I had on hand and it wasn't ideal. Next time I will go with more straight grain. Something small like this project, I think, looks better with a grain choice that is simple and clean. The other way is to go with something that is pretty wild like Babinga or Curly Maple. Anything in between can be troublesome. The handles were a dud. I think they are too large, maybe to long too. I wish I had reacted to this before the glue dried so I could of still removed them and come up with something better. Also when I applied the shellac they took on the appearance of being dirty and blotchy.


-
Welcome aboard @b1rdhunter.
-
This was going to be my suggestion. But how about on the edge by the hinges.
-
That looks absolutely superb my friend. You need to give yourself a well deserved pat on the back. That walnut just looks beautiful.
-
I am not sure you would gain much by running just a short section of 6 inch and then going right back down to 4 inch flex. 6 inch is going to give you benefits when you do it in longer runs.
-
My watch wouldn't help, its still is one with an analog face. Its a nice watch but analog non the less. But even with out the right type of watch the first ten steps are easy. If I am bare foot I can count up to the first twenty steps before I need electronic assistance.
-
Yes, to a degree. Sunday always kind of resets me. During the week it is the time of day that I loose track of more then the day of the week. I used to wear a watch all the time but since I retired I only wear it when we are traveling.
-
It looks to me in the first picture you posted that there are 6-8 screws holding the inlet ports on to the Impeller cover (F in your first manual picture). I am guessing that when you remove the Inlet Port the hole in you Impeller cover will be 6 inches in diameter.
-
That part you linked looks like the part that is underneath when I remove my Y fitting.
-
Drew have you tried removing the "Y" fitting and seeing what is under there? Mine is a little different in design but if I remove the "Y" fitting there is a six inch fitting under it. Have you looked in the manual to see what it is called?
-
Yea, I think we have the same jointer. Just follow the directions in the manual the process is simple, but it will take some time so don't try to rush it. To make the jig work you just need to get the in and out feed tables out of the way. And be aware, when you remove the blades there are small springs under the blades that can come out if you aren't paying attention.
-
That's great that you got it worked out. It probably feels great to get it finished up. On to the next project Mr. Retired.
-
Kev's is the best idea but if the gap is uneven then I would do this. Get the strip flush with the jamb and it will look like a nice cock bead detail.
-
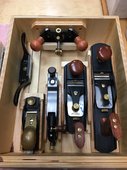
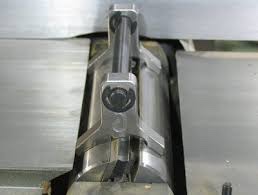
My Jointer came with a jig like pictured below to adjust the knives. It's not a great solution, you have to hold it down with one hand and wrench with the other. My hands kept getting in the way of each other. I am going to look for a better option for the next time. There are some that involve magnets to hold the jig in place and the additional magnets to draw the blade up to the right height against the jig. Google Jig for adjusting jointer knifes should yield some different options.
-
Maybe a picture would help us help you.
-

Review of Harvey MG-36 Miter Gauge compared to Incra 1000HD
Chet replied to pkinneb's topic in Shop Tools and Reviews
That right there makes it worth the change.