Every purchase made through our Amazon Affiliate Page helps support this site

Chet
-
Posts
2,280 -
Joined
-
Last visited
-
Days Won
93
Content Type
Profiles
Forums
Downloads
Gallery
Events
Store
Articles
Blogs
Everything posted by Chet
-
Yea, I had contacted them Coop. The metric size that they listed in in the manual was correct but the SAE size was a typo, but I forget what the correct size was because I had already used the metric so I wasn't concerned enough to remember.
-
Keep the knuckles out of the way.
-
Even the picture on Amazon the paper looks pretty aggressive. I have seen asphalt with a higher grit.
-
The ones that work best are metric. What ever the metric number was in the manual.
-
No just to the other end of the garage. I think the bandsaw and router table will go outside on the side of the garage were they will be protected. This will give me room for everything else to be moved out of their way.
-
I didn't ask but I am pretty sure that wouldn't work because they would have to raise the door lift also and there are rafter ties that would make that impossible. I don't have to move the miter station, just the drum sander at the end so they can install the vertical section of the track. They need floor space the width of the door and 11 feet from the garage door back, open because they assemble the door from the inside so they need all the door parts in the garage when they start the assembly because once they get a panel or or 2 installed they can no longer get out until the door is operational.
-
Even though I put a small groove on both sides of the loose tenons when I made them I don't think it was a deep enough groove and I ended up with some hydraulic lock. I took everything apart and removed some of the glue and everything went together. It's just a little nerve wracking when you have glue on everything.? Yes
-
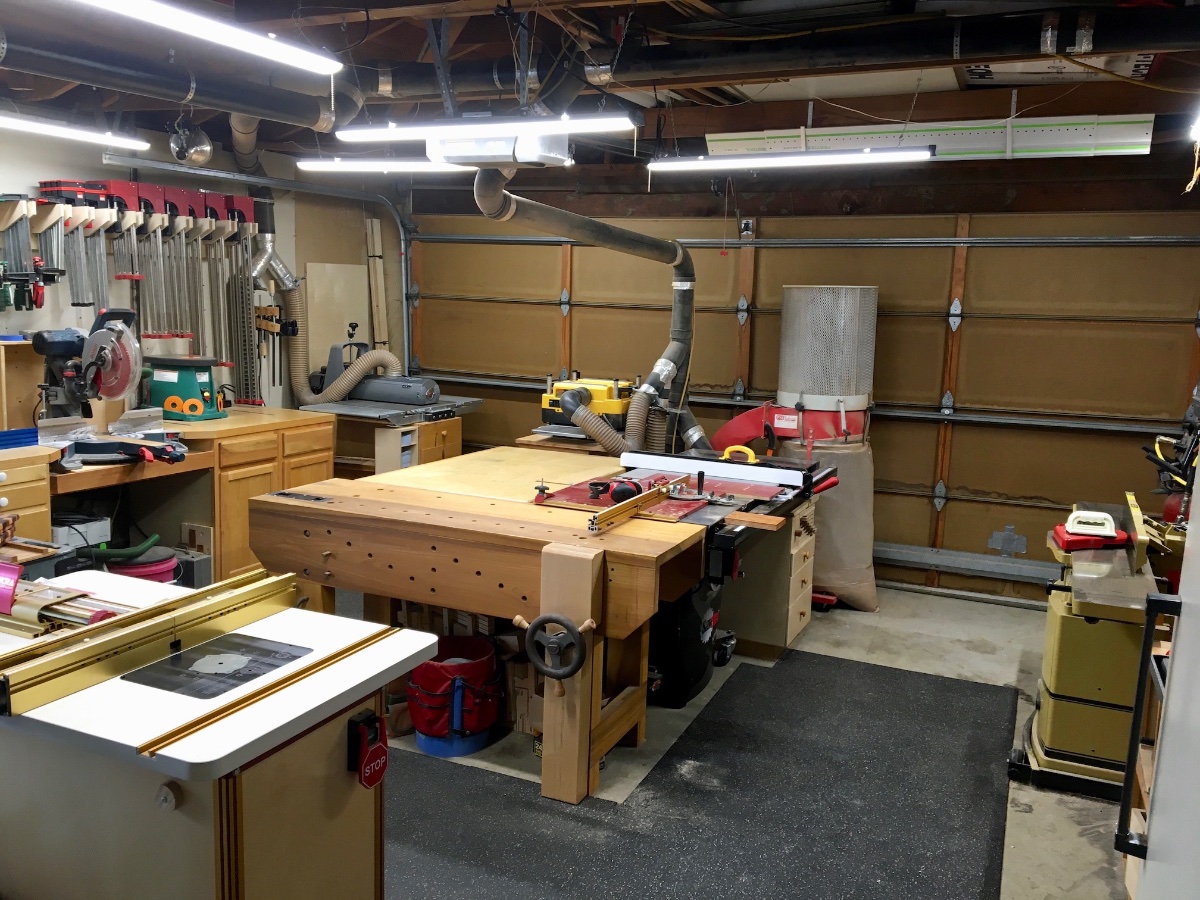
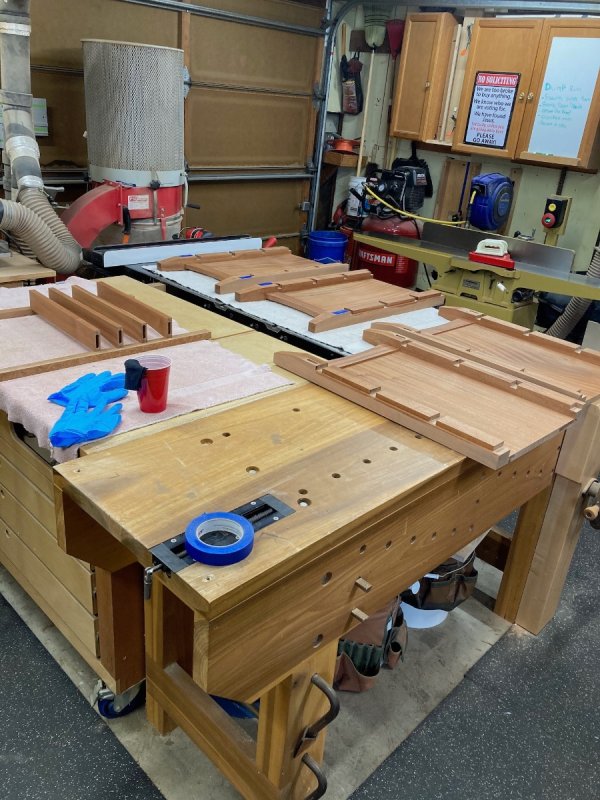
We have needed a new garage door for a year or so, the one we have, we installed in the mid 80's. We got a few bids and yesterday I went ahead and got the deal under way. We went with one of the higher bids just because everything about them seem to be more upfront and honest with how things were going to take place. The down side to all this is I have to move everything in the picture below with the exception of the clamp rack, miter station, and router table. The drum sander, planer, dust collector, table saw, out feed table, work bench and jointer along with some of the over head ductwork that is in their way. Everything mentioned need to be 12 feet away from the garage door. I have some time to plan things out because the door has to be ordered and takes 4 to 6 weeks. The new door will be insulated and white on the inside which will be a plus for shop lighting.

-
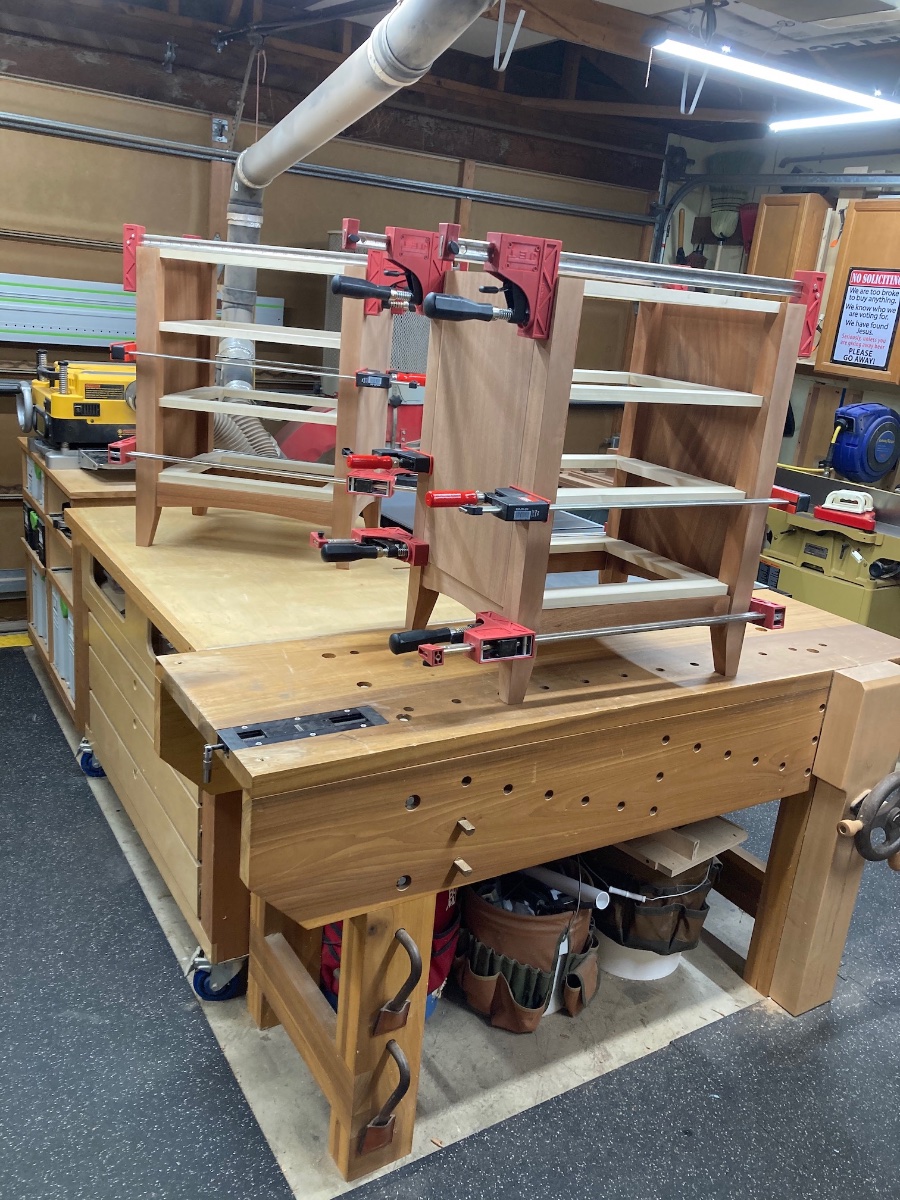
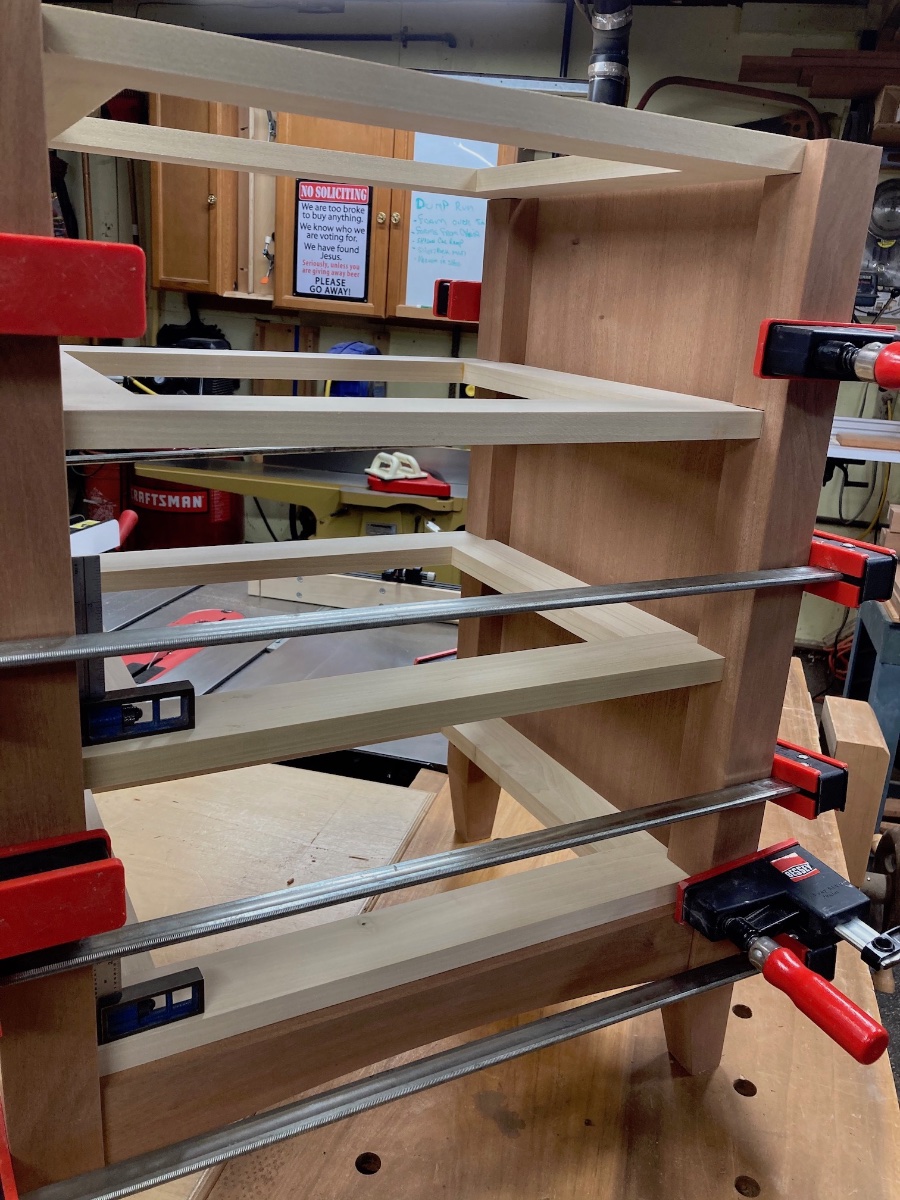
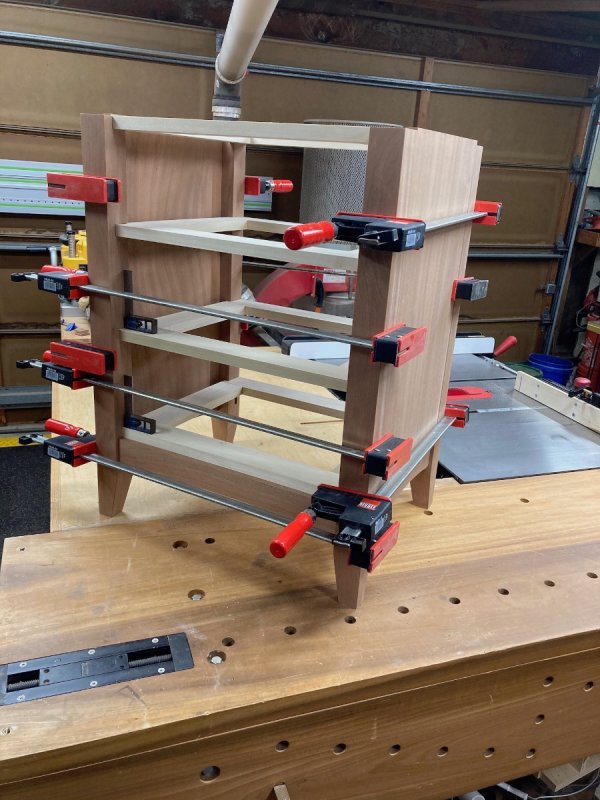
I got the side panels and legs glued up yesterday afternoon. Then I had to do a little size adjustment to the web frames. I had to shave about 1/32 of an inch from the width to close a gap that I had with the front and back aprons. After this I put a coat of blonde shellac on the inside of the side panel assemblies. It was easier to do this now before the web frames were glued in and in the way. After that dried I did the glue up of both of the case assemblies. They were somewhat challenging getting the web frames and mortise and tenons all lined up and together. The first one was pretty straight forward but the second one fought me a little with the mortise and tenons of the back apron.

-
I hope it goes better this time for you.
-
They will be attached. I am using dovetail drawer slides which will be attached in the middle of the frames so the web frames will be an active part of the drawer operation.
-
Damn, you caught me.
-
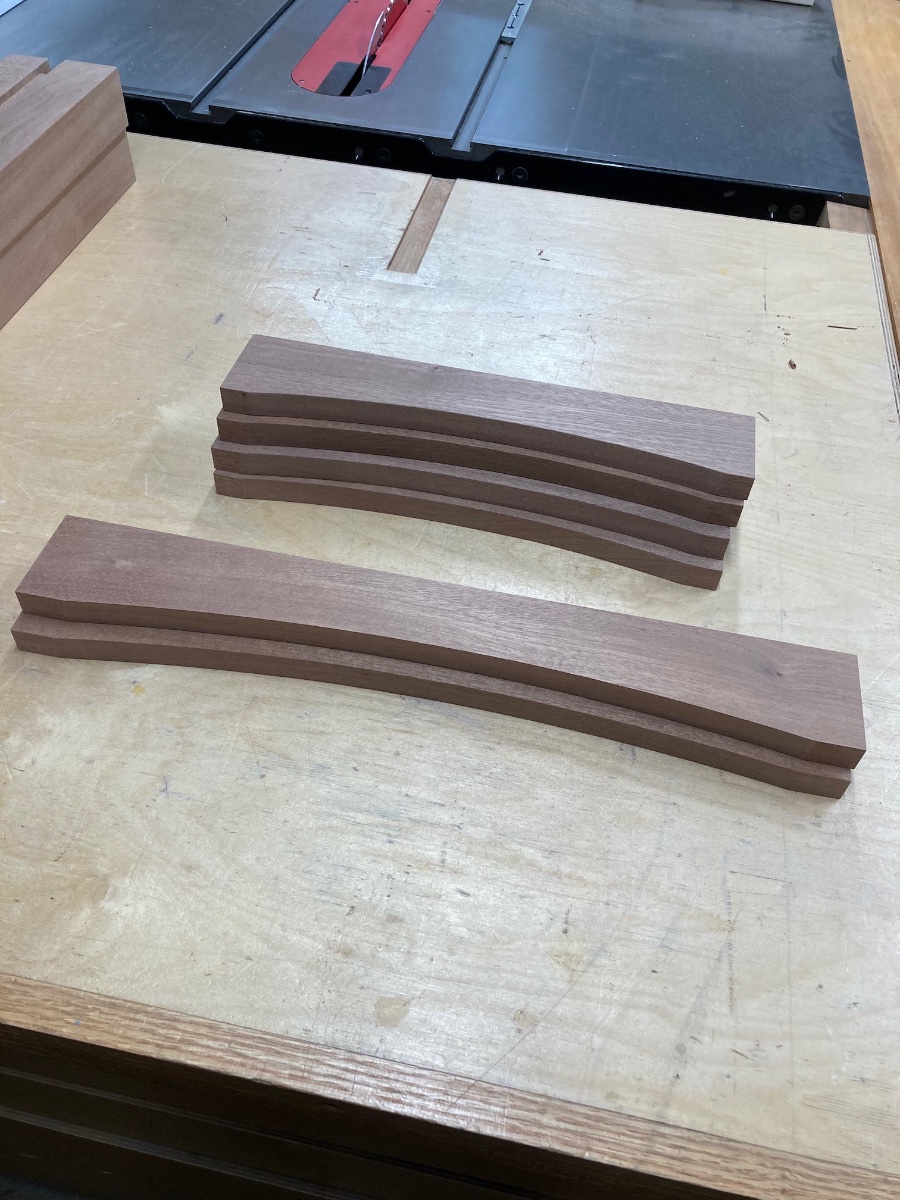
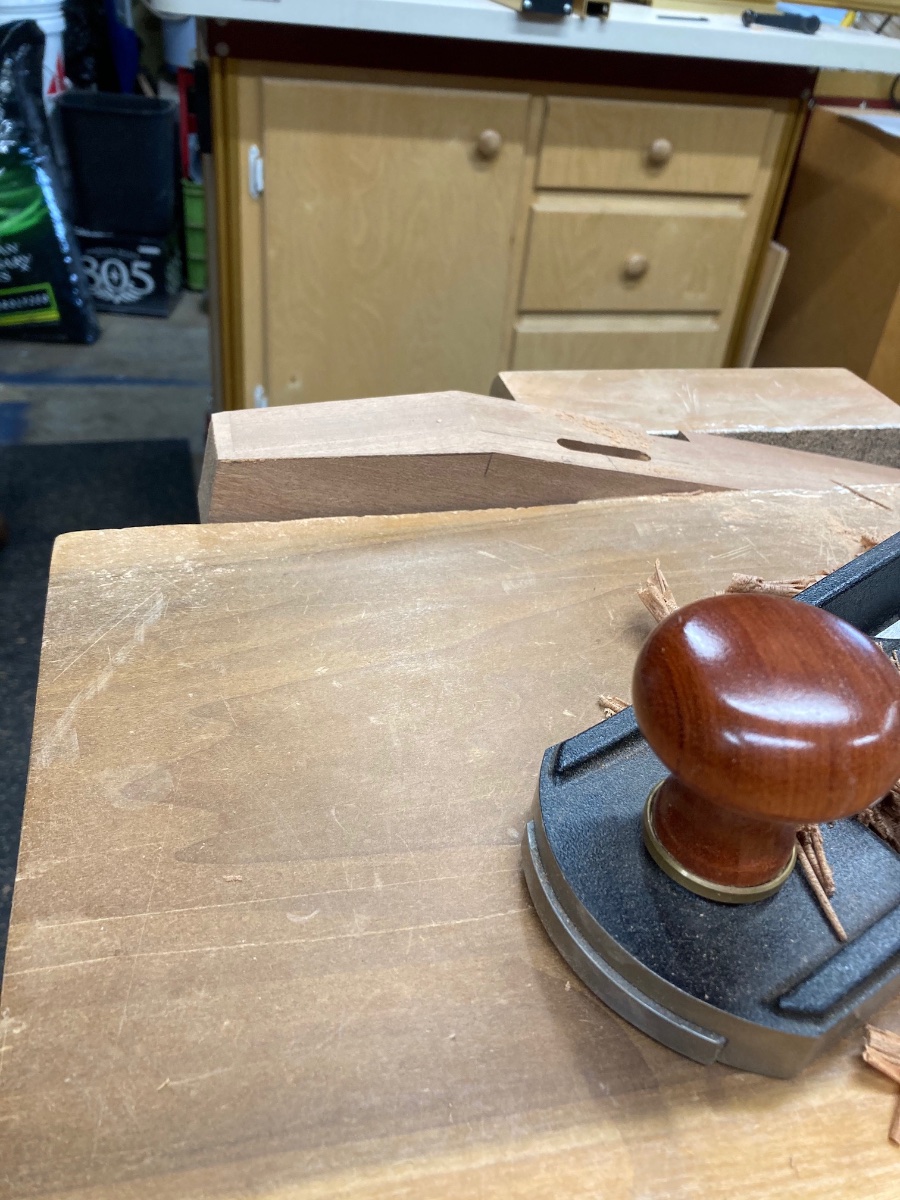
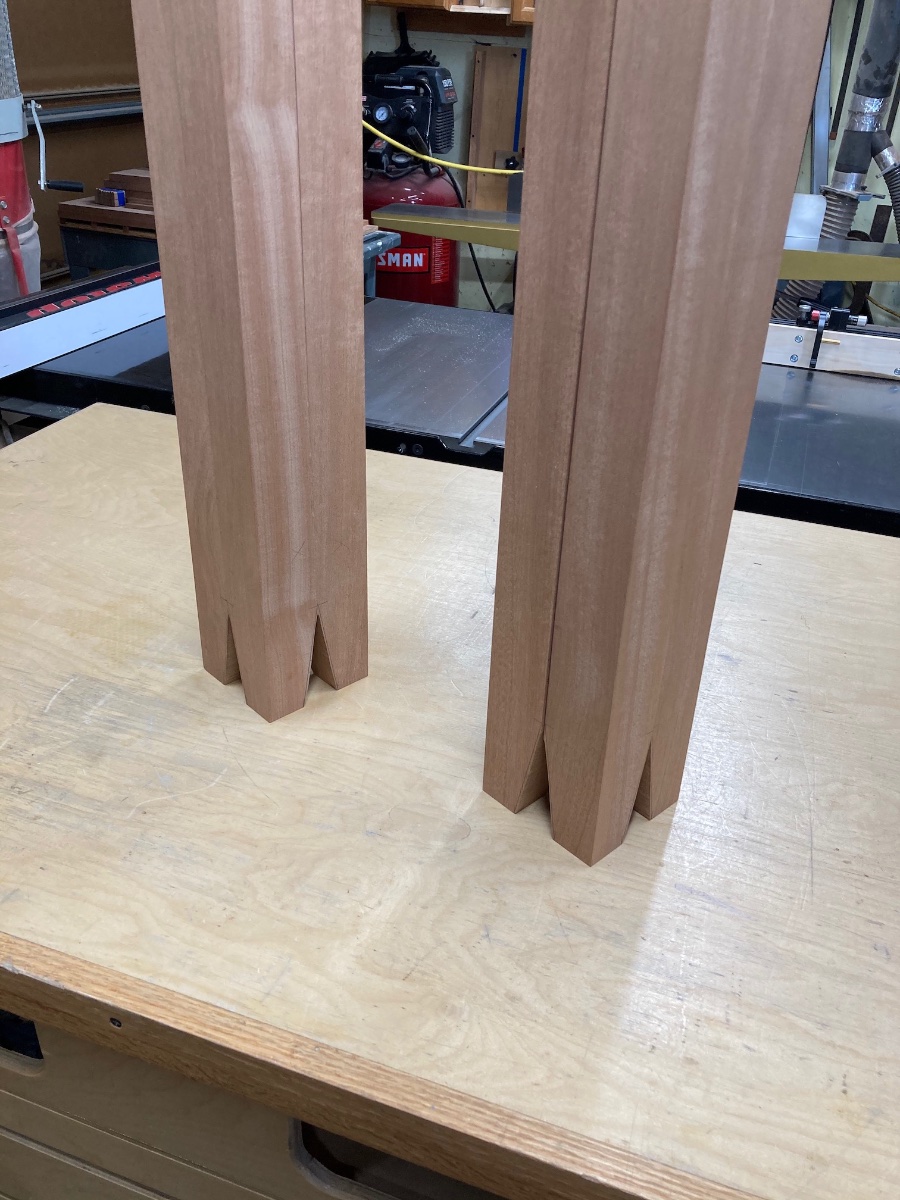
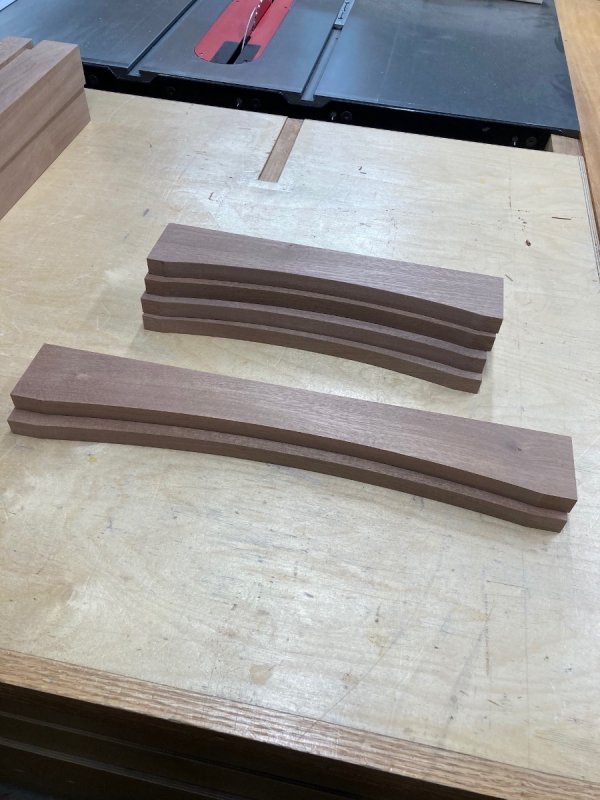
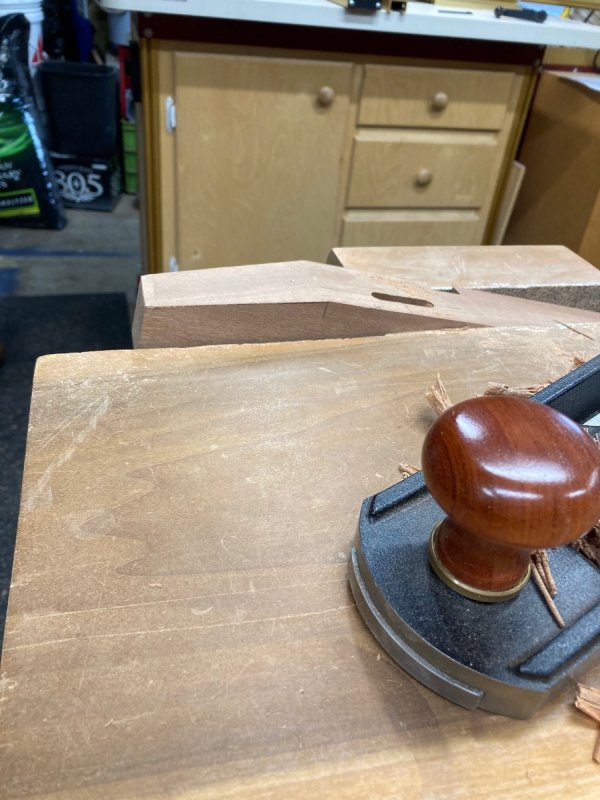
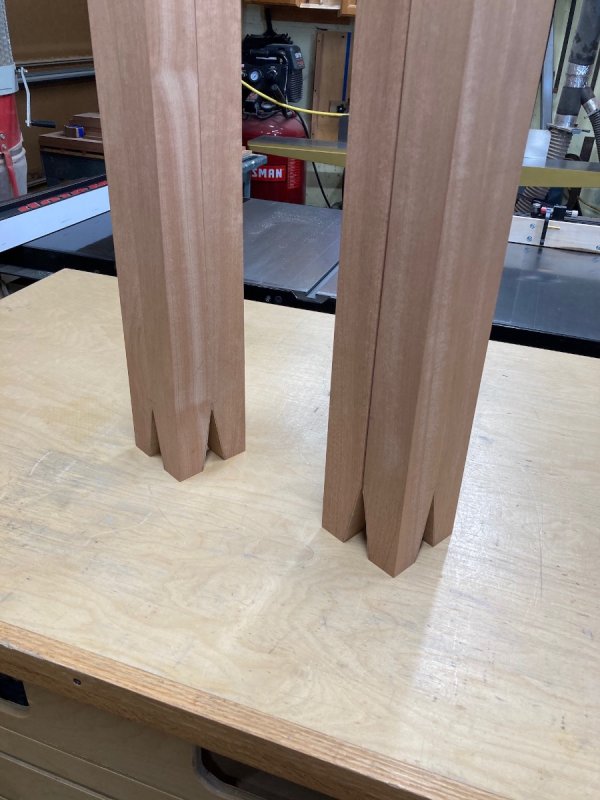
I cut the curves on the aprons using the bandsaw and cleaned them up using the spoke shave. No action shots though, I forgot. Then I cut the tapers on the bottoms of the legs at the bandsaw. Cleaned them up back to my line with a hand plane. Then I thought I would go ahead and stack them together to make sure I tapered the right sides.? This afternoon I hand sanded everything to 180 and then, just for Coop, I did a dry fit. I am going to have to shave about a 1/32 of the width of the web frames because my front and back aprons have a small gap. Other then that I am pleased so far.


-
Looks like a pretty cool old piece of iron. You going to take the pork chop off and paint it red just for some visual safety?
-
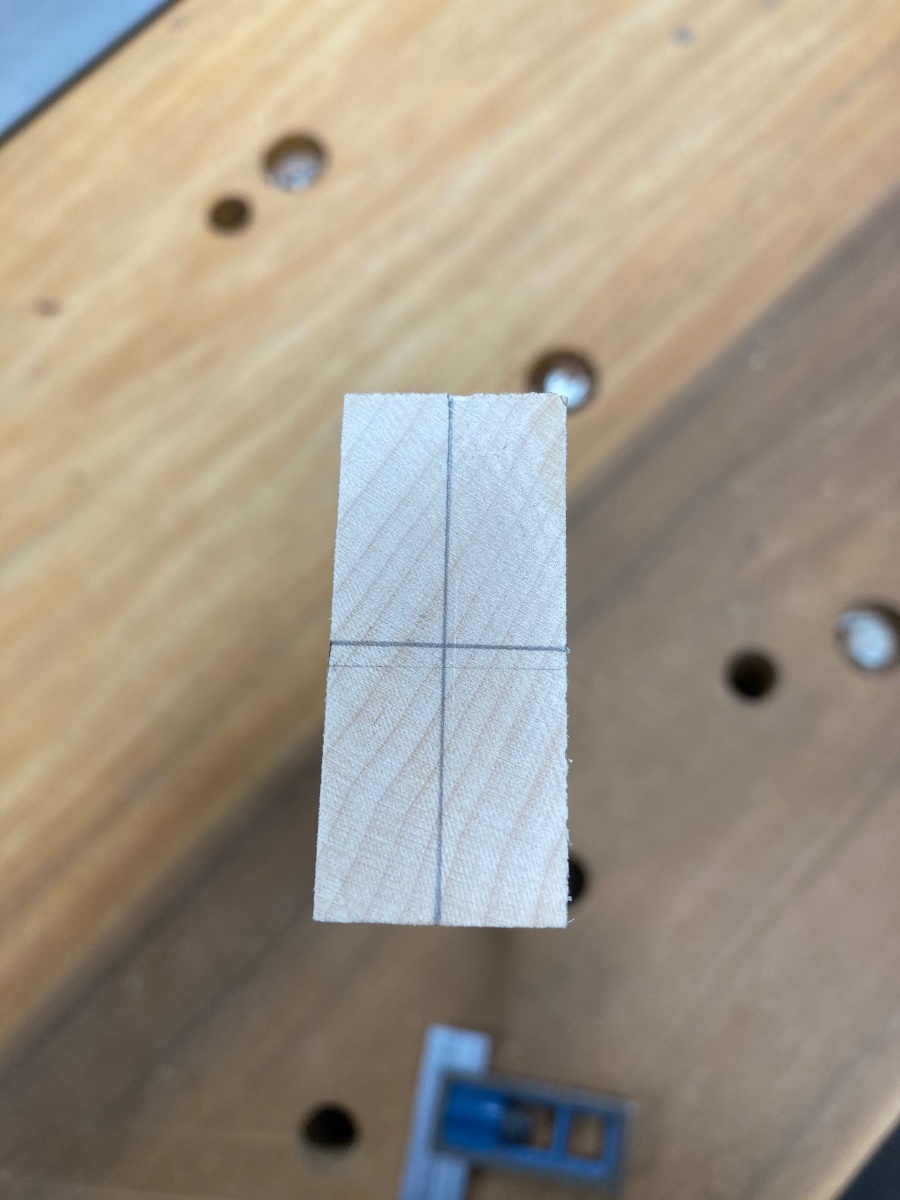
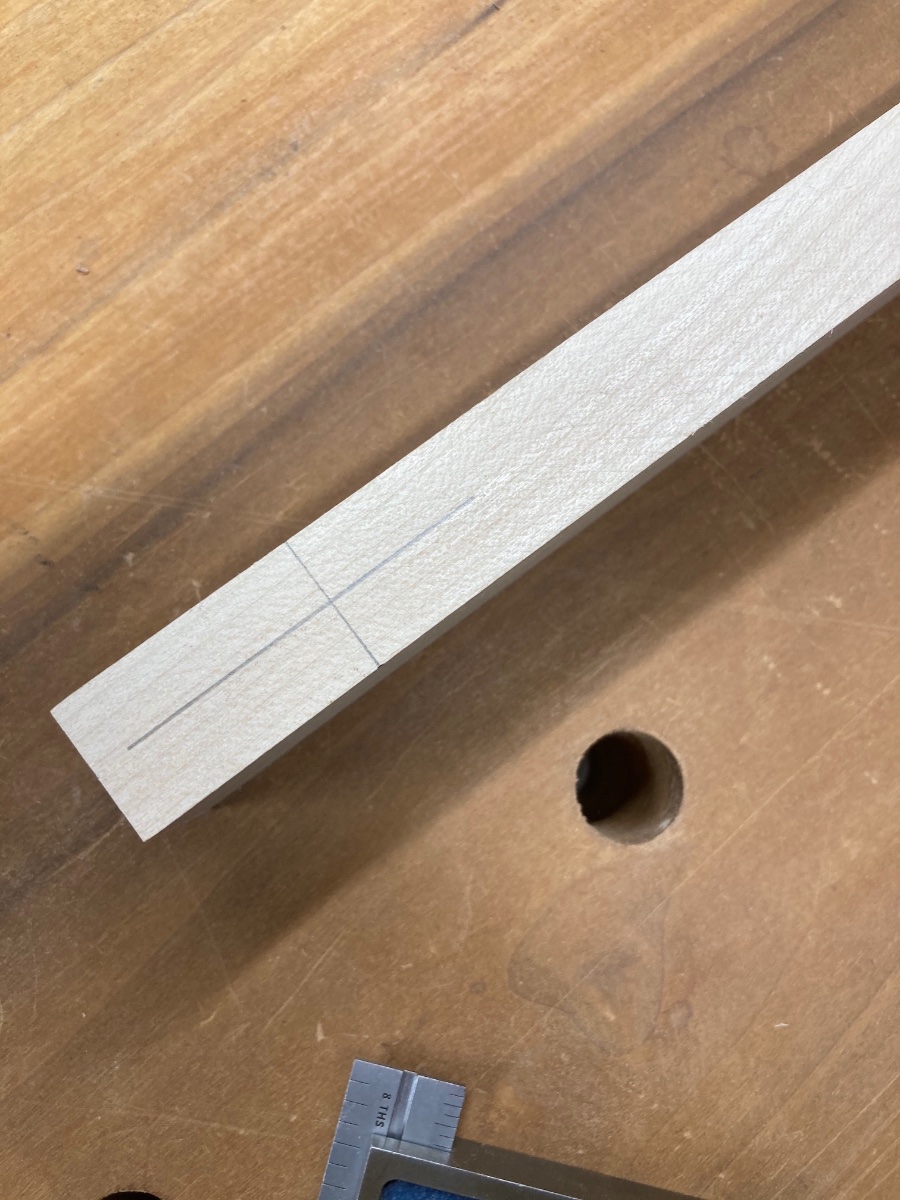
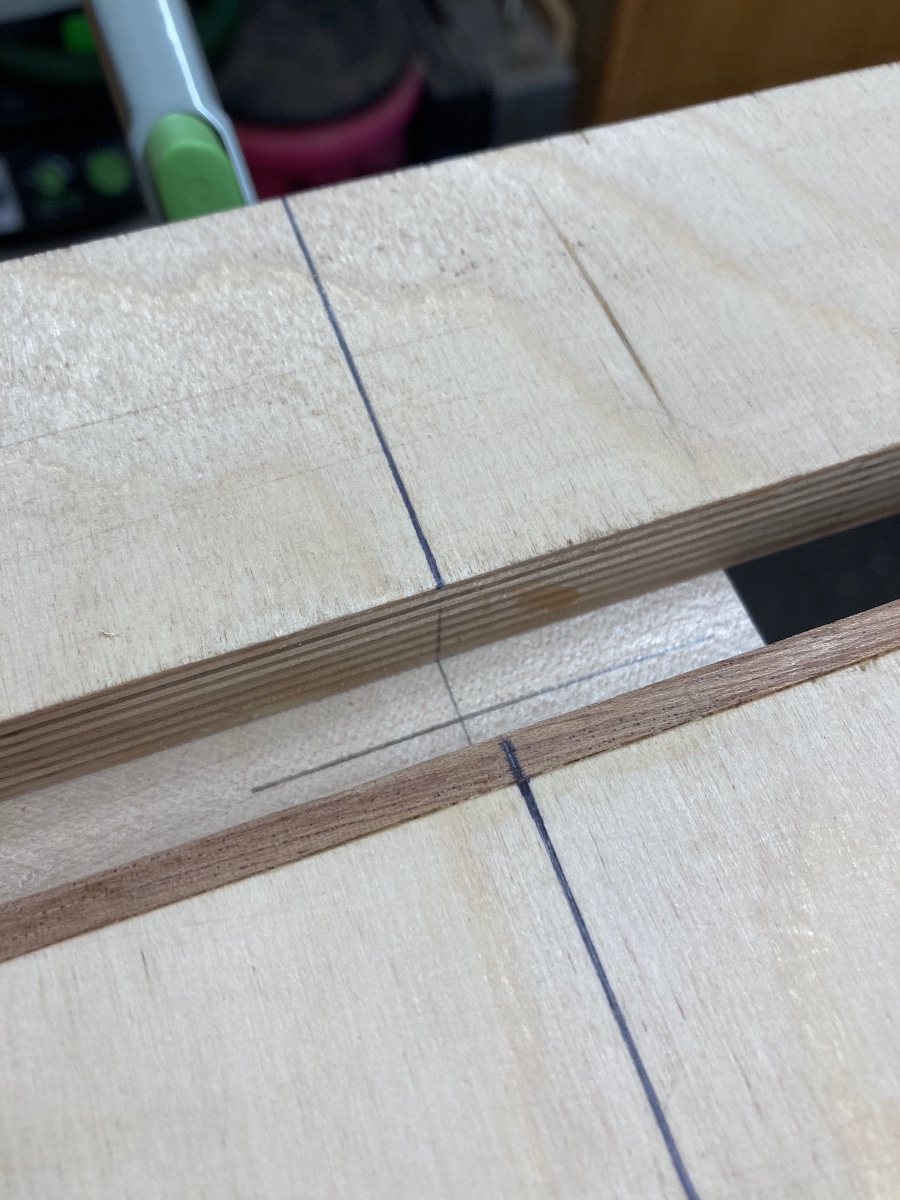
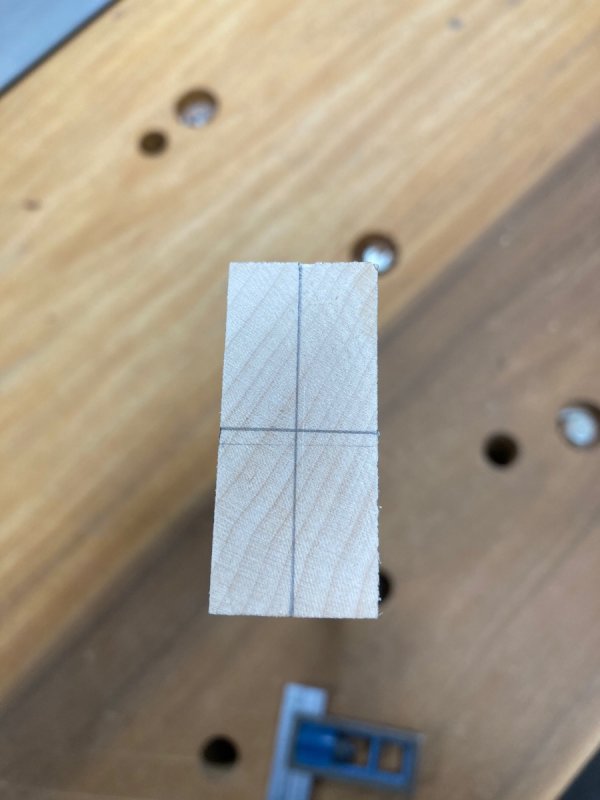
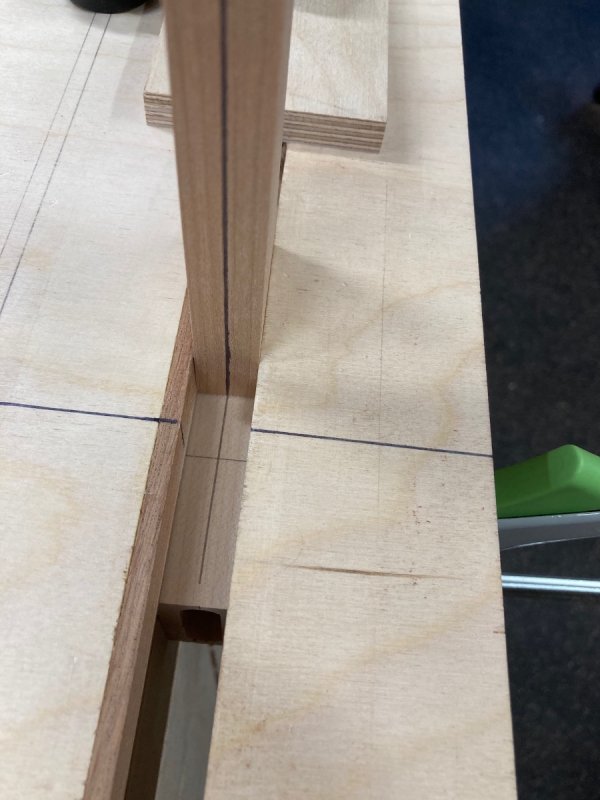
No it is pretty simple, you only have to mark out the mortise on piece if all you pieces are the same thickness like these web frames. If it is something like a leg and apron then you need to mark out on leg and one apron. You need one witness mark for the center of you mortise's width and the center of the mortises length. On the rail its on the end it looks like this. On the stile its on the side and looks like this. Then you clamp it in the mortiser, lining up the witness mark for the length of you mortise with the centerline on the mortiser itself. Then I have a piece that fits perfectly in the slot of the mortiser that has a centering line on it. Using this you adjust the top of the mortiser until the line lines up with the centerline on your piece of work for for the center of your mortises width. After you are setup like this all your other pieces just need a witness mark for the center of the mortise's length. You line it up un the center line of the mortiser, clamp it and go. Nothing else changes. In my thread about building this in the tips and techniques section I posted Morley's video and he probably explains it better.


-
I understand the theory behind getting airflow under the slab but it seems to me that besides the challenge you ended up with, having the slab off the table would have the epoxy on the underside drying unevenly just because of the weight of the epoxy. This sound like you hired her for a supervisory position more then helper. I hope you adjusted her pay scale, at least put a little more into her 401k.
-
If this is what you want the LEDs for I am guessing that under the desk top wouldn't really serve your purpose. LEDs are actually pretty directional, they pretty much cast light in the direction you point them. LED's that look like a regular light bulb cast light all the way around because they have mounted the diodes on a calendrical pattern inside the bulb. So I would think that all you would get by mounting them under the top is a glow that may still have your wife less then happy. Look into red light. I used red in a couple of situations on was in my darkroom developing pictures and another was at night with my telescope. I would use a red flashlight if I had to read something but it would effect my night vision for looking through the telescope. With red once she closes her eyes she would even know you had a light on. Or... how about an LED headlamp? ?
-
If your talking about the height of the drawers being close on getting two drawers, one way to get some space would be to have the drawer bottomless and use the hanging file folders. This might get you a half an inch or more per drawer. But in you plan was to us under mount drawer slides this won't work. I am seeing a trend with the LED feature that reminds me of the "make everything out of pallet wood" craze. The other day I was doing a search for LED bulbs that would fit in our bathroom fixture. I while later I was on Youtube clicked on the woodworking button and thanks to the way the internet keeps track of everything we search there were three projects involving LEDs to some extent. Lol
-
Yea, I don't agree with this. Your not talking about butterfly stickers or something like that, you are talking about something that is hand crafted and that never goes out of style.
-
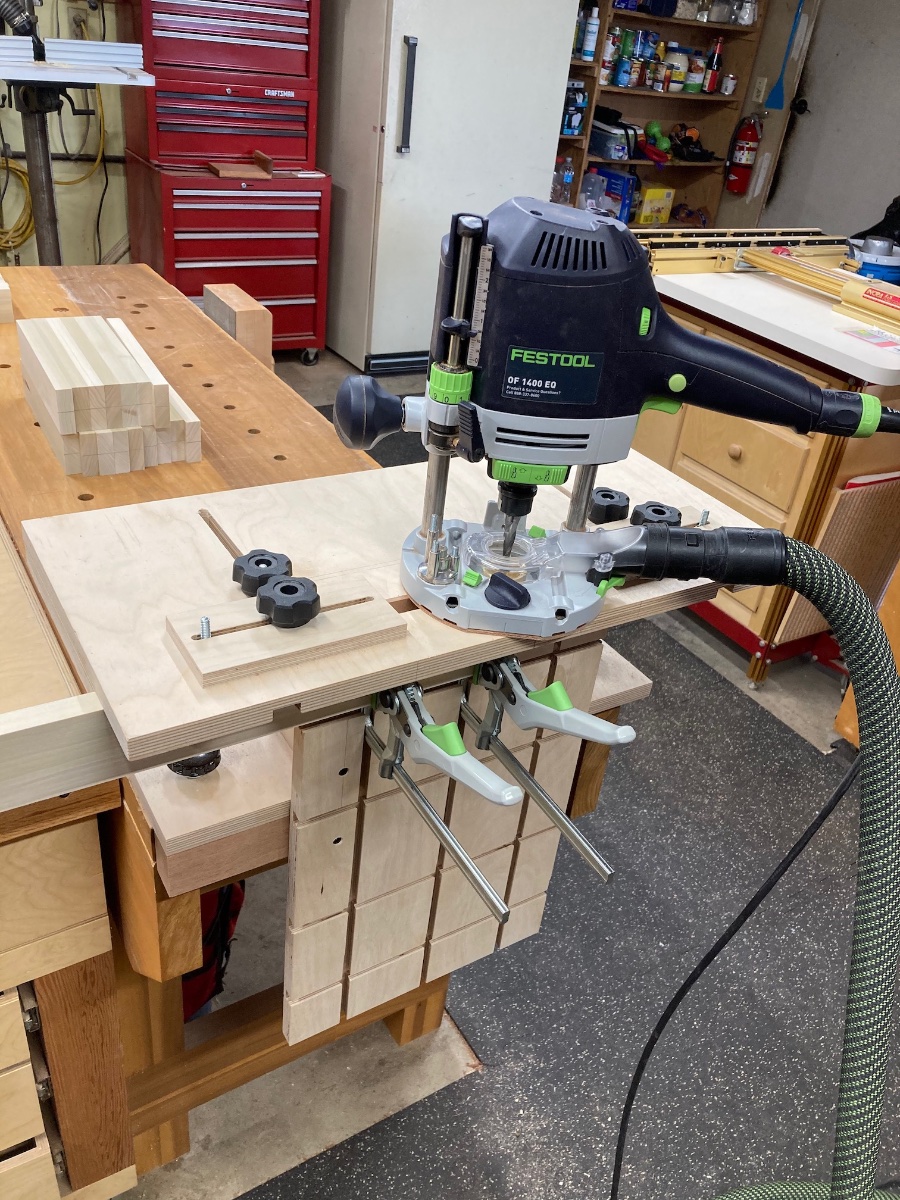
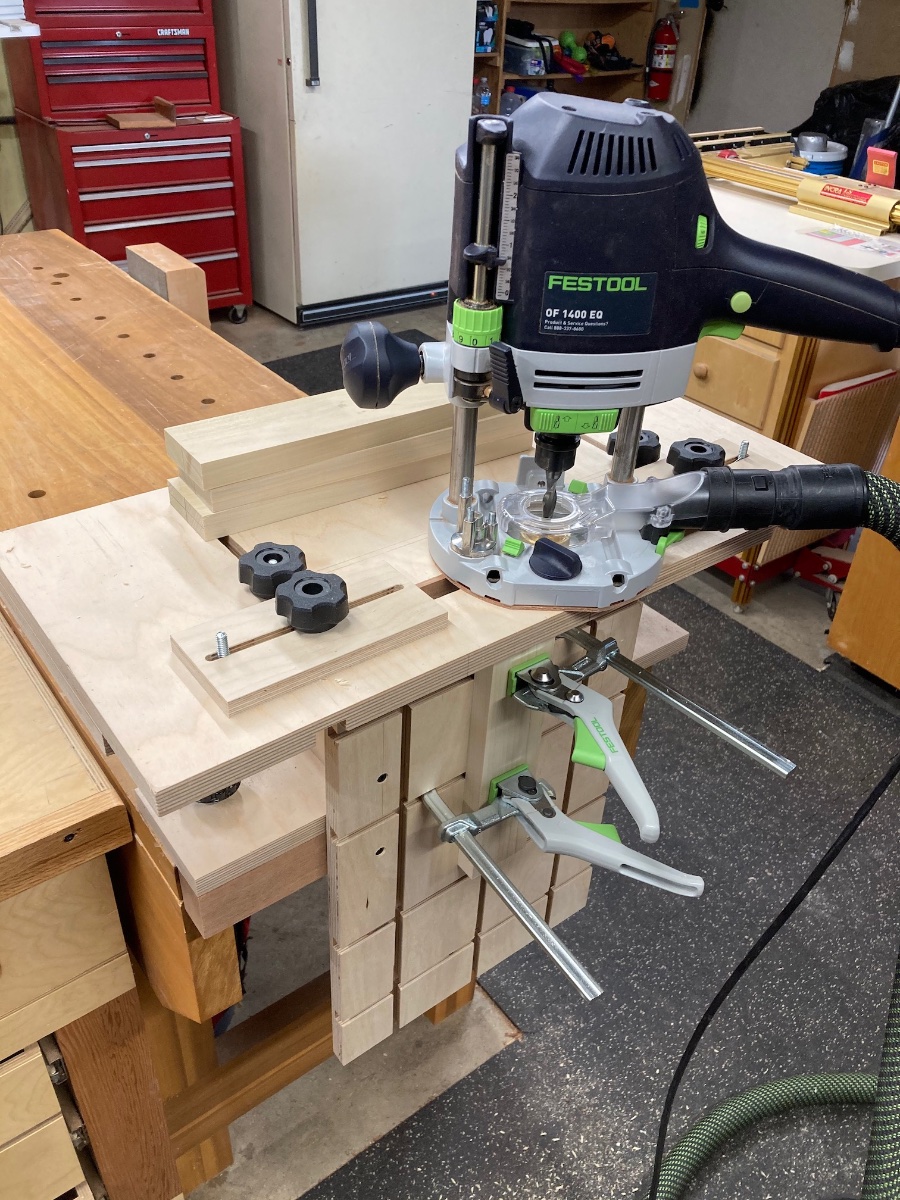
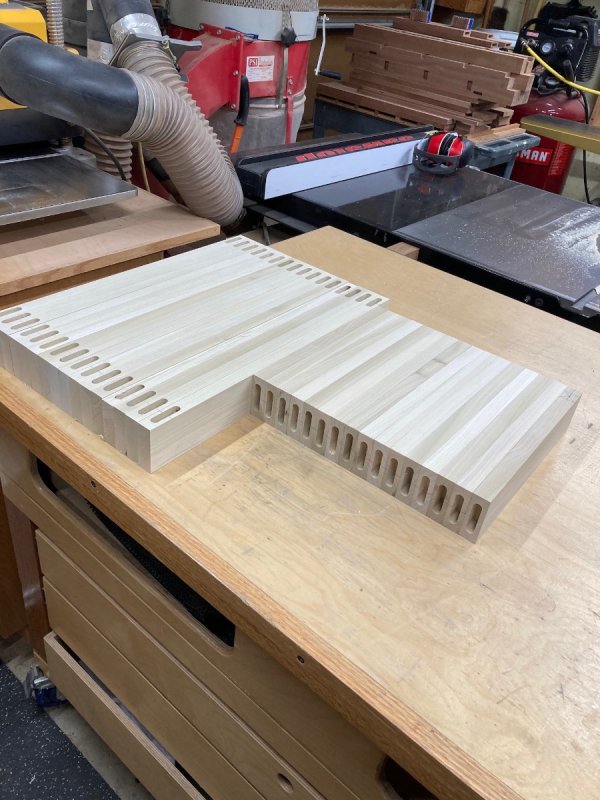
Today I worked on he web frames. After cutting everything to size I cut mortises in all the pieces. Ends of the short pieces. And the edges of the long pieces. It took about 75 minutes to do 64 mortises. I really liking this Morley mortiser jig. Then it was just a matter of gluing and clamping everything.


-
This is an excellent coating for metal that is going to be out doors. Everbrite Coating
-
If you are talking about your dutchmans or I think you said you were going to make them look like butterflies for your daughter, I would definitely do those before the epoxy. When you do the inlays, you want to leave them just a fuze proud and sand them flush with the surface. They will look better this way instead of trying to glue them in flush. Because you will be sanding you want that done before the pour.
-
A leaf blower and an open garage door is the way to go.
-
There are witness marks all over them Coop and once the dry fitting commences there will be more.
-
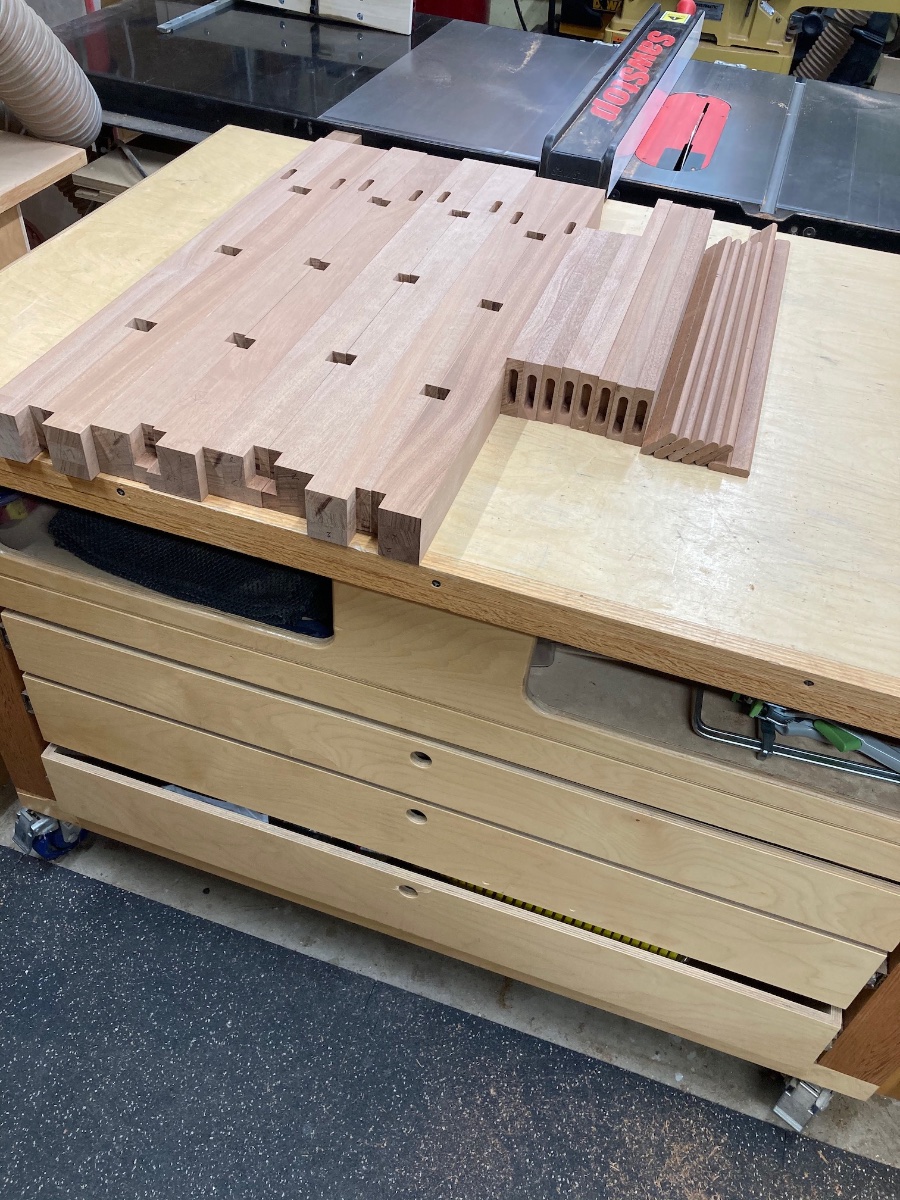
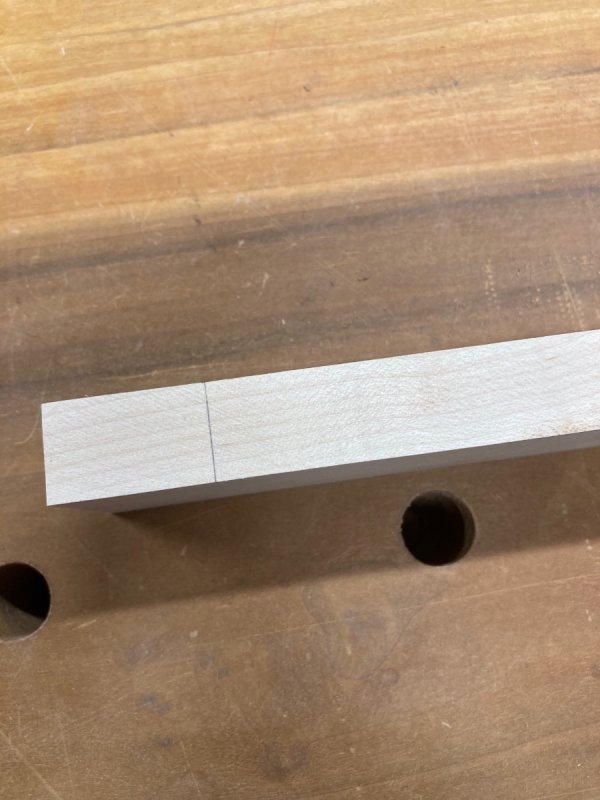
Had some time today and got all the mortises done for the aprons, 32 in all. After that I used up some scraps to make the loose tenon stock.