Every purchase made through our Amazon Affiliate Page helps support this site

Chet
-
Posts
2,280 -
Joined
-
Last visited
-
Days Won
93
Content Type
Profiles
Forums
Downloads
Gallery
Events
Store
Articles
Blogs
Everything posted by Chet
-
Well like I said, it is the beak side of a back leg so yea, it won't be seen. If nothing else it was good practice for when I really muck something up.
-
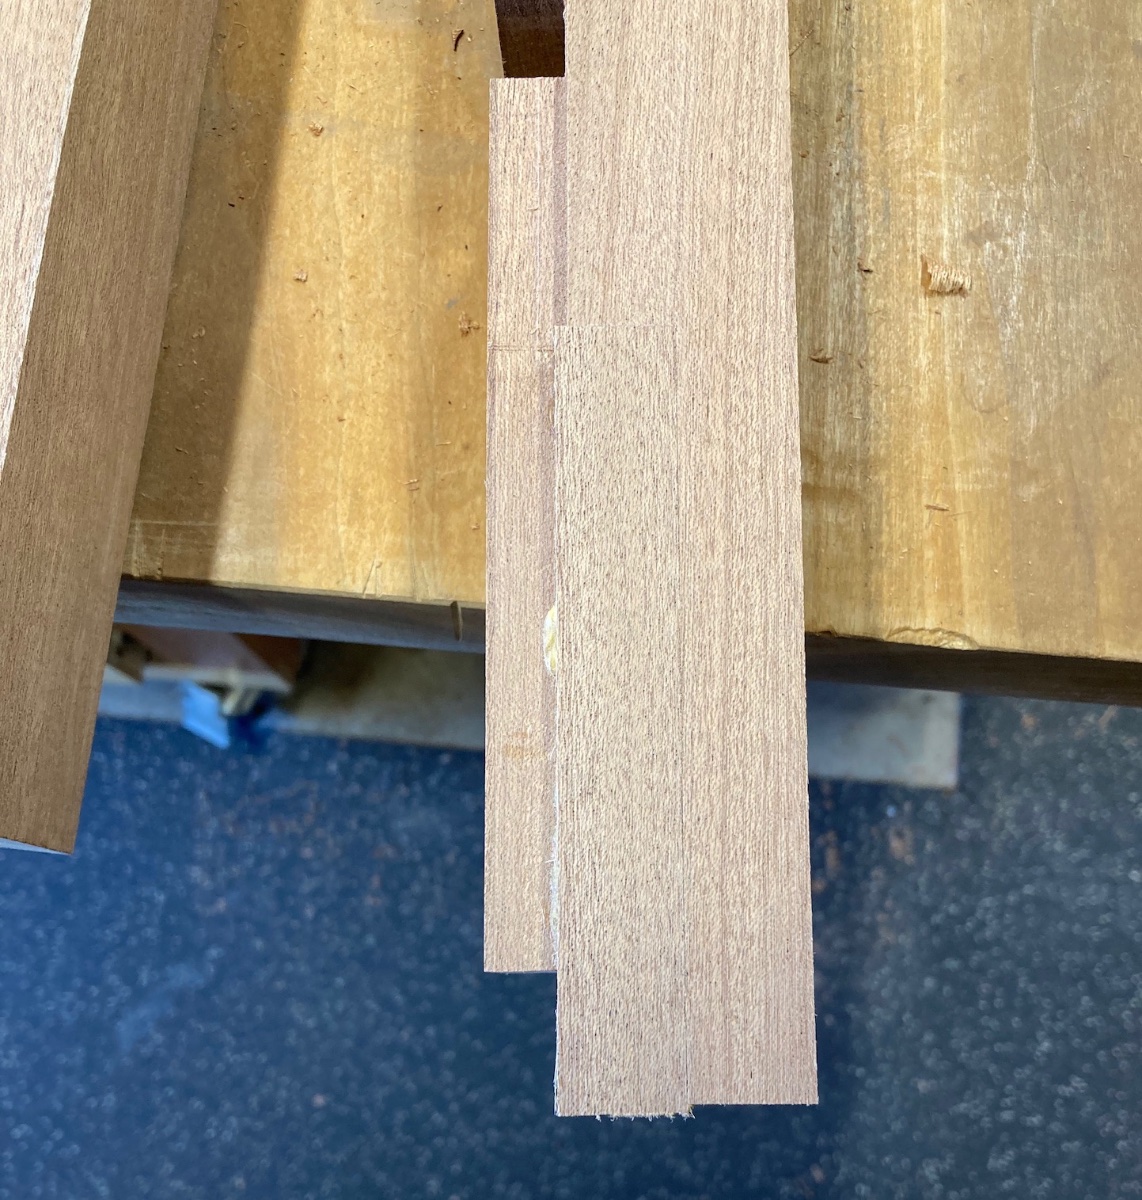
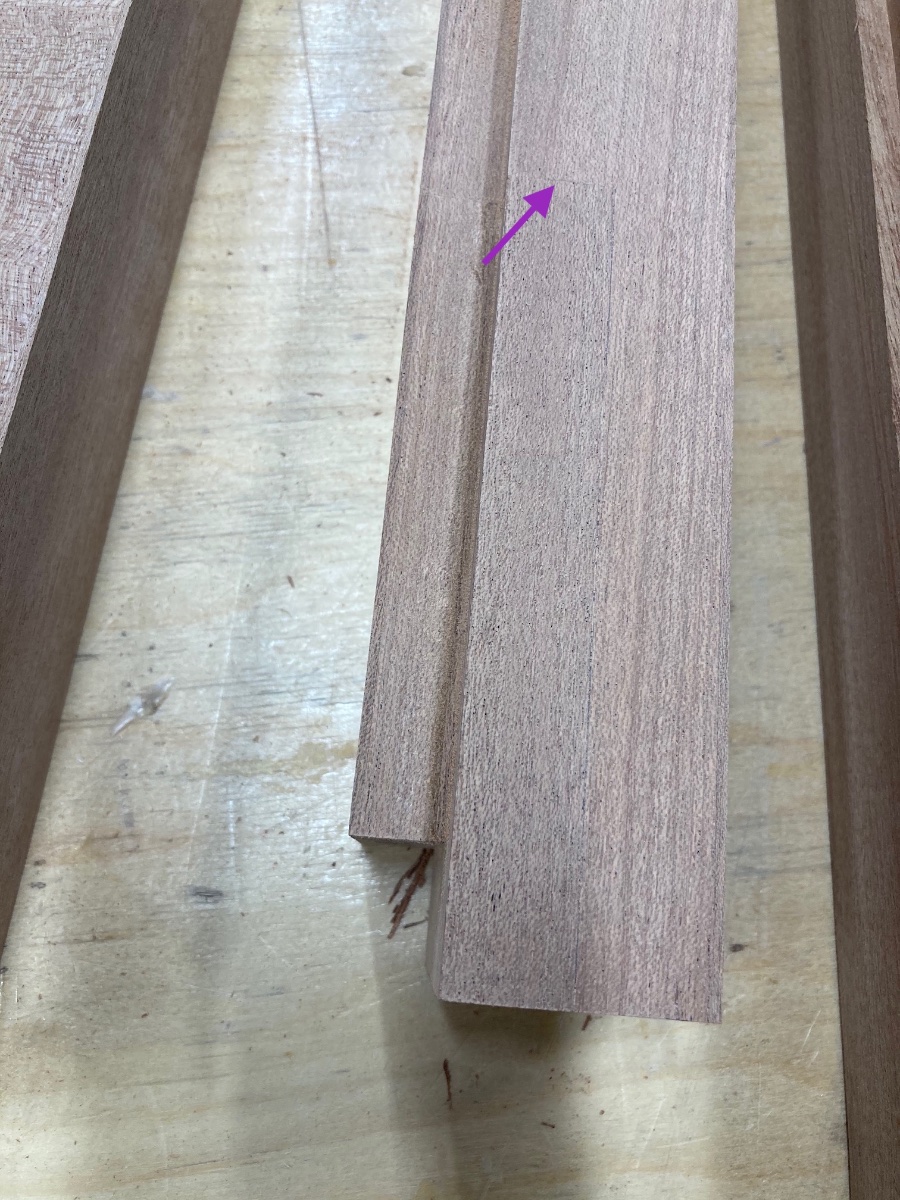
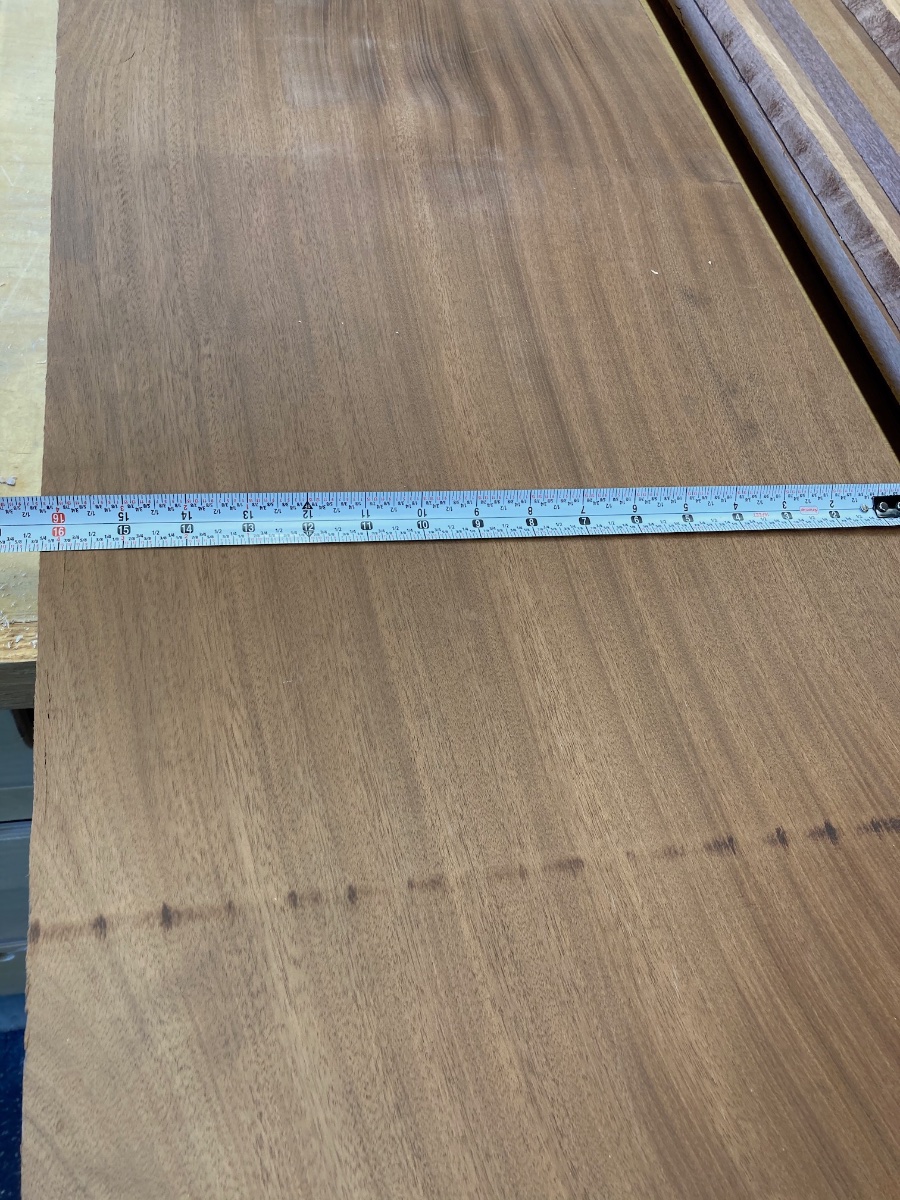
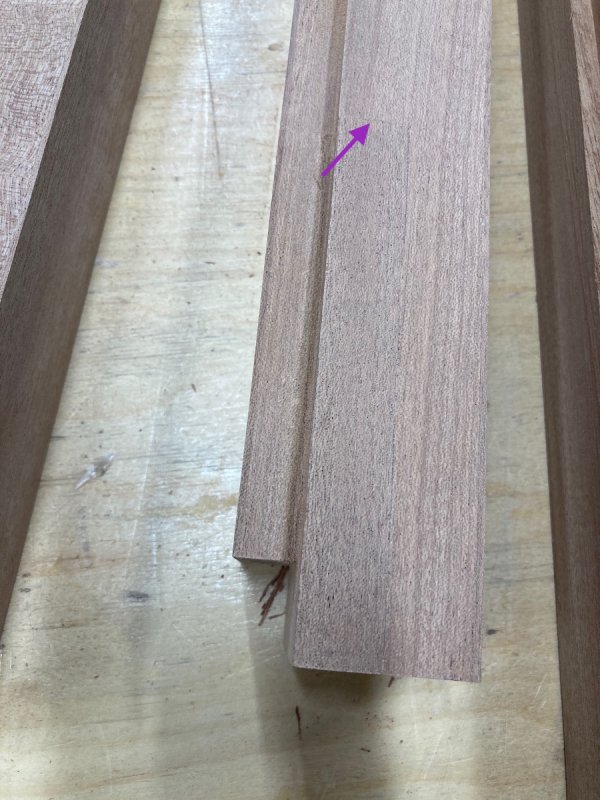
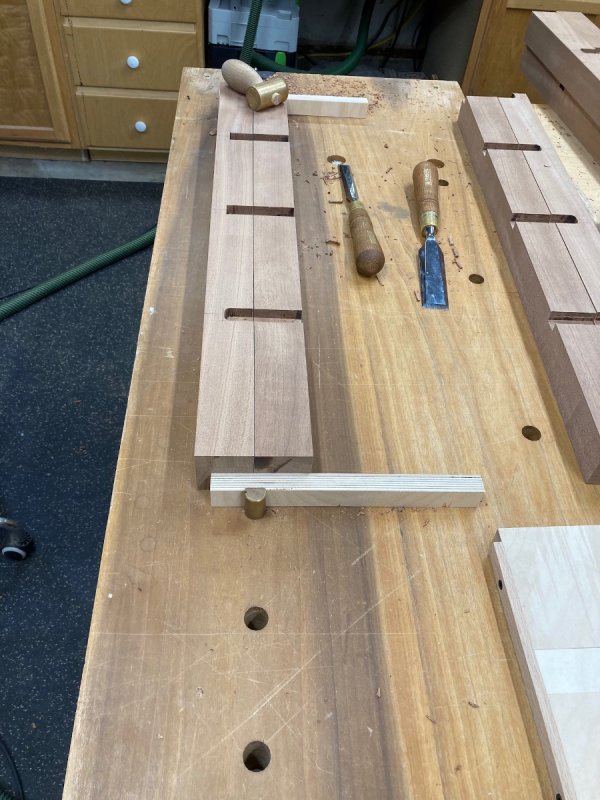
Well I had something go wrong today. I guess I didn't tighten the bit in the router properly and while cutting the dado on the back legs for the back panel the bit started to raise as I was going along. I got about 6 inches in when I felt the bit chattering a little, thats when I found out what was going on. You can see some of the chatter marks where the arrow is pointing. The pencil line shows how the bit was climbing most of the material to the left of the pencil line wasn't supposed to be gone. I tightened up the bit but then ran another pass at that height to clean things up for a patch. I squared up the end of the router cut with a chisel Next I cut a patch and glued it into place. On the patch piece I under cut at a 45° the end that was going up against the area I squared with the chisel hoping to get a tighter fit there. I ran it a couple of times through the drum sander, then finished flushing up the patch with the leg with my block sander. I re-cut the dado at the "correct height" this time, and flushed the leg end. There is some color difference on the patch and you can see the end of the patch (Arrow). The good news is this is a back leg on the nightstand and will be against the wall.


-
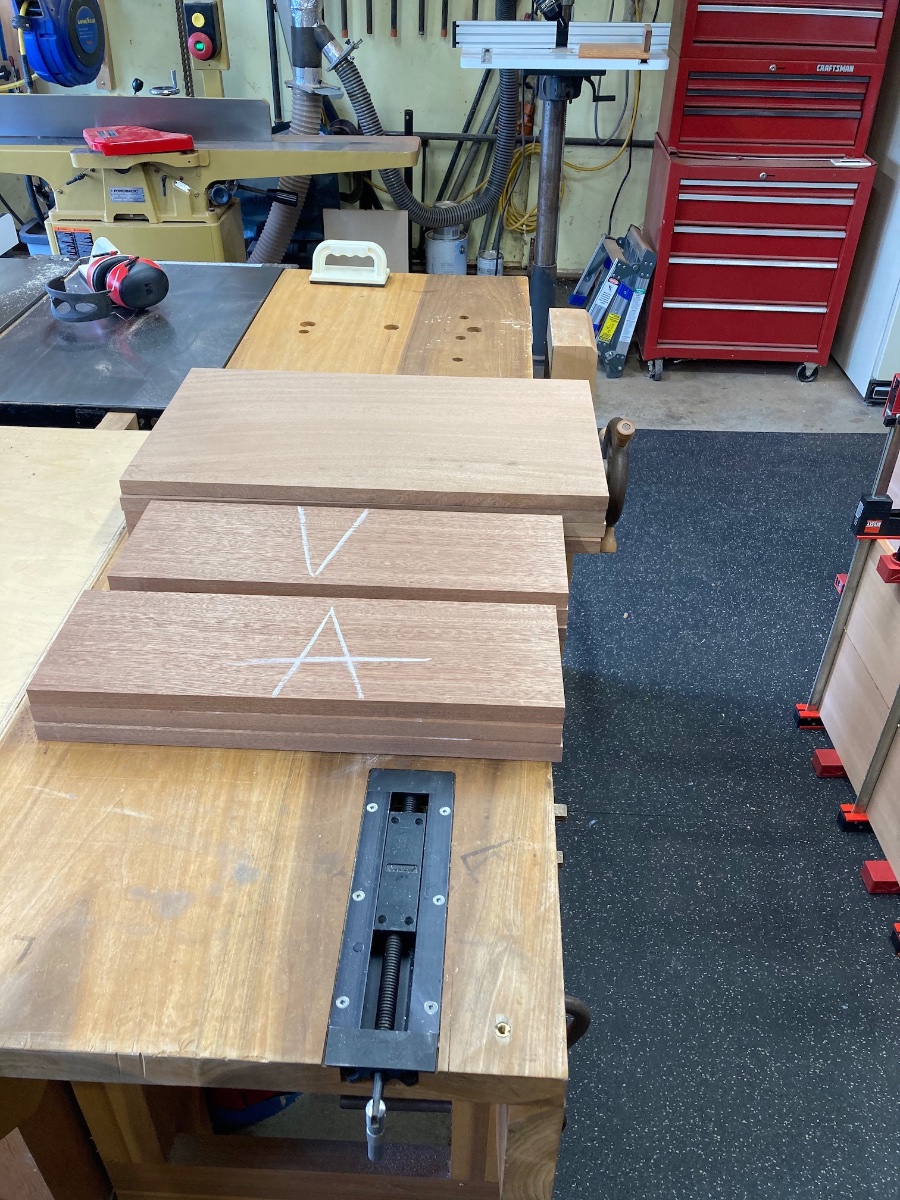
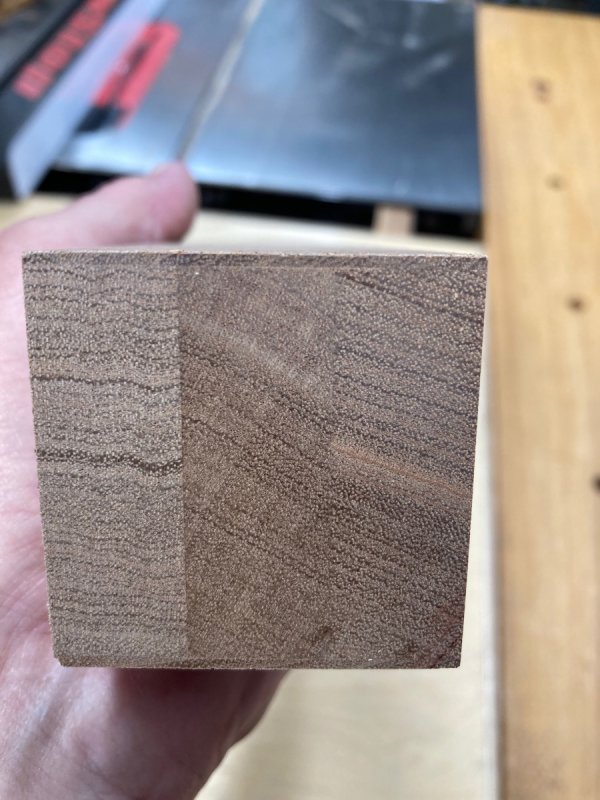
The other step to this but I haven't done it yet is you put a really small chamfer which completely hides the veneer line. The thinner the veneer the smaller chamfer has to be. This was about 1/16". Yep, this one will get tossed as soon as I know I haven't messed up anything and need to make a new leg. I save the hardware, I even remove the screws to us in the next jig.
-
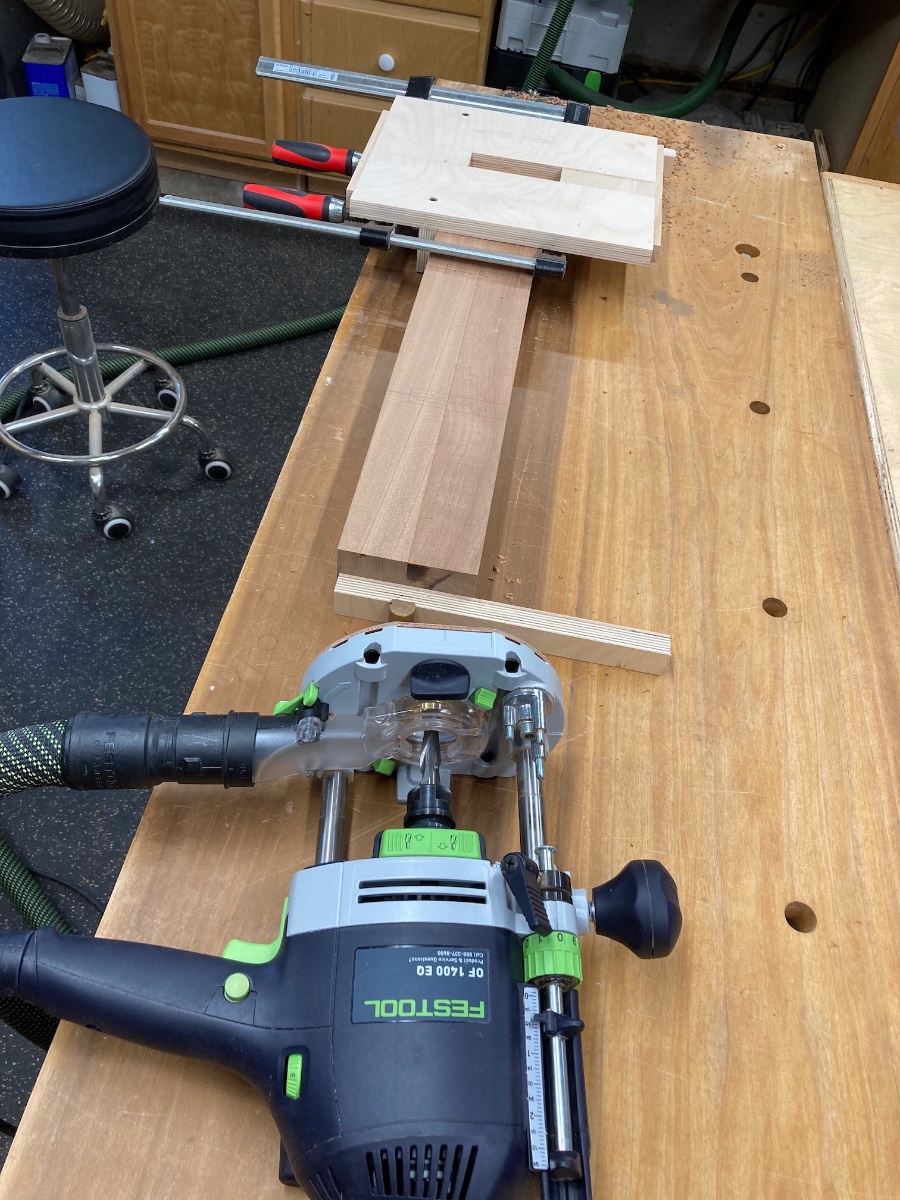
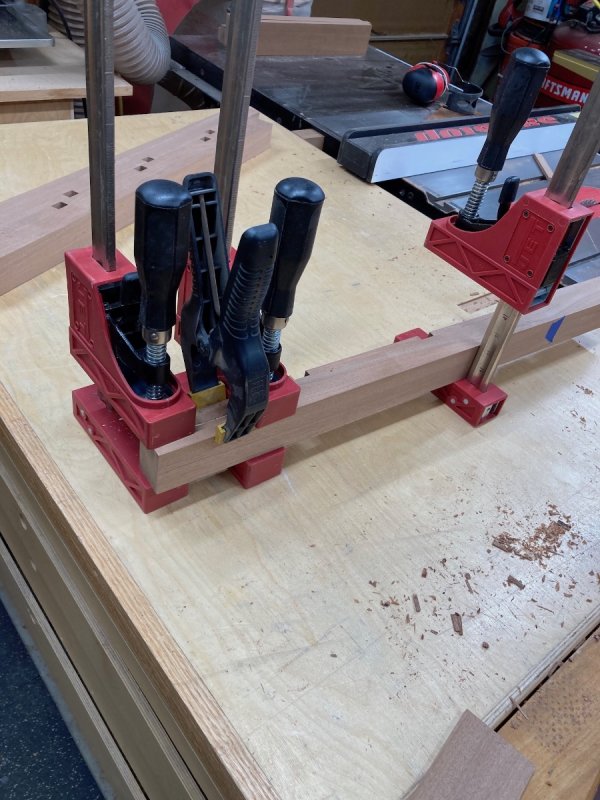
After gluing up the leg blanks I cut some veneer to glue over the glue lines on the leg blanks. You can see the veneer on the top and bottom on this end view of the leg. Doing this gives you nice grain on all four sides of your leg and saves you having to buy thicker stock to make you legs from. After this I made up a jig to cut the dados in the legs for the web frames using the router. Squared up the dados with some chisels. Next up is the web frames.


-
If you are doing the pour in a form, instead of using up a lot of time and wood shavings you could just get the tops flat and then shim everything level from the bottom. No one would ever see the shims when the desk is finished.
-
Welcome aboard Tyler.
-
This sounds like a good idea.
-
The Morris Chair as a fun and challenging project. Maybe start by building a whole new bedroom set. By the time you get done with the bed and nightstands she will have decided what she wants in the corner. Armoire could be a fun project though.
-
Or maybe you see a lot of my cleanliness in Kev's shop. The two can be intertwined. ?
-
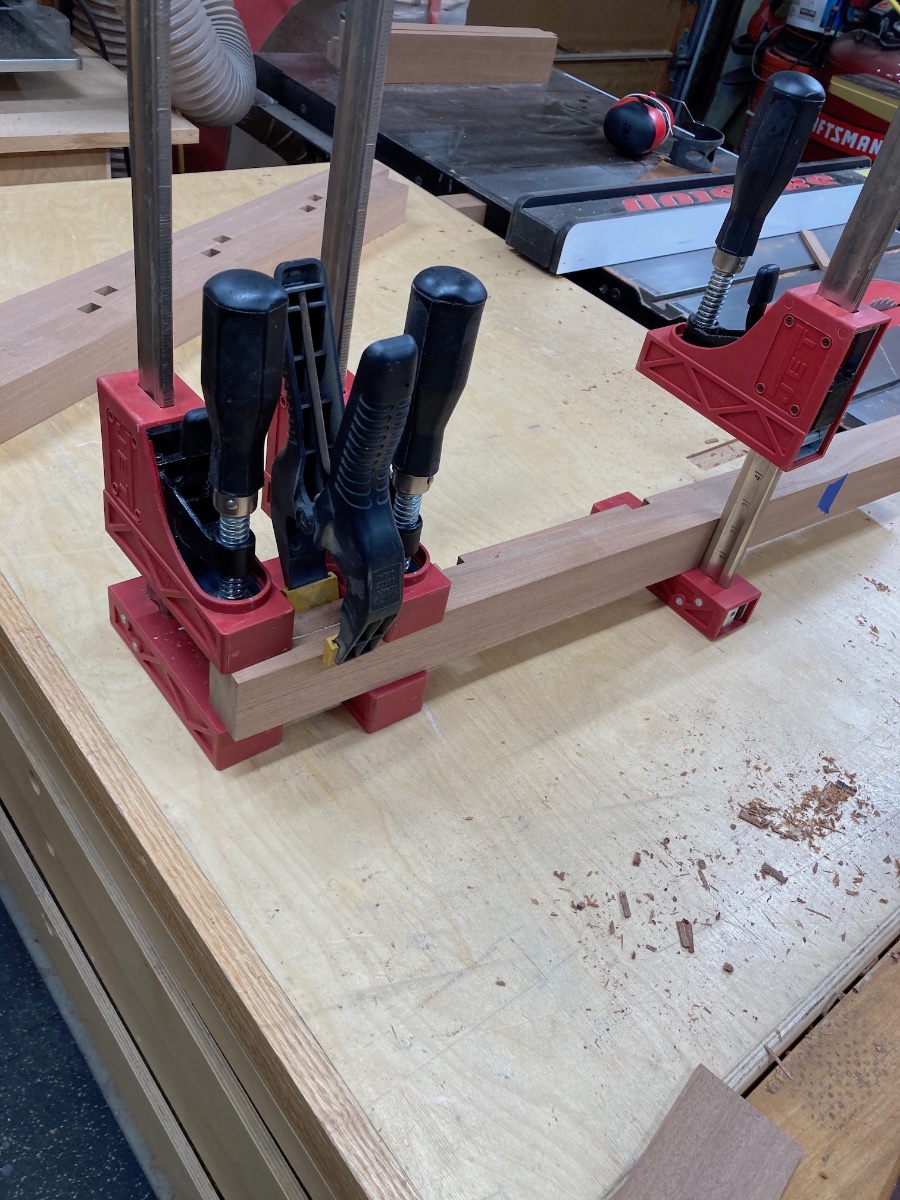
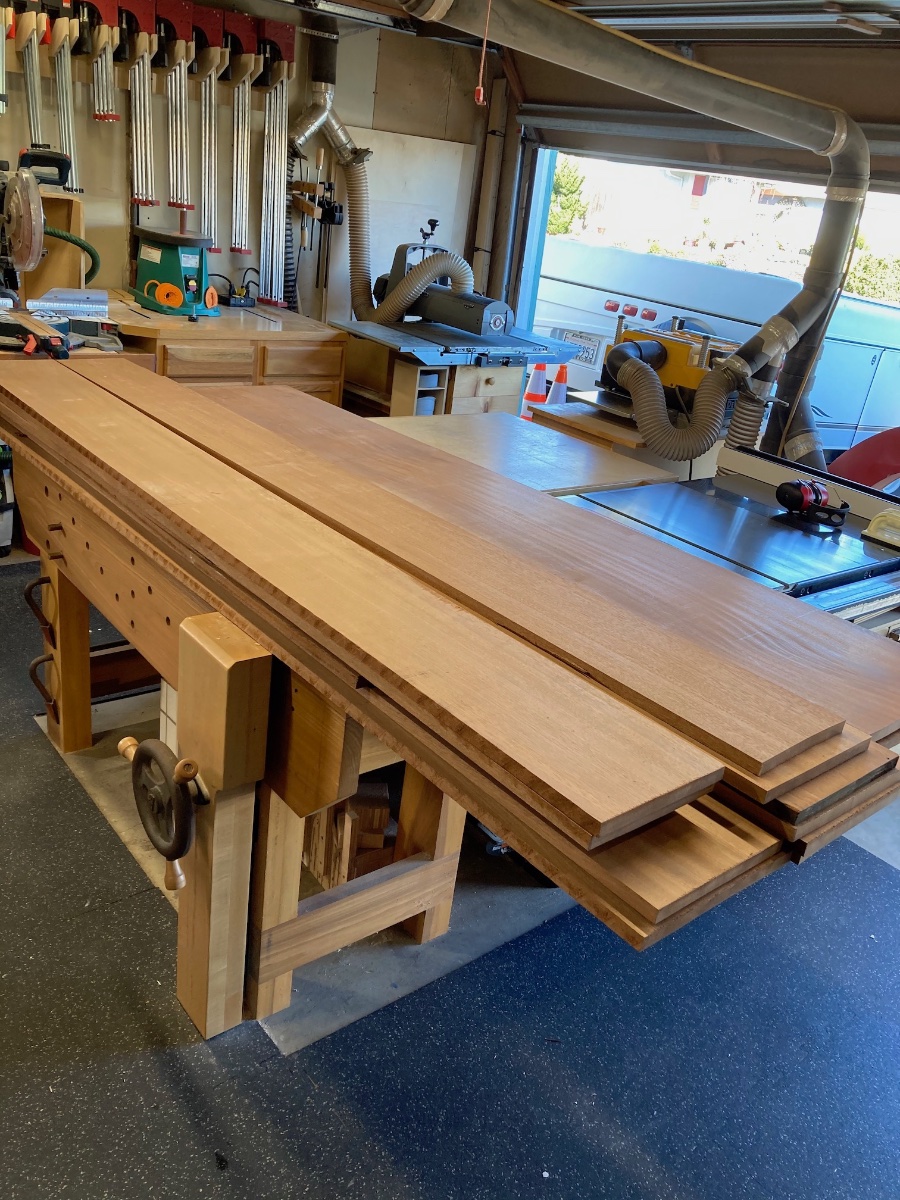
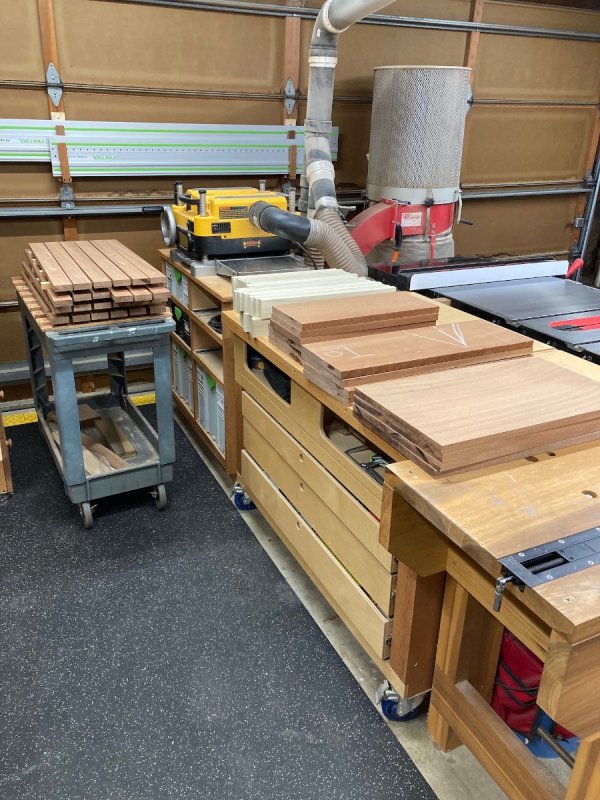
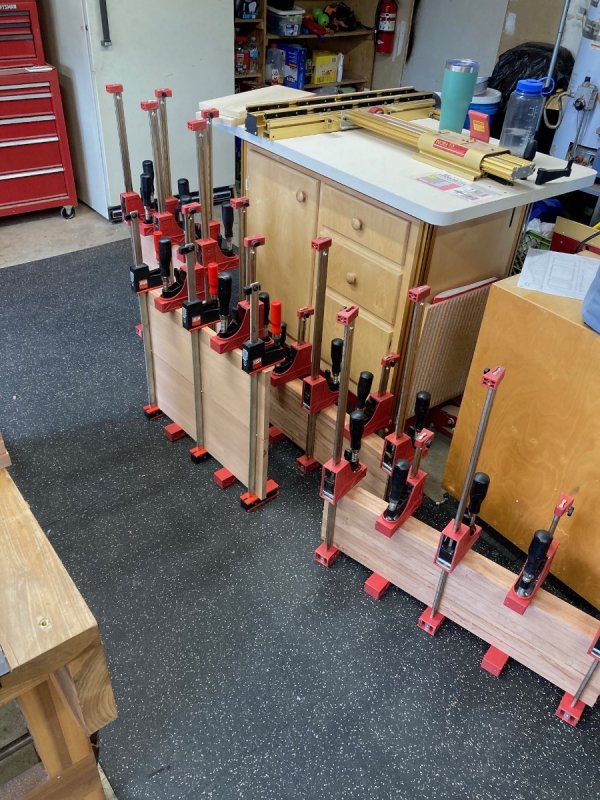
I got back to this project today after being side track by the jointer for a few of days. Prior to that happening, I had got almost all the parts cut to rough size. I had started roughing the legs last last Friday and when cutting them on the saw there was a lot of energy in them so I sticker them and left them until today. I had never experienced that with Sapele before. Everything roughed, Legs stickers on the cart, poplar for the web frames, drawer fronts, tops and sides, from front to back. It was a big day of milling, then glued up the 8 legs and 2 tops. Drained the clamp rack pretty good. Then finished the day by getting the drawer front and side panels close to the final size and matched up the drawer fronts. AND emptied the dust collector.

-
Coop, I meant to add up above, when I bought my PM jointer I wasn't going after the brand. I was really set on one from Grizzly, I owned a 6 inch of they're for 18 years and except having t replace the switch once it never let me down. But at the time they were going through some weird problem and all their jointers we back ordered between 3 and 6 months and I didn't want to wait that long.
-
It's one of those tools that when you need it, it is worth the money spent.
-
No, it's Kev's favorite brand, 8 inch Powermatic. I just happen to run across the Grizzly video looking for information on good ways to adjust my knives.
-
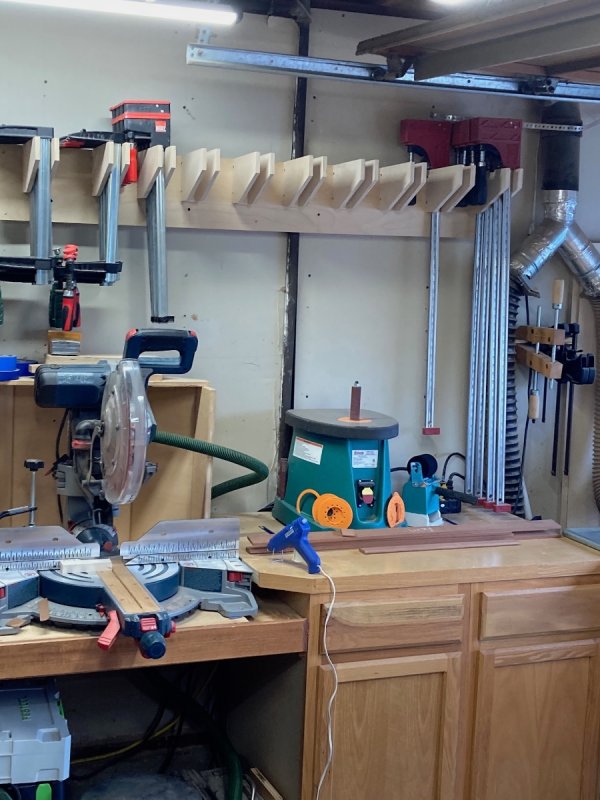
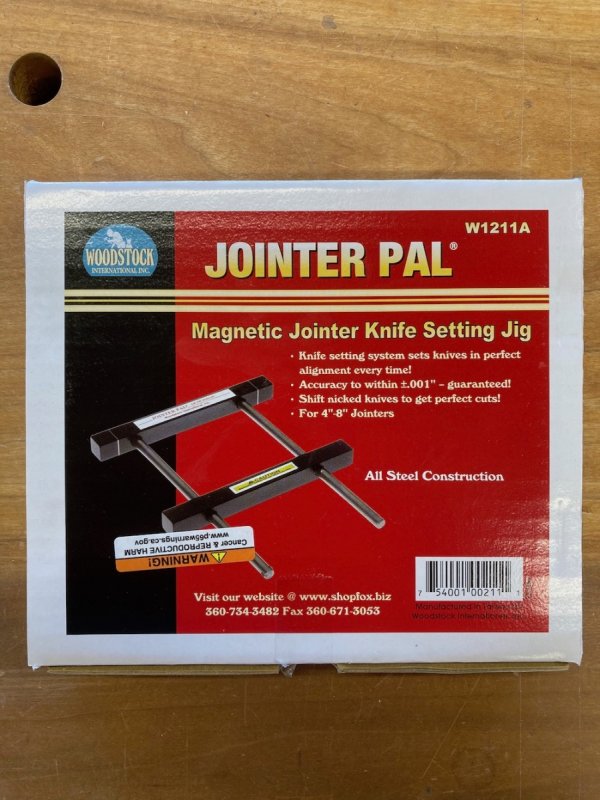
This doesn't pertain to those of you with helical heads in your tools but for the rest this may be of interest. ? I was working on my current project and something just wasn't feeling right with the jointer performance when jointing face grain. I decided to just shut the project down and I started giving the jointer a tune up. I found some minor things but the culprit was probably some improper knife adjustment. The one time I had done this in the past I used the Mickey Mouse jig that came with the Jointer, thats in the trash now. After running across the video below from Grizzly on using the Jointer Pal jig by Woodstock I decided to give it a try. I ordered it from amazon. If you watch their video and follow the instructions that come with the jig I think you will be happy with the results. My jointer is running as good maybe better then when I got it. The only thing I did that isn't mentioned is I put some weight on the jig portion that sets on the out feed table. This kept it from sliding around and freed up both hands. Grizzly video on Jointer knife adjusting. Woodstock Jointer Pal
-
Welcome Fogland.
-
Looks like it should do the trick for you. Question where did you get the flexible light for the drill press and do you like it?
-
Yea, they do enough to see the grain but you still need to do some milling. We used to have a place here in town that sold only S4S and I mean it was perfect. You wouldn't need a jointer, planer or drum sander but this sapele that I paid $5.88 for, if they were still around today it would cost you close to the equivalent of $18.00 a Bd.Ft..
-
That is why I mentioned that it really isn't S3S it's more hit and miss of skip planed.
-
I paid $5.88 a Bd. Ft. They call it S3S but it is more of a hit and miss on the face sides you end up with a heavy 13/16.
-
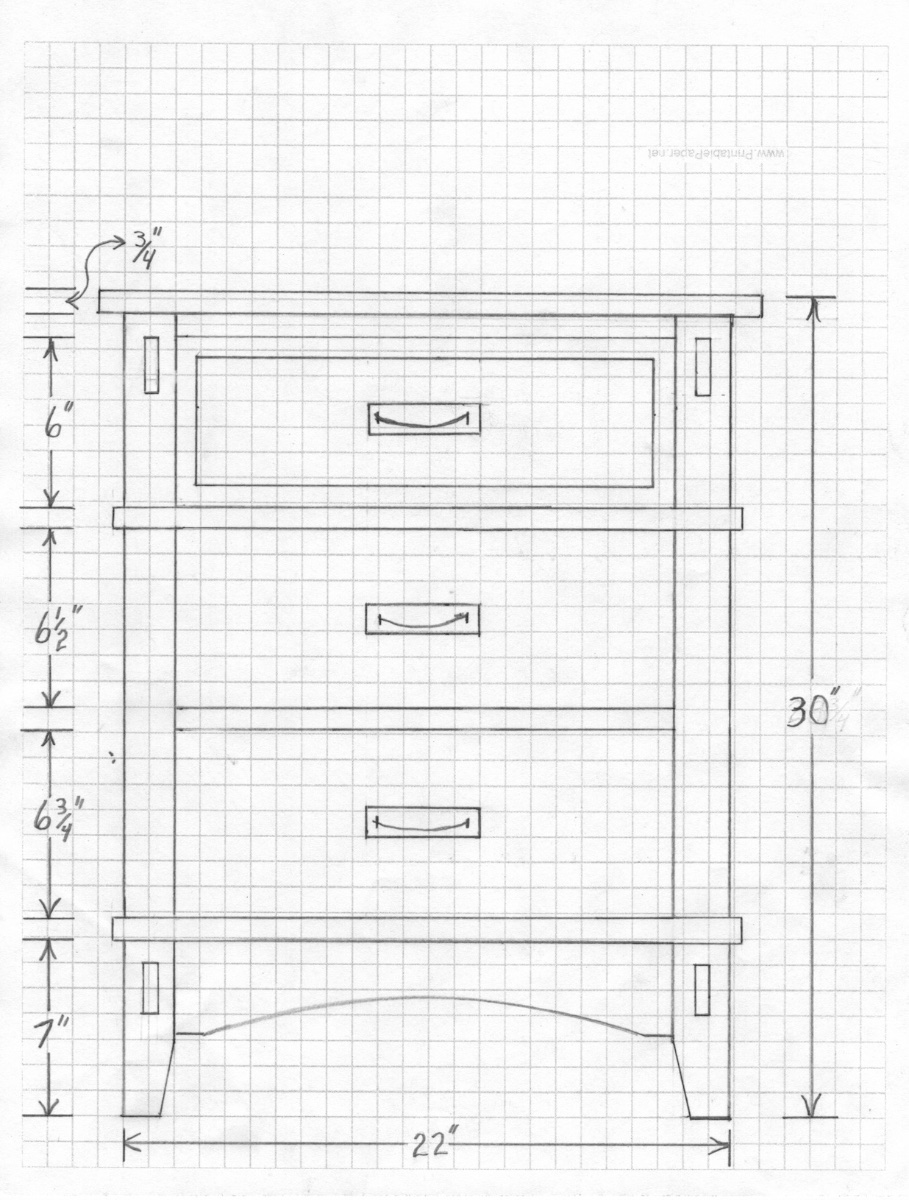
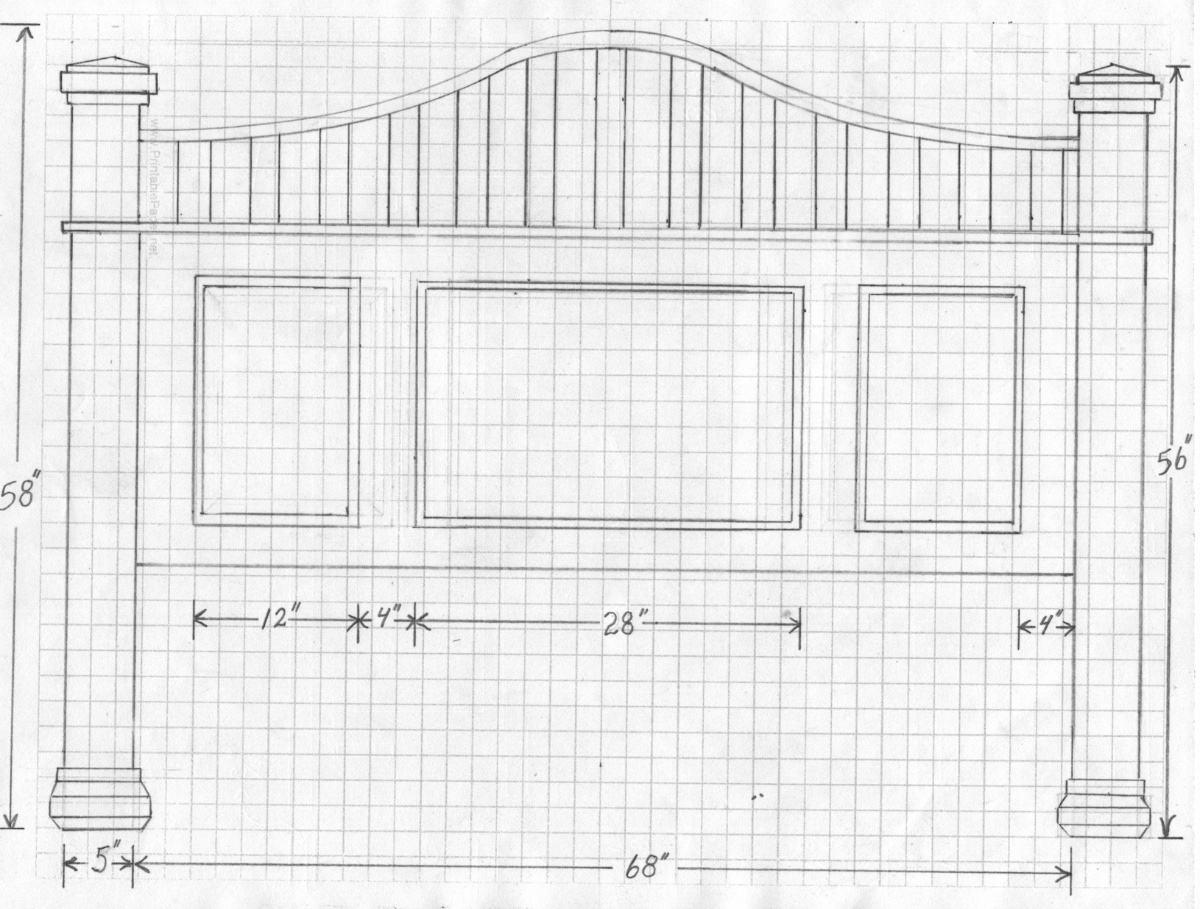
To address Bryans comments maybe a little more history on the projects is in order. A number of years back we purchased a bedroom set after completely redoing the master bedroom and bath. We purchased because I didn't have the woodworking chops back then to attempt something like this. One of the downsides to the set is we had to go with a queen bed because the night stands were so wide that we wouldn't be able to get a King bed in with out he use of a shoe horn and a couple of pry bars. So what I am doing is duplicating the existing design with some modifications, one being making the nightstands narrower. Presently they are 30 inches wide and I am going to make them 22 inches wide. The other is to obviously make the bed wider. The three panels in the head board are raised panels with a 3/4 molding around the boarder, I am not sure I am going to add the molding. The slates at the top of the headboard are a dental design, not open space between the slates. The curve at the top of the headboard I drew using my french curves the on on the existing headboard is much more gradual and I will be tracing that one on to MDF to create my pattern. The most important thing about the design is we like it and my wife really likes it and she is the one that said we should spend some stimulus money on lumber.
-
No, they are just rectangular. I ma changing the bottom, I don't like the looks of what I have in the drawing.
-
No, I sold it to buy my band saw some years back. The lathe just never held my interest. Why do you ask?
-
I am hoping that I can find in this 104 Bd Ft of Sapele one master bedroom set. One of the pieces Picked out was 16 ft long and 16 inches wide. These are the designs so far. Although I have already decided to change the feet of the post on the head and footboard.


-
Or maybe Cherry ply for the whole thing. How big of a price difference would it be in total. When you start doing things like adding a 1/4" width here but not there and then a 1/4" on this part but not that part, to me thats where a project can go in the hopper real quick when you have a different thickness on parts hear and there. I would have to seriously think about maybe taking part of the price difference out of my bottom line just to have a little piece of mind each time I pull out the tape measure.