Every purchase made through our Amazon Affiliate Page helps support this site

Chet
-
Posts
2,280 -
Joined
-
Last visited
-
Days Won
93
Content Type
Profiles
Forums
Downloads
Gallery
Events
Store
Articles
Blogs
Everything posted by Chet
-
Kev's not old enough to have to worry about these things, but I hear you Coop.
-
Is this were we ask - how do you know all of this? Lol.
-
Isn't Montana's humidity pretty consistent? I would think you would be dealing with pretty small movements most times.
-
I think I would just laminate and veneer the glue line edges.
-
Enough chit chat Bmac time to start posting some of you cool journals. 😂
-
Yea she just likes to give me a hard time about all my excessive markings on my work pieces that keeps me from screwing up.
-
Hey welcome Bmac.
-
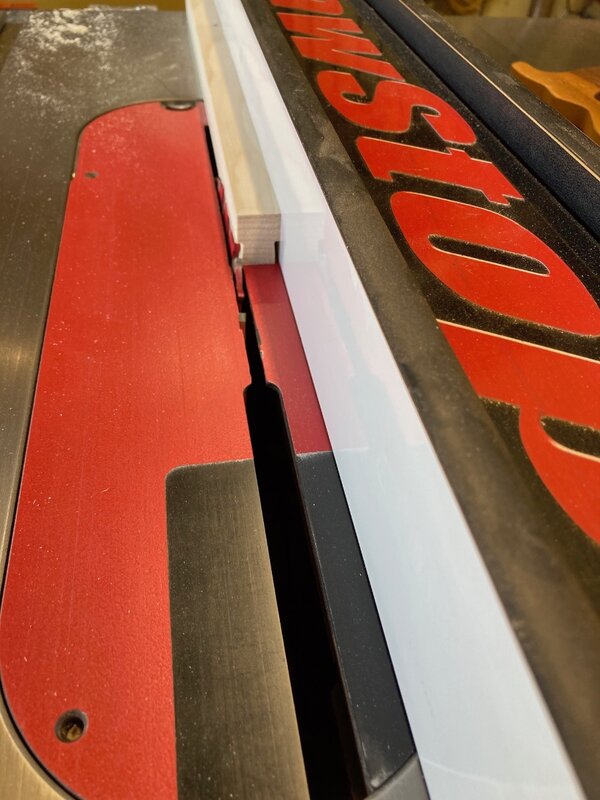
No this is a single set up, not a set. I think they have three different sizes based on the dill bit part but I got the one that works with 95% of the screws I use. I think the counter sink part is the same on all three just the drill is different I'll take some pictures of this one tomorrow and get them to you so you get a better idea of how it works. I think I know the set you are talking about and this one is pretty different.
-
She thought they were two different designs so I would remember which one went on which side of the bed when I got them in the house.
-
Thats the Same one Marc uses, its from Amana tools. I really like it, the counter sink and drill depth are both adjustable so when you get to the center sink depth you set, you can't go any deeper, goof proof for people like me. They are a little pricey ($35) but really worth it in my opinion.
-
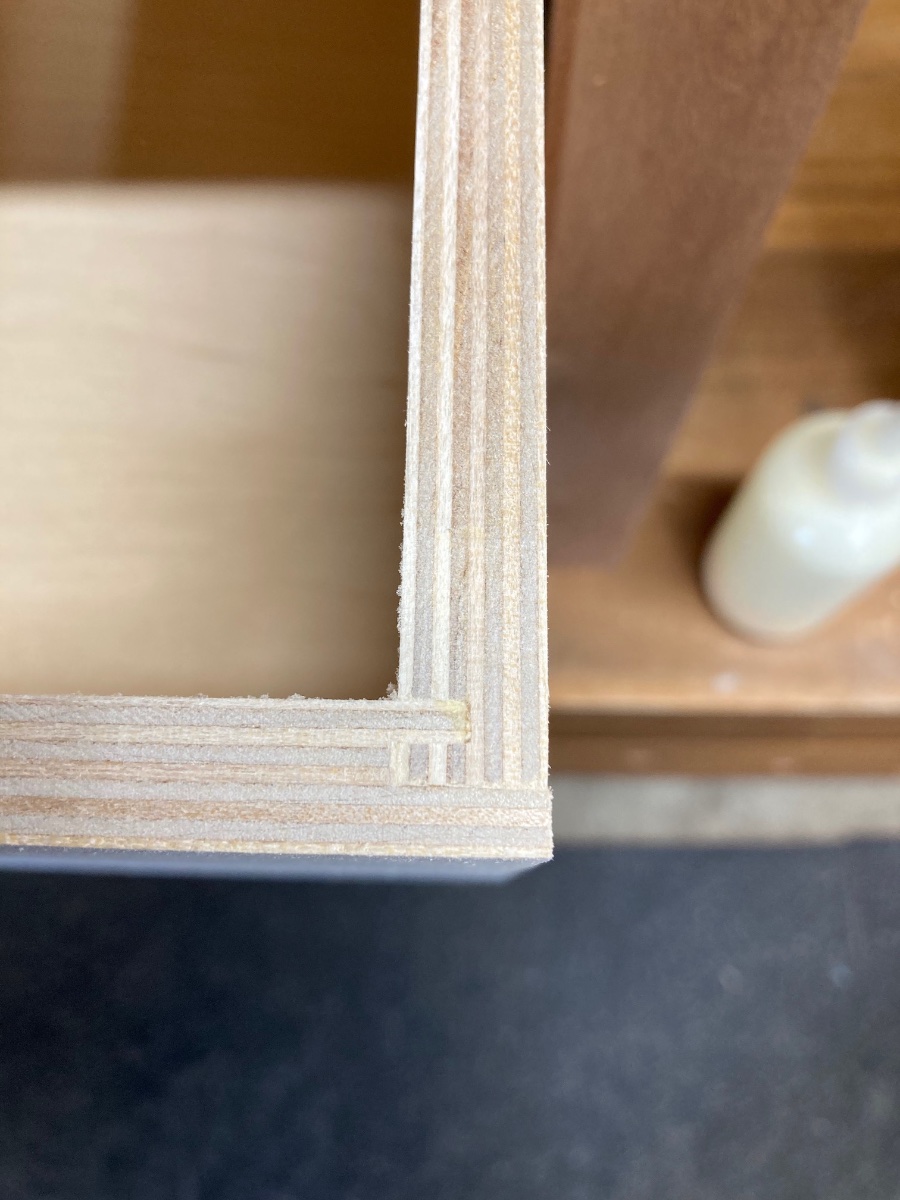
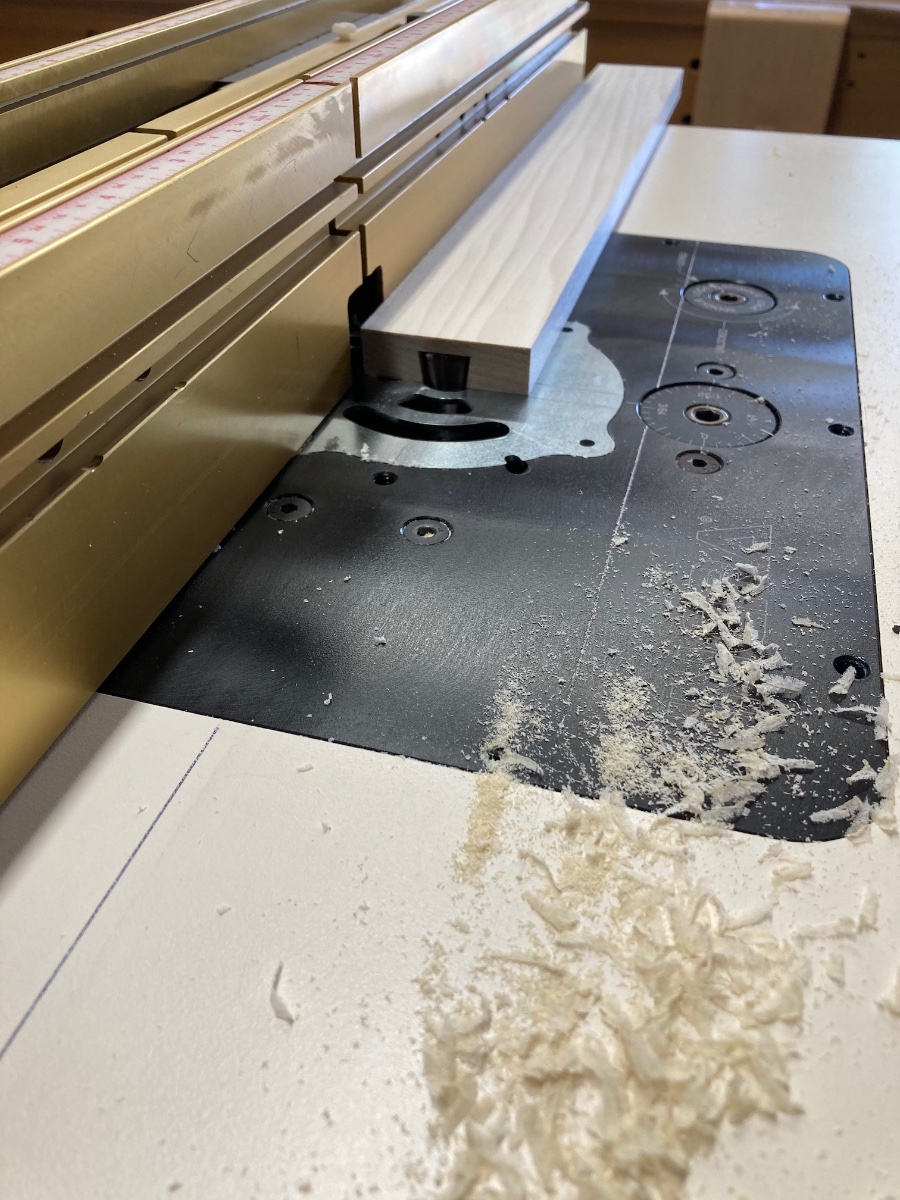
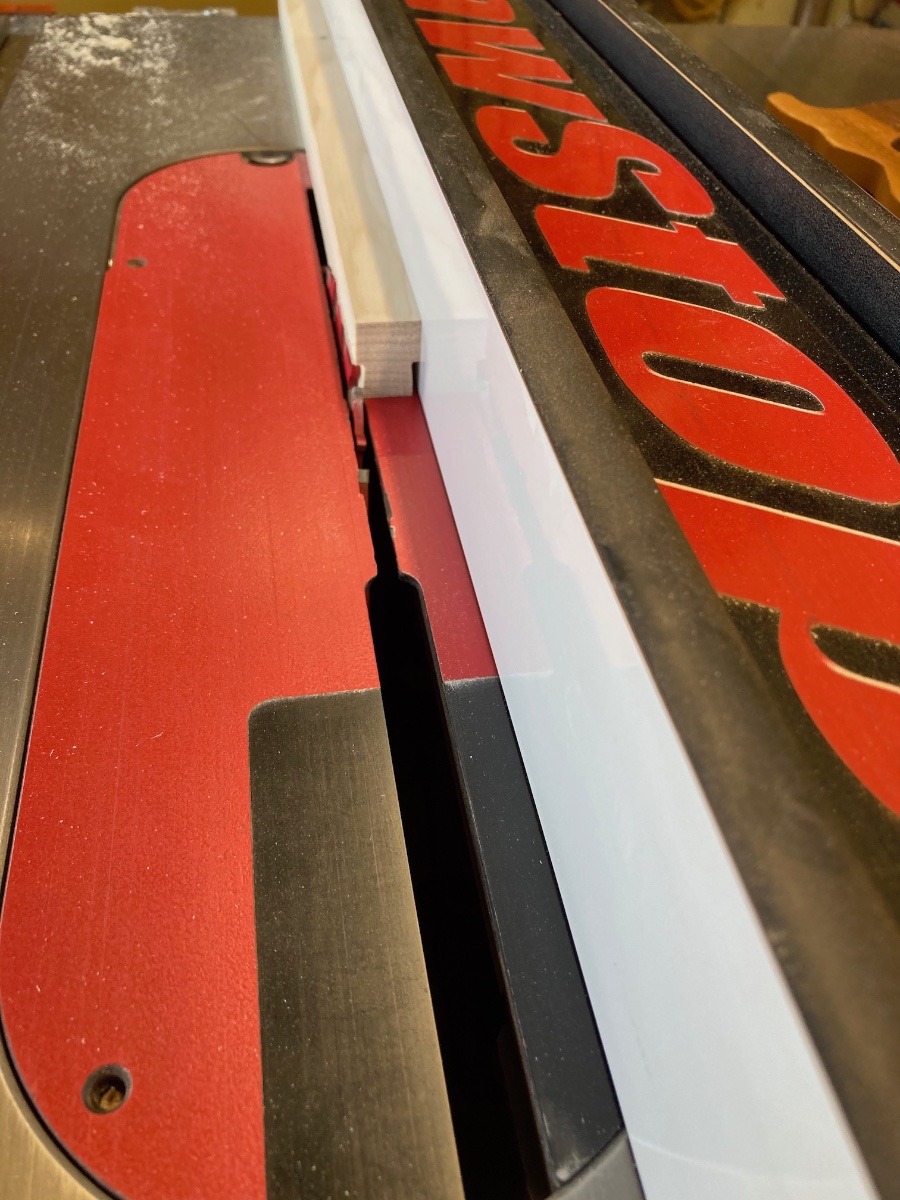
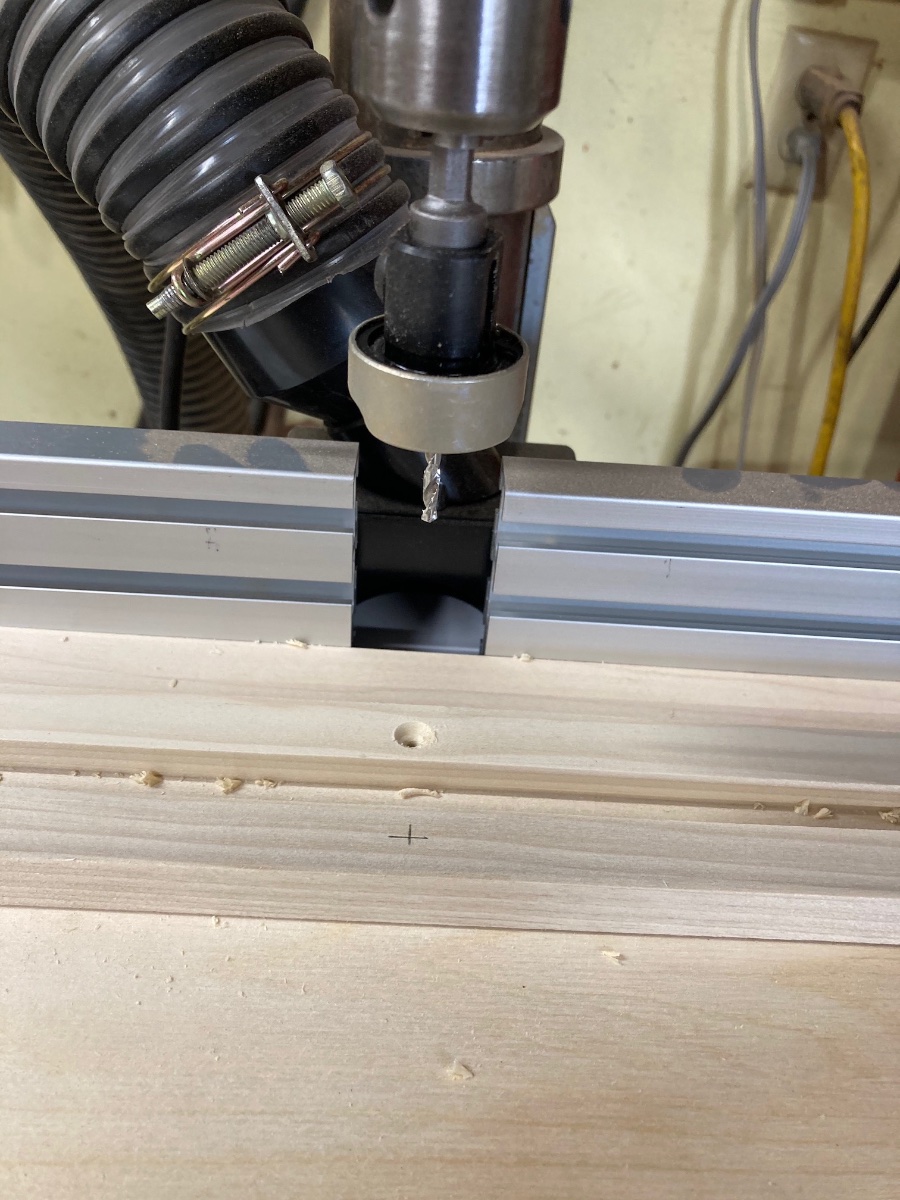
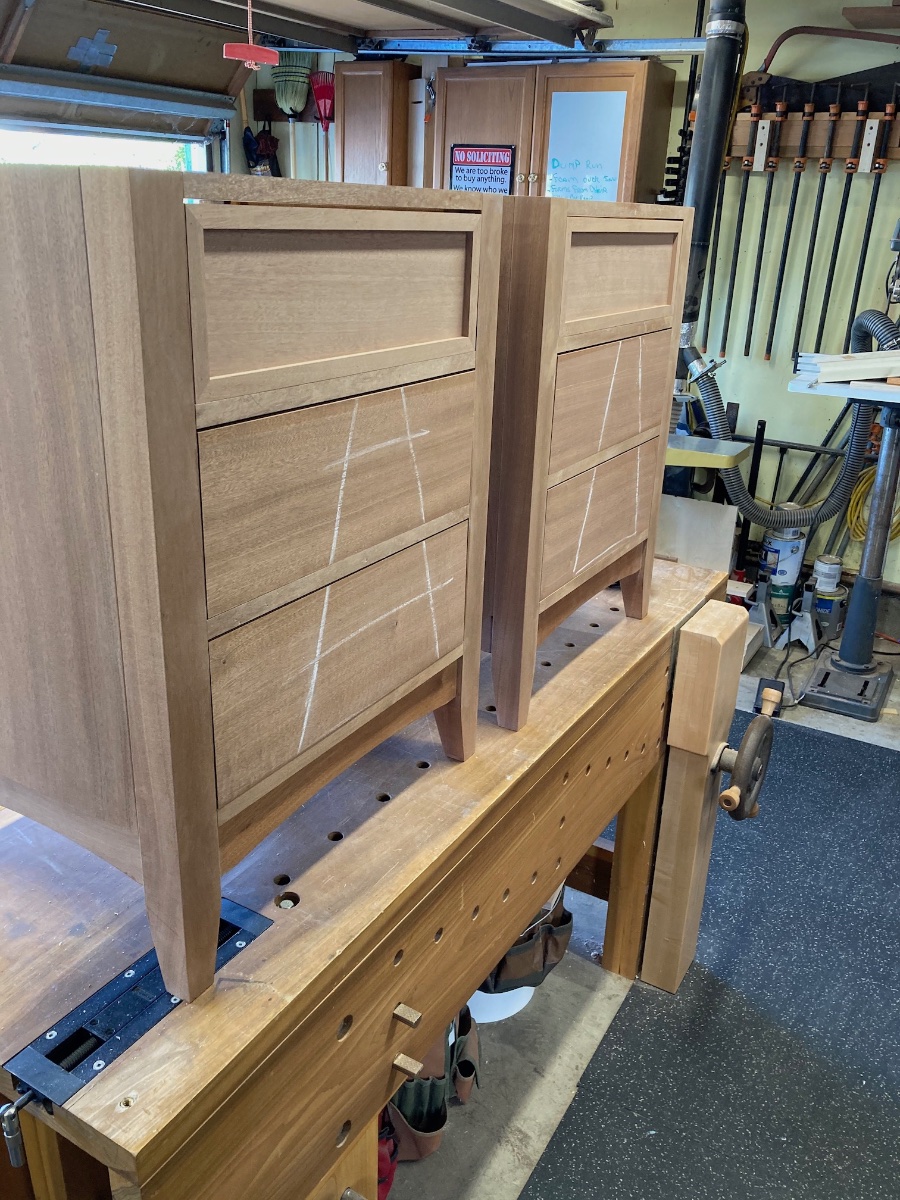
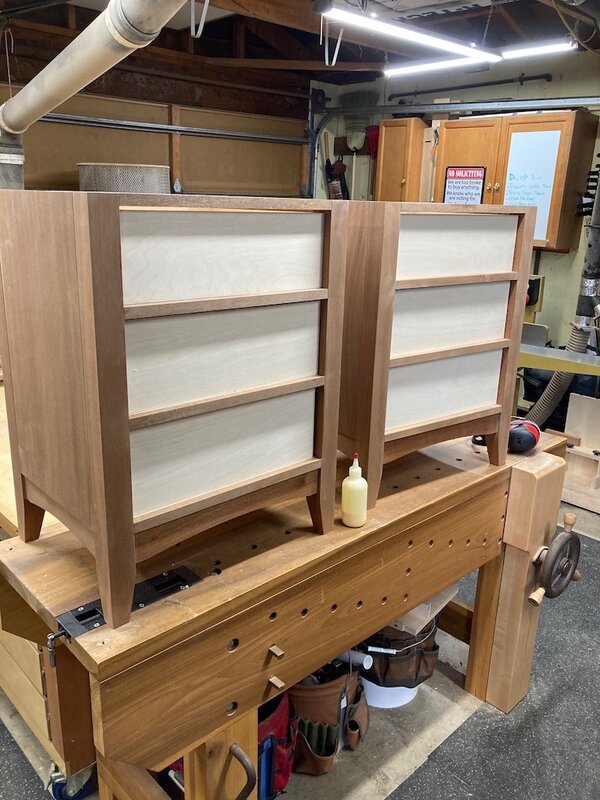
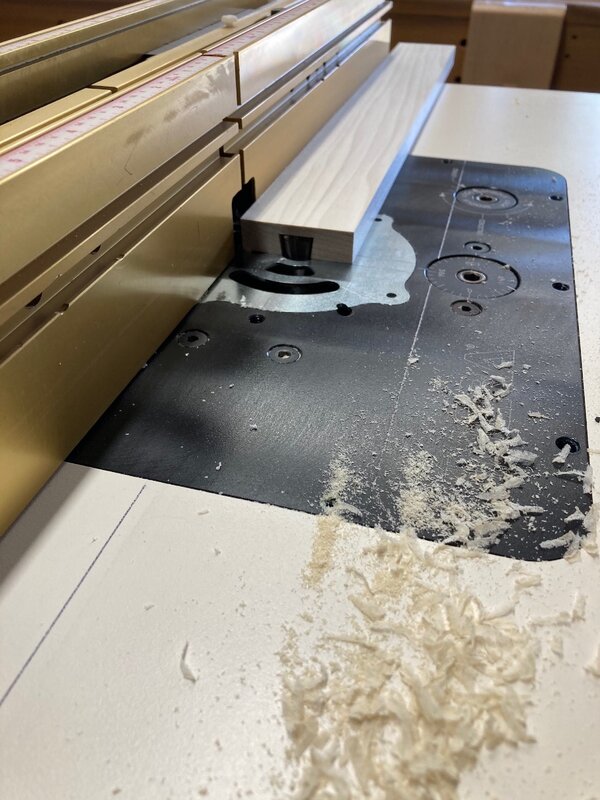
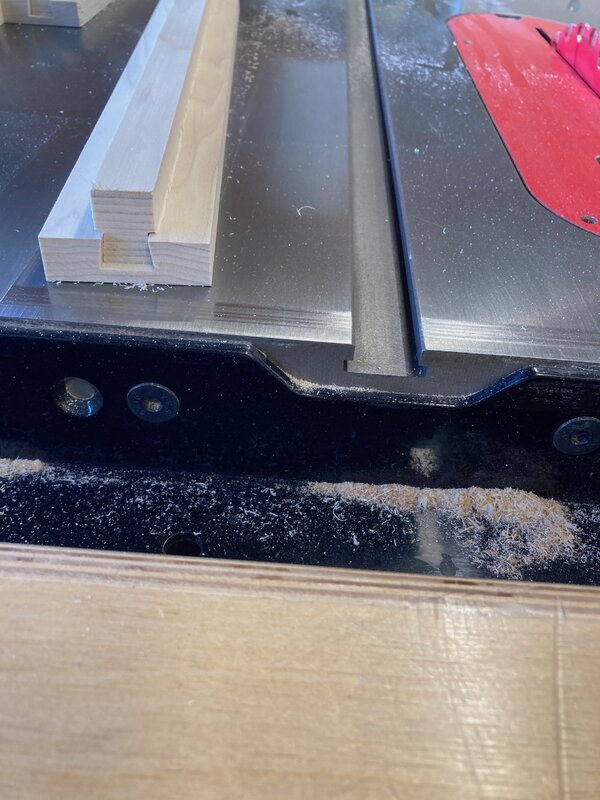
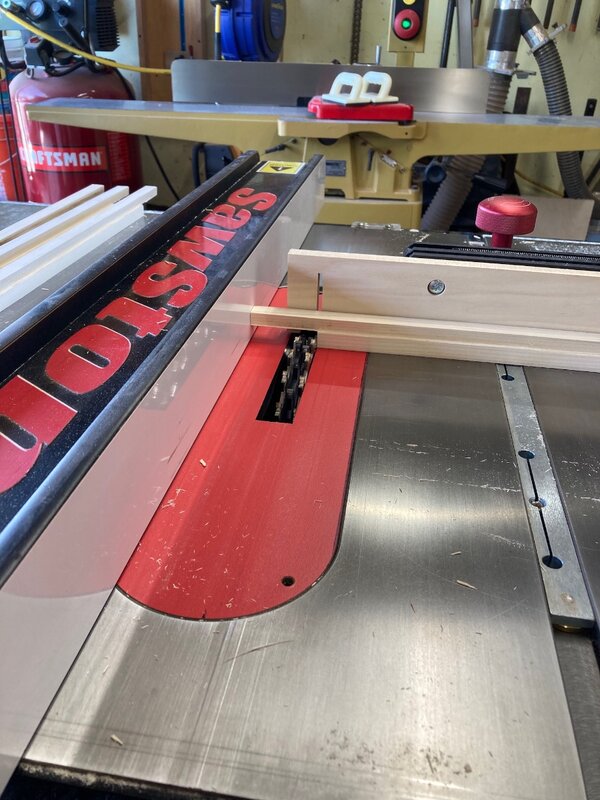
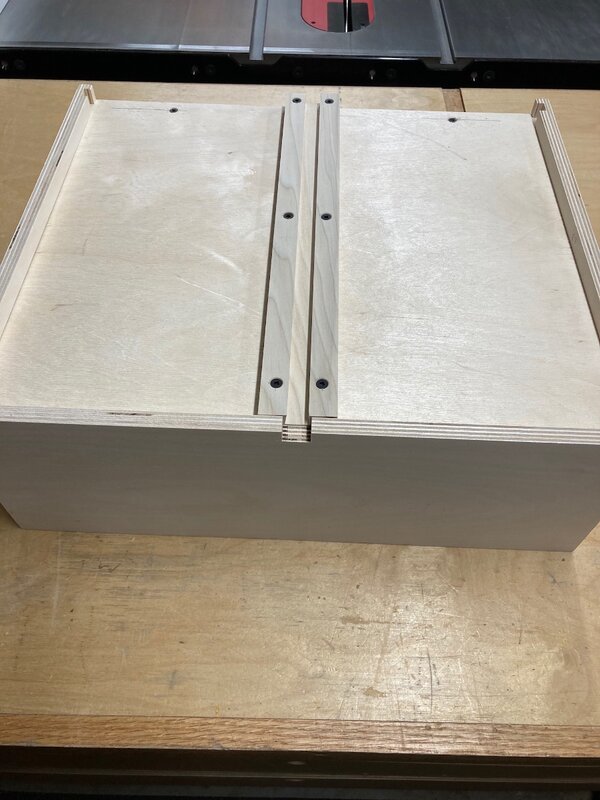
I need to get this caught up. I built the drawer boxes using 1/2 baltic birch ply with 1/4 ply bottoms. I used a half blind Tongue and Rabbet joint for the front corners and dado for the back piece. This is a Half Blind Tongue and Rabbet joint. You may have heard it called a bunch of other names but I first saw it in a book written by Tage Frid clear back in 1979 so I am using the name he used. All six drawers in their future location After this I started on the dovetail drawer slides. Starting with the female section I hog out most of the waste using my dado stack. I center the stack on my work and made a pass then flipped it end for end to keep it centered. After this I ran it through on the router table with my 5/8" dovetail bit and again flipped it end for end for a second pass. After this I started on the male portion. My Dovetail bit is a 7° bit so I set the saw blade to the same and adjust the height to 3/8" and move the fence to the left of the blade. Then after making a pass on each side I test the fit and gradually sneak up on the fit. I find that making the female first then fitting the male to it is easier then the other way around. My fit goal is a gap of about 10 thou on each side which can look like a lot but after you get a couple of coats of finish on it and some wax it is just about perfect. You end up with this. Next I notch each end to fit over the web frame. I center and then screw it to the front part of the web frame. I only attach the front at this point, then once I get the female slide attached to the drawer bottom and the drawer front added to the drawer, I can slide it in place and by nudging the the back of the male dovetail left or right I can get everything on the front side of the drawer flush and centered, then carefully clamp and then screw the back dovetail to the web frame. I used my drill press with a counter sink bit to drill six holes in the female sections of the glides, three down each side. When attaching the slide to the drawer bottom I used 1 1/4" screws on the two back holes because they go into the drawer back, the other four were 3/4". I cut the drawer fronts to almost final size and will finesse the final fit with a hand plane. My wife likes to be a Wise A$$ sometimes, she asked if I was going to leave the caulk when they are finished. 🙄 Then the two top drawers get trimmed out a little different.


-
I haven't done anything with Mahogany but, yea, quarter sawn Sapele (ribbon) can be a challenge even when the color is all pretty close. Because of the way the chatoyance can be, you can get a real nice grain match going but the better color can be on the down facing surface on one piece. You flip it over to get the color and the grain is now wonky. Lots of fun, but wouldn't have it any other way. One thing with Sapele is that in time it all pretty much darkens to the same color. It can be like cherry leave something set on it and a day or two later you have an imprint.
-
That monitor looks like it has a bow to it. Is that real or an elusion from the photo angle.
-
How did you yards maple look? I was in mine last week and they were wiped out of everything. the maple, cherry and walnut was pretty much sticks. I guess they are having a shipping problems not source problems. I ended deciding on good ol' BB.
-
I say this with all due respect. Just remember its called a safety trigger not a gets in my way trigger. Its there to make you think about what you are doing. I hope before you have an accident, you rethink this. Please. Yea, I do Coop. One thing I know about pneumatic tools of any sort is they don't get along with dust of any nature. I don't think most pin nailers work this way. They are a finish tool and you don't want to have an extra ding or dent in you project from banging the head to fire.
-
This is probably one of those things that the "fix" got discussed longer then it would have taken to to make a new one.
-
Lol, If you made it look like a dribble of juice the owners would constantly be trying to wipe it off.
-
Thats because the puppy knows you aren't the boss.
-
I did the Loc-tite. It says that you have ten minutes of open time and then to let it cure for 24 hrs. So to give myself an extra edge time wise I got it close to level then remove one screw at a time, applied the Loc-tite and re inserted it. after that I went a round and made final adjustments. Ten minutes isn't as long as you think it is when doing something like this.
-
1. Did you try actually try steaming it out. I have gone extreme on this a couple of times and just got the wood soaked pretty good under running water then taking a towel soaking it a ringing it out just enough to not be making a mess all over the place and using the highest setting on the iron. I got something that was close to 1/8 deep this way. It wasn't end grain though. I think terry clothe works best over tee shirt or micro fiber, I think it hold moister longer. 2. How about a combo? Get it as far as you can with steam, then epoxy. 3. I think epoxy would be better then a dowel.
-
Under the low end Dust Collection you didn't list Broom & Dust Pan.?
-
Mine are all the ones Woodcraft carries. The aluminum ones not plastic. I have been happy with them, they have been in use for seven years. I just checked their website, the 6" are $30, 4" are $18 and the 2 1/2" are $16.
-
It said the Red is more permanent and the blue you can still remove the screws or fasteners with hand tools.
-
Looks like I want the blue stuff, not the red?
-
I have only done it once since I bought this table until these two incidents the last couple weeks. Thats what has me flummoxed.