
Every purchase made through our Amazon Affiliate Page helps support this site


Bushwacked
-
Posts
1,605 -
Joined
-
Last visited
-
Days Won
98
Content Type
Profiles
Forums
Downloads
Gallery
Events
Store
Articles
Blogs
Posts posted by Bushwacked
-
-
20 hours ago, Jamie said:
Does the cnc recommend having a 6"? I would think you would be able to get away with running a hard 6 to the machine then reduce to a 4"
technically no .. I was just going with less reduction in suction going down to a 4" line .. also bought all the 6" DC (the red stuff) for the CnC so I would need to replace that as well with a 4" option ...
-
 1
1
-
-
no kidding!! that piece cost almost more than all my other DC all together haha
Just now, Jamie said:Yeah that is a big jump in price! You could always store that cnc in my shop, 11ft ceiling should be plenty of head room.
LOL! ... this is so generous, but I feel I would be taken advantage of you and wouldnt want to impose 🙂
-
 1
1
-
-
12 hours ago, Coop said:
If it works well like it is, fine and dandy. If not, I think, from recent experience, that it would be more efficient if hard pipe was run up to the last bungee cord. Or at least take the slack out of the hose to that point.
completely agree ... my issue though is by the time I turn the hard pipe down and get everything ready, when the motor runs under it the hose gets all jammed up. There is only about 3' or so to the downturn which isnt enough to let the hose move freely and not push on it in weird ways. I need 12' ceiling haha!
1 hour ago, Jamie said:Couldn't you run your hard pipe to about center of the cnc table then come down with an elbow and a swivel? The CnC tables that I have seen in person all use this method. Quick search and found this for you to check out.
this would be interesting to test, however I would need a 6" and the only 6" is $350 ... lol

-
48 minutes ago, Woodenskye (Bryan) said:
Shouldn’t some of the slack be removed from the flex hose?
it is a little loose because the motor is not all the way front left, when it is in the front it is decently tight. It gets real loose when its over on the right side of the table ... I just dont have enough room above the CnC to make it work better
-
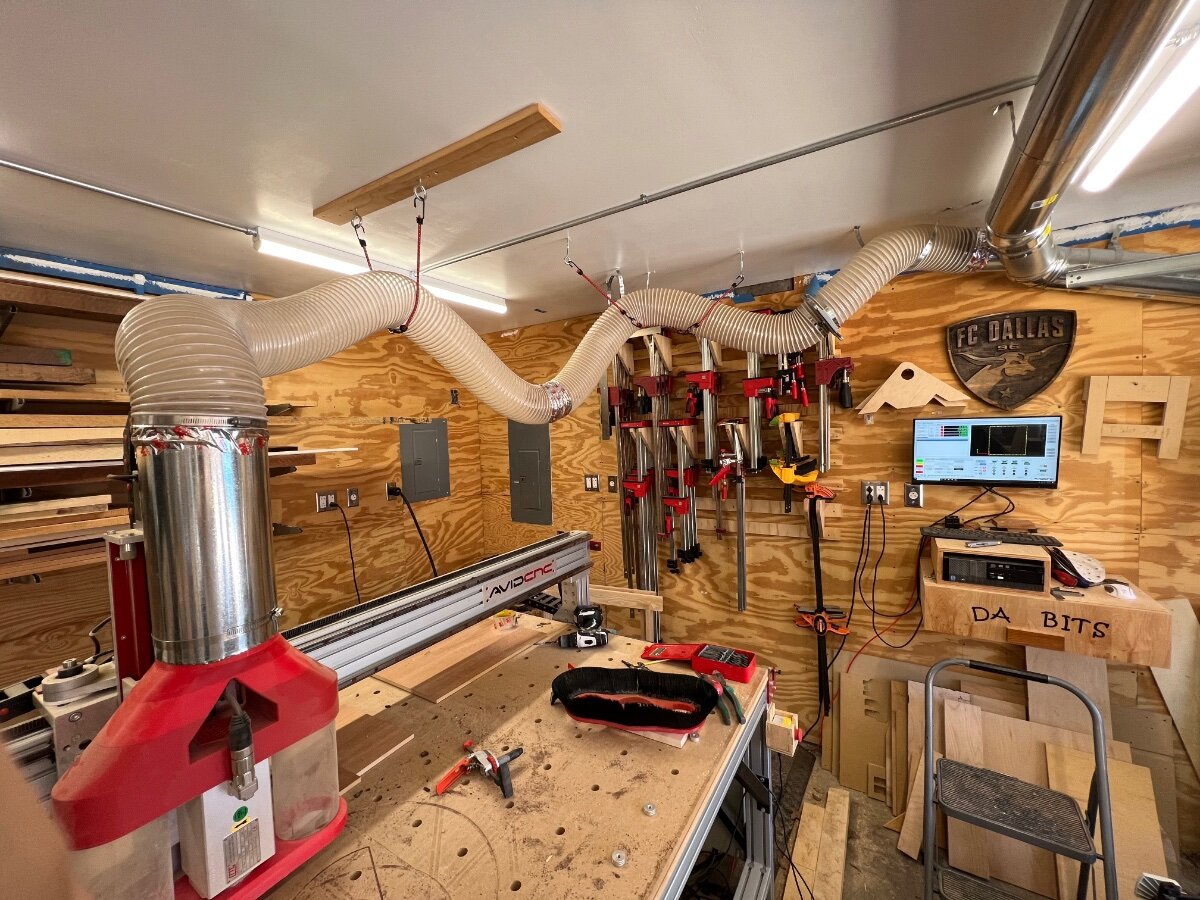
I think I finally got the CnC dust collection good. Just need to test it cutting ….

it might have gotten squirly in there haha
-
1
-
-
thats rough to hear Jamie! That was going to be the saw I got if I ever got rid of my Dewalt. I guess I will need to rethink it when/if the time comes.
Will definitely be interested in how the Makita works for you ... I am pretty sure TWW did a miter saw review on that and the bosch awhile back ... I think he found the new makita slider wasnt square either ... if its the video I am thinking of ...
-
ok ... so just trying to sum all this great info up in my head ...
In theory ... the below would have been the best potential install??
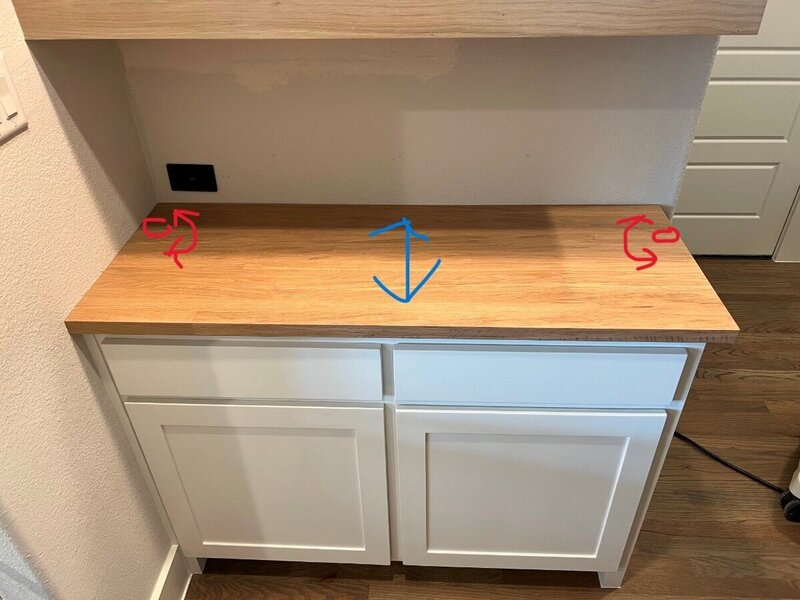
Blue: Wood Movement
Red: Fig 8's that could rotate with the wood movement.
So, just installing the fig 8's on the sides would give this the best possible opportunity to let the wood expand/contract without hampering it .. while still giving it enough hold down strength to not move ??
Is that pretty close to what yall are saying?
-
1
-
-
9 hours ago, Kev said:
Your chances would be better if the figure 8s weren't directly opposing each other and installed at an angle but, it still depends on how much expansion happens in the top. I would have just put them on the back and the sides.
If there's only slight movement, it will probably be fine. If there's a lot then, something's gotta give and I'd guess it will be the front face frame.
This is a good conversation! We're all here to learn and get better. In this particular case, I hope I'm completely wrong.
LOL! No offense, but me too 🙂
So as far as Coops comment on elongating the Fig 8 holes, they kinda had to be anyway since this cabinet was only 1/2". These do have a good amount of swing from side to side because they could not be set into the wood very deep. .... Hopefully this helps?
I am interested to hear the theory on why not putting any fig 8's in the face frame. My thought was that was the place the make sure I had some there because that was actually solid wood and would hold the most intact and not wiggle loose. I do agree, if this thing moves a lot, then there probably wasnt anything I could have done to help it not break something. It did sit in the garage for about a week or so with the stain and some sort of finish process on it before being installed.
I would assume if this thing is going to go completely south, it would probably happen in the first year of its expansion/contractions moves?
-
2 hours ago, Kev said:
I hope this holds up for you..
not thinking it will? Any guess on how long until it wiggles loose?
-
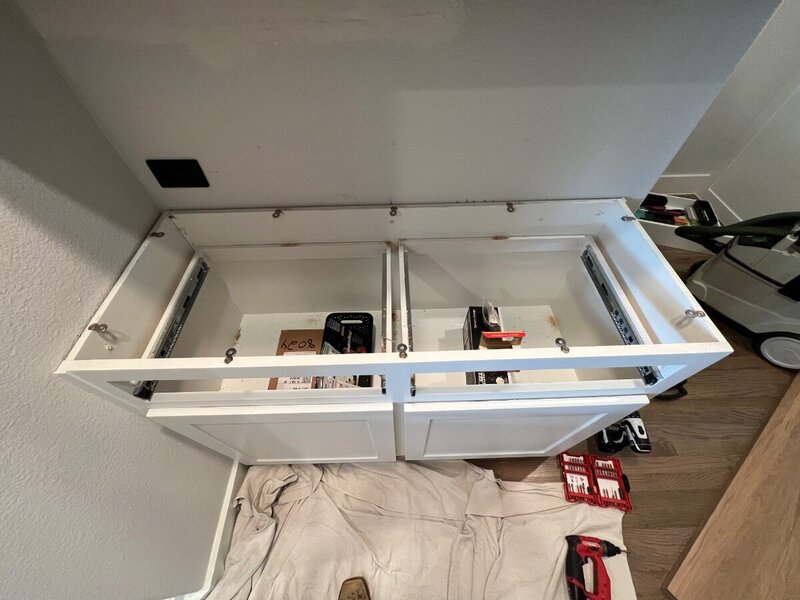
Well got it installed. The cab was 1/2 ply so I went into that … sounds like that may have been a bad idea?? the face frame was poplar so hopefully that helps keep things tight over the years …

-
17 minutes ago, Coop said:
Looking back at the original pic, there is plenty of room to attach hardwood strips to the sides of the carcass, glued and screwed or just screwed. Use your Fortsner bit to countersink the figure 8’s on the strips and you should be fine.
So just just 3/4 ply strips right? About 1 1/2 - 2” wide?
-
52 minutes ago, Kev said:
Figure 8s - If the cabinet is MDF, I don't think I would do figure 8s. Screws are suspect as is in the face of MDF and absolutely crap in the end grain.
Mounting - I think I would install mounting strips to the cabinet on the sides and install from there. Oversize the holes to allow for wood movement.
Hmmm I didn’t look close enough to notice if it was MDF or not …
as far as strips go I’m not sure there’s enough room on the sides or front to install them.
assuming silicone would be a bad idea as it would restrict movement too much.
Maybe a couple 1” long strips of silicone in the corners and some screws with figure 8s … if it’s not MDF.
if it’s MDF am I SOL for attaching it with strips?
-
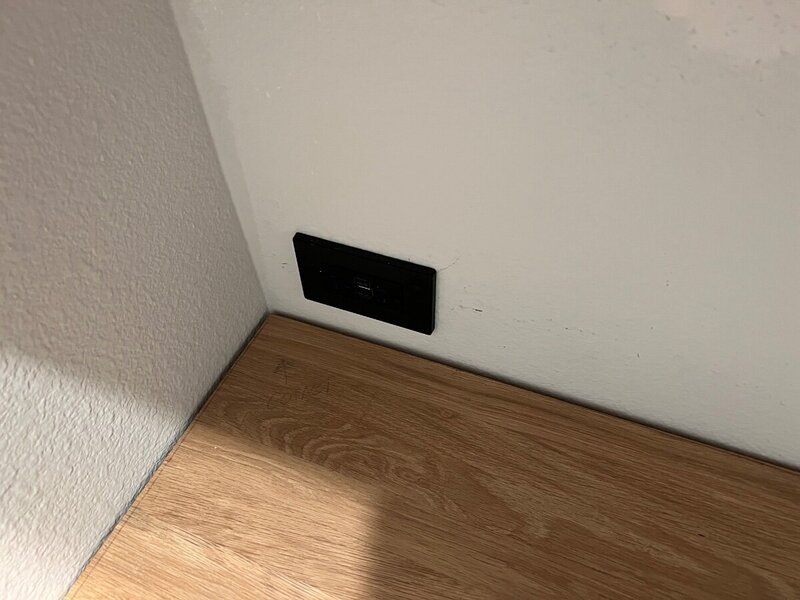
Oh one other thing … while I was test fitting and scribing…. I noticed his cabinets we 1/2” thick … do I need to get a smaller screw to go into his cabinets? Like a #6 or something?
also for installing. Was thinking for those figure 8s to putting 3 in the back 2 on the sides and 3 on the front … Is that enough or overkill?
-
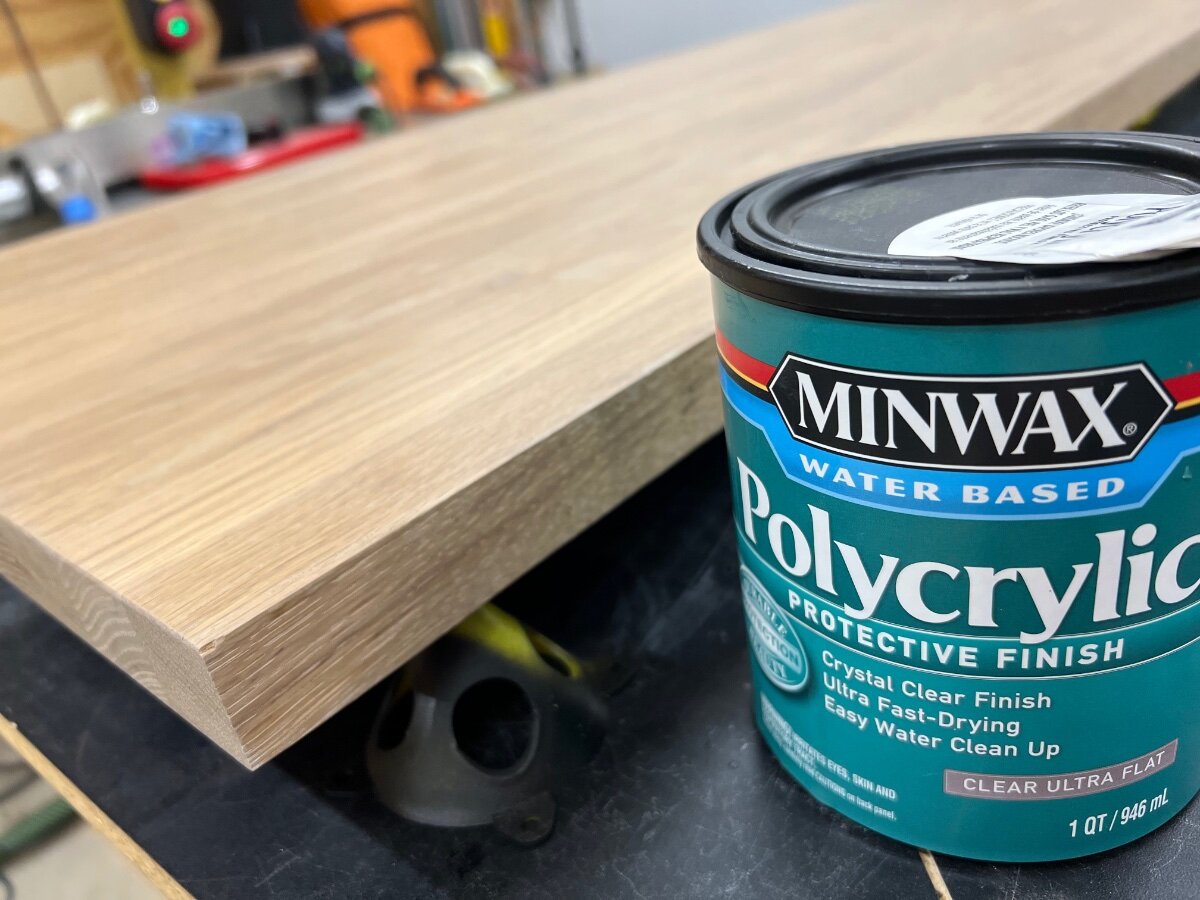
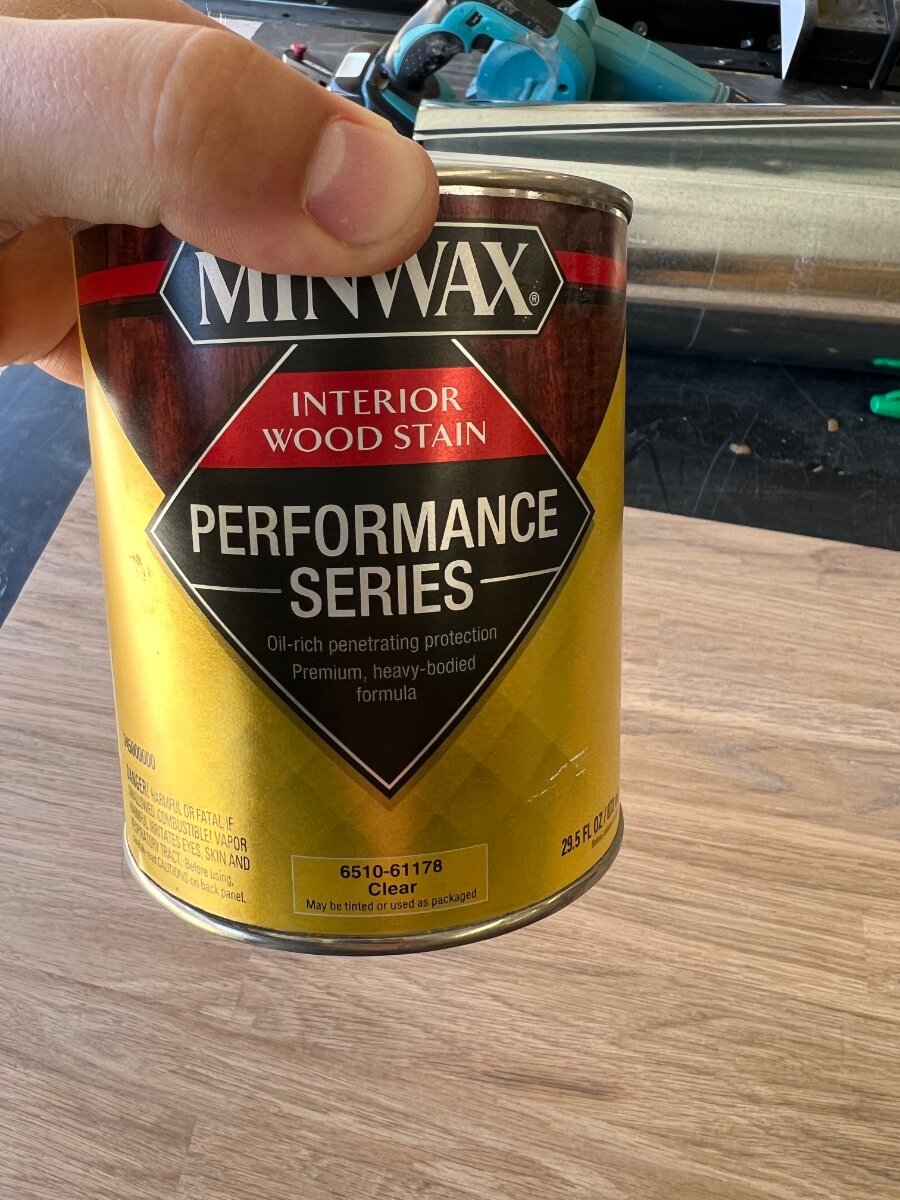
Working through the finish now … I wasn’t sure about my high endurance and if it was still good?? Looked fine but the lid went to crap and after I opened it I couldn’t get it shut again.
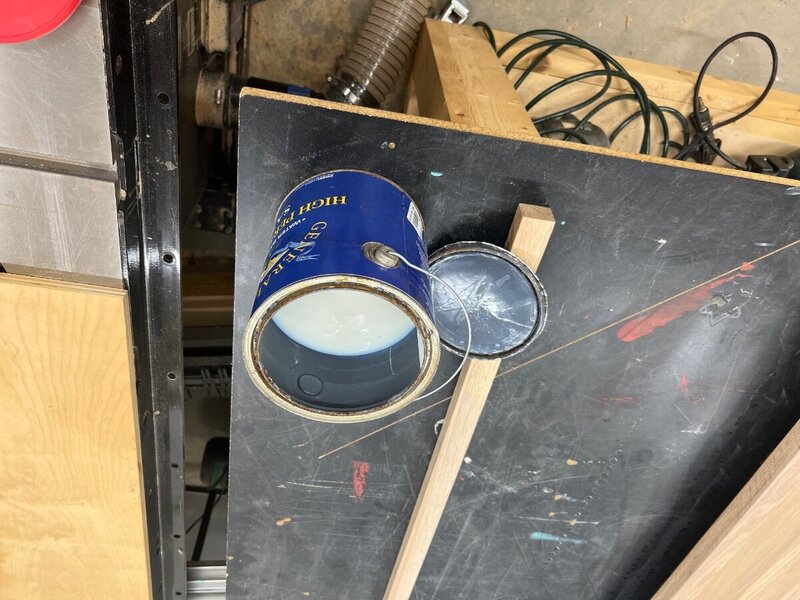
so found this minwax stuff with ultra flat … never heard of it so figured why not ..

so far 2 coats applied and can’t even tell.. when they say ultra flat they are not lying haha. Really impressed with it so far!
-
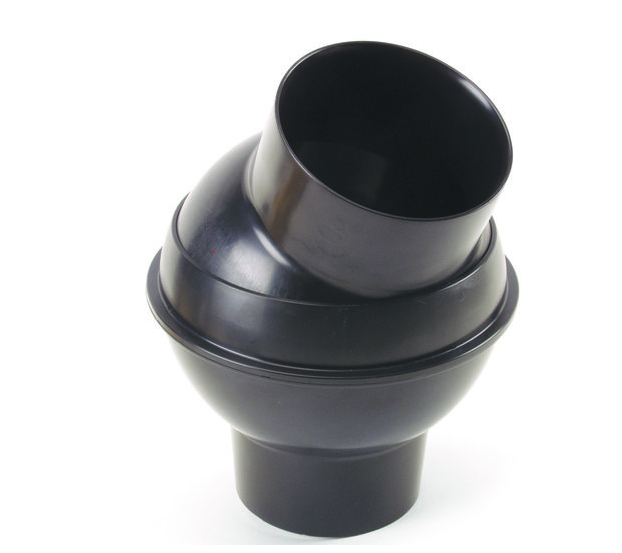
23 minutes ago, Coop said:
We were once a Justrite distributor and they had a metal “snuffer” type ring that you could place over a 5 gallon bucket that was much cheaper but I don’t see it on the website now. You could put a flaming rag into the bucket and the ring diverted the smoke back into the bucket and cut off the oxygen and put the fire out.
well thats sounds really cool .. wonder why they got rid of it?
As for this basic can ... have you messed with any of them and would you own one?
-
49 minutes ago, Kev said:
They put that disclaimer on there just in case something stupid happens and their can fails. Just a liability protection.
It's certainly not wrong to add a piece of safety gear like this but, I question why in a small hobby shop like ours? If you put the oily rag in the can, you still have to empty it when the rag is dried up. The only difference is that if the rag catches fire, it's contained in that can.
I just lay mine flat on the shop floor and pick them up the next morning. If they catch fire there, worst thing I'll have is a small burn mark on the floor.
ya I normally lay mine on the floor or in the driveway with a rock on top ... however with the kids being more active and the wife paying attention like she does, I have noticed rags moved or wadded up and stuff and not sure I can trust they wont end up tossed in a trash can wet for now ... So just looking for something a little extra maybe if it makes sense
-
1
-
-
figured I’d ask here before I buy since we got several in / used to be in the safety biz … is this thing worth the money? Also why does it say empty nightly? Those rags are not dried yet so why would you dump them? Is it to CYA themselves in case rags catch fire and burn down the shop? Isnt that exactly what this is supposed to prevent?
Justrite Just Rite 6 Gallon Oily Waste Can, Red https://www.amazon.com/dp/B001DSKBXE/ref=cm_sw_r_cp_api_i_ZG4F84XPE1QYZTP5VGTH?_encoding=UTF8&psc=1
-
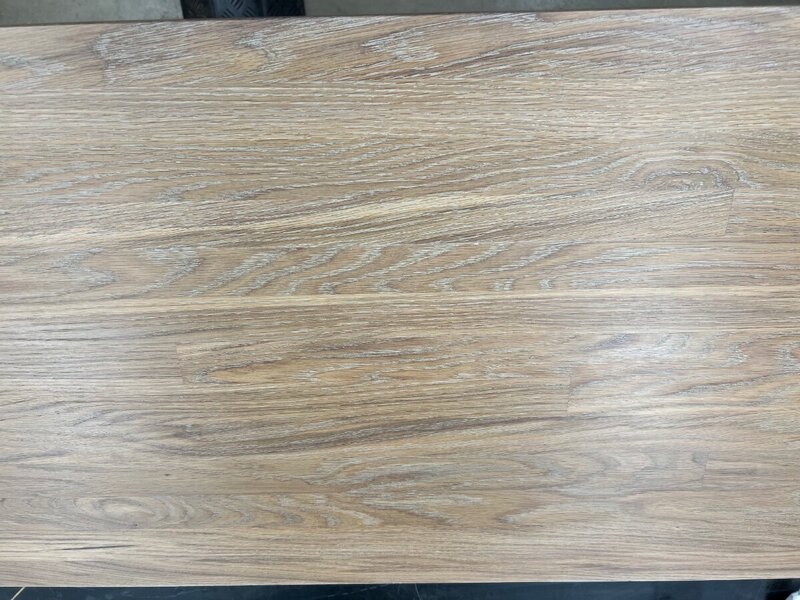
13 hours ago, Coop said:
Wow! I like that color.
How did you apply it?
thanks!
a tshirt, from those bag of tshirts you can buy that are cut up
-
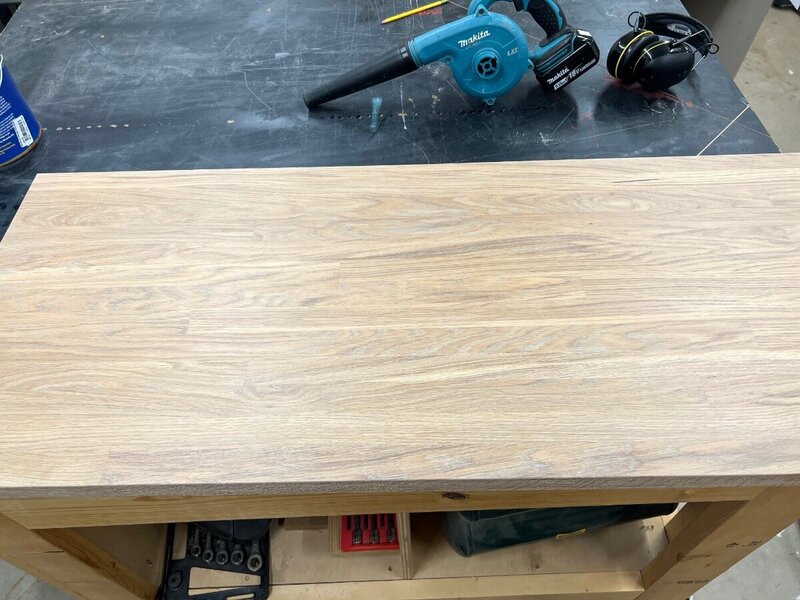
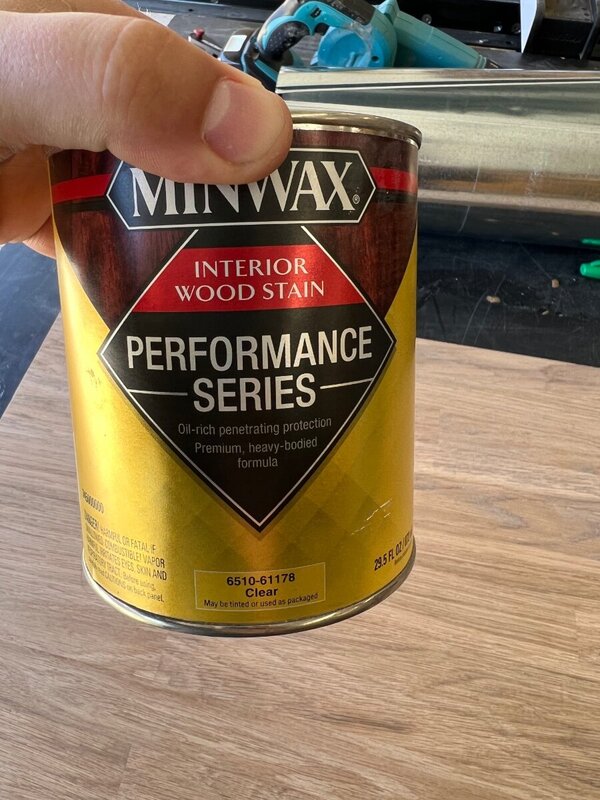
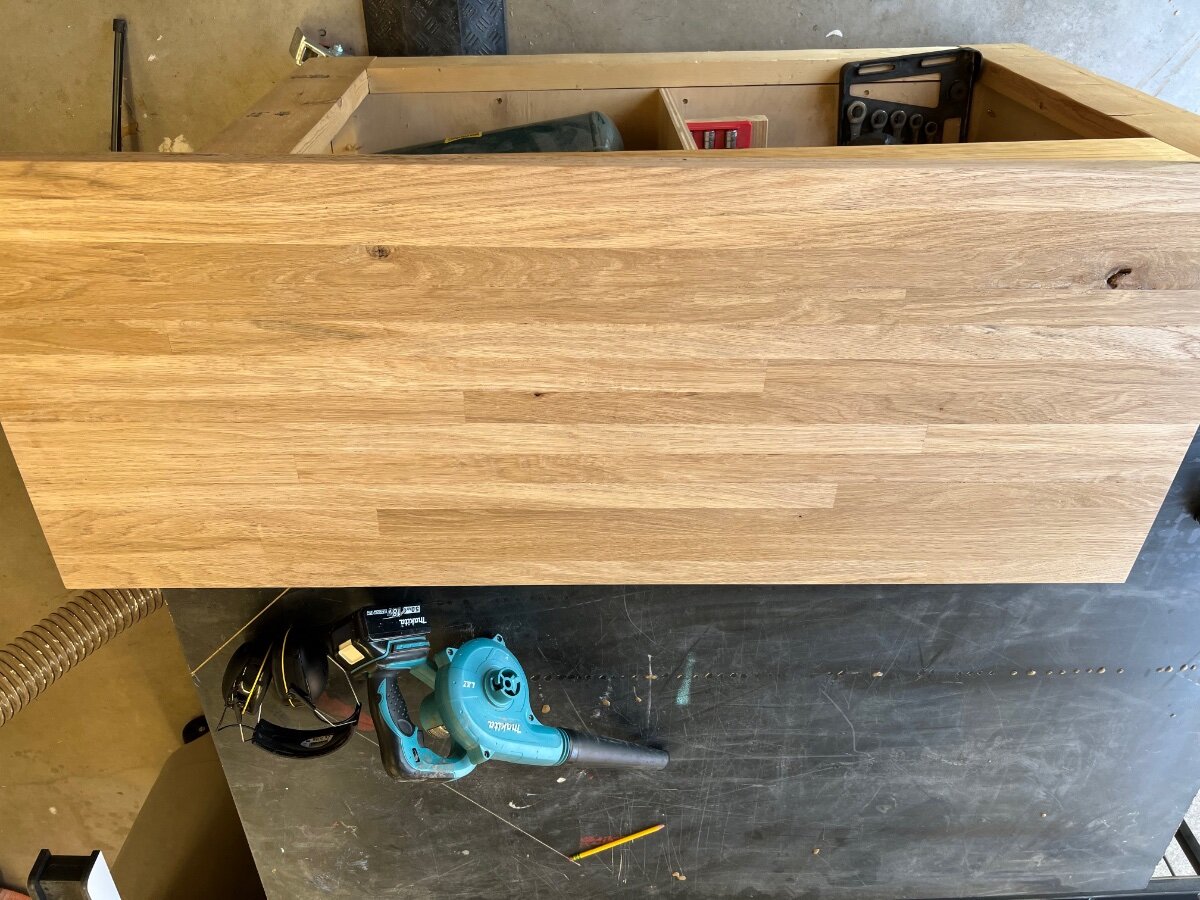
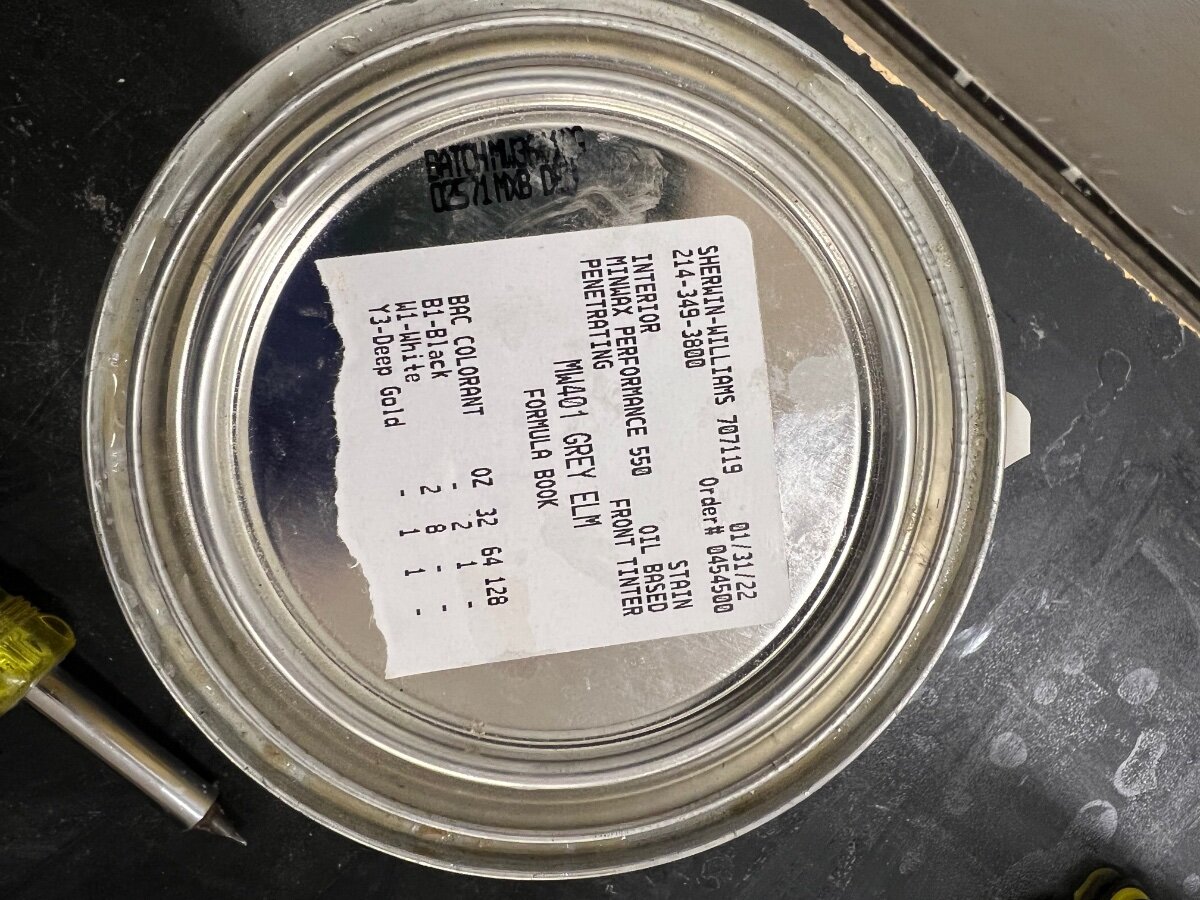
Got everything sanded and edges rounded over and stained.
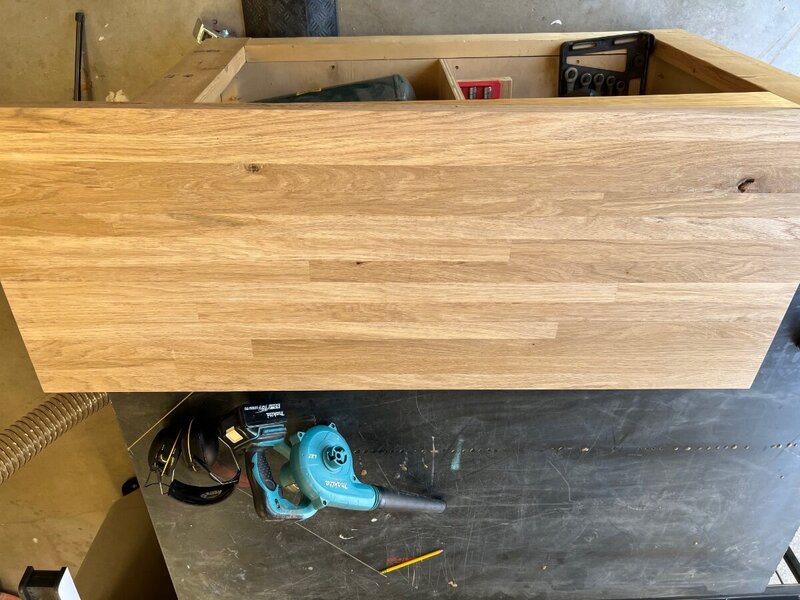
here is the stain color info …

hard to get a picture of the true color haha … you can get an idea though of it
-
3
-
-
I mean really ... I am with Kev on lowering TVs ...

I found this Rollable TV from LG that is coming to the US, rolls up into a nice space saving box for you... maybe the only downside is they are asking $100k, buy once cry once .. right? 😁
-
1
-
 1
1
-
-
On 3/26/2022 at 6:04 AM, Kev said:
I put it over their wipe on Poly all the time without issue. If you're concerned, use a coat of Shellac first.
thanks!!
-
1
-
-
On 3/25/2022 at 8:35 PM, Coop said:
I like that scribing tool. I googled Milescraft and don’t see it. Where did you get it?
amazon:
https://www.amazon.com/gp/product/B083N2WSX1/ref=ppx_yo_dt_b_asin_title_o01_s00?ie=UTF8&psc=1
-
1
-
-
2 hours ago, Kev said:
General Finishes High Performance should do the trick for your top coat. Preferrded application method would be to spray but, I've seen people apply with foam brush..
ok I still have plenty of that but wasnt sure how water based top coat would work with oil based stain ... never tried it before
-
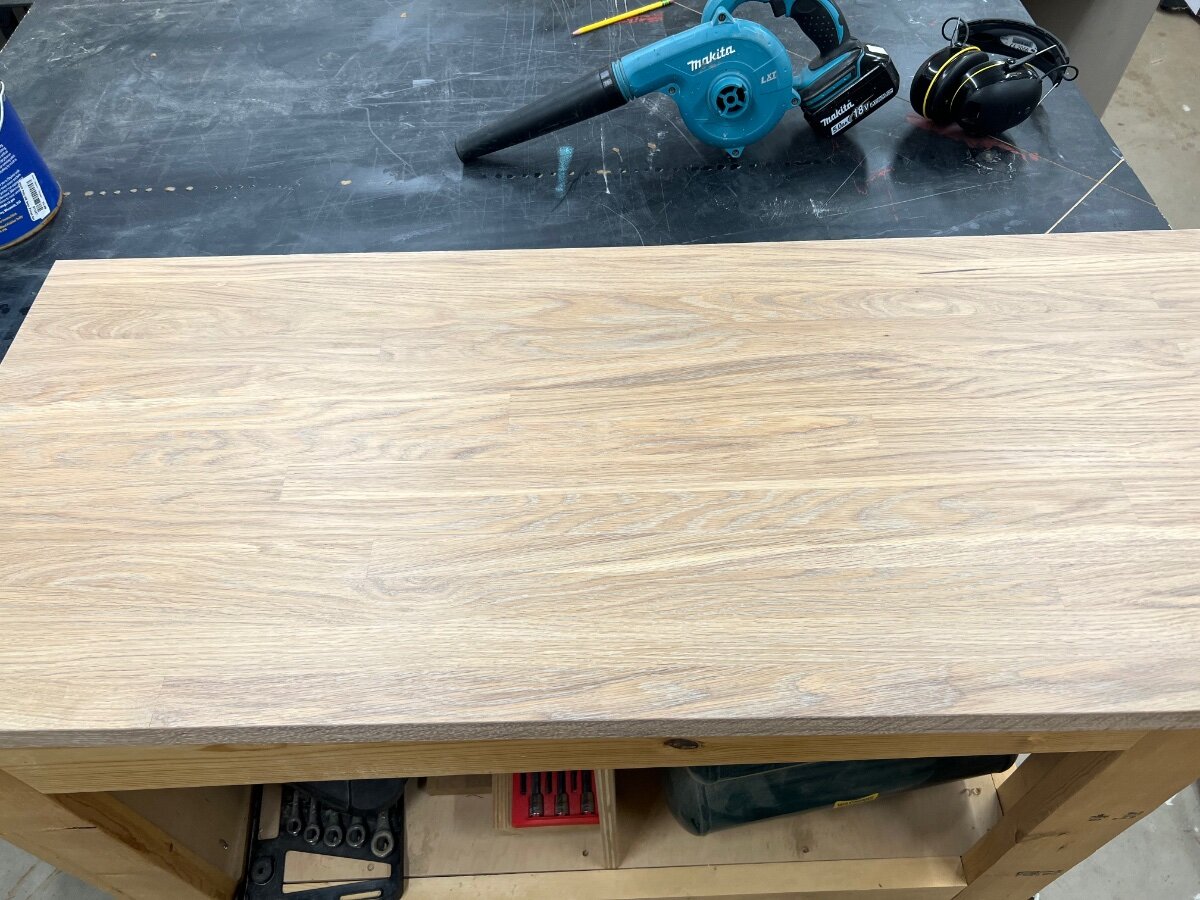
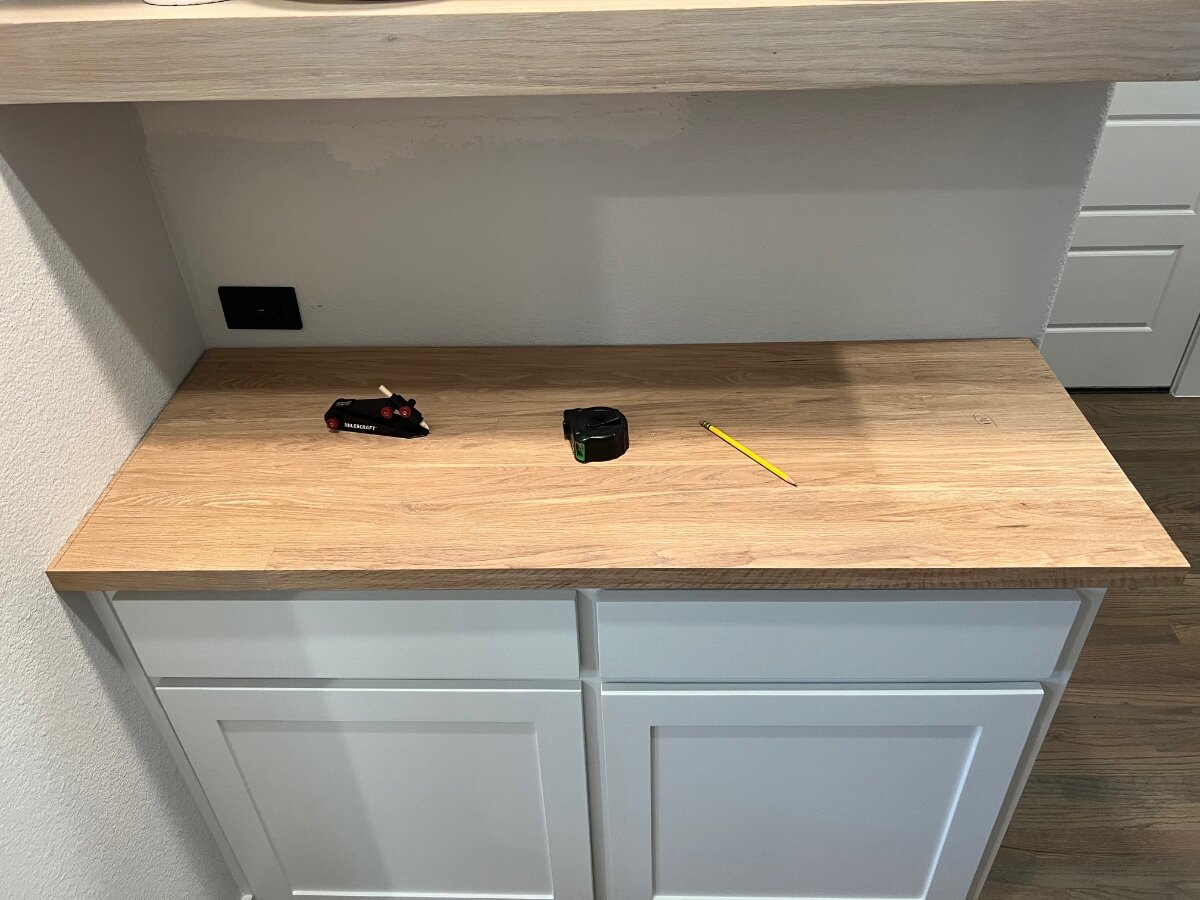
Now that spring break is over and the family is back in town… got over there today to scribe it …
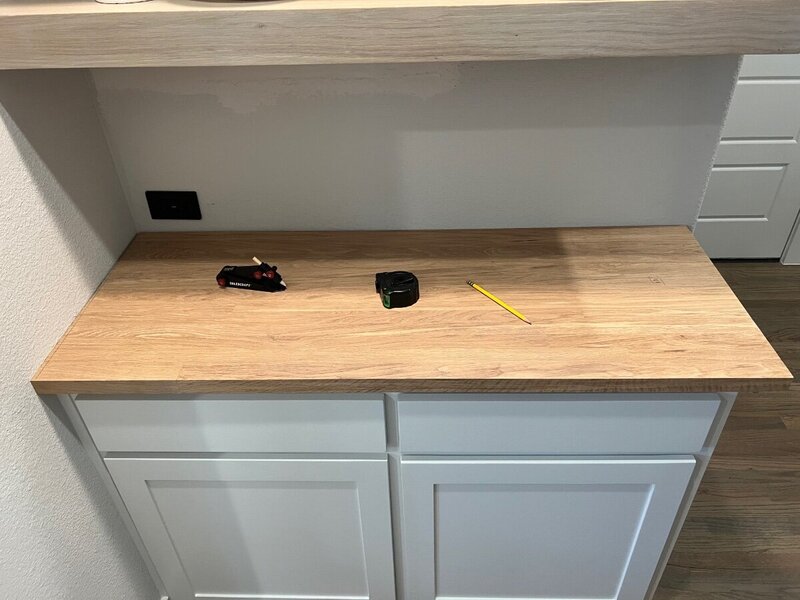

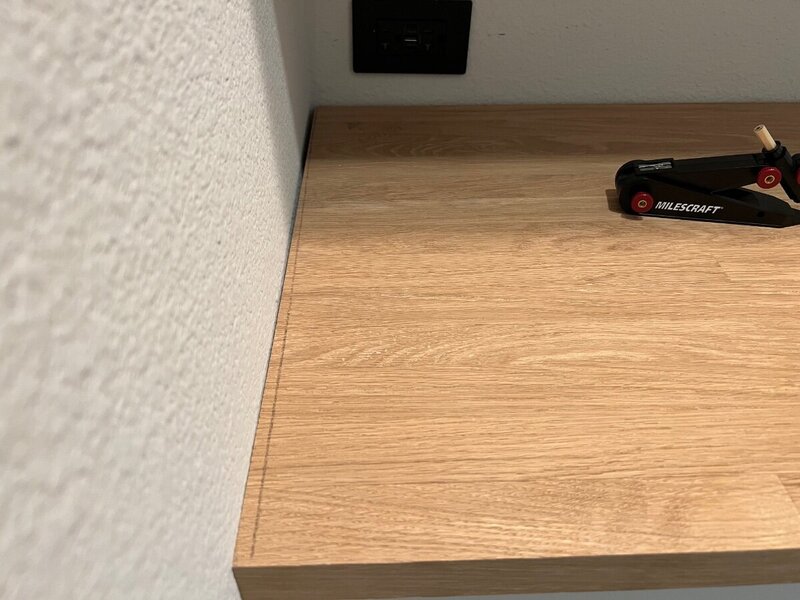
overall… seemed straight forward with just the walls not square but they were at least straight’ish so my scribe lines were straight lines and not wavy.
the contractor that did the shelves above it used this stuff to give it a greyish type look to it. So now need to take a look at what type of top coat I should use with it. Need a flat finish that hopefully won’t yellow the wood too bad??
anyone have experience with that haha


My Boys Desk
in Member Project Journals
Posted · Edited by Bushwacked
So I figure it’s time for my son to get a desk in his room since he’s about to wrap up kindergarten and start to get actual homework and stuff.
just a quick sketch of the overall look I am thinking about … (Not sure why the sketch wont upload not sideways, tried flipping it and saving again haha)
This will have some CnC work in it as well ... the #99 (his sports number) and bobcat logo ...
For the legs, I was thinking bigger rectangle type legs, like this: (could not find wood versions quickly)
The top it might be a little hard to figure out what is going but basically like 3 cubbies to push stuff back in and then a little top to store stuff as well. Something along the lines of the below cubby build out:
Questions I have at the moment ...
1) Wood ?? I was thinking White Oak top and walnut legs. Will that combo look off? Main reason for going white oak was the butcherblock build I have left over 6/4 and it actually looked better than I thought for Oak .. never really worked with white oak before.
I am curious how the combo would actually go together though ... I am not sure I have seen much white oak/walnut out there and maybe thats for good reason haha. I could always just go the standard Maple, but was trying to do something a little different.
2) Legs and stability ...
I am not sure which orientation the legs should go for best stability ... does this drawing make sense?