
Every purchase made through our Amazon Affiliate Page helps support this site


Bushwacked
-
Posts
1,605 -
Joined
-
Last visited
-
Days Won
98
Content Type
Profiles
Forums
Downloads
Gallery
Events
Store
Articles
Blogs
Posts posted by Bushwacked
-
-
6 hours ago, pkinneb said:
I'm with Kev on Auirou rasps and would start with the two he recommends as well as add Shinto rasp. Having said that I started using rasps on my sculpted bar stools. I added a Shinto and then two Auirou's like many tools as you use them you think ya know this shape or that grain would be better suited for this and now a few years later I think I have 8 plus like 6 riflers LOL
are you referring to this one?
-
13 hours ago, Kev said:
They're more pricey but, I have/like the Auirou Rasps. I only have 4 or them but, they're all I've needed on any of my projects.. I'd suggest the 1/2 rounds and ensure that you have a modeler's rasp in the collection.
In reality, you could probably get away with 2.. The Modelers and one more aggressive.
Thanks!
Curious on the modelers rasp ... do you have a recommendation on "grain"? I was thinking 7" since it is not the finest and might be a little quick to use. For the more aggressive would you go Auriou 12 inch Half Round Roughing Rasp - The Hog or one of the cabinet rasps with like 5-8 grain on it?
-
12 hours ago, Coop said:
I gotta ask, why didn’t you do the inlay “racing stripes” before the rabbet for the glass?
10 hours ago, Woodenskye (Bryan) said:I would assume it was because the change in grain direction could create an issue with tear out. I’m sure Drew will answer with his reasoning.
9 hours ago, Coop said:I’m assuming that it is a rabbet and not two separate pieces, laminated together?
haha. Honestly I wish I had a cool story on why … it’s because I suck at progression and didn’t even thing of how much easier this would be with putting them in first and then working on rabbet. I got so single sighted about how to get the rabbet in there nicely it didn’t even cross my mind that doing that first would make this next part really suuuuuuck.
-
 1
1
-
-
I feel I need a couple of these. I have no idea though where to start. Been several times in the past few projects they would of been useful …
thoughts on what to start with or brands etc etc
-
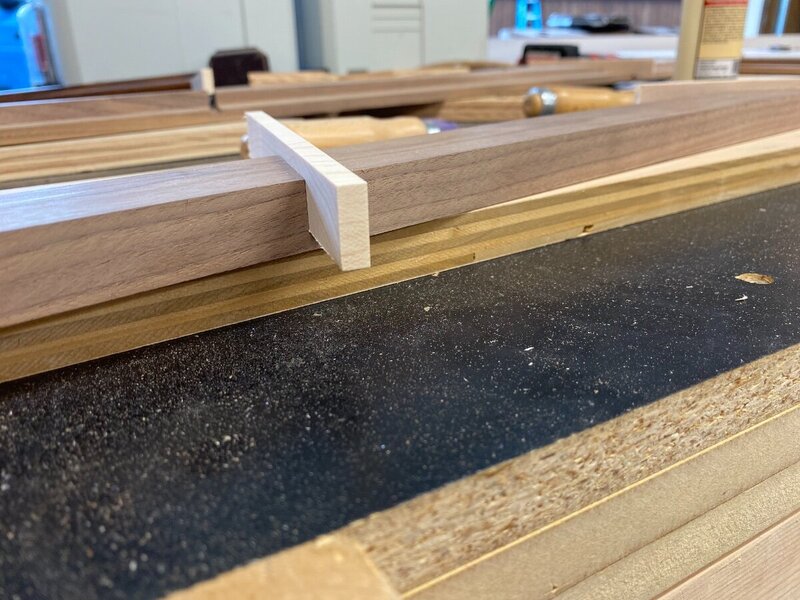
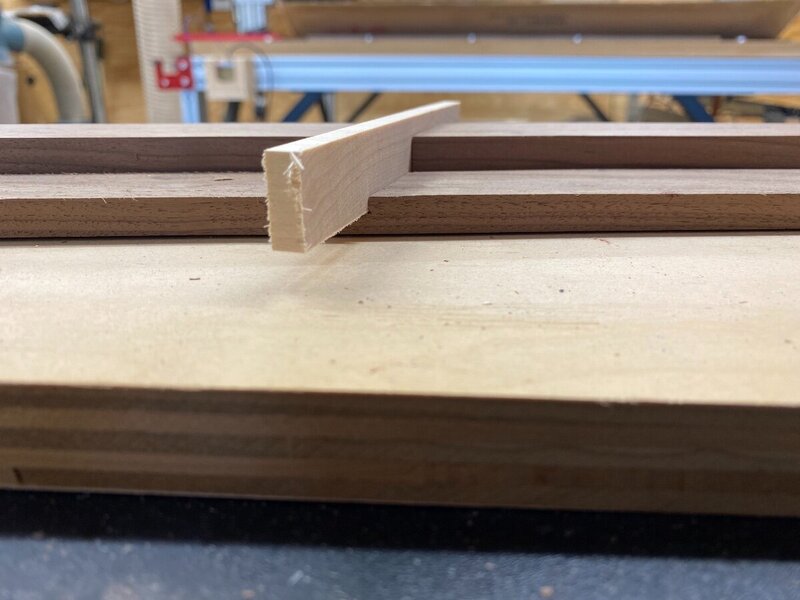
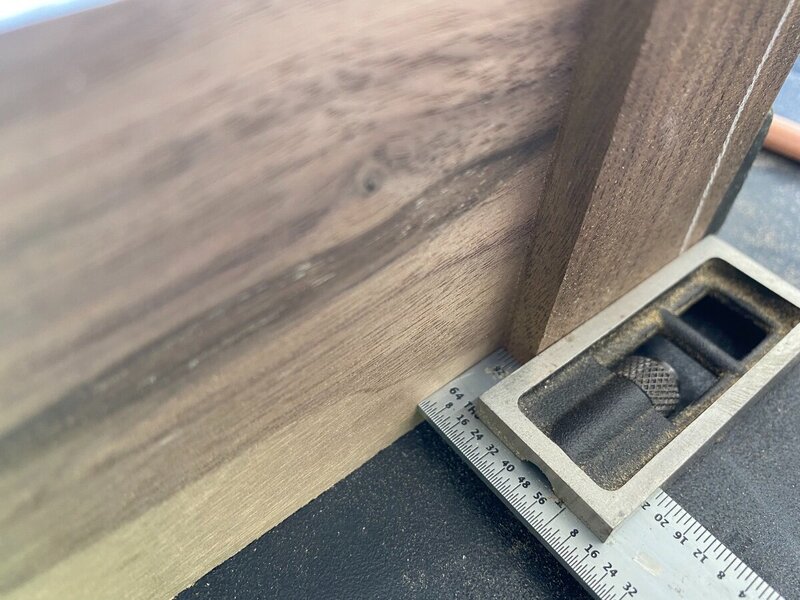
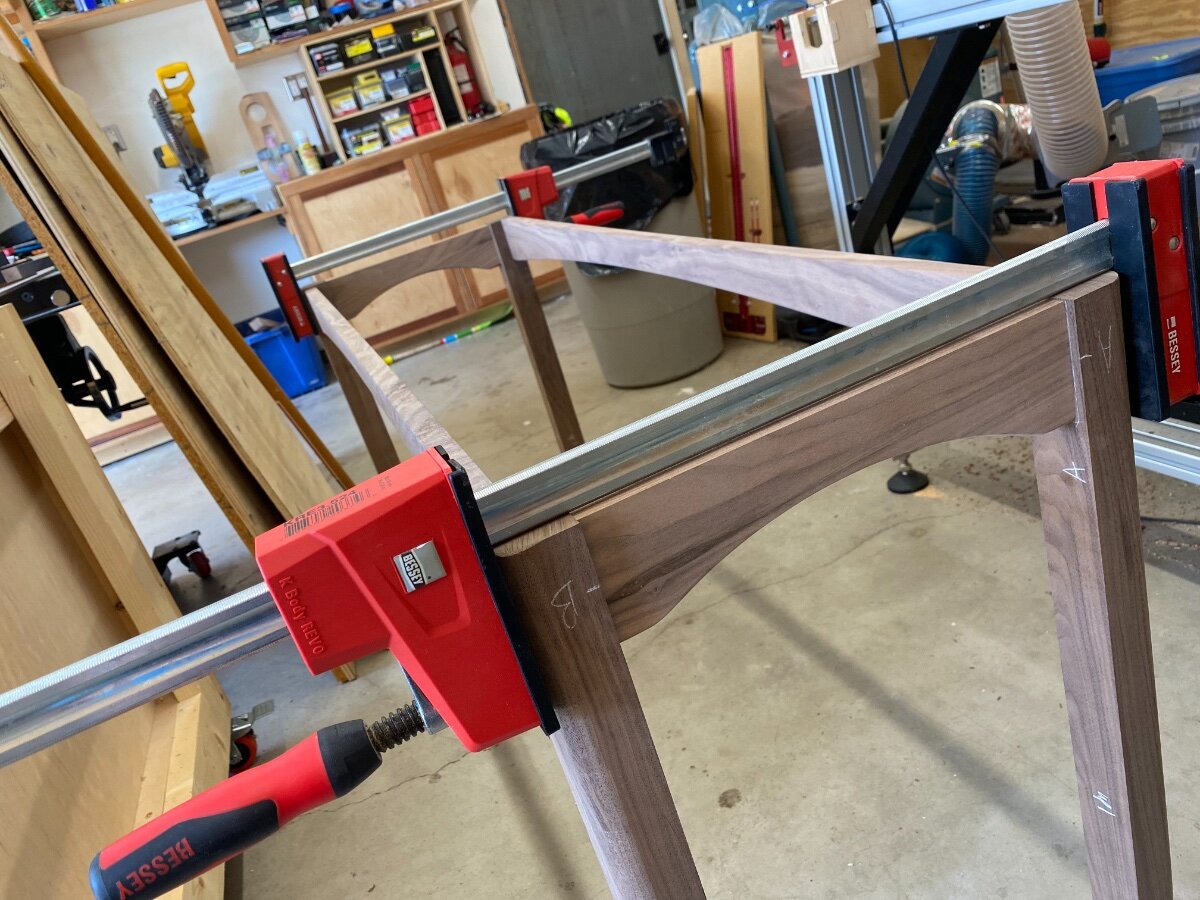
Getting everything fitted nice and snug ….

-
4
-
-
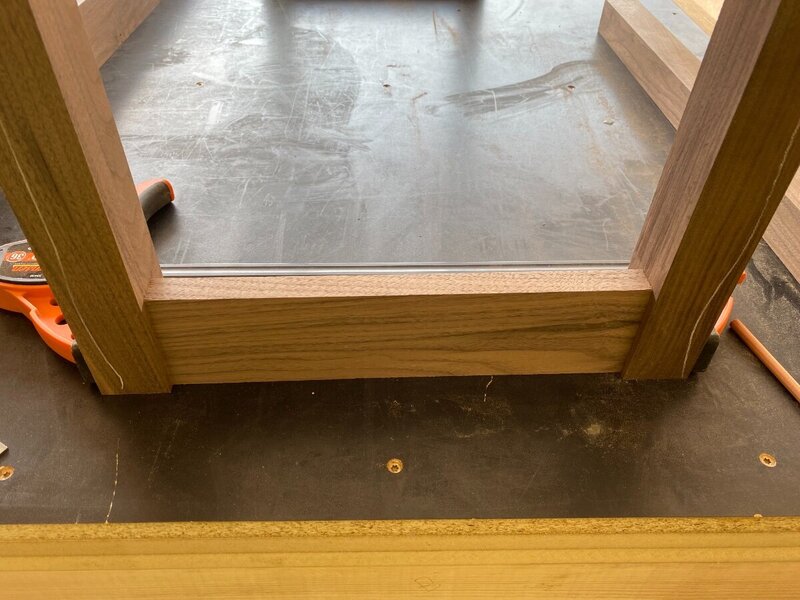
Got some racing stripes going on the top now …
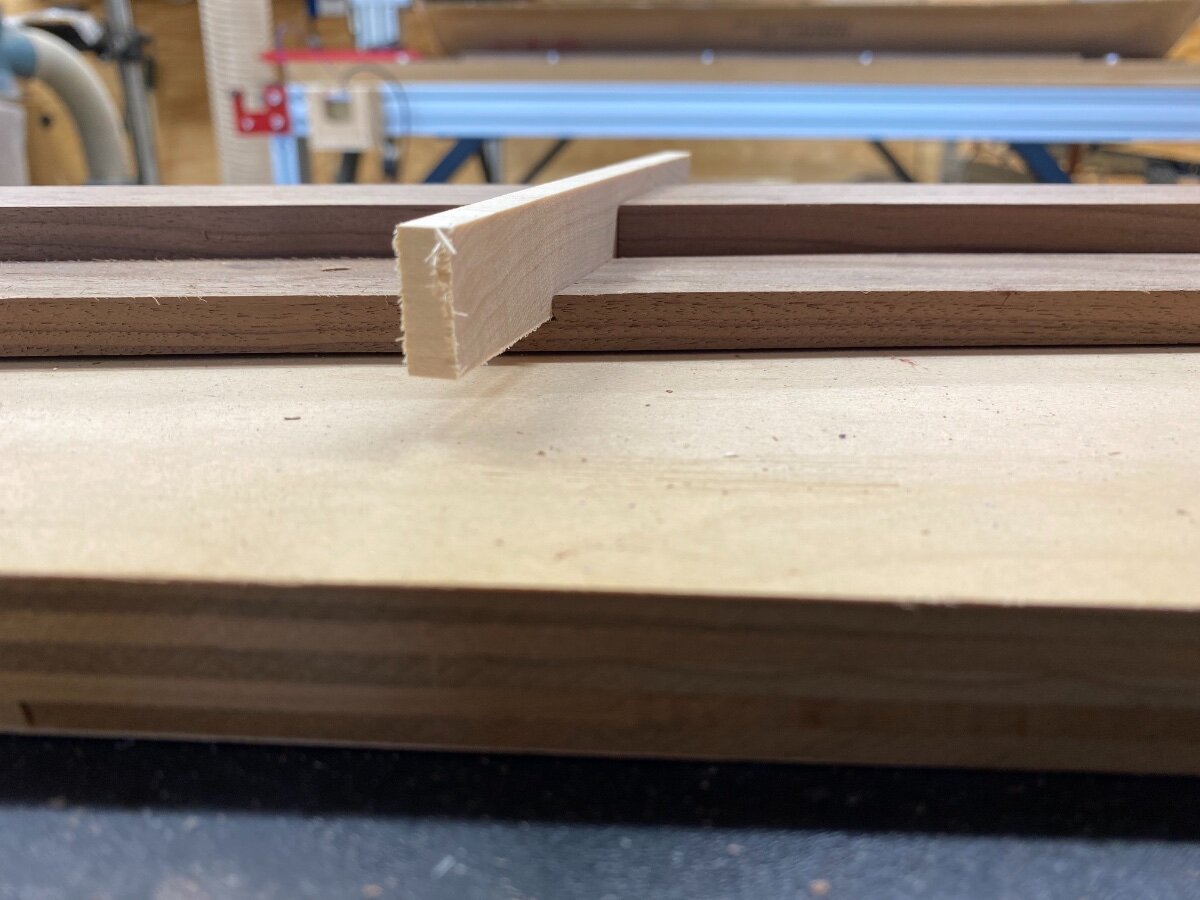
next to clean up the top a little more and then start cutting out the maple strips and fit the glass.


-
8 hours ago, Coop said:
So the inlay on the legs were cut out of the picture on the round over?
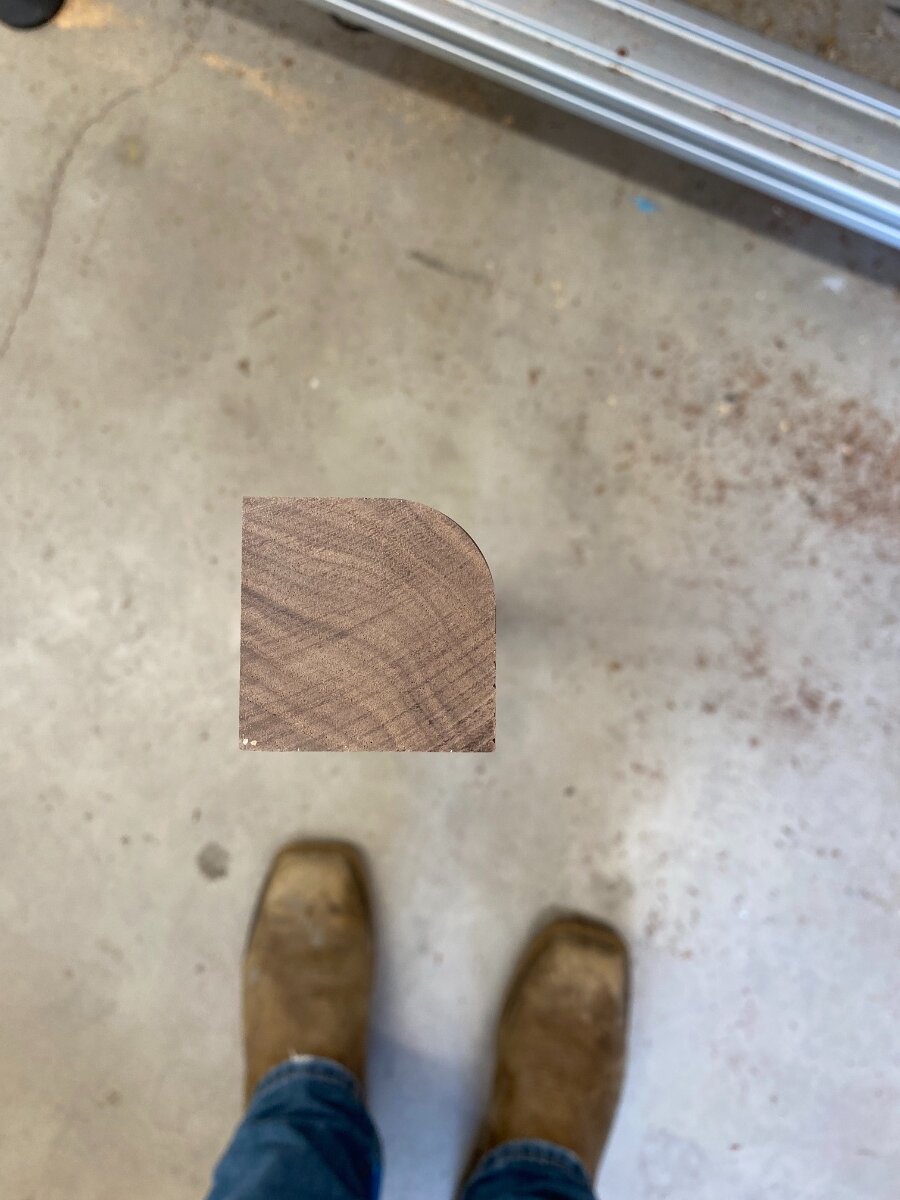
no inlays on the legs, just the top ... legs are just rounded over
-
1 hour ago, Kev said:
You could have made a quick couple of clamping blocks to help. Forstner bit to match your radius..
I do this from time to time but, I'm not sure I've ever put it on film.
gonna have to look into this next time I do this ...
-
1
-
-
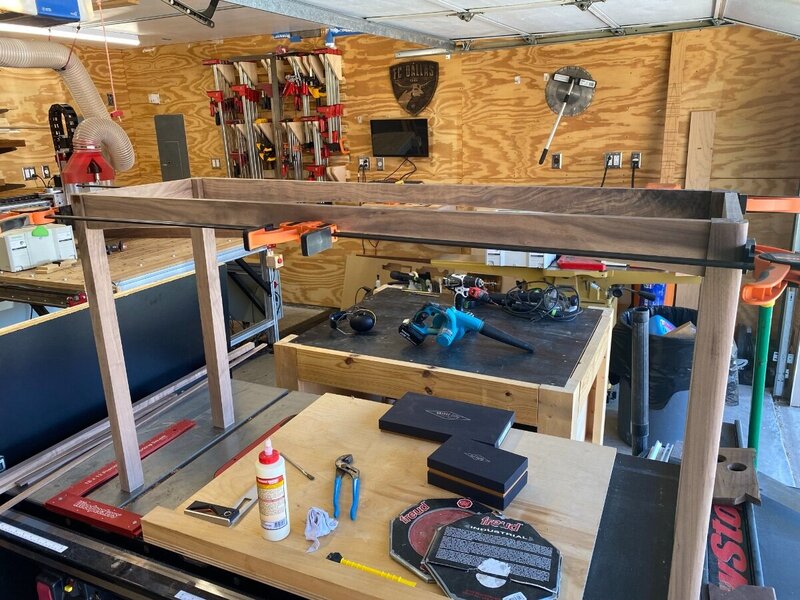
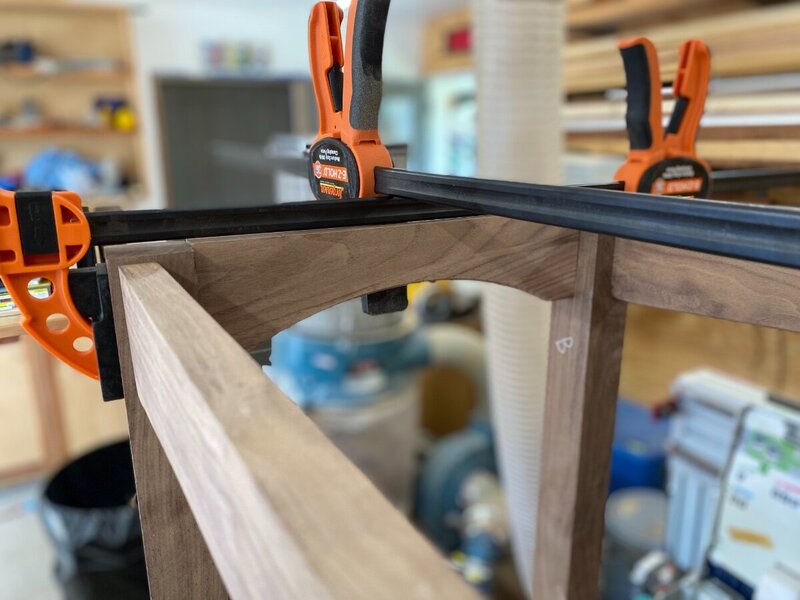
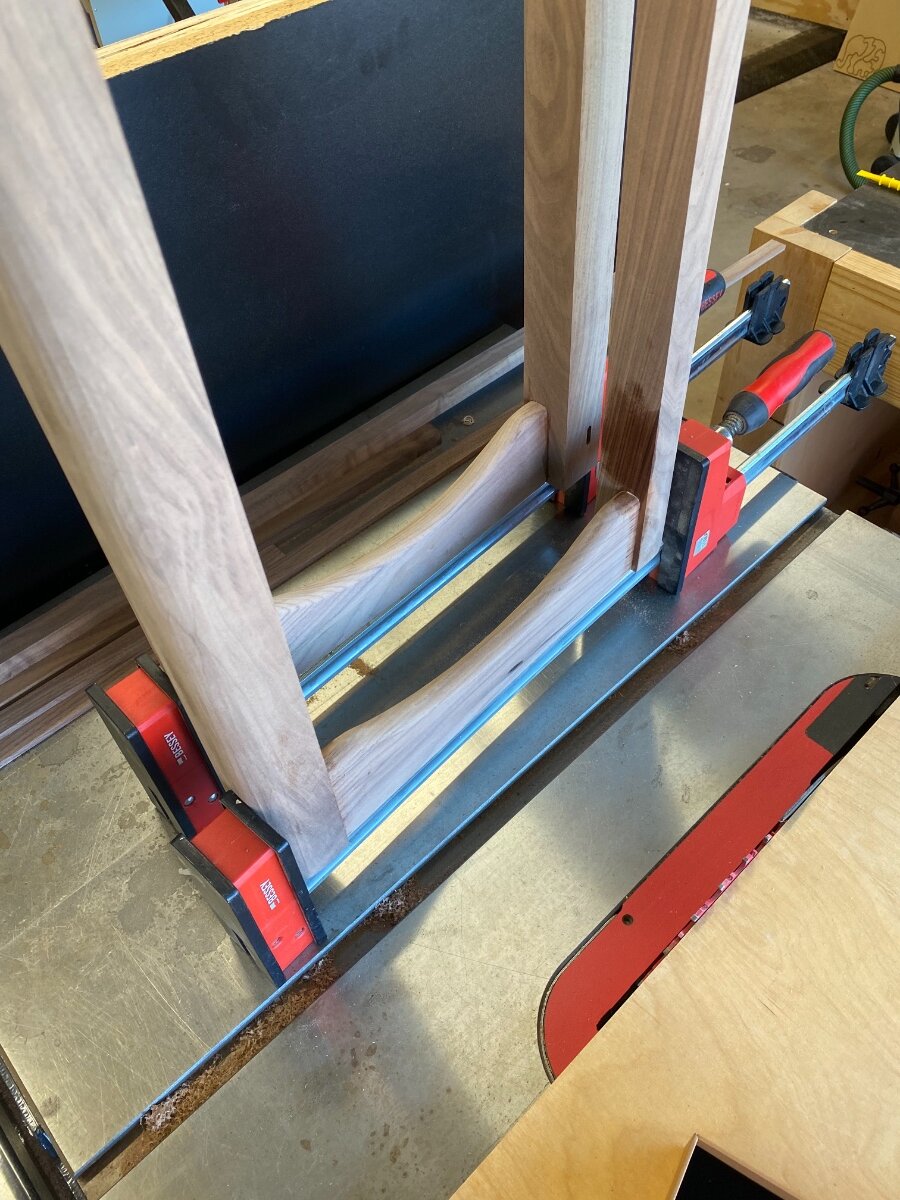
Getting the base glued up … clamping round legs sucks! Kept trying to pull things in weird directions


-
1
-
-
3 hours ago, Kev said:
They look great! I typically slow the bit down a bit and make several passes for large round overs like this.
Table is looking great!
Thanks!!
yes it was a good thing I randomly read all the labels on the bit case and noticed they called out a slower speed. So I slowed it down … it said 16k max. So I ran with that. Gave a super nice finish though!
-
1
-
-
Roundover bit came today so I got to finish the legs .. it’s a beast of a bit! Had to expand the router bit hole to get it to fit. Don’t be jealous of my fancy router table 🤣
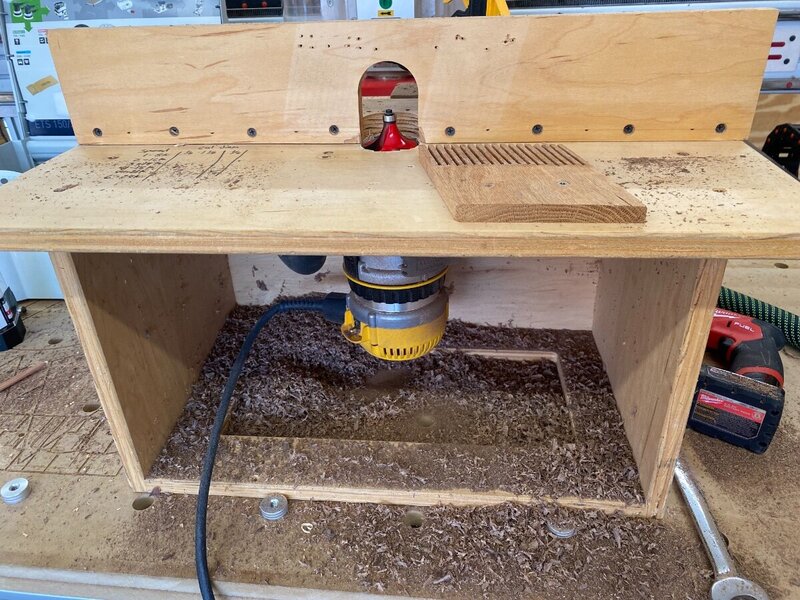


overall I think they came out pretty good. Never don’t legs with this much of a roundover so I wasn’t sure how they would turn out. I like it.
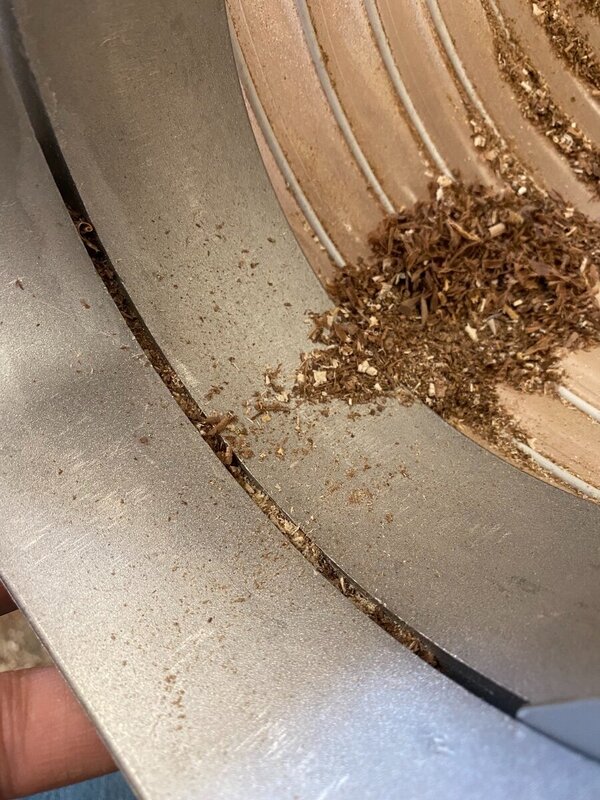
blast gate decided to clog up on my 6” line and gate wouldn’t close. Took about 10mins of jacking with it to clear it out and get it back on. Kind of annoying for sure …
-
2
-
-
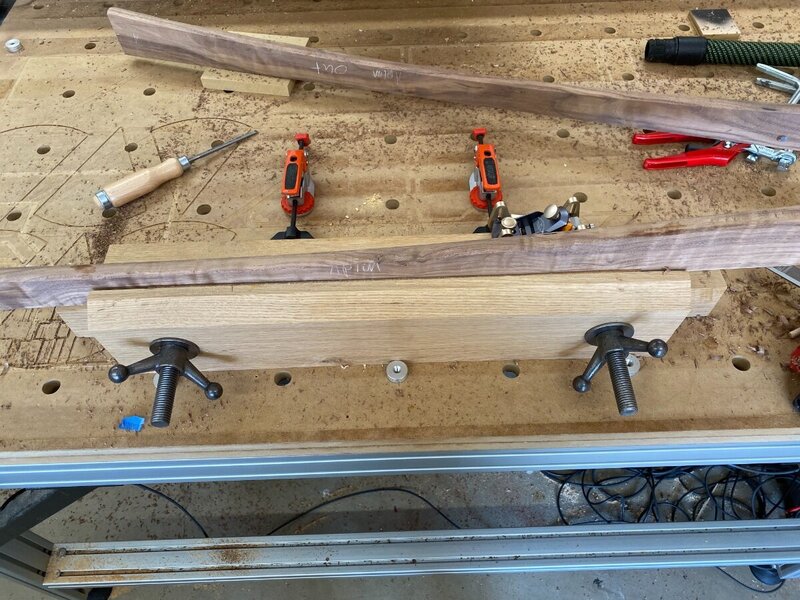
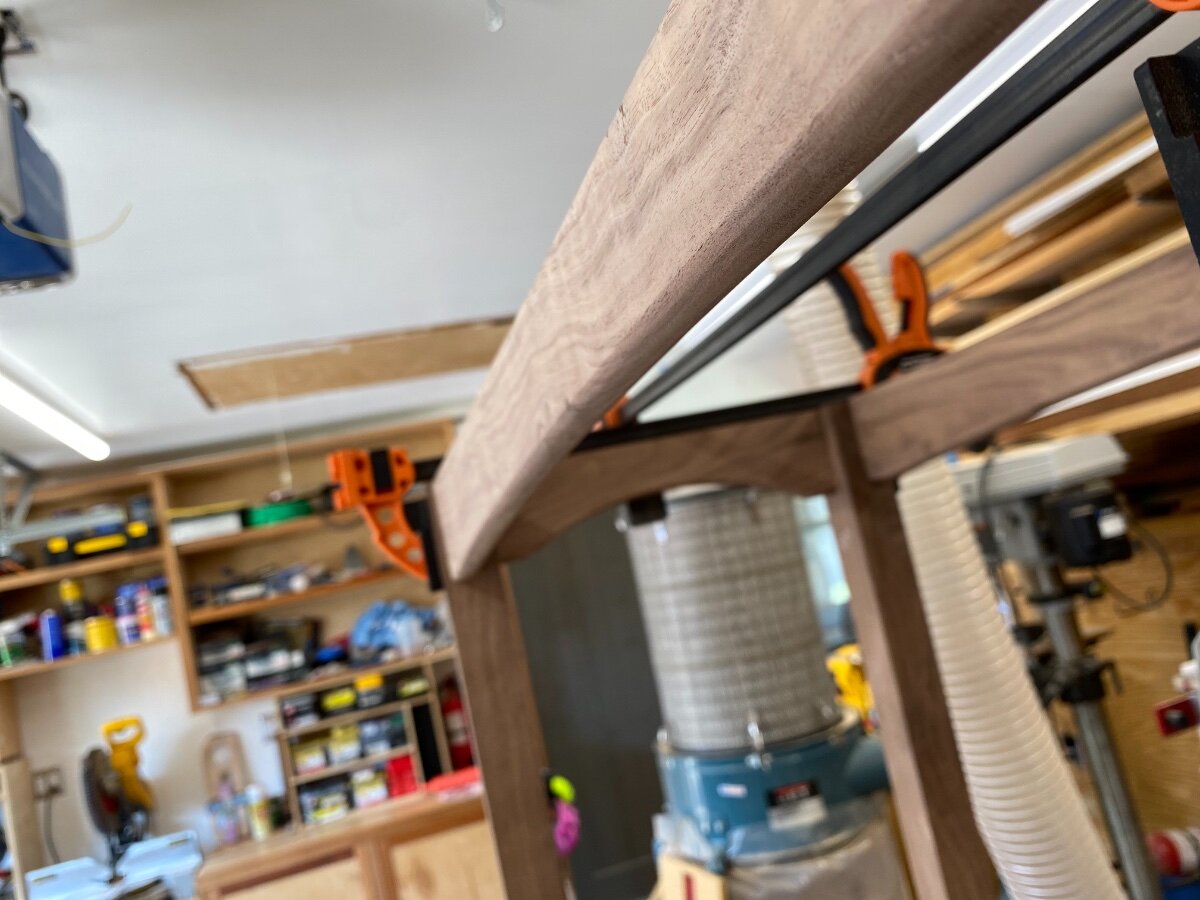
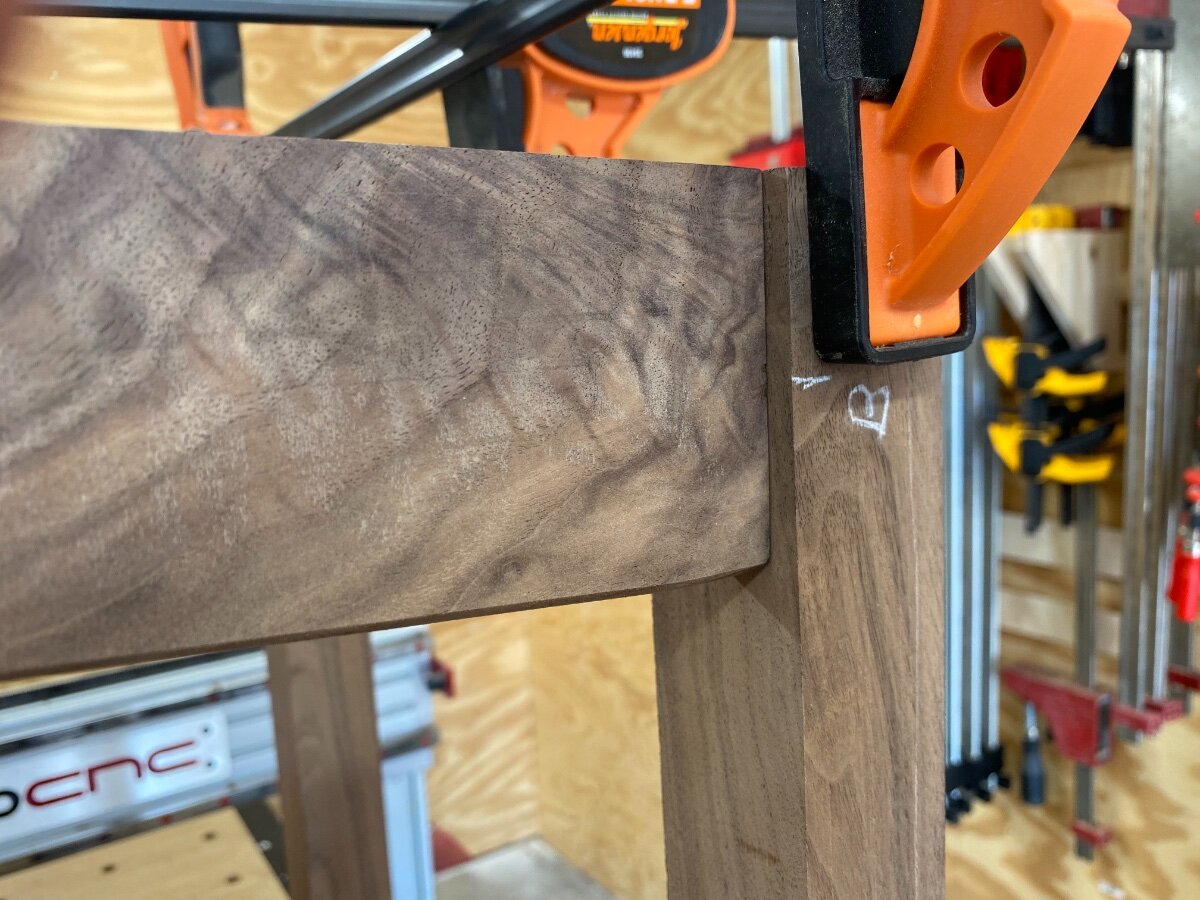
Today’s progress … roundover on the aprons and sanded with another dry fit ..
3/4 round over bit for the legs will be here tomorrow so I can finish the base.
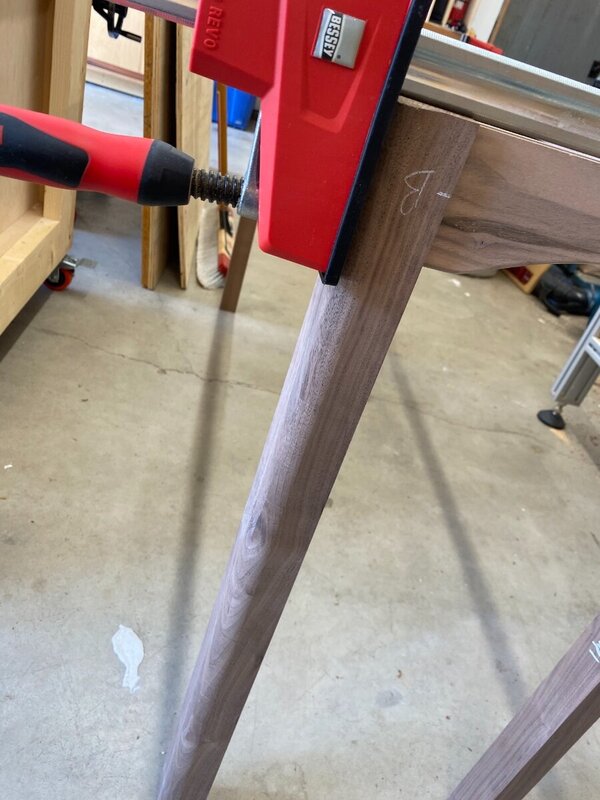
cleaning up some rough spots with the handy Moxon vice


-
4
-
 1
1
-
-
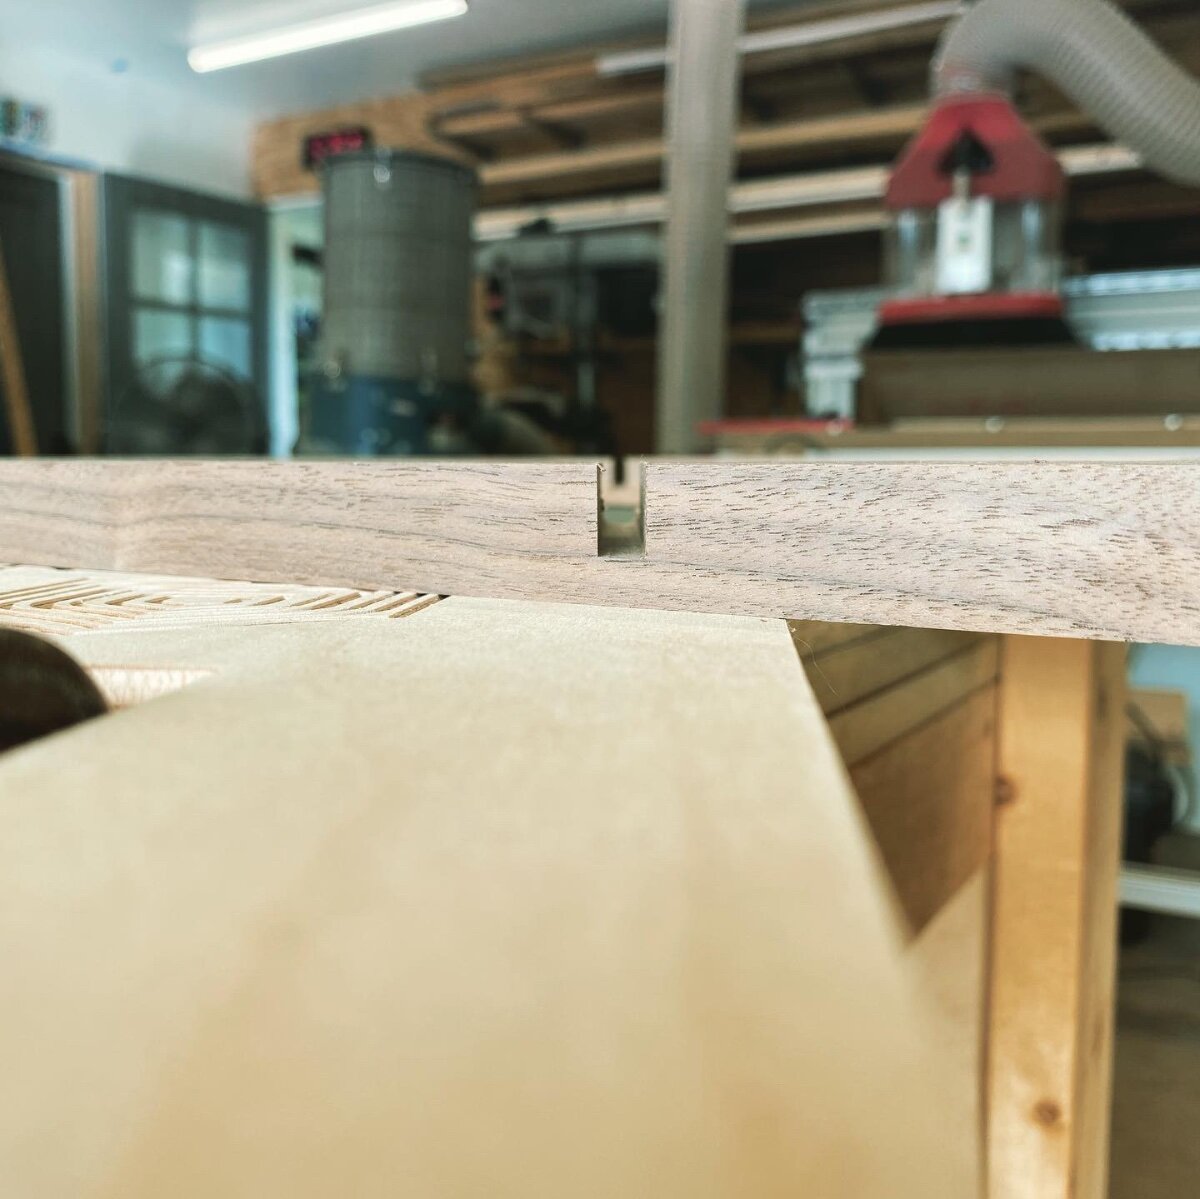
18 hours ago, Kev said:
Domino joinery?
Correct. Don’t have a fancy HCM like you and I’m to lazy to try to do it with a router and stuff 😄
18 hours ago, Coop said:Did your original design include inlay on the legs?
Yes sir
-
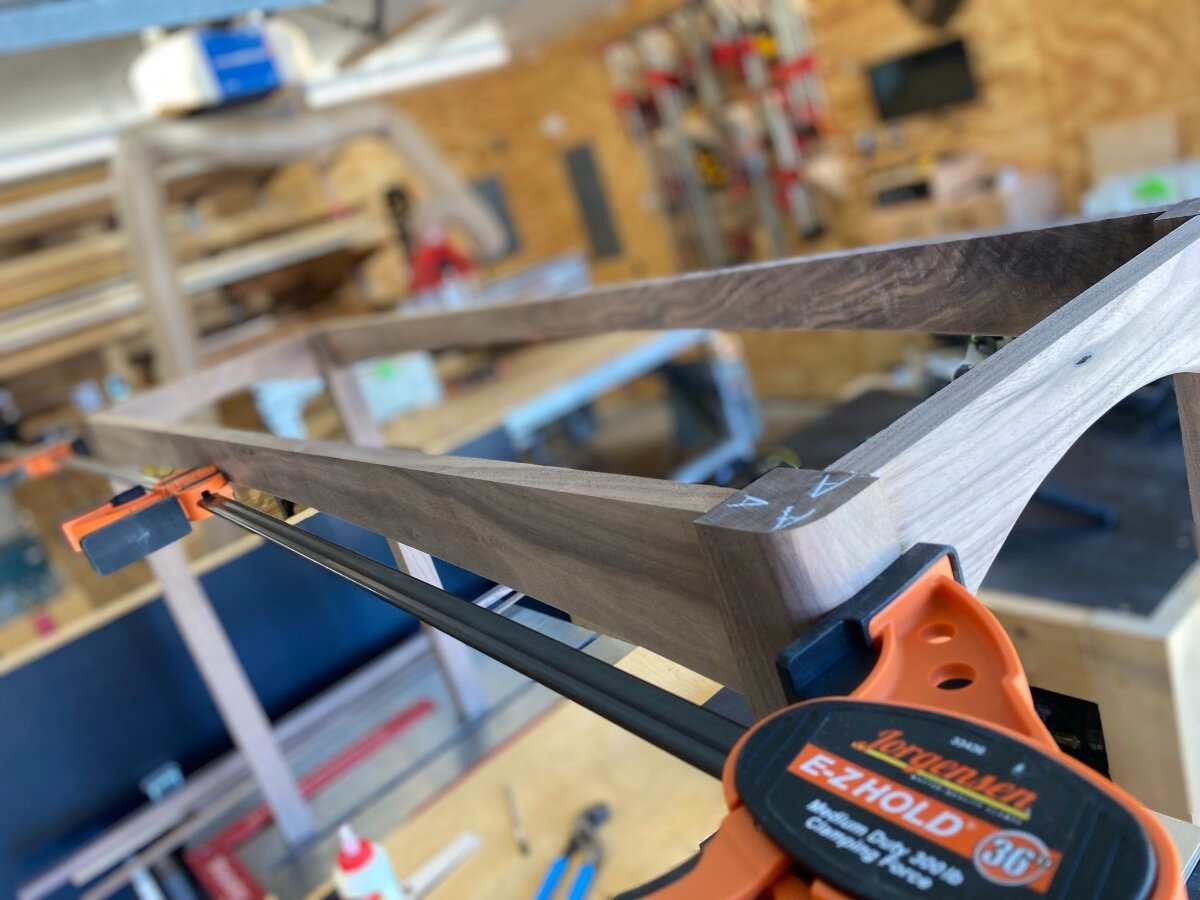
Got some work done today. Got the roughed out base done …

hopefully can knock out the apron curves tomorrow and then will work on the outside leg roundovers one the bit shows up Monday.
once I get the base mostly done and glued I will start the top.
-
4
-
-
11 hours ago, Coop said:
Thanks. I was looking for a specific video on just the application.
haha my bad ... ya its just the application he shows in several videos ..
-
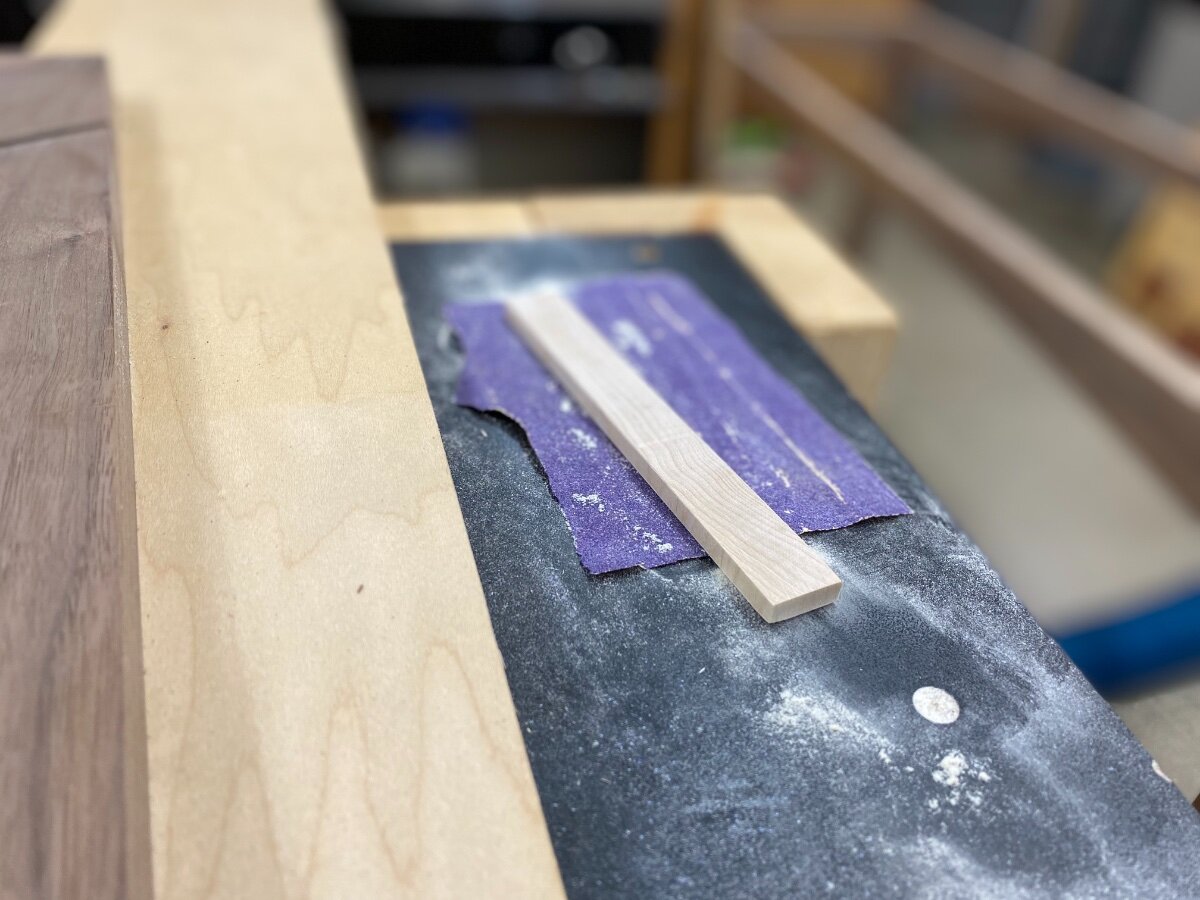
Started off rough milling and gonna let it sit a day or 2 before final milling.
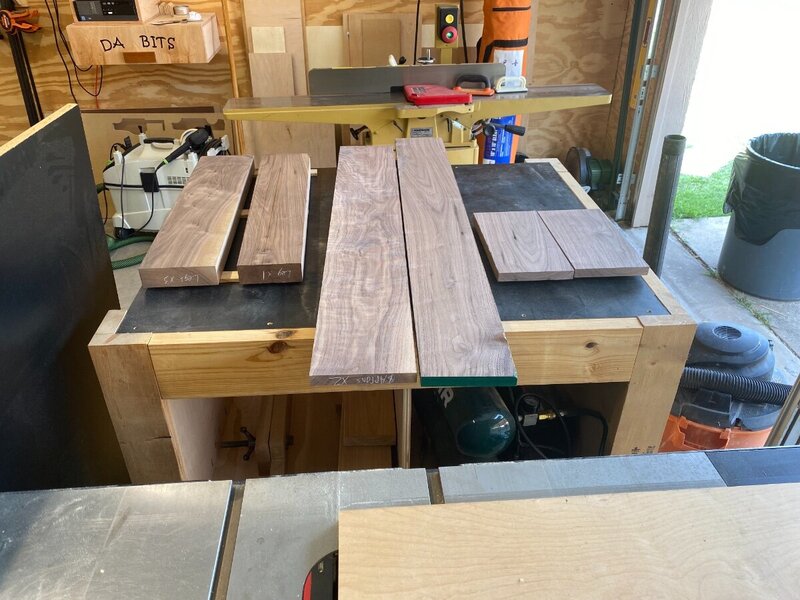
nothing super cool to look at haha. But the project has kicked off!
-
6
-
1
-
-
On 8/3/2021 at 9:22 PM, Coop said:
I checked his video list and don’t see this one?
he does it in a few of them ... here is a couple vids of him doing it
-
1
-
-
found a new guy on youtube, but I think this is new to me ... If I have seen the glove finish before it didnt stick in my memory.
I am curious what type of finish this is? Can it be oil based? I would assume that would get expensive having to go through a glove each time ... thoughts?

Here is his channel ... he is pretty much another Ishitani type build, no talking just great woodworking!
-
looks great! however, is paint ok for a cutting board? just curious on a few things .. like blood getting into the groves and cleaning it out, wont the paint start to chip after a few times of that?
I am just curious ... I know a few cutting board FB pages I am on people lose their mind when people post an epoxy board haha. So curious if this is the same type of thing.
-
31 minutes ago, Jamie said:
Are you putting those small screws in with a impact or a drill? Maybe go the hand route.
nope, hand screwing ... I think the last batch of screws I had would of snapped themselves if they saw a drill coming at them 🙂
-
 1
1
-
-
5 hours ago, Kev said:
FWIW, I pick up that hardware at Lowes..
cool, I will have to go check it out and see
-
1
-
-
10 hours ago, Kev said:
I use the hardware you linked and pre-drill. I've never had an issue with the screws snapping.
ok cool, I will pick that and then and try it all out.
10 hours ago, Coop said:Can’t help you there. Perfection at screwing, comes with practice. 😀
LOL! I see what you did there, I am just but a young grasshopper 🤣
-
3 minutes ago, Coop said:
How heavy is the item you are trying to hang? I can’t say that I have ever snapped a screw out of the wood using the hangers you show. The d rings you referenced show a support load of 10# and the cable of 30#. If my pic or mirror is too heavy or wide, I will use two hooks mounted on the wall at quarter points to help distribute the weight and stress. You might also just use the d rings with two wall hooks and eliminate the cable all together.
oh I snapped them just installing the screws, not actually hanging ... Most things are between a pound or 2 and maybe 10 at the most.
-
52 minutes ago, Bob said:
The braided wire and d-rings are what I use. I predrill for the screws using a vix bit. Depending on the wood I also coat the screw with bees wax to lubricate the screw.
49 minutes ago, Woodenskye (Bryan) said:Pre drilling is a must! You could try to find higher quality screws, but if you pre drill may not be necessary.
Ya, I predrill but maybe I just got a bad batch when I snapped 3 in the same back frame. I will try the wax thing ... any kind in particular or Johnson's paste or renaissance good enough?


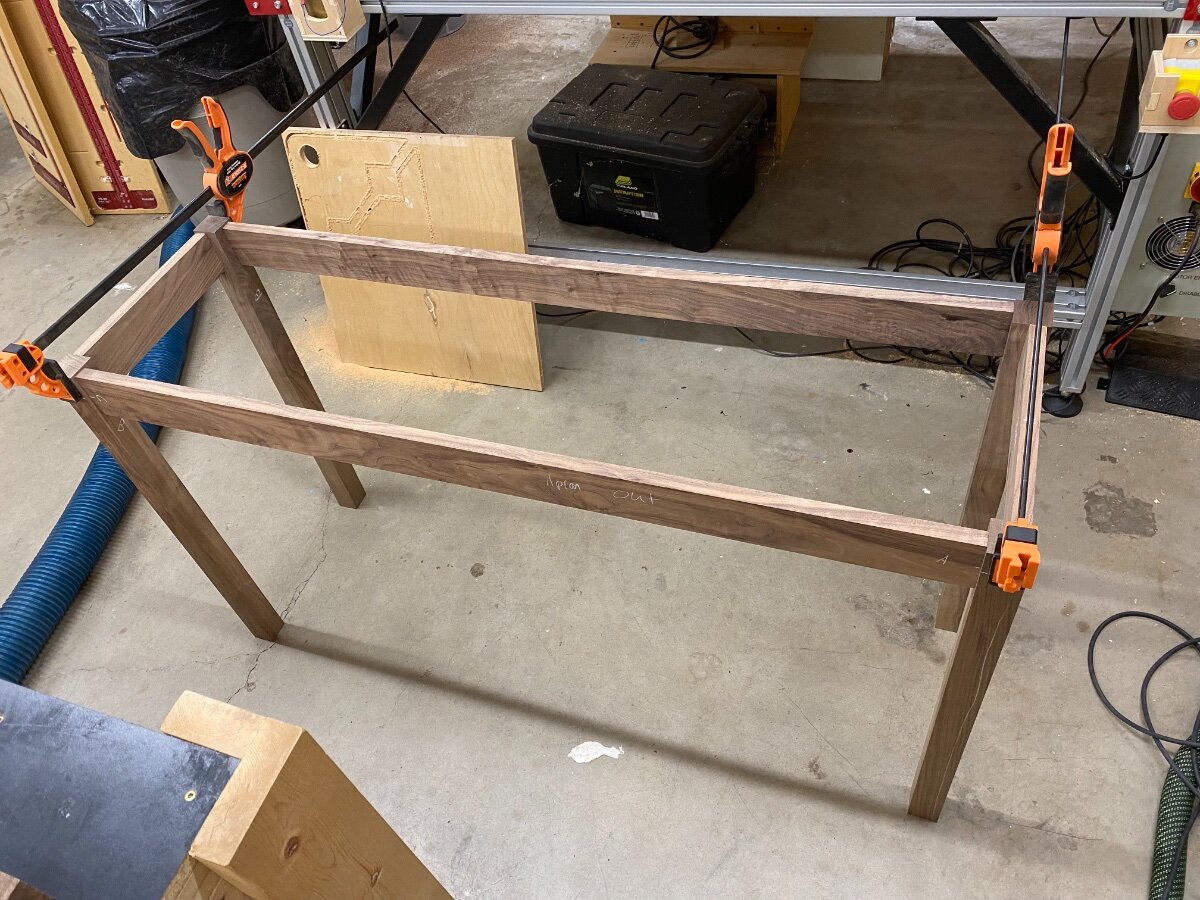


Walnut/Maple Hallway Table
in Member Project Journals
Posted
This project just keeps kicking my butt haha.
Installed the figure 8s and then realized I would screw through the rabbeted top since the legs stick in further than the sides. I guess the only good thing about it is that I caught it before I did it.
so now I am thinking Z clips? Don’t have any here to test so need to buy some. I have about 1/2” of space on the sides to install them without going through the thinner part.
also still need to round over the edges to match…