Every purchase made through our Amazon Affiliate Page helps support this site
Kev
-
Posts
6,302 -
Joined
-
Last visited
-
Days Won
575
Content Type
Profiles
Forums
Downloads
Gallery
Events
Store
Articles
Blogs
Everything posted by Kev
-
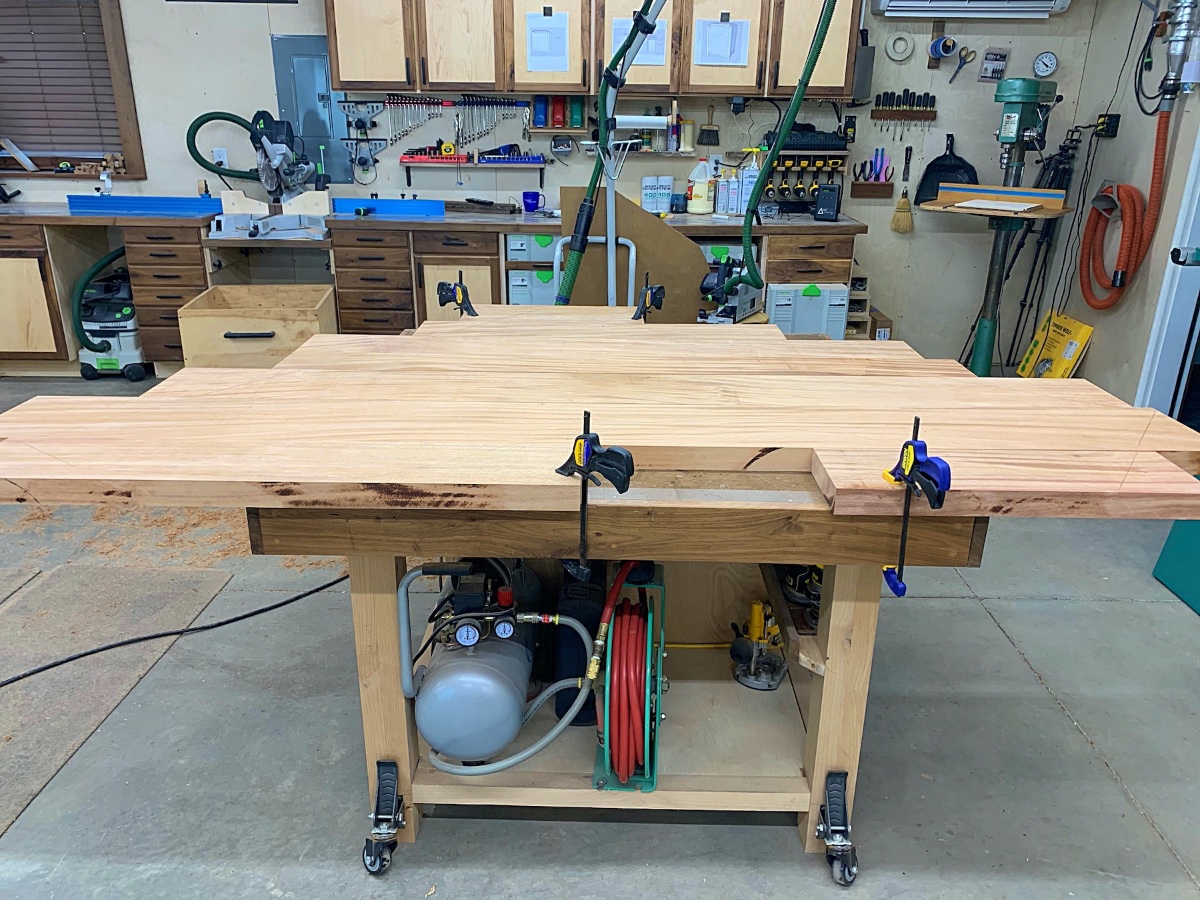
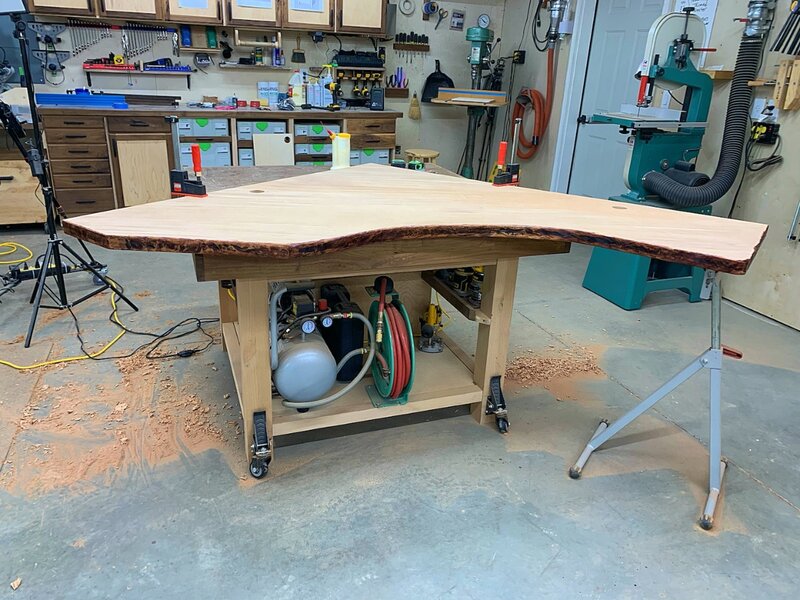
Great day in the shop today! Riser blocks completed, just need to put them on the cabinets. I did increase their size to give me a little more leg room under the desk.. The plans will show this size. I also got the top out of clamps, trimmed to size, and the imitation live edge treatment applied.. Waiting for epoxy to cure to finish sand the top. Hoping to finish and install this weekend!
-
The portion over the saw is done dripping.. Only one new seam in that glue up. I left the others in the clamps to sit over night.
-
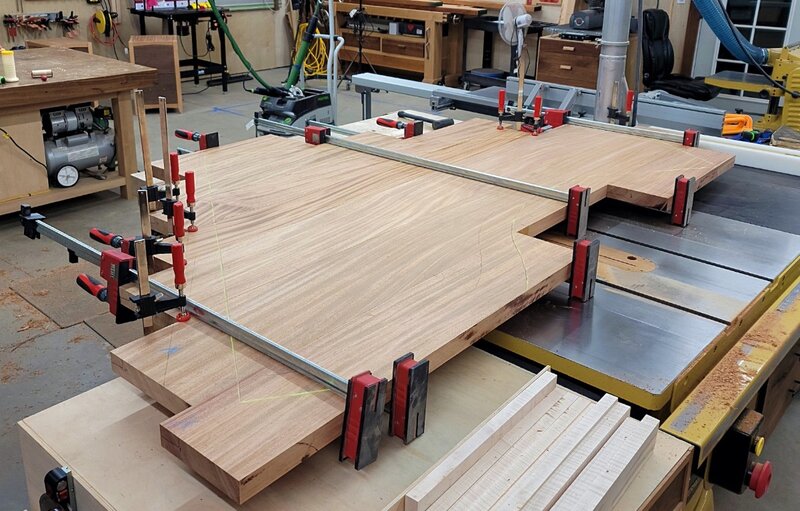
lol, absolutely! I chalked out the template in green chalk and then marked the domino locations.. On that note.. I had some help at the house tonight so, got the last glue up done!
-
I have not personally built with it but, I do know that it's primarily used for decking and it's harder than a rock! I've heard stories of people wearing out drill bits after just a few pilot holes. Don't let that scare you off, those stories are from run of the mil DIY'ers so take it with a grain of salt.
-
End of the day for me.. Top is glued up into 2 halves.. It will sit that way for tonight and I'll put them together tomorrow! Hope I have clamps long enough! Super happy with how it's come out so far!
-
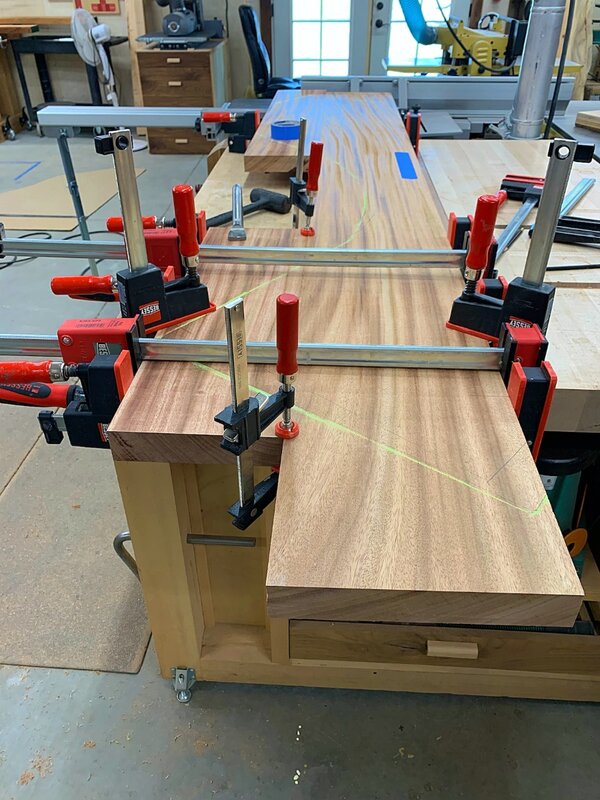
lol.. The sad part is that it was off enough that I noticed visually on the dominos. I left that section in the clamps a while longer before adding the next section. The top is about 1/2 glued up now and I'm pretty happy with the flatness! But, yes, I bent dominos to glue this section up...lol
-
Note to self! When using dominos for alignment, double check to make sure you didn't bump the domino off of 90 degrees when cutting the mortises! Far less clamps needed to keep flat! Additionally, a second dry fit! If glue had not already been applied you could have avoided this headache!
-
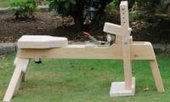
100% AGREE! You'll have to picture it without the "rustic" beating as I'm not going to do that to expensive lumber. 16/4 is as thick as I'm going on the legs and that's already a diet compared to the picture. I'm also guessing that I'll taper the feet to match everything else in the room.
-
I might have to do that, we'll see. I did find some in Oregon that I used in the last bed build.
-
Yes, we're pretty stable but, I've found African Mahogany to have a lot of reaction wood in it. When doing the legs, I originally cut 2 extras for "just in case" and joinery set up. I ended up using both of those extras because 2 of them bowed so badly.
-
My wife finally found a design she likes.. I'll be glad when this room is done, I'm getting tired of working with these monster heavy pieces! This is just the picture she sent me. Ours will be in African Mahogany probably with some Wenge accents.. I'll have to do the design work first.. Pretty sure the sitting bench at the end will be omitted as well. Now to find some more 16/4 African Mahogany and a small army to help me wrestle the parts!

-
Yep, I saw you pop in and knew who you were so, just took care of that for you.
-
Very little movement after initial milling! That really made my day as some of them are a bit tough to wrestle through the equipment by myself! Need to reduce them in thickness today by about 3/16". Shooting for a 6/4 top and I'm ok if it's a little heavy. I might even get to dome glue ups today, we'll see.
-
Ok.. I'd of never come up with that thought process.. 🤣😂
-
Welcome to the forums Bmac! A few familiar faces here for you! Glad you joined us!
-
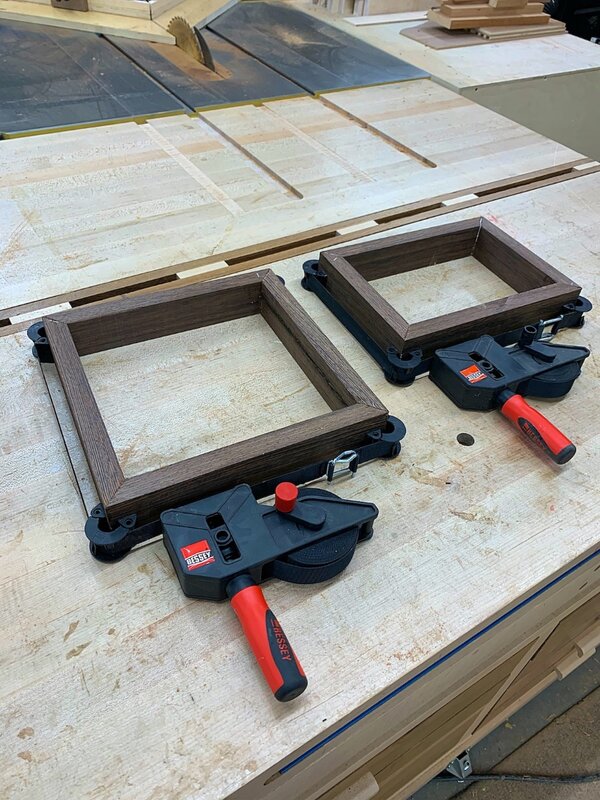
Great work Chet! Nice twist changing up the look with the frames on the top! I'm with your wife though, you should leave the chalk and call it a Star Trek design! 😉
-
Electrical is not my strong suit I promise!
-
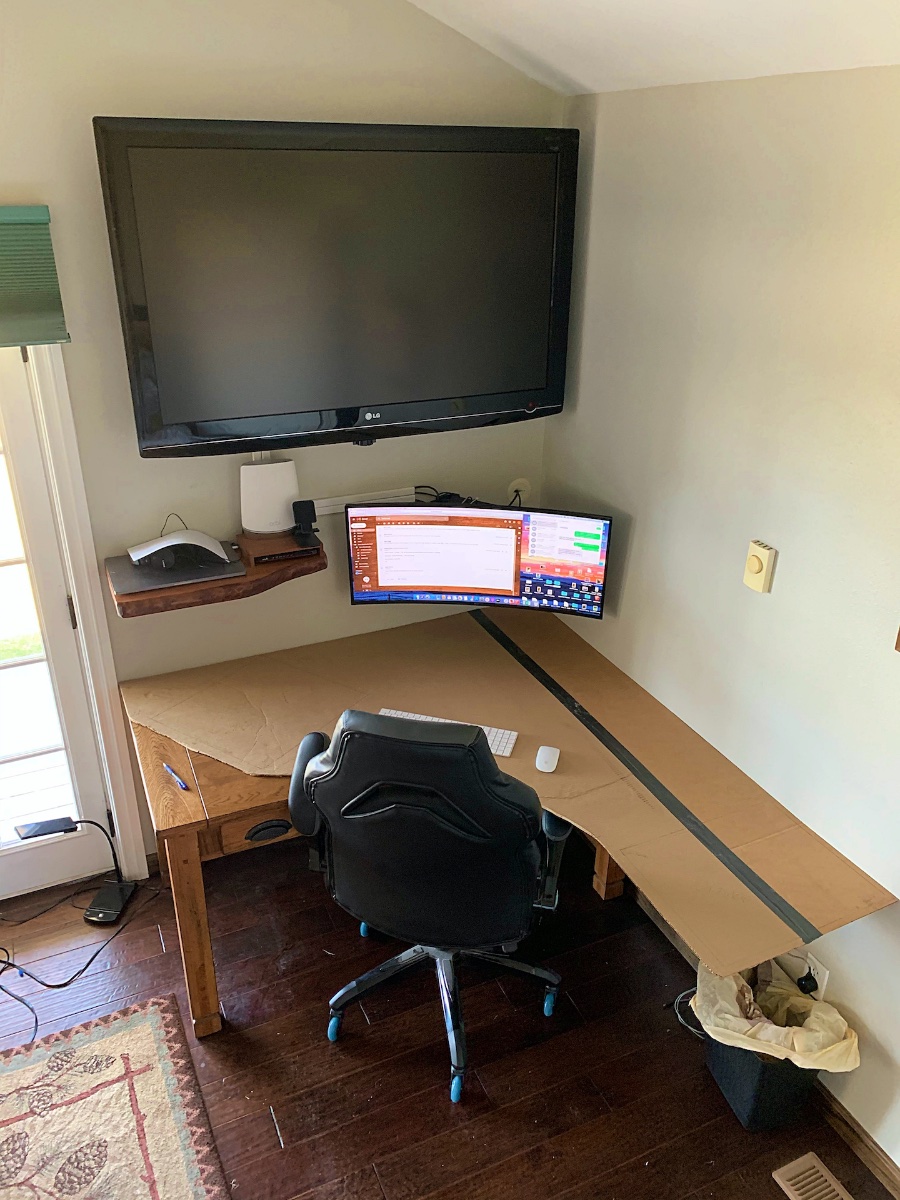
Yes.. I know it's hard to tell but, I did a lot of work on Saturday when the forums were down on getting rid of the wires! I added an electrical outlet behind the TV and added a through wall for some of the other cables. I also pained those 2 walls in preparation for the new desk. All of my normal stuff is completely up and running and not a cable in sight!
-
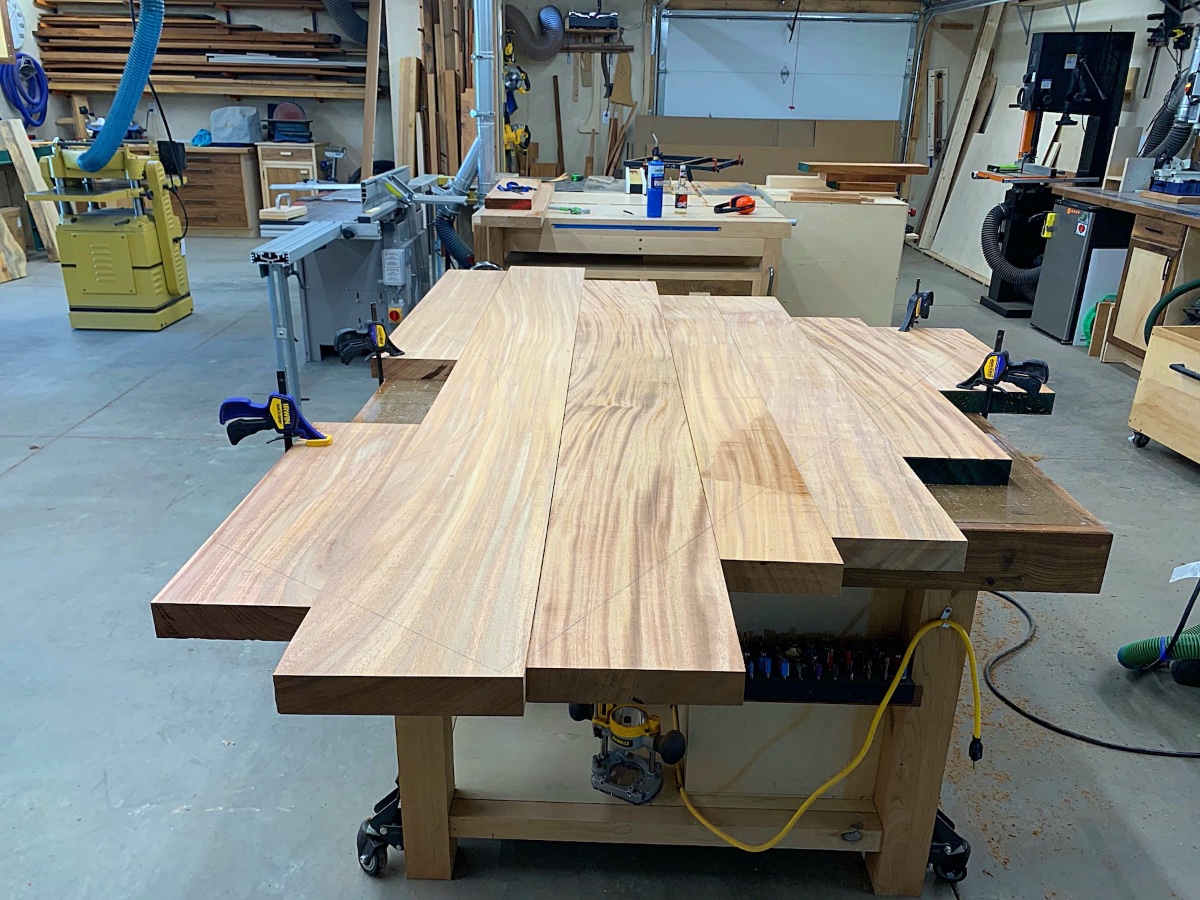
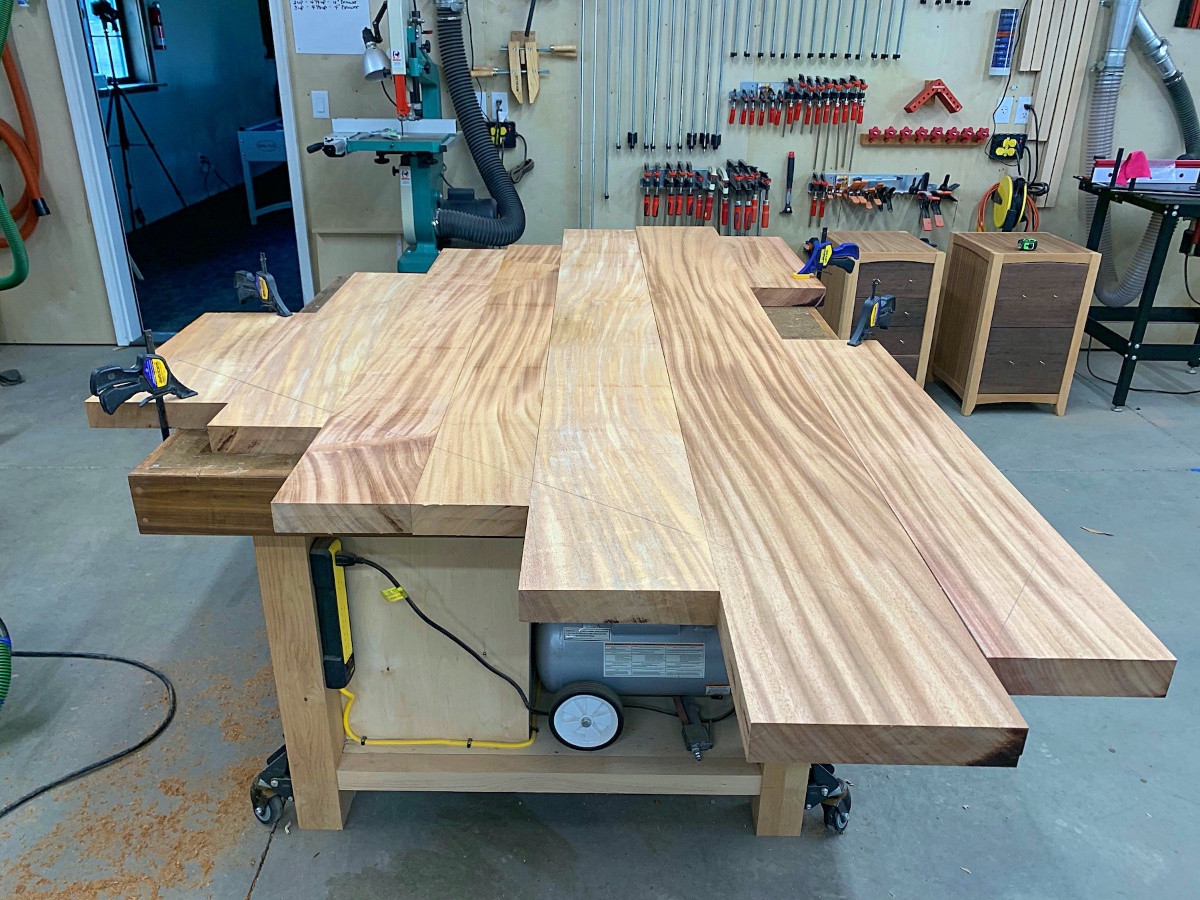
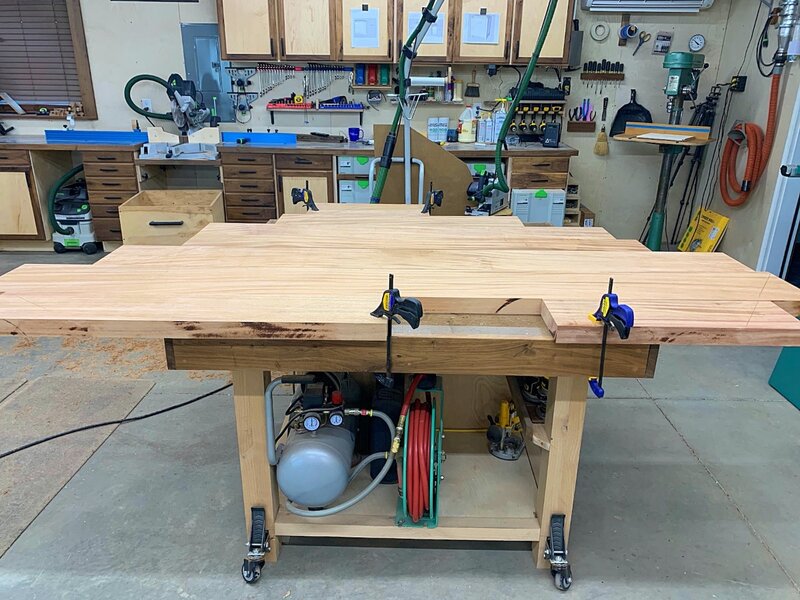
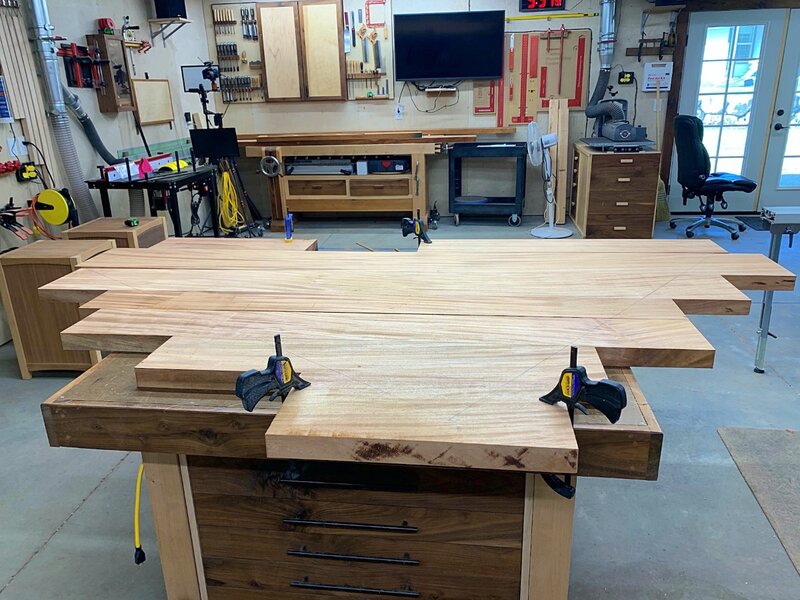
Lots of milling today getting the pieces selected for the top. Ribboned African Mahogany (and Sapele) can be difficult to get decent grain matches as well as color matches! I ended up replacing a couple boards because the color was just too far off. This is the front and rear view of the top.. All pretty consistent for color and I can live with the grain matchups! Now for the weird part.. This is the right and then the left view.. It's almost like a 3D effect...lol


-
It's a curved monitor.. It's actually 2 monitors in one..
-
Working on the top template today! The template material is cardboard that came on the sheet of African Mahogany ply that I bought for this project. Nice when you can get that much out of a sheet of ply!

-
Not too sure what ever I'd do without your guidance!
-
Now that's funny and what I deserve for not putting more information in the post! I was just too concerned with fixing the picture feature on the forums and omitted some info.. What you see in the picture is finished cabinets for the desk without finish......... Or pulls....... What you see in the picture are just some screws used to mount the drawer fronts where the drawer pulls will go. I then back them 1/2 way out to use as pulls until after the finish. The pulls will be the same ones used on the huge dresser build for the master bedroom and installed after the finish. I switched to Wenge for the drawer fronts on the desk to introduce a little different color for the master bedroom.
-
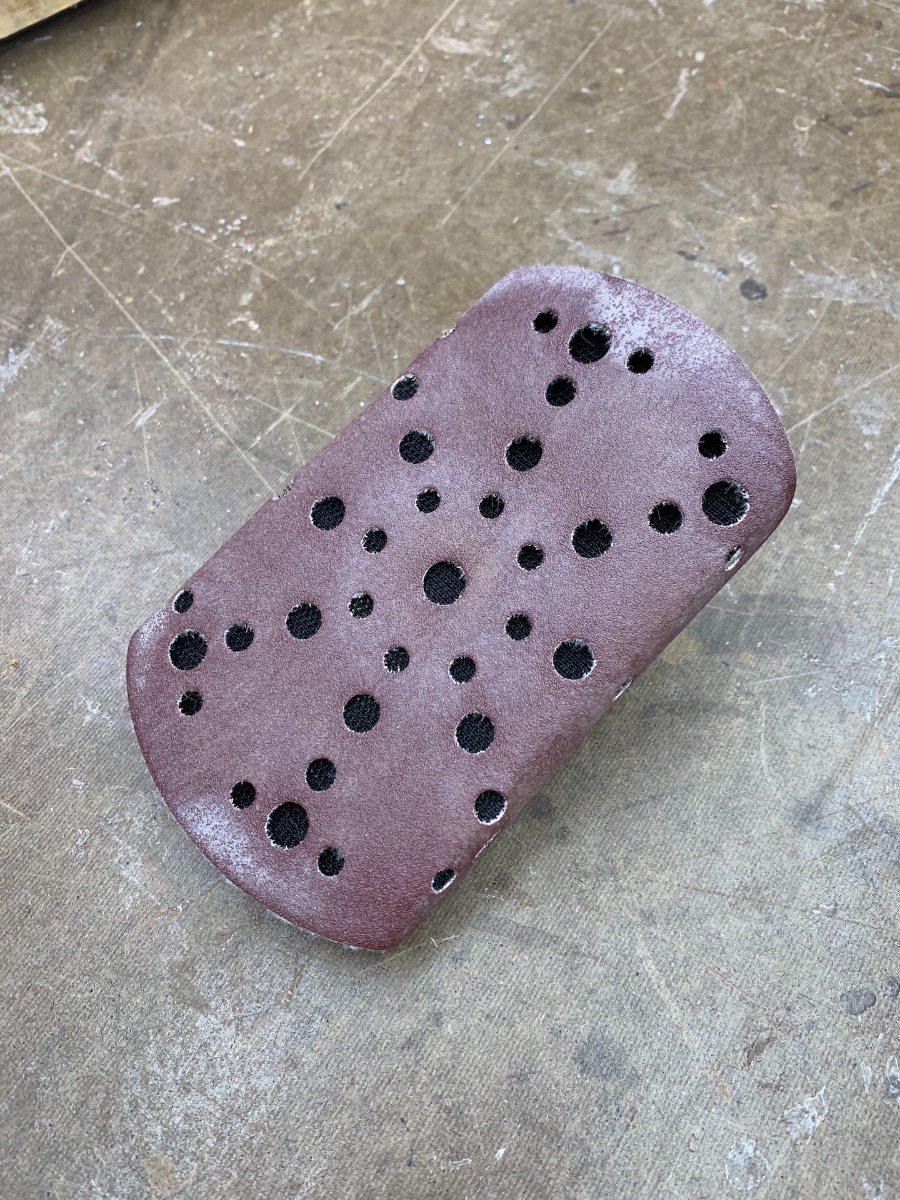
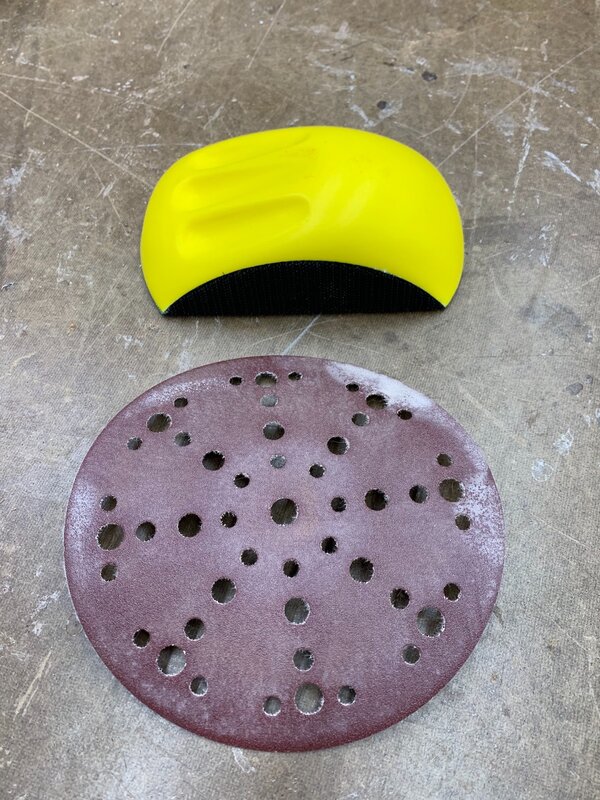
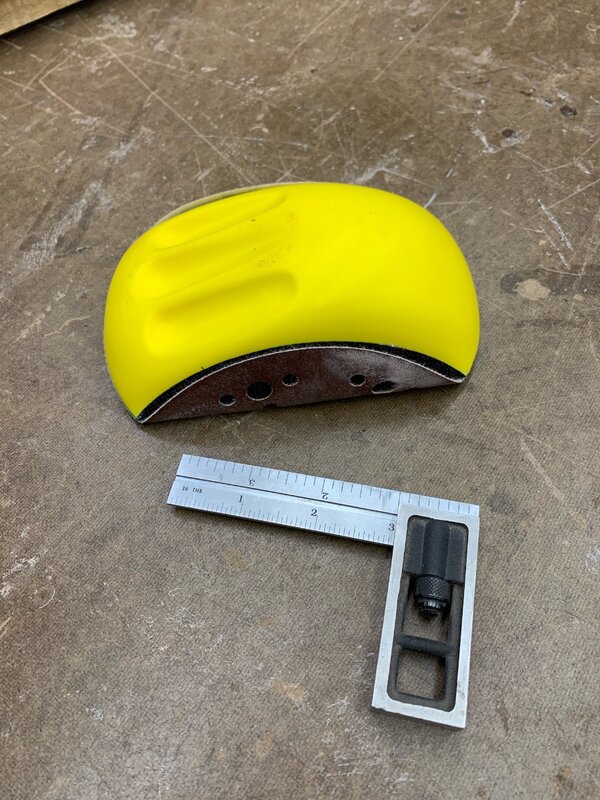
I think I typed all this out before the server issues but, it was lost so wanted to toss this in here again.. Woodriver 5" Sanding Blocks are great for using those sanding discs from your ROS that still have a little life left in them. They're light weight and the hook/loop seems to hold up pretty well! They're relatively inexpensive (~$12.00) and can be found at the following places.. Woodcraft: https://www.woodcraft.com/products/5-foam-hook-loop-sanding-block Amazon: https://www.amazon.com/Foam-Hook-Loop-Sanding-Block/dp/B00H2B61YE/ref=sr_1_1?crid=3GPG6DGXZ4ODH&dchild=1&keywords=woodriver+-+5"+foam+hook+%26+loop+sanding+block&qid=1617677962&sprefix=Woodriver+sanding+blo%2Caps%2C311&sr=8-1 Some pictures:

-
Well, looks like the picture issue is taken care of but we lost a little better than a day's worth of posts.. Again, apologies for the down time and any loss of updates!