
Every purchase made through our Amazon Affiliate Page helps support this site
Kev
-
Posts
6,303 -
Joined
-
Last visited
-
Days Won
575
Content Type
Profiles
Forums
Downloads
Gallery
Events
Store
Articles
Blogs
Everything posted by Kev
-
Fair question and, I don't have an answer for you.. Contact their customer service and see.. They've always had what I needed when I ordered...
-
I think I got you fixed.. Take a look at the bottom now and the section should be open to you.
-
Video is up in the preview room.. If you don't have access to this room, let me know and I'll get you set up.
-
I'll have the editing done in the next day or 2 and then toss it in the private viewing room for a few days.
-
The video for how I made these isn't out yet but, they're not difficult. I can walk you through the process or give you access to the video. The other 2 versions of these are public.. One is 4 years old and the other is 2 years old.. This one adds all the extra wavy stuff up the middle
-
I like the removing the island twist! 😂🤣🤣
-
We all hit those ruts bud! The island actually came out really good! As for the client, take her to small claims court, you'll feel better... 🤣. Better yet, when she's done painting, tell her the color isn't quite right and it needs to be done again 🤣😂🤣 Difficult clients are a PITA! At least she didn't kill you at a point you couldn't fix, if you want to find a bright side.
-
Congrats! I've got a killer laser on a Festool Kapex and don't trust it either. 🤣 I know it's good, just can't bring myself to trust it..
-
Sorry, forgot to post some finished pictures..
-
The hardware is a little finicky but, not too bad once you figure it out. They have small plastic feet on them and they're on both sides. It's obvious to remove them from the screw holes but, not so obvious to not remove them from the rest of the holes on that side. The issues is, if you remove them then you don't have any clearance between the hardware and the object you're mounting it to which creates binding issues. And, of course, they don't come with any instructions...lol If that doesn't make sense, let me know and I'll grab some pictures. As far as function, they don't work quite as well as the cheaper loud versions but, they are much quieter!
-
Hardware just arrived.. No noise at all, I'm impressed so far! I report back when I get them installed and check the function!
-
Those are closer to what I've been using from the big box store.. Only real difference is that the ones I get are round like this.. https://www.amazon.com/TROOPS-BBQ-Capacity-Turntable-Pack/dp/B098GVP48Q/ref=sr_1_11?crid=1S80D92FD8NF2&keywords=lazy+susan+hardware&qid=1649946055&s=home-garden&sprefix=lazy+sus%2Cgarden%2C210&sr=1-11
-
This is what I ordered this time.. Hoping this isn't what you ordered that's loud...lol https://www.amazon.com/dp/B07KDPCJ27?psc=1&ref=ppx_yo2ov_dt_b_product_details
-
The hardware is simple.. Just center it up and secure it. Nothing magical or tricky.. I'm trying some new hardware this time. The stuff I usually get at the big box store tends to be a bit noisy. So, I opted to order some more expensive hardware this time that should be much quieter. Frankly, the profit margins on these is so good that it was easy to absorb the extra cost and not pass it on to the client.
-
Finish is complete.. Hardware will be here tomorrow and I hope to ship on Friday..
-
Couldn't make up my mind so, I talked with the owners this morning to see what they wanted and both chose to keep the maple as close to it's natural color as possible. So, just straight up High Performance it is!
-
They're pretty much going to the same place so, I'll be sticking with one finish.
-
I like the quickness of the lacquer but, we just got some snow so, I can't really kick the doors open to air out the shop. These aren't hard to build, just really time consuming! There's a lot of glue ups..
-
Yea, I'm not sure if I want the yellow or not.. I'll probably go pure WB but, I'm going to sleep on it..
-
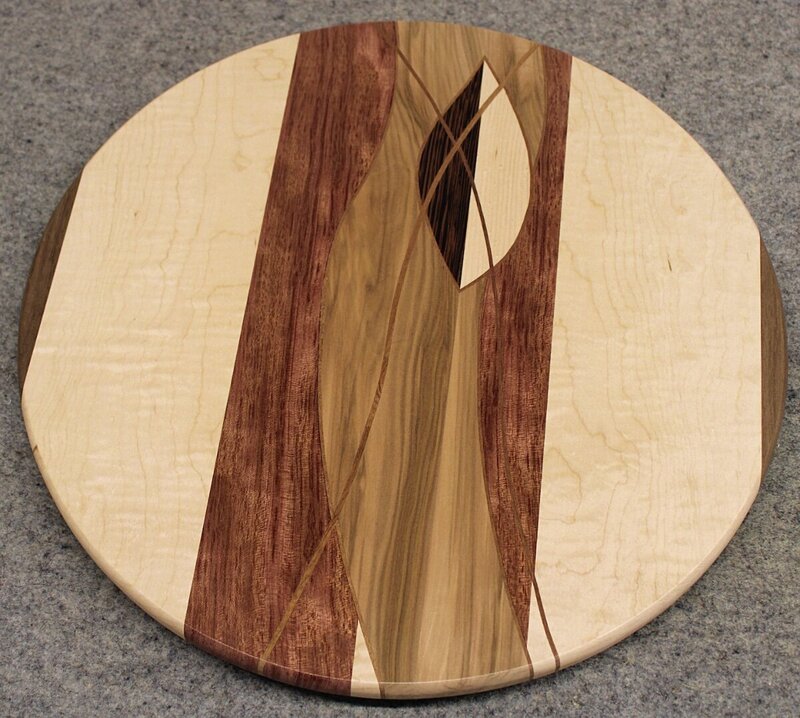
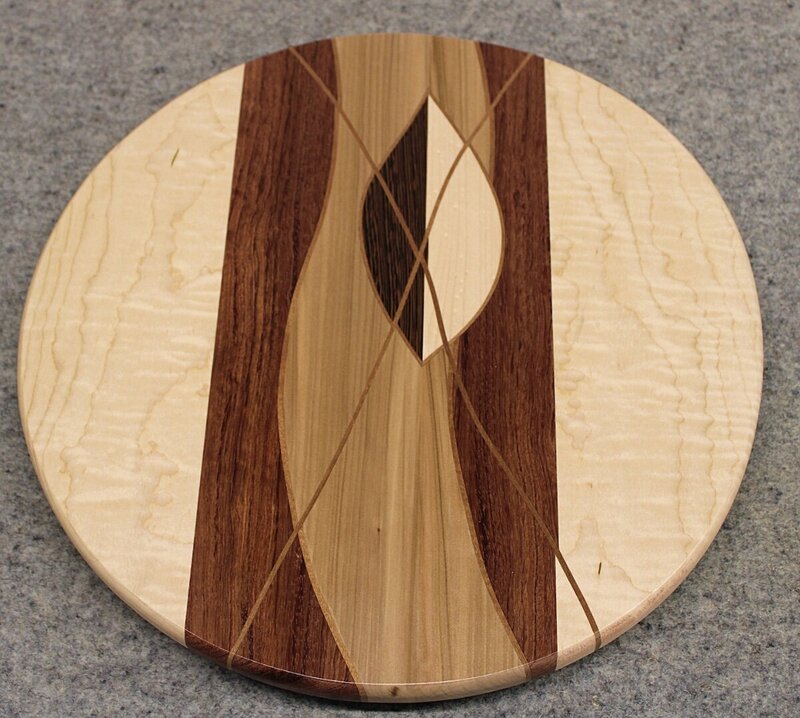
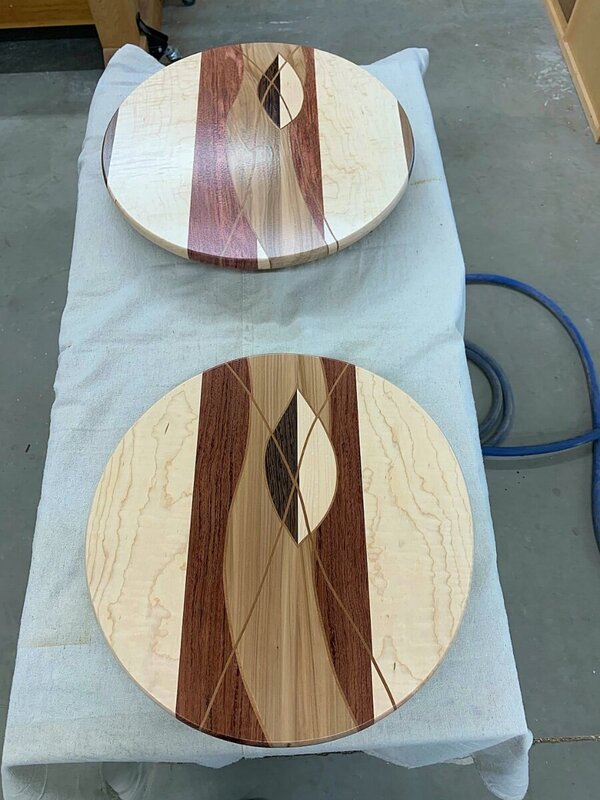
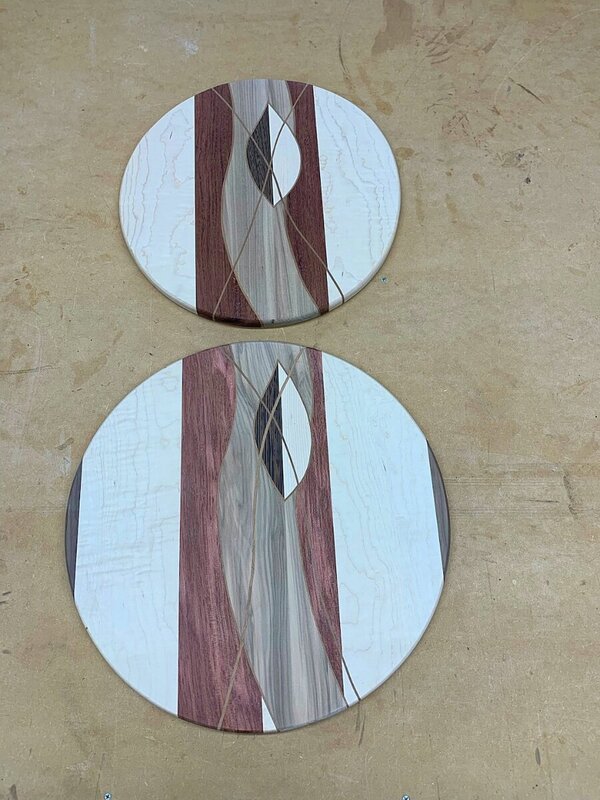
I knew you guys wouldn't believe me if I told you I took a few days off after that road trip so, I didn't 😂 I had a couple orders for Table Lazy Susans and I wanted to do something a bit different.. Ok, I had done something similar to this once before but, I had forgotten how much work they were.. Woods are Maple, Walnut, Bubinga, Wenge, Red Gum, and African Mahogany. So, after 3 days, these are finally ready for some finish and hardware before shipping to the clients.. I'm still mulling the finish on these.. Here's the finishes I'm considering.. ARS followed by WB - downside being the maple will yellow WB Only - Downside is the darker woods won't pop as nice Rattle Can Lacquer - Downside is the odor! Interested in your thoughts.
-
This definitely! https://www.harryepstein.com/index.php/ I have a few of these in my drawer and love them! Last few times I looked though, they were out of the double squares which is what I prefer. For the record, I have 2ea 6" and 3ea 4" in my shop. They are a mixture of the PEC and Igaging but, if you didn't look at the name on them you couldn't tell them apart! Pretty sure they're all US made as well. So, is Woodpeckers worth the money? Really only you can answer that. I love the red stuff that I have but, also have some that just never fit into my flow. This stuff usually ends up finding a new home someplace. My favorites are; 1281 12" square TS32 - 32" T Square 24" Framing Square Mini Square - Awesome for equipment set up but, there are many making these now. With all that said, the PEC and Igaging are my absolute go to squares on every project!
-
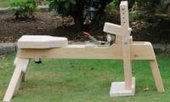
You could do that with a front stretcher to help tie the legs together. You could also to a wider one and just "arch" it where the chair would sit in it's normal position. As for your questions on the legs, you're essentially making a box where the thickness isn't really going to be seen. 3/4 should be fine. I think if I were doing them, I would start with 4/4 material and keep them as thick as possible with 3/4 being my lower limit.
-
What I did for my kid's desk is similar, I put a stretcher high across the back as well as near the bottom. I didn't secure either to the wall. This secures the back very well but, does nothing for the front corners. My kid's desk had independent legs so, I added this lower rail on the sides as well. For what it's worth, I didn't have any racking issues but, my son was a teen when I built it so, it was just homework and computer stuff and not the stuff a younger child may do. If you put a stretcher across the front, the height becomes an issue to get a standard chair under it so, this is tricky! It's compounded if you decide to put a drawer there. Additionally, the lower front corners are still a liability if they get knocked hard. Plus, your son is going to go through a lot of physical changes as he grows and I'm sure you'd like this to be a long term desk for him. Another consideration, if you're really concerned with racking, is to add an x brace in the middle of the legs. Overall, I think your design is solid enough for a desk but, would add the lower stretcher in the back. Think about the placement of it! Should be high enough to be above floor trim but, low enough to not interfere with any wall outlets.
-
1. You could get away with that combo. Especially considering it's a personal choice 2. This may depend on your choice of joinery. M&T would drive you to the choice on the right IMO. Something to consider here is racking. Especially with a young boy, he's probably going to crawl all over this thing..🤣 Shows up in this post but, not the original
-
They very first picture isn't showing up


