Every purchase made through our Amazon Affiliate Page helps support this site


Bushwacked
-
Posts
1,605 -
Joined
-
Last visited
-
Days Won
98
Content Type
Profiles
Forums
Downloads
Gallery
Events
Store
Articles
Blogs
Everything posted by Bushwacked
-
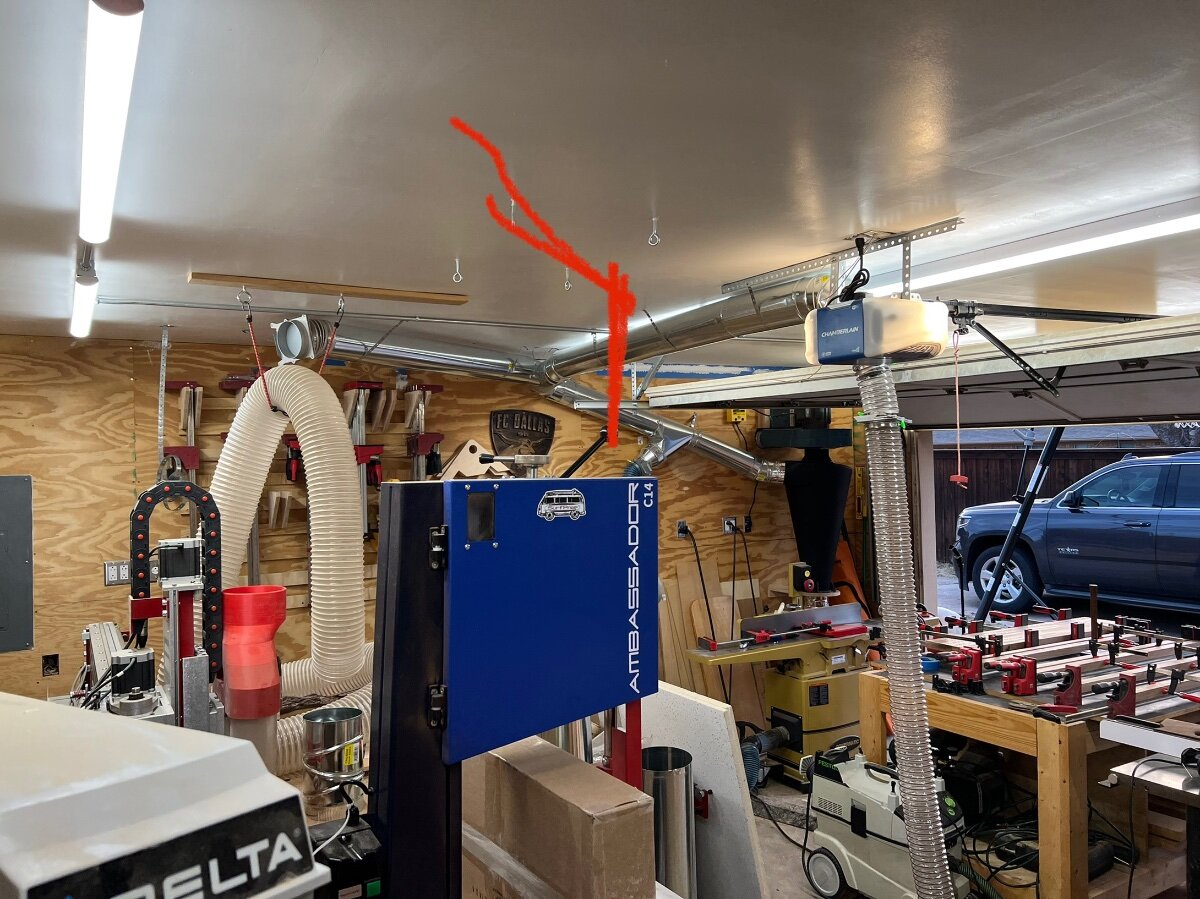
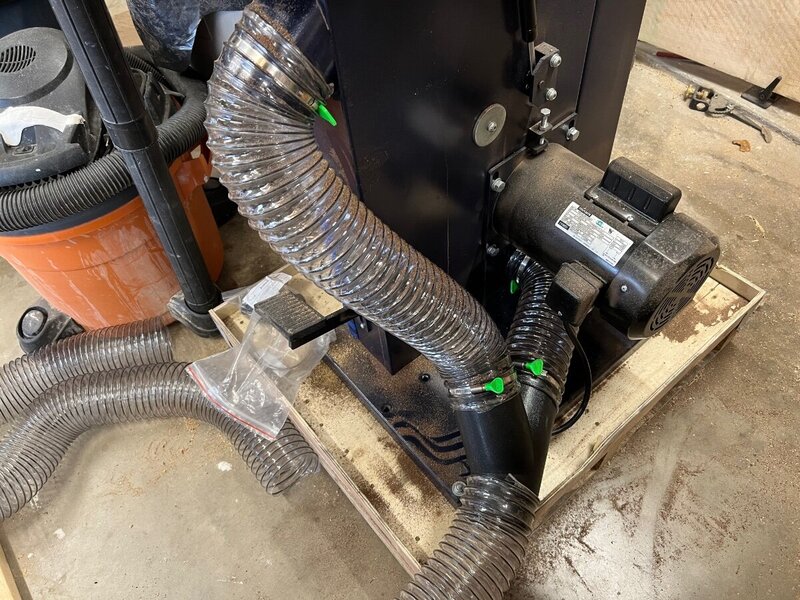
For now got everything but the CnC run done. Still pondering that one… got the bandsaw done and had to switch how the lines were run from the bandsaw to go out the back now. shortened the jointer hose so it didn’t have 5-6’ of extra hose just sitting there
-
uhhh you tell momma to hold on 2 more days!! May 15th is the better day to be born ... just sayin 🙂
-
Yes, I am on a finishing kick right now ... leave me alone 😄 I thought it was interesting how he broke down, not necessarily their performance, but more of the size of the project on how he would use them ... His points make sense on it and might be something that helps others in here??? It helped me for sure on just seeing another way to think about finishes ...
- 1 reply
-
- 1
-

-
Looking around more on this since it seems interesting ... I also found this article too https://www.popularwoodworking.com/finishing/soap-making-clean-finish-2/
-
Saw this used in one of his videos so I went looking and found more on it ... Never seen or heard of it being talked about, so curious what you all think about a soap finish on light wood to not turn it yellow/darker ... Also, if you are looking for some nice quality build videos and stuff, he is great to watch. Several of his videos make me want to grab a smoking jacket and some scotch and dim the lights and listen.
-
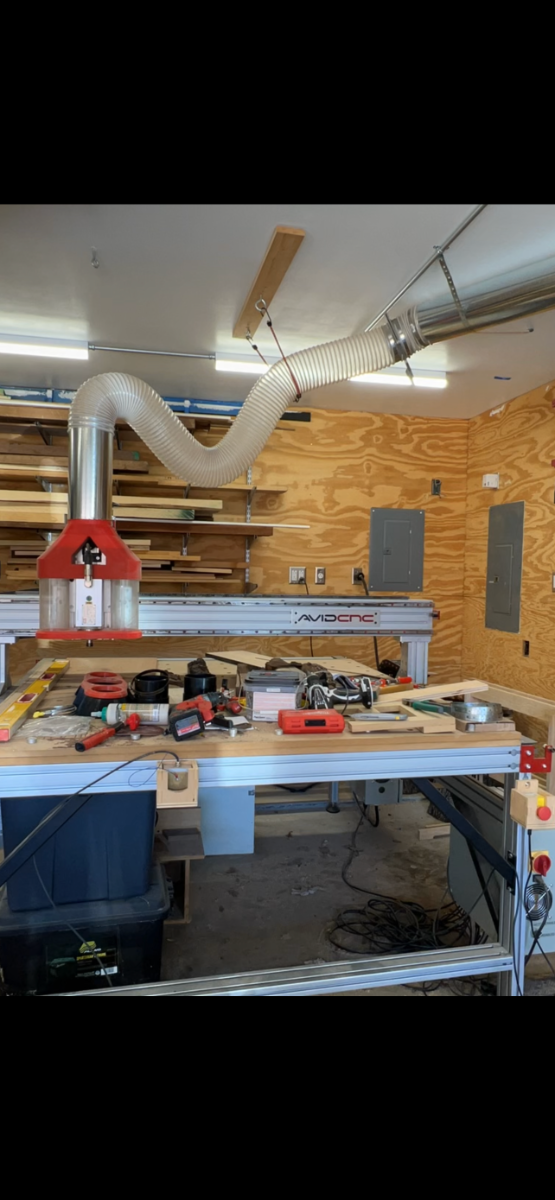
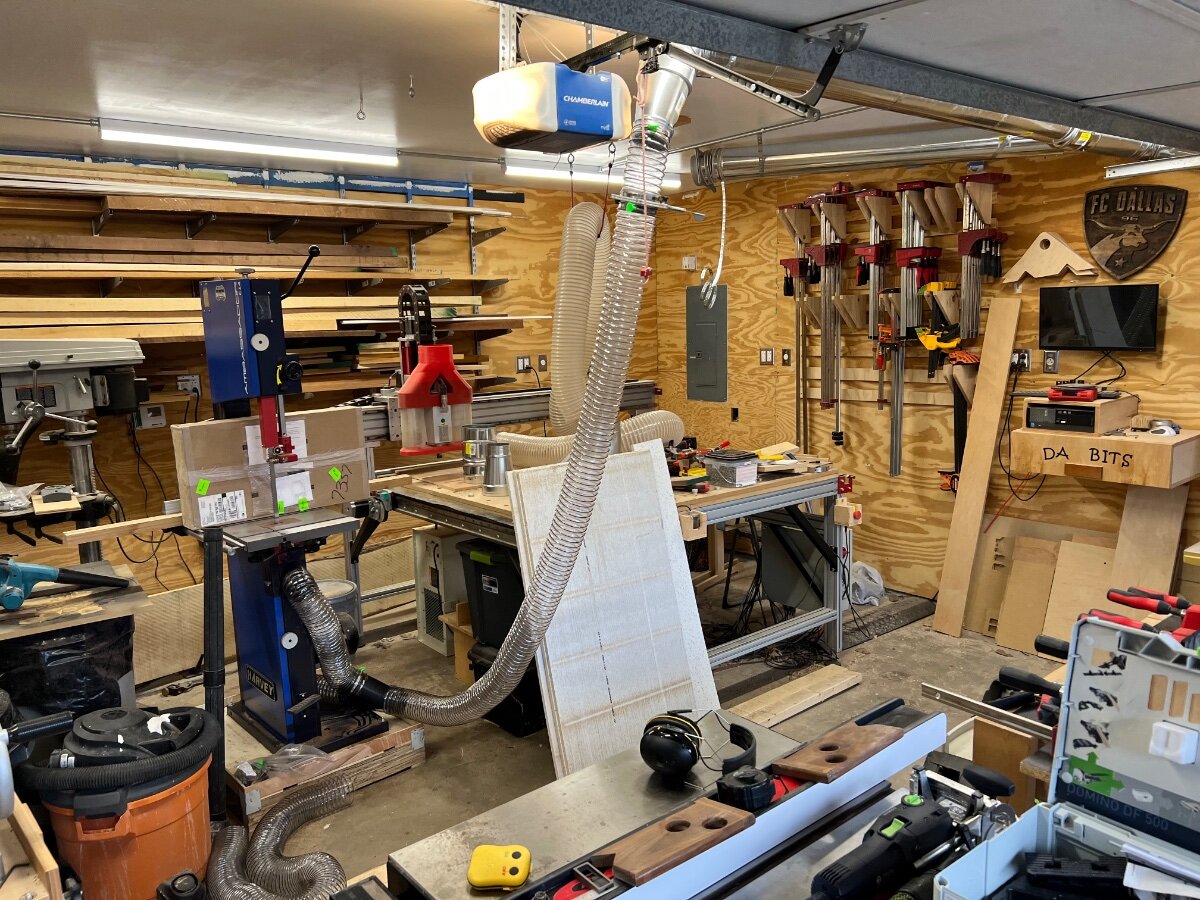
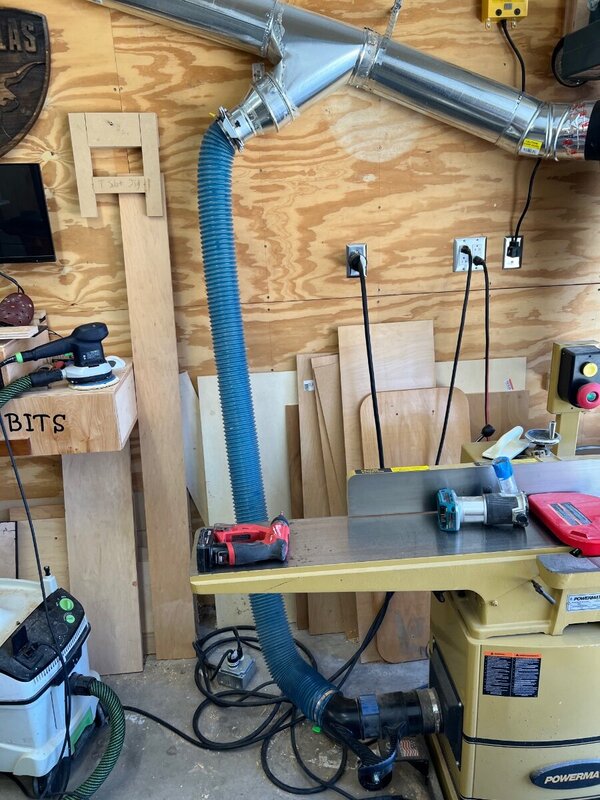
Got some free time so figured I should work on finishing the DC for now … trying to figure out if I should hard pipe more toward the middle or if that’s decent? Testing it out it’s enough hose.. however it gets a little squirrelly when I get to the middle and under stretch bands on the middle. Maybe need to tighten the stretch bands a little to give it more clearance maybe. Still tinkering with that but curious if y’all have any thoughts?

-
ok, will give that a go tomorrow ... thanks!
-
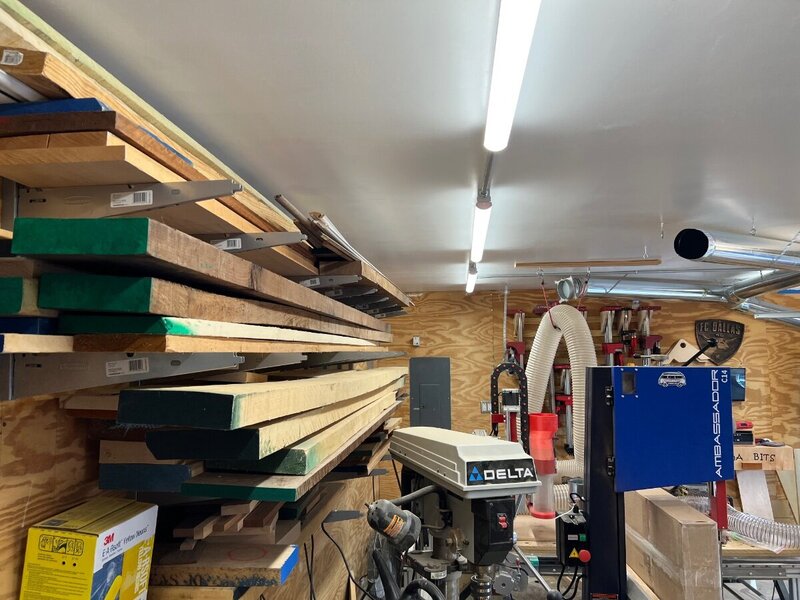
I will take a look at that ... it is tight over there on that back wall with the circuit panel and several outlets to get between ... Going under the lumber rack wouldnt be too bad .. but I would need to put in 3 90's to get to the DC .. would that not kill the suction?
-
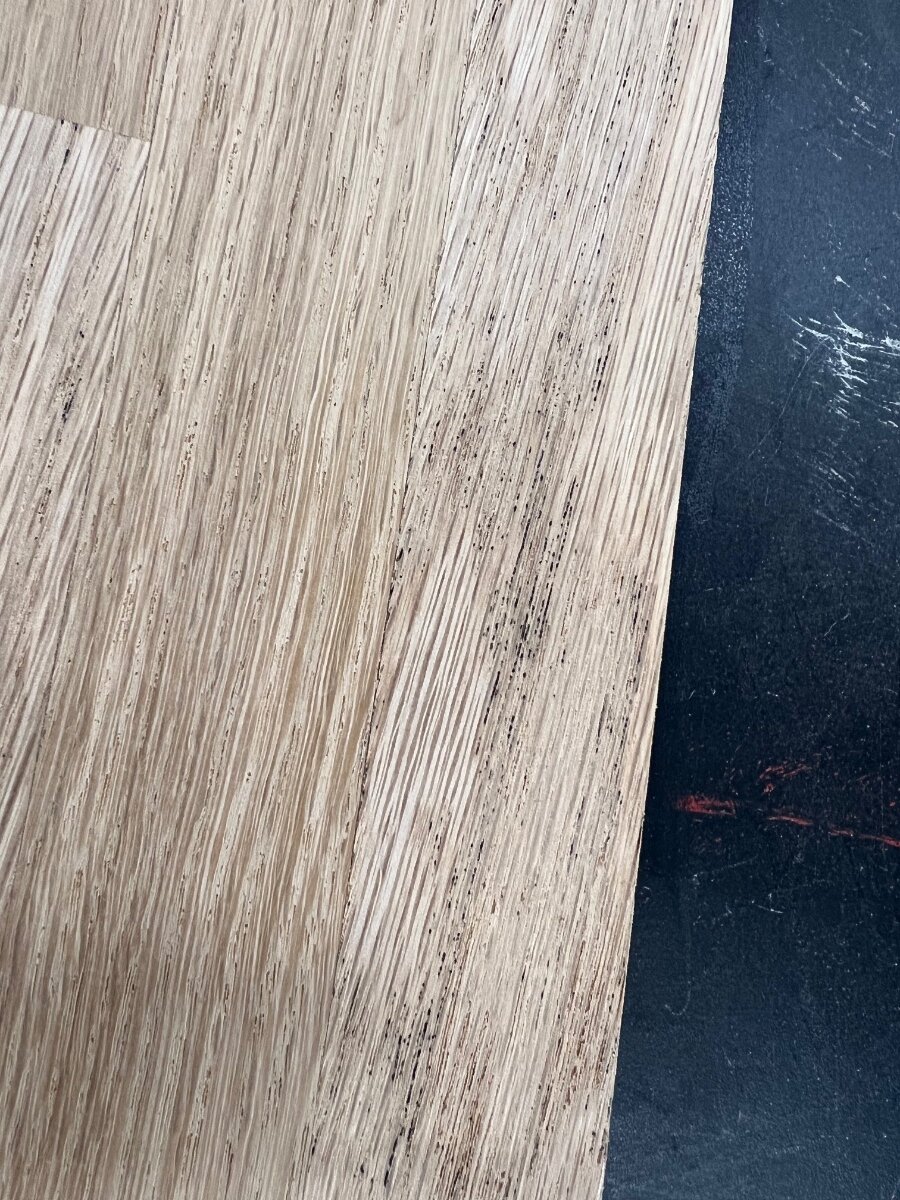
Pretty sure Home Depot? It’s been awhile haha. ok so my rollers on the planer left black marks on the wood I figured I could sand it out and I got most out. However now I am down to final height after sanding and still have some in some of the more grainy pieces. Any idea how to get it out? Also any idea what to clean my rollers with? Or what’s the deal with them?

-
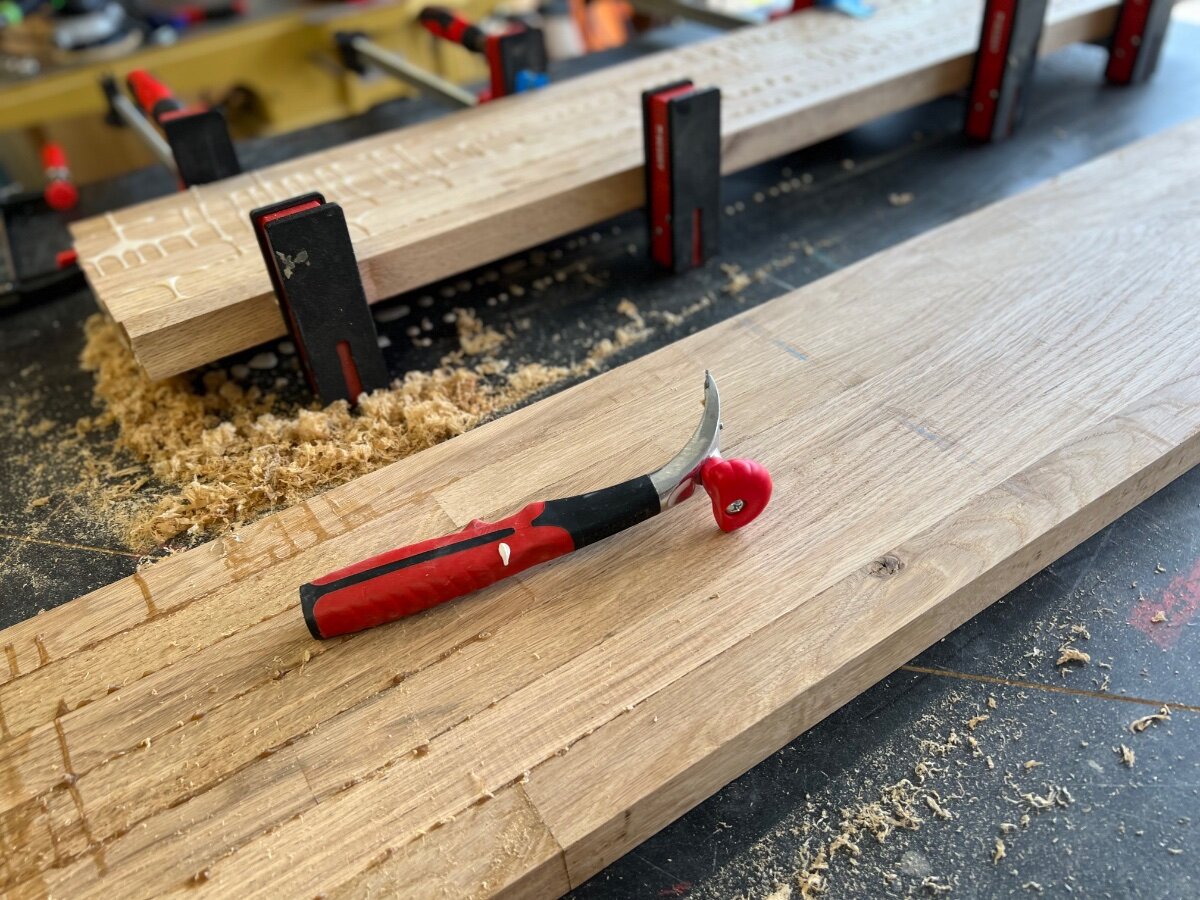
ya I am not sure how long the blade is supposed to last, but I have been pleasantly surprised with it ... still going strong after quite a bit of scraping on several projects
-
Getting some work done ..

-
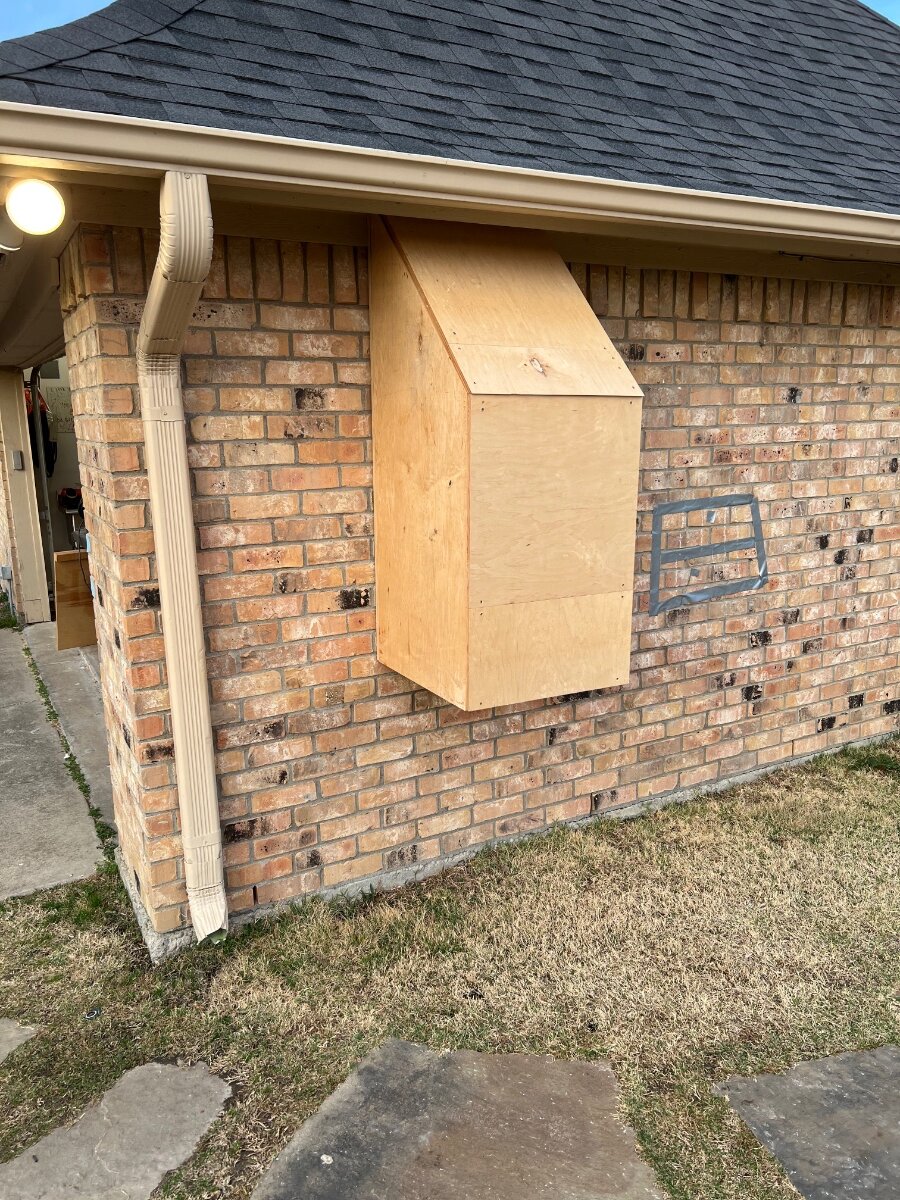
My goodness the hoses are outrageously priced! yes putting my DC on the wall has been great!
-
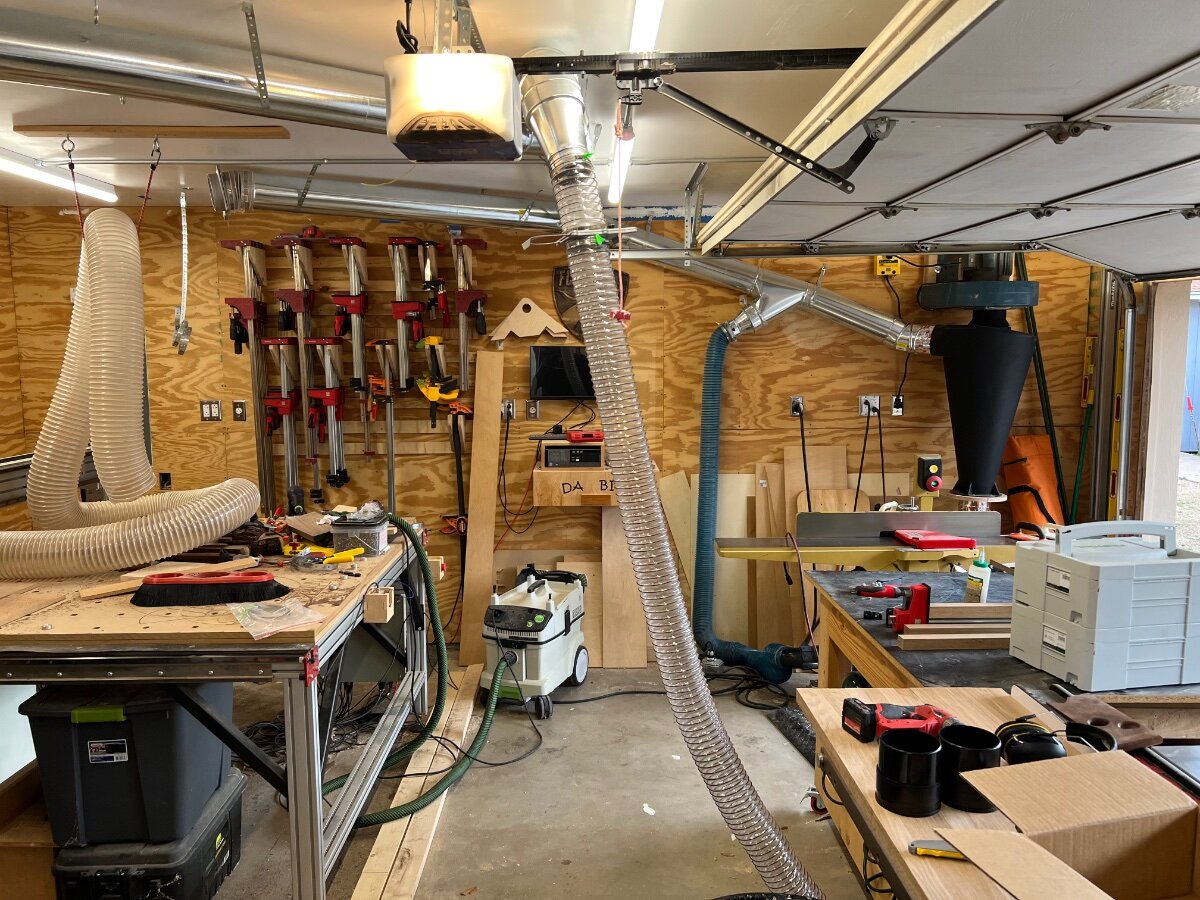
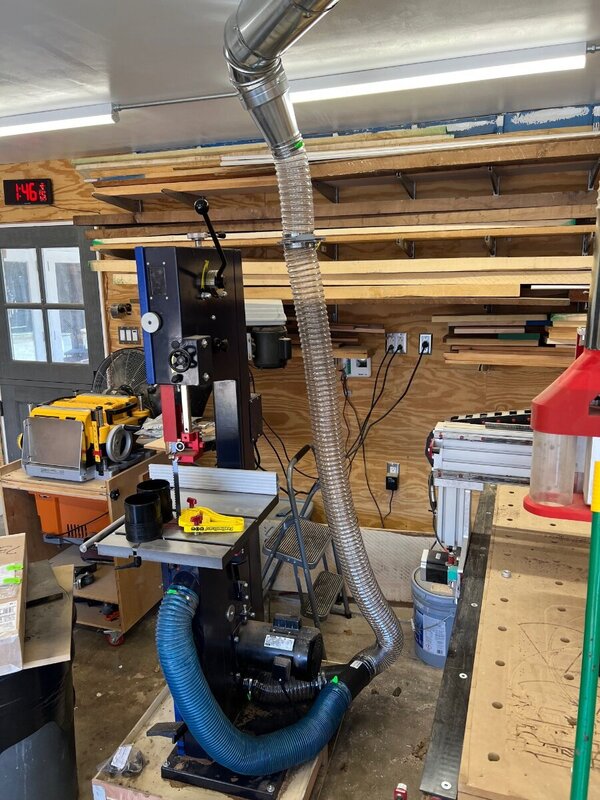
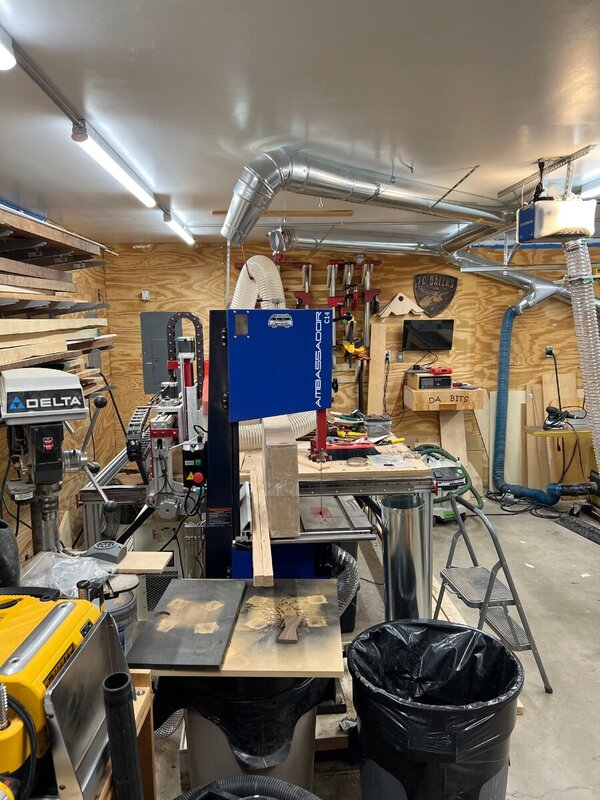
Got more time between glueups on the countertop .. got the bandsaw line run… Here is the middle run connected to tablesaw .. here is the storage rack with planer stored and bandsaw .. not too much wiggle room


-
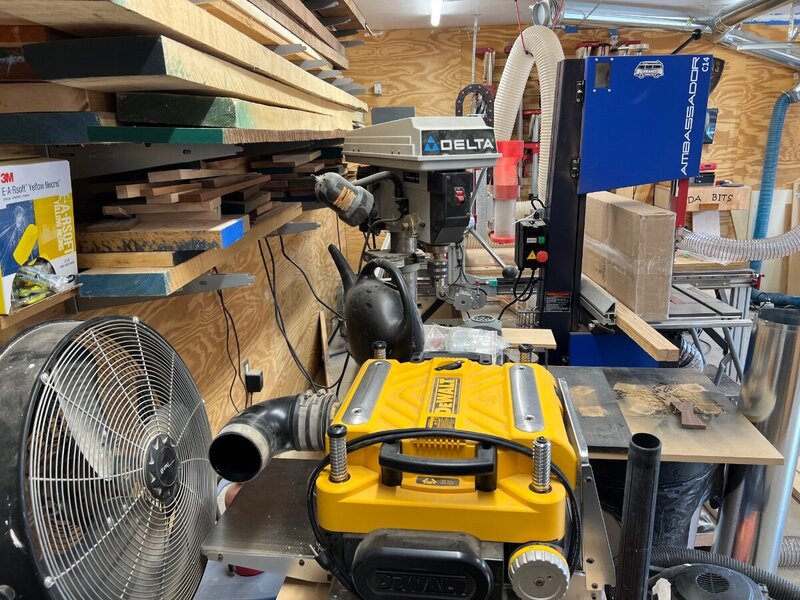
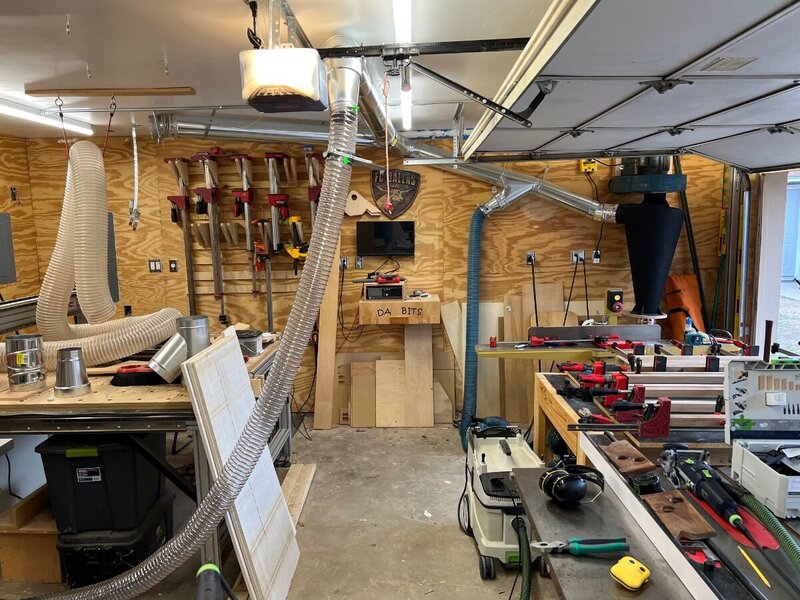
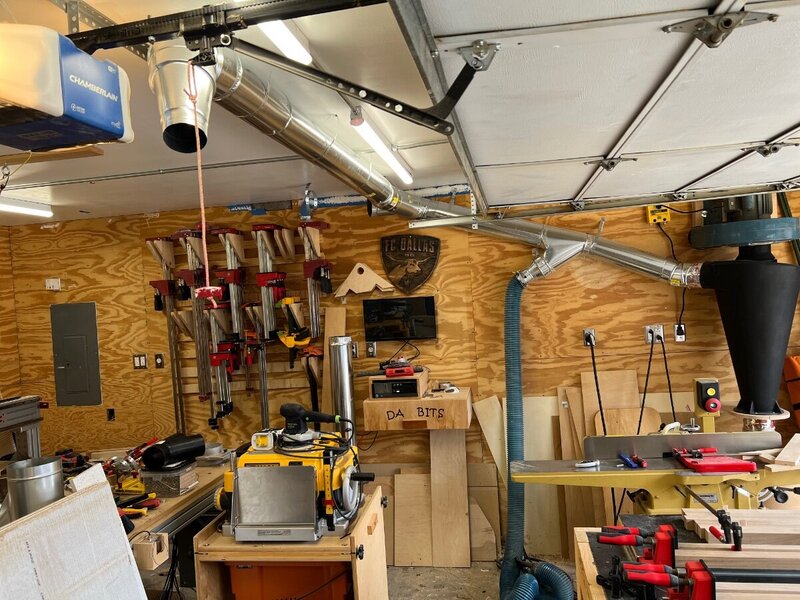
1) I was thinking about that .. The table saw cant get much more hard pipe due to garage door and would be in the way for cuts since I cant get the ducting to the far right of the table saw without reorganizing machines. Basically turning table saw 180 and putting it where the outfeed/ work table is now and then moving that where the table saw is. Maybe something to look into?? For the jointer, I could easily do that, but was thinking its so close to the collector I am not sure that would actually matter and be worth the trouble?? For the bandsaw area .. this would probably help the most due to the distance away, but I just need to get the drop over there for now and see how it goes with the flex hose. My main thing with that is having a hard pipe a couple feet in front of the wood rack my be a pain. It is already interesting trying to get longer boards off and I use a good deal of space trying to maneuver them out of there. (I will get a better picture of that area to show) 2) most is up top, but for the planer ... I was giving this some thought on how to go about this. I do have to move the planer out to the middle of the garage normally in the middle gap by the table saw to get the room to run boards and then power as well. With that, I would need to use a flexis hose from the ceiling to connect it, then have some way of hanging it back up on the ceiling to get it out of the way. Have not seen much on easily strapping a flexi hose to the ceiling when not in use... I do agree, I am sure I will be getting annoyed on moving hoses after awhile, when 80% could have been solved during this setup 🙂 ... so working through some of the more iffy spots on how to handle it. 3) agreed, I just wanted to get it up and see if it even worked that well. Then finish the inside next before figuring out the aesthetics for that beast haha.
-
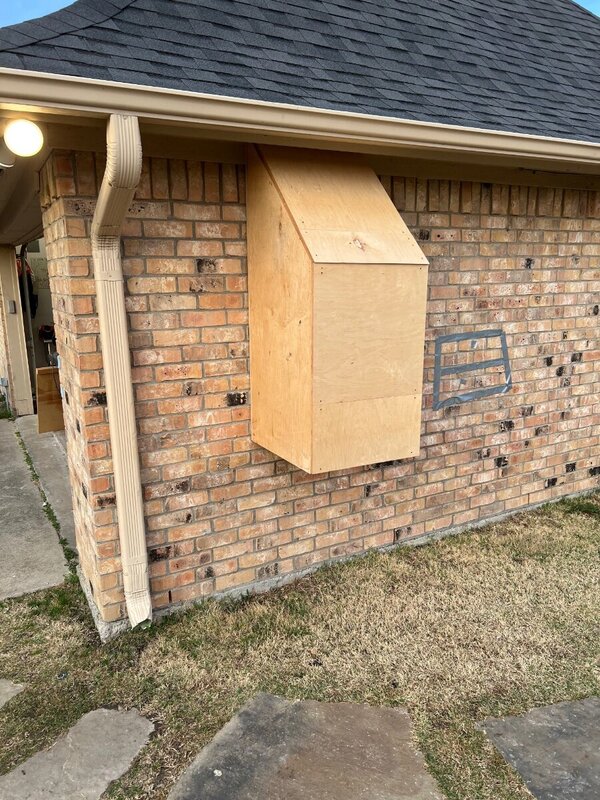
Got a little extra time … got bandsaw hooked up … what it would look like when in use … how the main line runs in the middle also … my main thought was I could move the middle hose around and connect to bandsaw when needed since it won’t be in use much. However I’m debating it on running a line over there anyways so it will have its own run … then the tablesaw run will only need to be pulled off for the planer when needed. also, this monstrosity is done for now .. at least until I get the inside runs done … can’t wait to hear your thoughts on the duct silencer thing Kev! Think that would look way better than this if it would actually work on its own.


-
lol I wish I had 10' ceilings ... cant count the times I have hit the ceiling while moving longer boards around haha
-
no, didnt use anything for that, just glue.
-
Been working on this between my down time on current project … starting to get more ducting ran. Almost there on this. Hose should be arriving today and I should be able to finish off the tablesaw and bandsaw … then when I get more time during a glue up I will try and finish the CnC run.
-
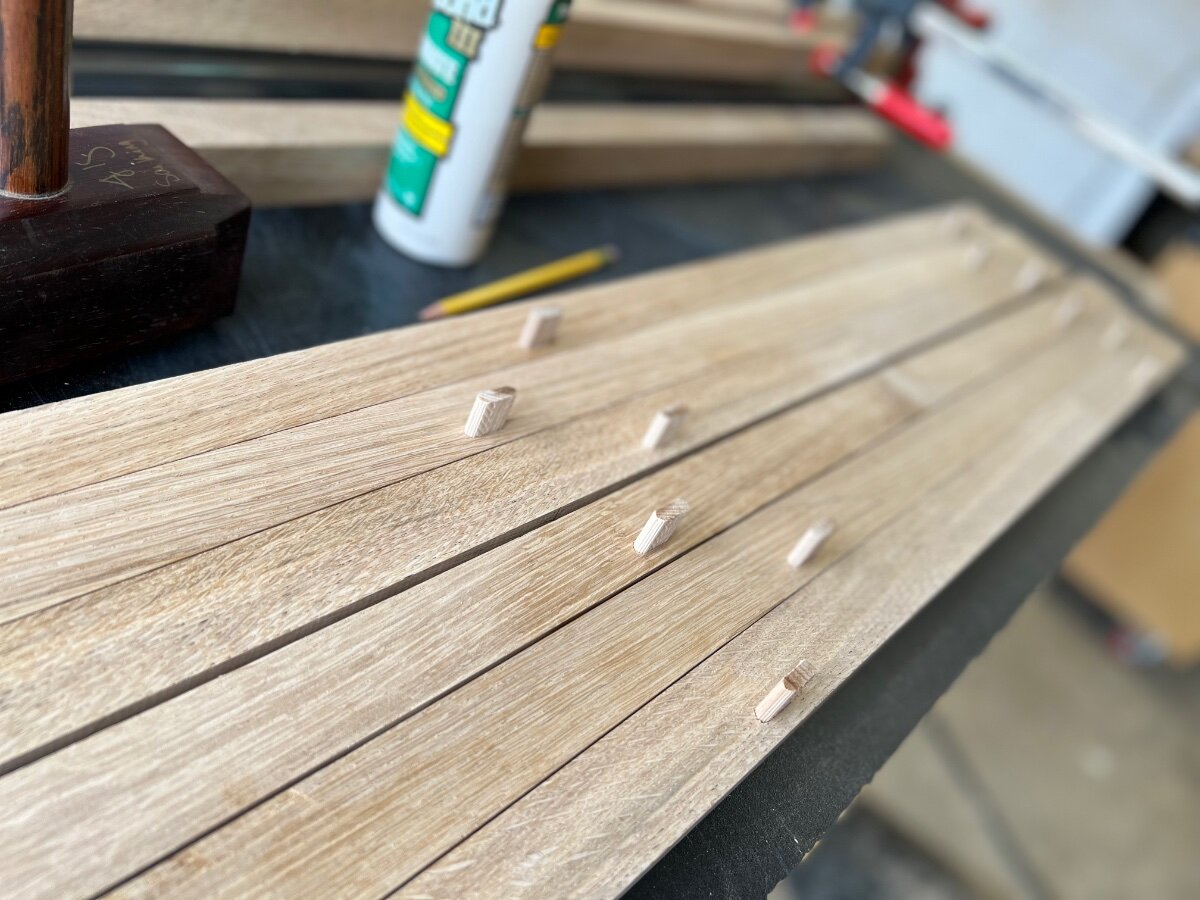
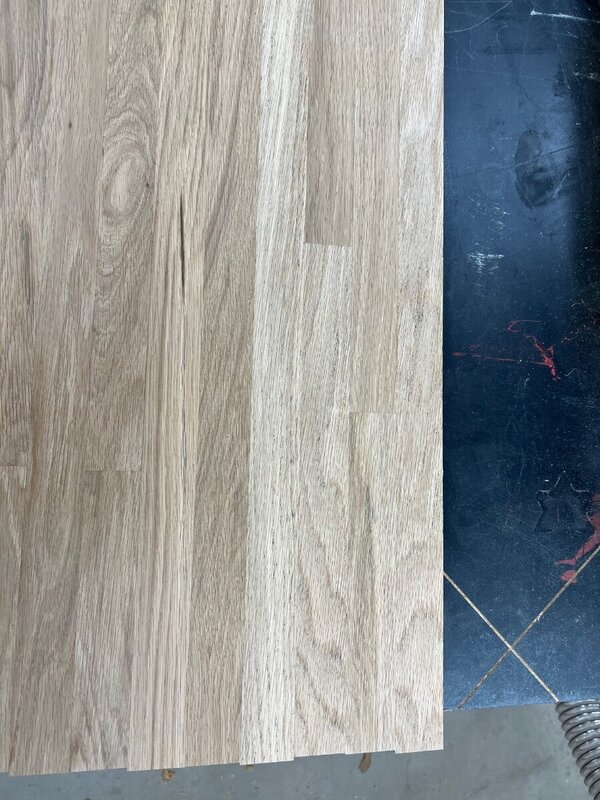
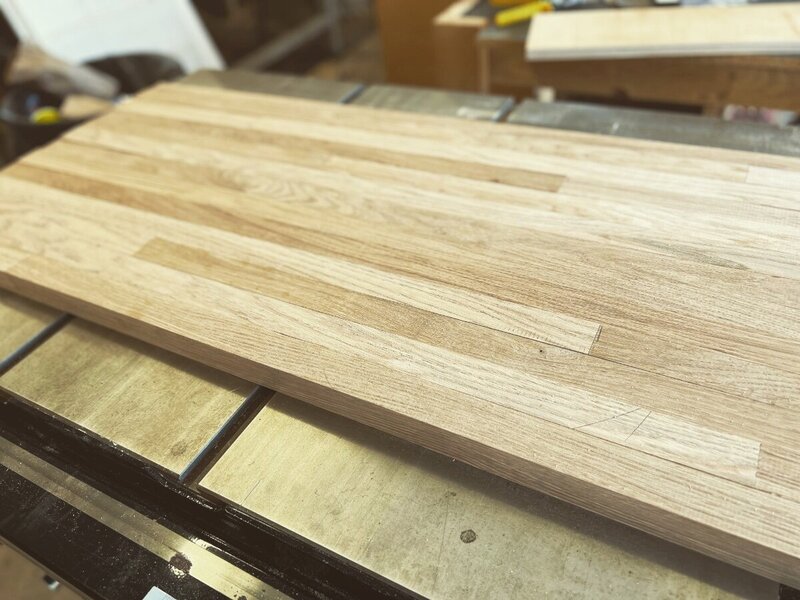
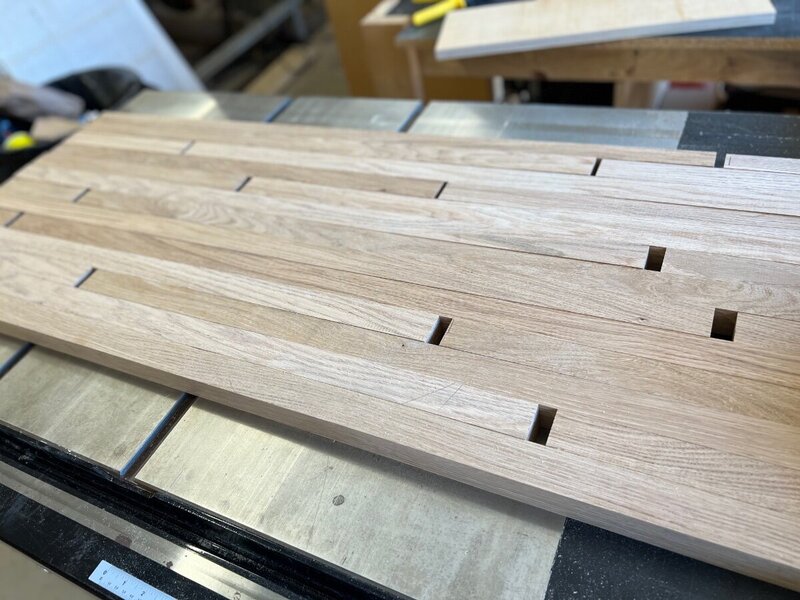
Got first round glued up and ready to glue together. 2nd round in the clamps .. happy the first round came out pretty good. No crazy bends or issues! got some dominoes for alignment


-
Thanks! now just to slowly glue them up haha .. gluing each strip up on its own, then going to glue a little more than half up so I can still plane them, then glue those 2 together .. at least thats my thought on how to go about this
-
Working on the random pattern …
-
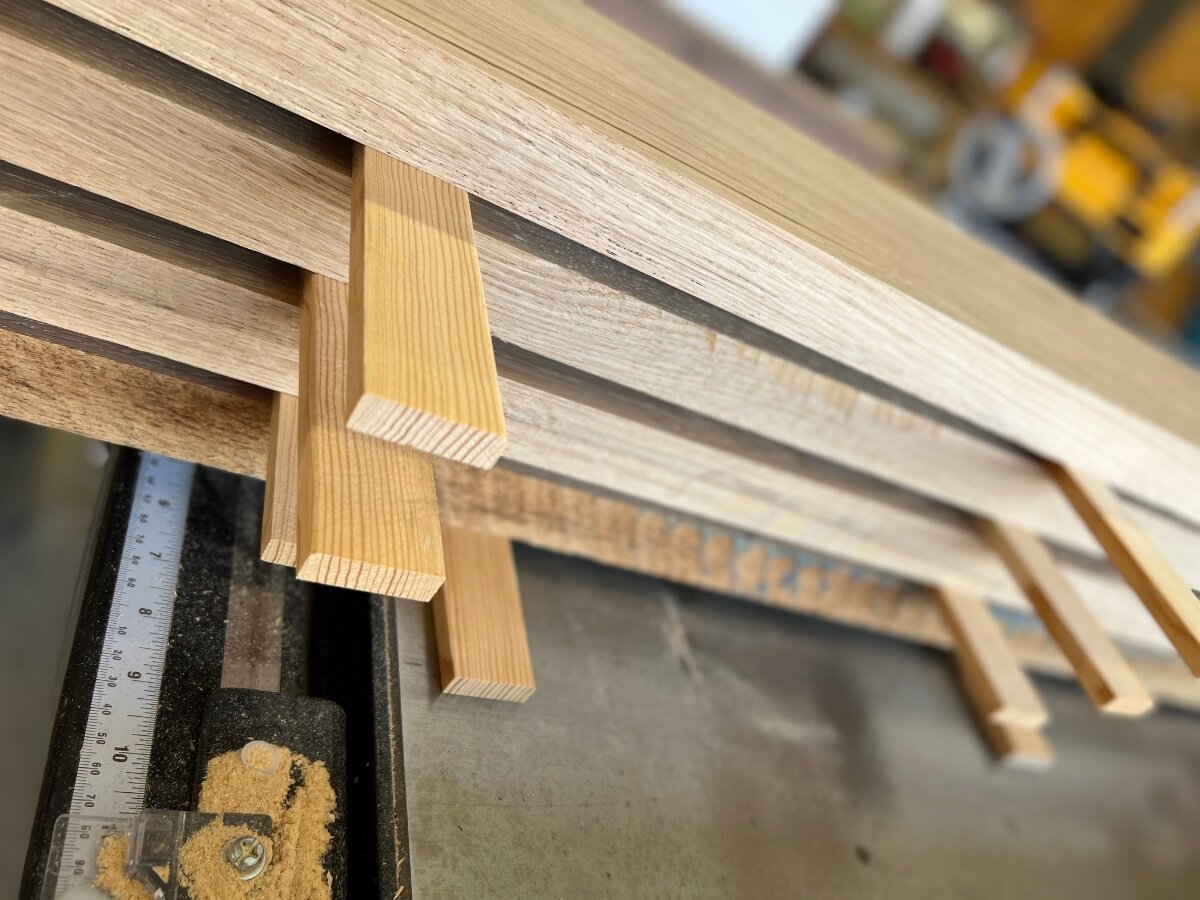
Milling boring stuff

-
Had no idea they even sold them haha ... although for the size I need I dont see white oak as an option. Also, looks like they are only coming in 1 3/4" size, so I would need to trim off 1/2" as well. will keep an eye on them for the future though
-
also, been going back and forth on this ... as far as the sizing goes ... is there a rule out there for how wide each strip should be? Like if this is 1 1/4" thick, should it be 1 1/4" wide strips or can you go 1 1/2-2" and just depends on what the customer wants? Have not seen anything generic out there for at least a starting point. I know in the end its all up to the customer but not sure what a good starting point would be ...
-
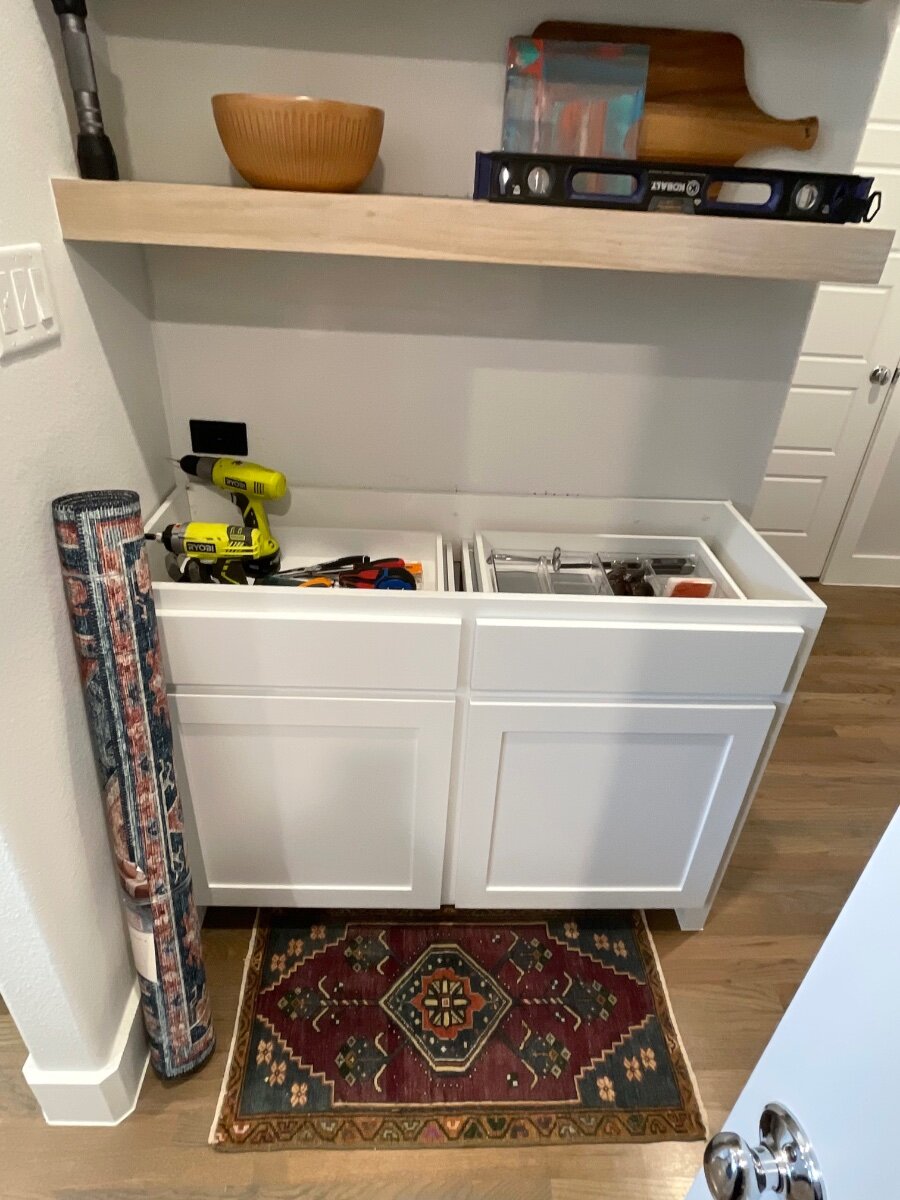
A parent from my kids soccer team wants a new butcher block countertop for a cabinet .. going to be about 49x19” and 1 1/4” thick. White oak will be used. Will more than likely need some scribing work based on talking with the dad. plan to attach will be some silicone and then like 3-4 figure 8s. Should get going tomorrow….