Every purchase made through our Amazon Affiliate Page helps support this site


Bushwacked
-
Posts
1,605 -
Joined
-
Last visited
-
Days Won
98
Content Type
Profiles
Forums
Downloads
Gallery
Events
Store
Articles
Blogs
Everything posted by Bushwacked
-
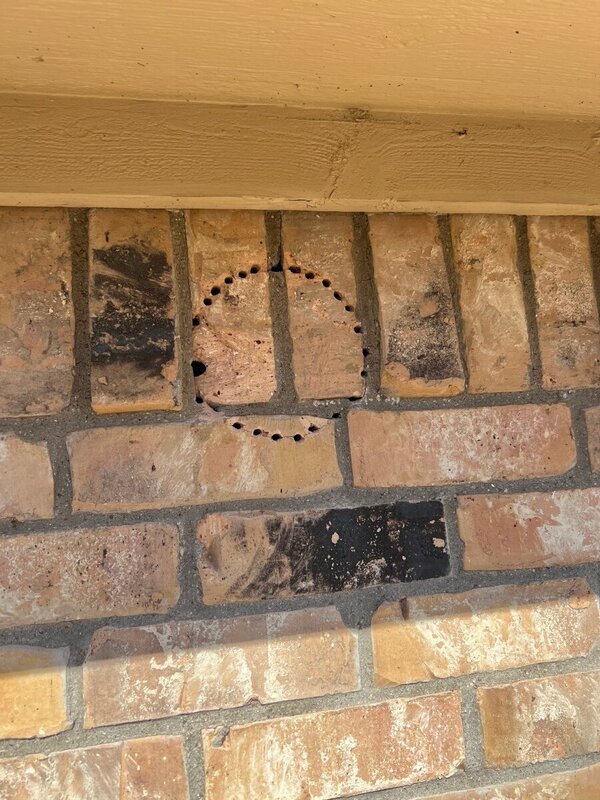
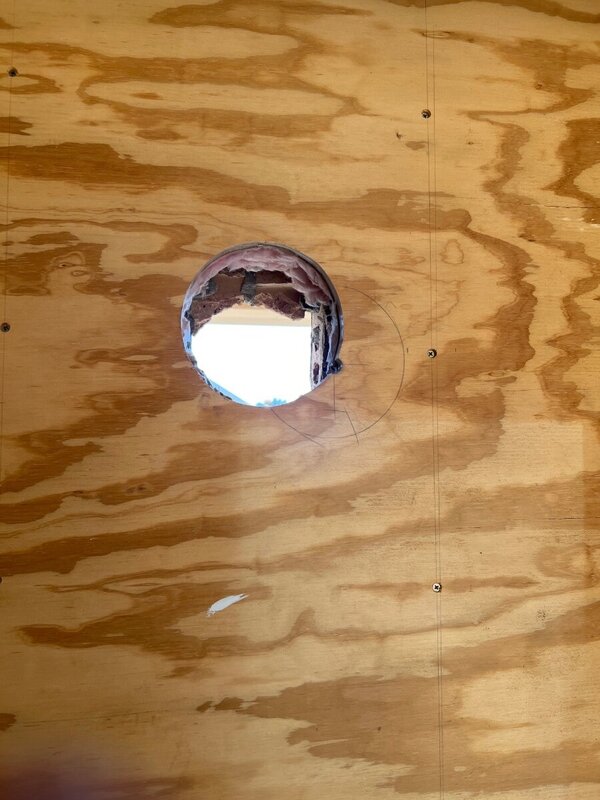
Thanks Kev! Spent the day making a hole .. first pilot hole need to move just a bit due to the brick

-
Was thinking of doing this and the reason I went with 2 sheets of ply ... So, nothing would be behind the motor in the wall, the electrical is in another section over. So the lags would really be going through 2 sheets of ply (the motor base) and then 1 more sheet of ply (the wall) then into just void space.
-
In your thoughts here ... what are you using to mount the motor to the ply/wall? Assuming whatever is is would be longer than 1 1/2" ?? so I added the wall to it ...
-
I debated that, but wasnt sure how well the bolts would grab into the ply and almost all of the bolt locations are in goofy areas where I cant get the impact driver to. So I figured it would be easier to just need to get 4 lag bolts into the studs where I do have easy access to.
-
So after thinking it over … I decided to go with 2 sheets of ply. Mainly so I can recess the bolts in the back that the motor uses so it sits flush on the wall … hopefully haha.

-
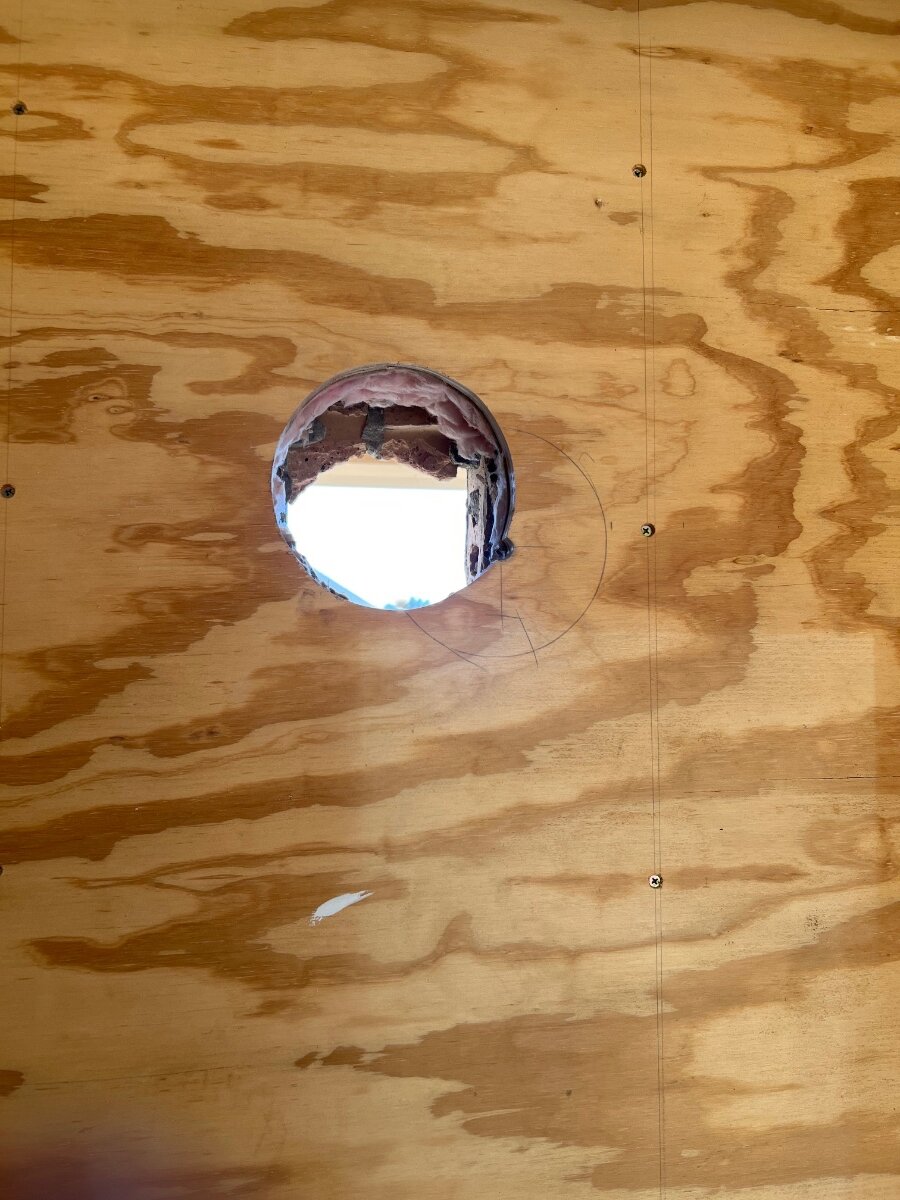
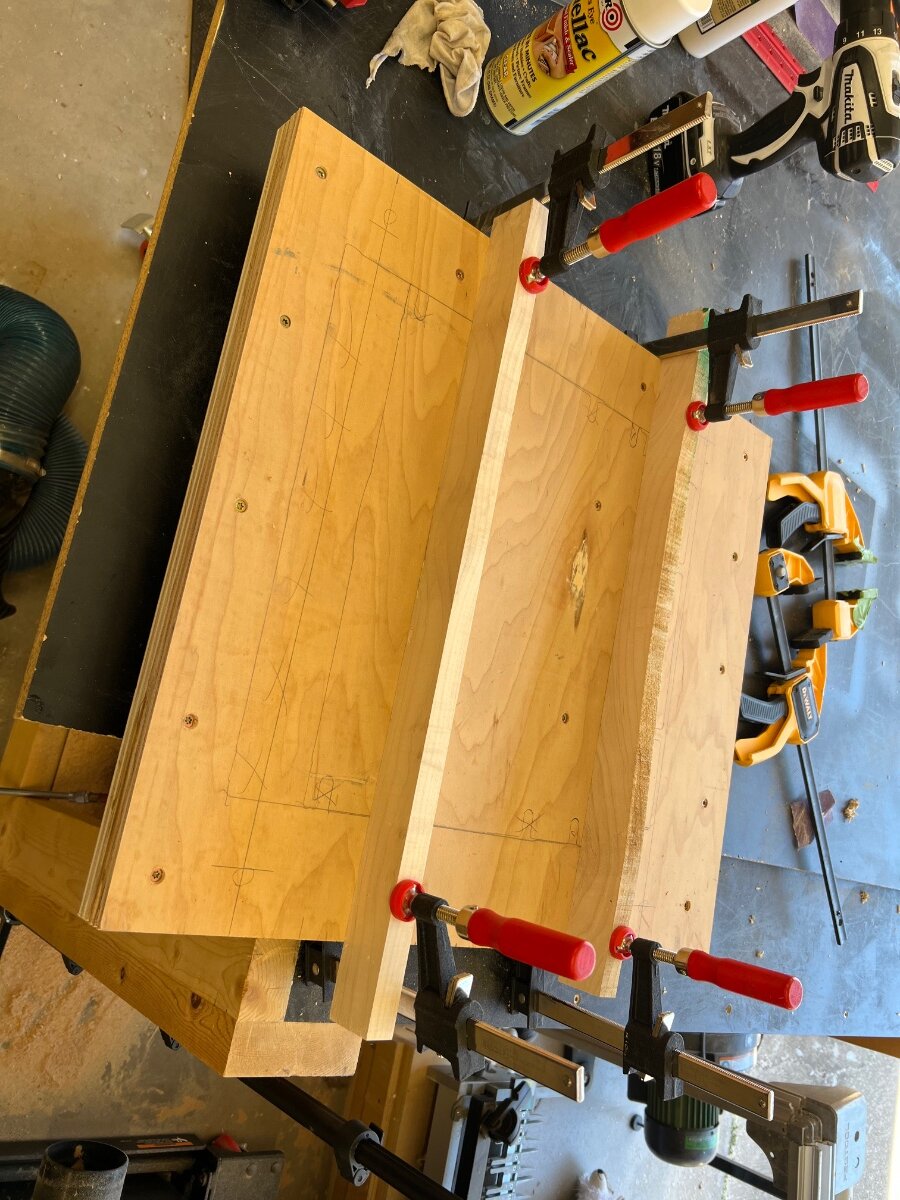
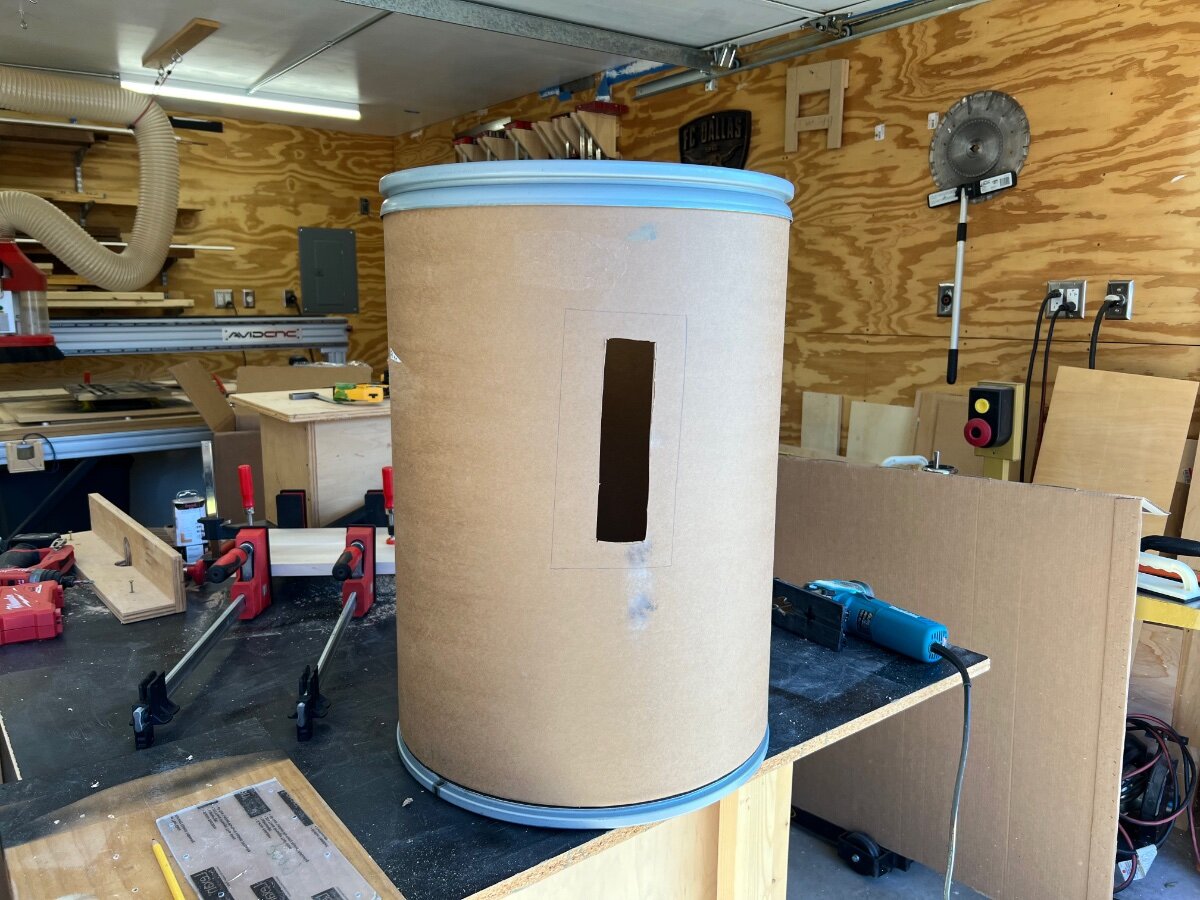
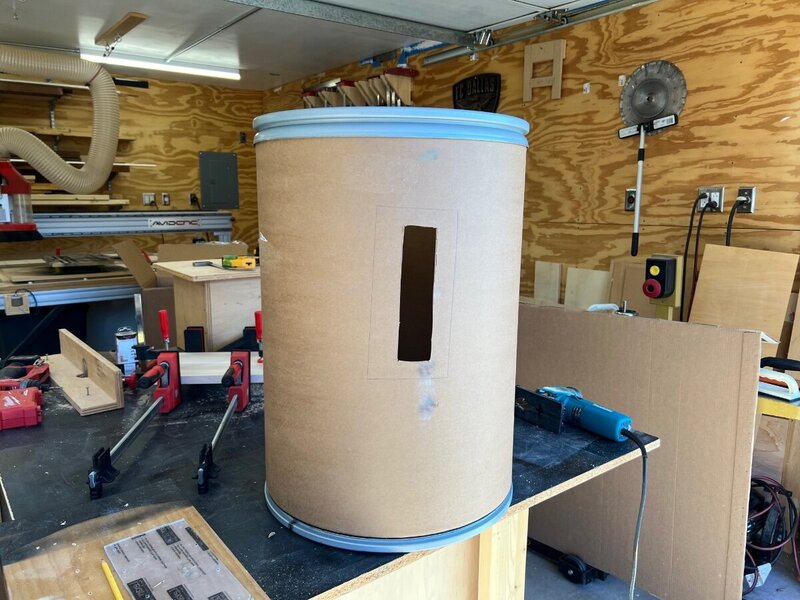
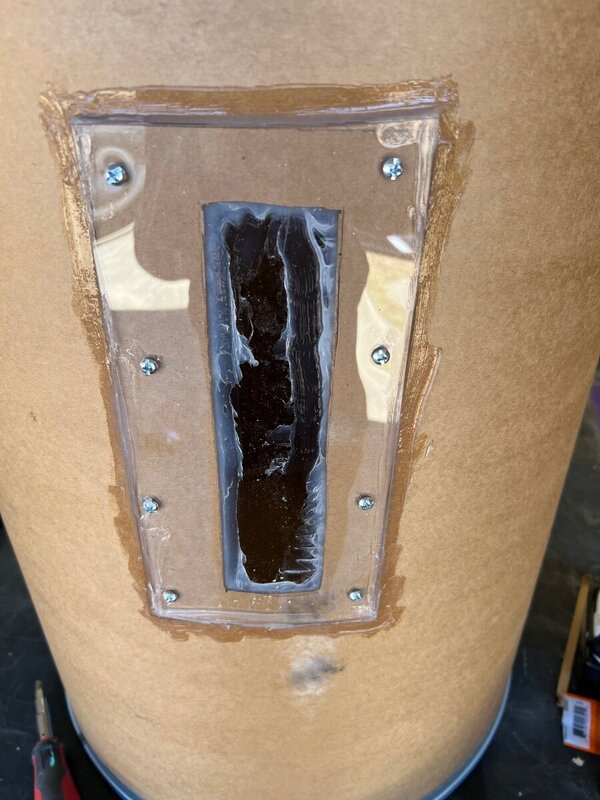
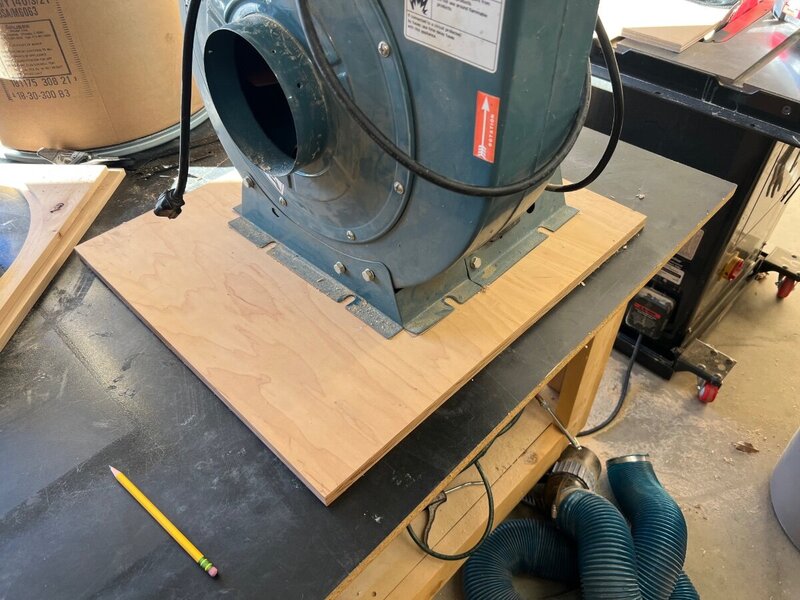
Updating Dust Collection- To kick it off I need to get this done to clear up room for bandsaw .. cutting hole in the barrel for my expensive dust bin full alert 🚨. Just need to be sure to peak at it from time to time bolted the plexiglass over it. Then applied silicone around the inside window from the inside and the around the outer edges on the outside. Hoping it’s enough to keep it sealed and once it dries I’ll trim off some of the excess on the inside to help clear up the window more. got the DC pulled apart … marking out mounting holes on the plywood base. Kind of curious .. I was thinking about using 2 3/4 pieces glued together to help strengthen it and keep it from pulling apart when hung on the wall. Thoughts on that one?
-
Plans so far and ideas floating around … - update dust collection - new DC more semi-permanent runs - new tool (bandsaw) - tablesaw storage cart - working on some type of dust collection for miter station - storage under CnC ( what makes sense to store under there?) - organization … just for you Kev haha we will see if ‘22 is the year 🤣
-
dry fit done ... now time to finish sanding it all.
-
Welcome ... we (I) wont try to hold that against you 🙂 ... from texas here enjoy the boards, tons of good knowledge floating around here
-
Welcome JDub! ... Yes, there is plenty of jealousy floating around here with Kev's view from the shop ... or maybe its just me haha Enjoy the forums!
-
hah! ya I needed every second of working time! I was starting to wonder if I was gonna make it or not.
-
Here is a time lapsed version so you can relive the struggle with me haha
-
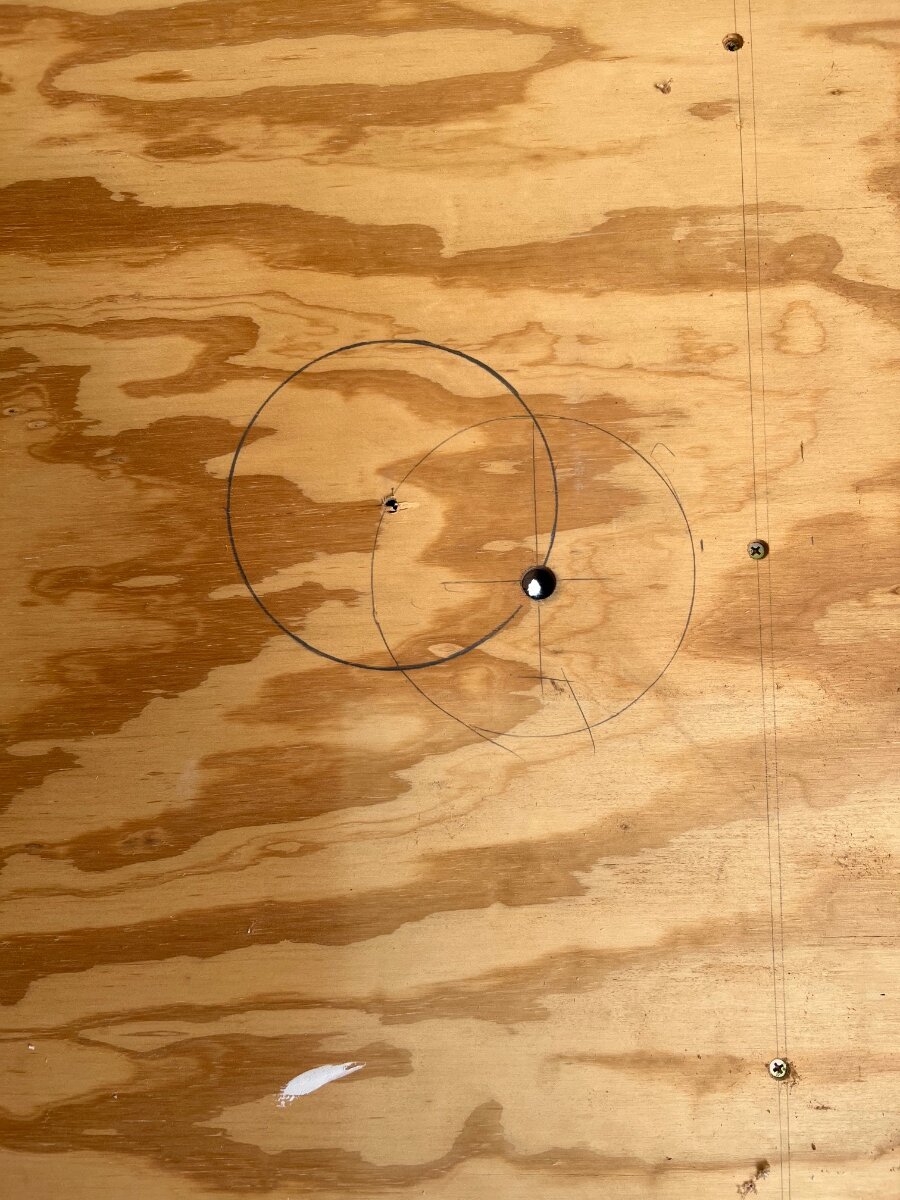
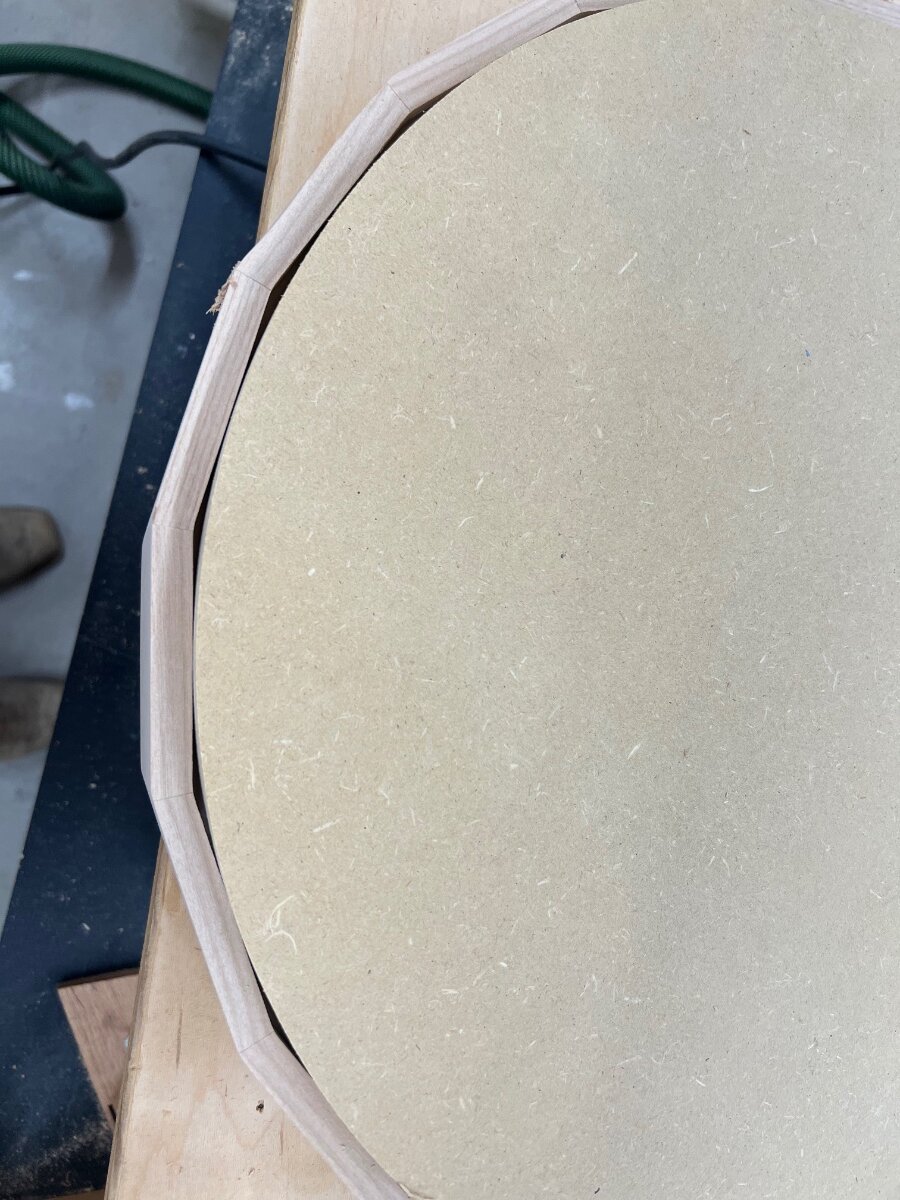
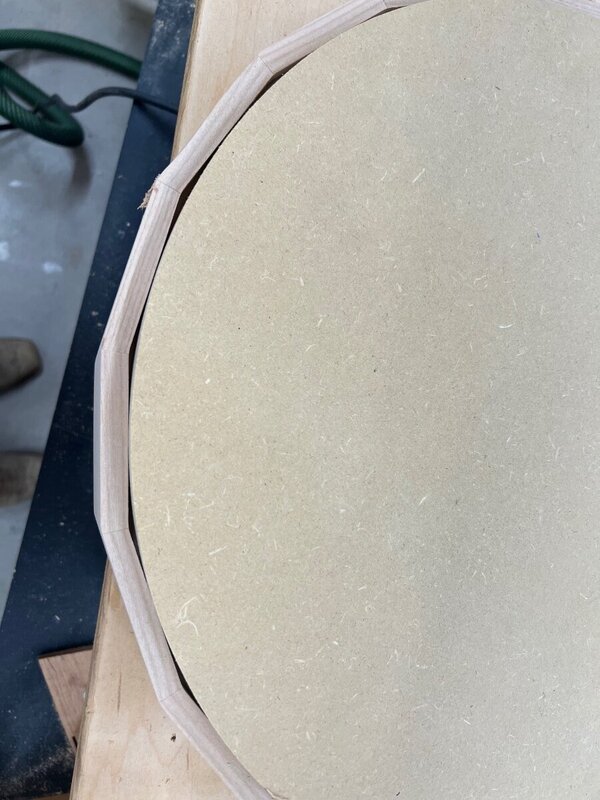
hmmm I will ponder that, but true it is the bottom... I have not glued it yet. That was the test piece just to make sure my circle was the correct size. I should be able to cut out the real piece today. I glued up the panels yesterday.... unless you meant the outside?
-
So I was about to do that. Then realized with the template on there to get a clean circle on both inside and out so it was same thickness all around I needed thicker stock. Since this is not a perfect circle and is a little off it would have brought down the thickness to like 1/2” or less. so this is what the bottom looks like with the test piece in. next time I know I need to leave the stock as thick as possible so I can then cut the perfect circles and not have skinny looking sides.

-
talked me into it ... just gonna go with it and see how it goes
-
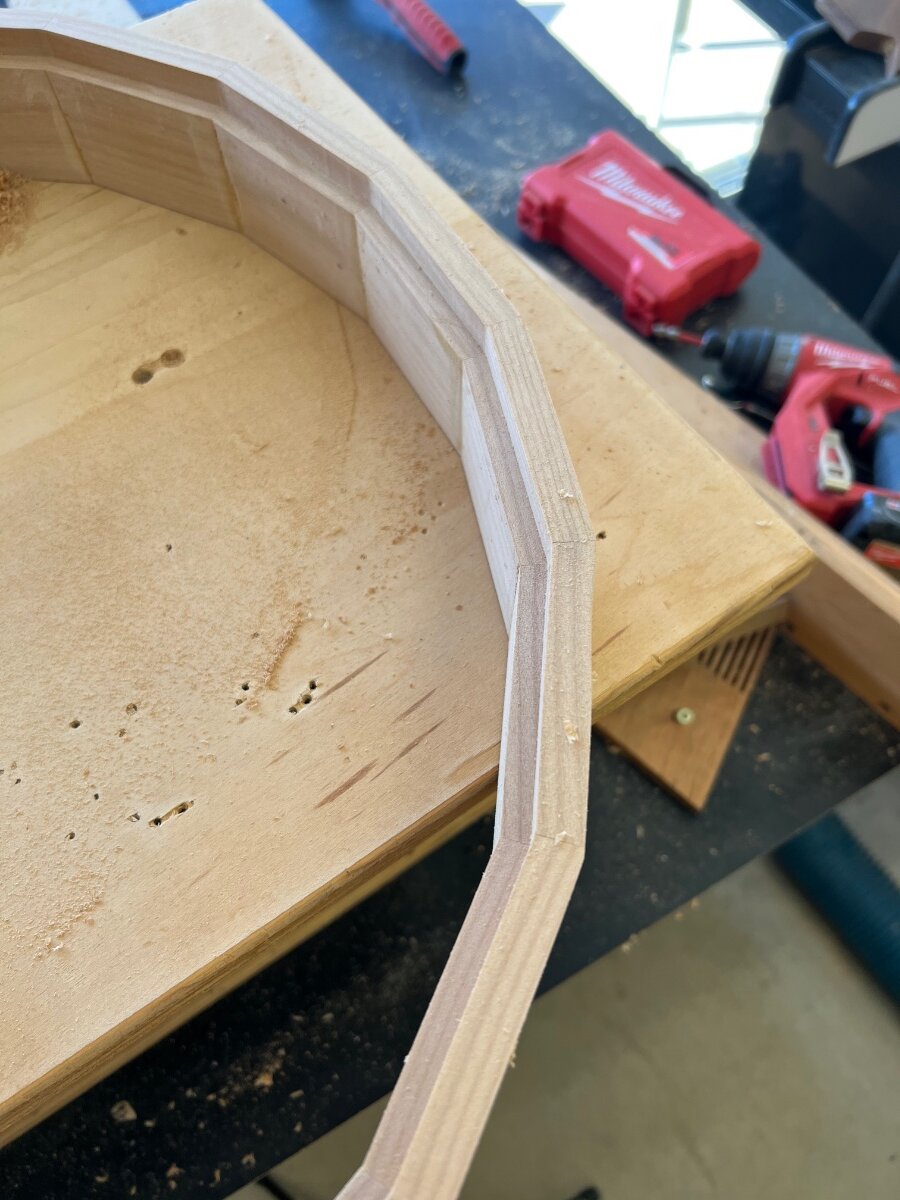
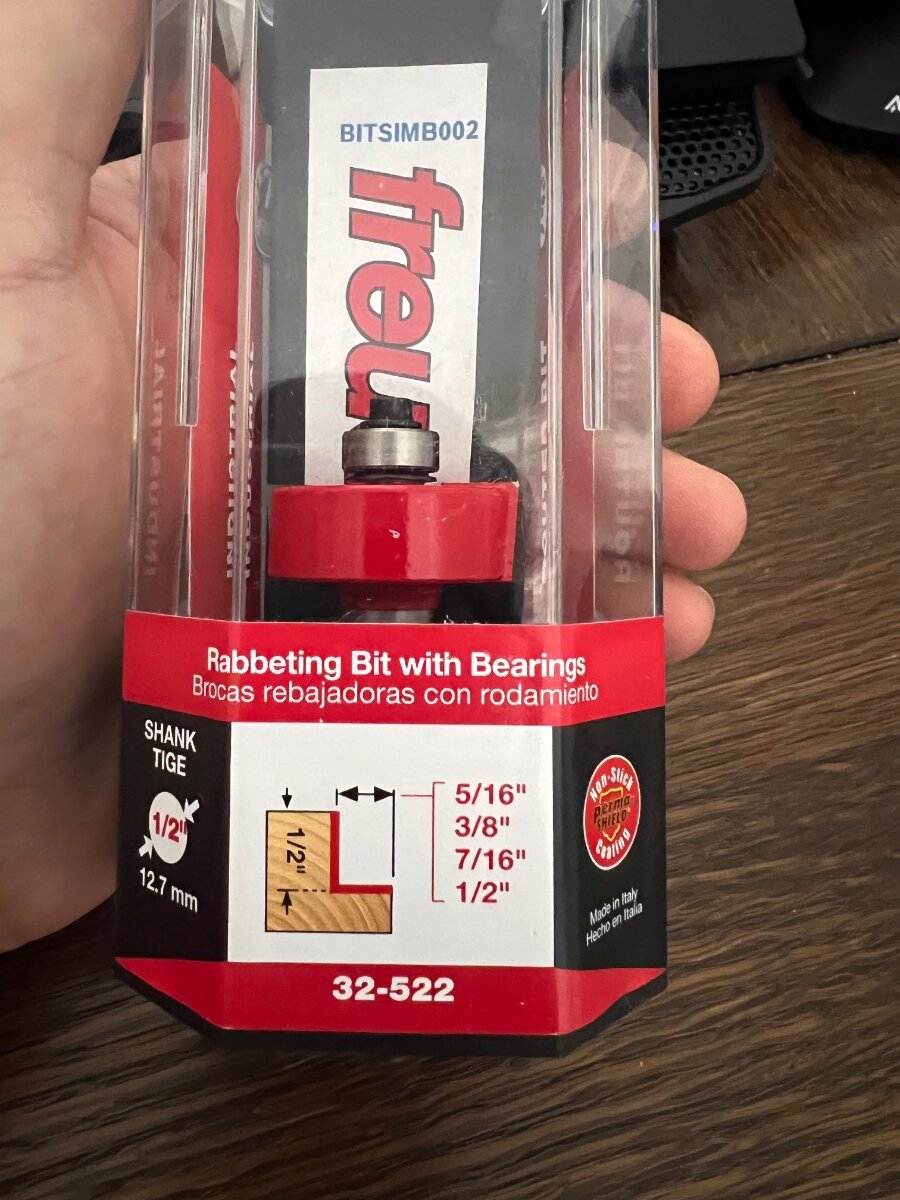
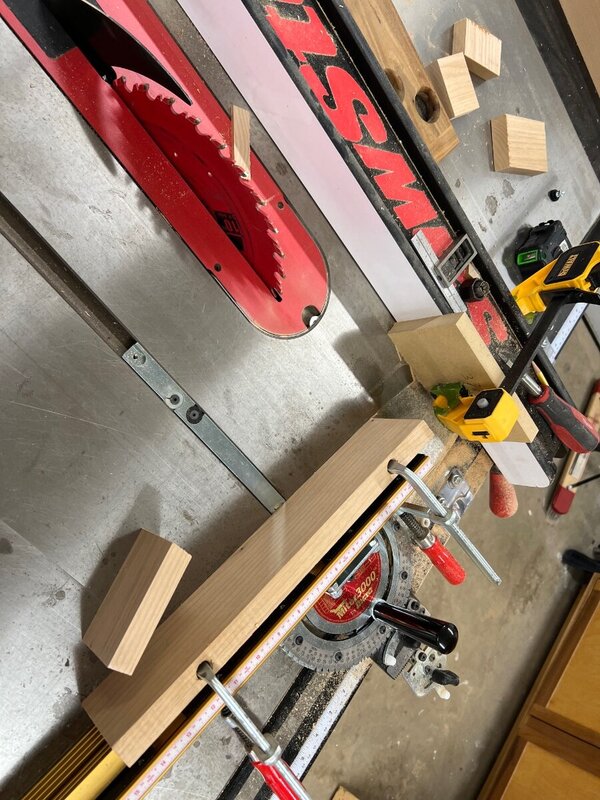
ok got the rabbet cut in there … it’s 5/16” according to Freud labels haha. Took 3 passes to go 1/2” up and cut like butter. now after looking at this I am curious if I might need to change to 1 size deeper in? Mainly thinking this as the bottom is not a pure circle so there will be some gaps and wanted to make sure my circle base covers everything … what would y’all do?

-
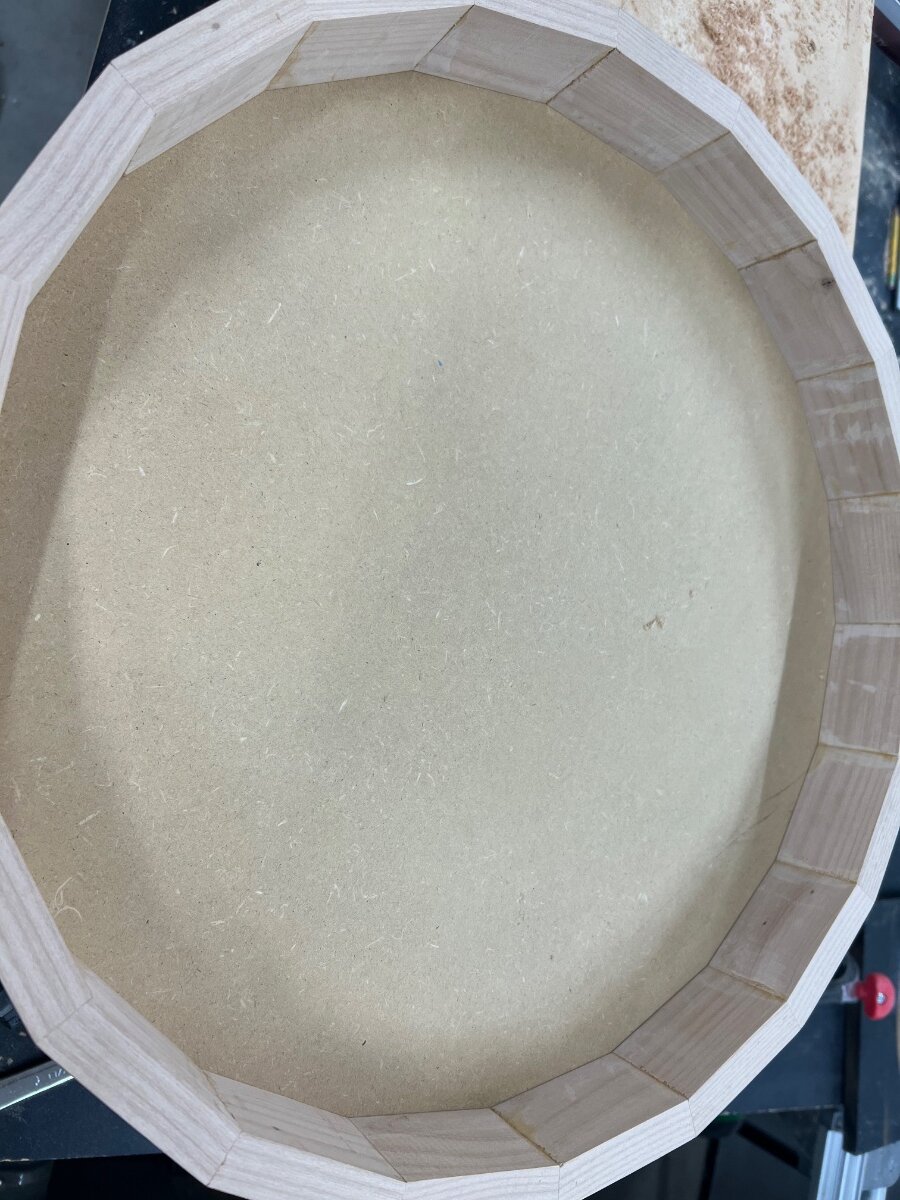
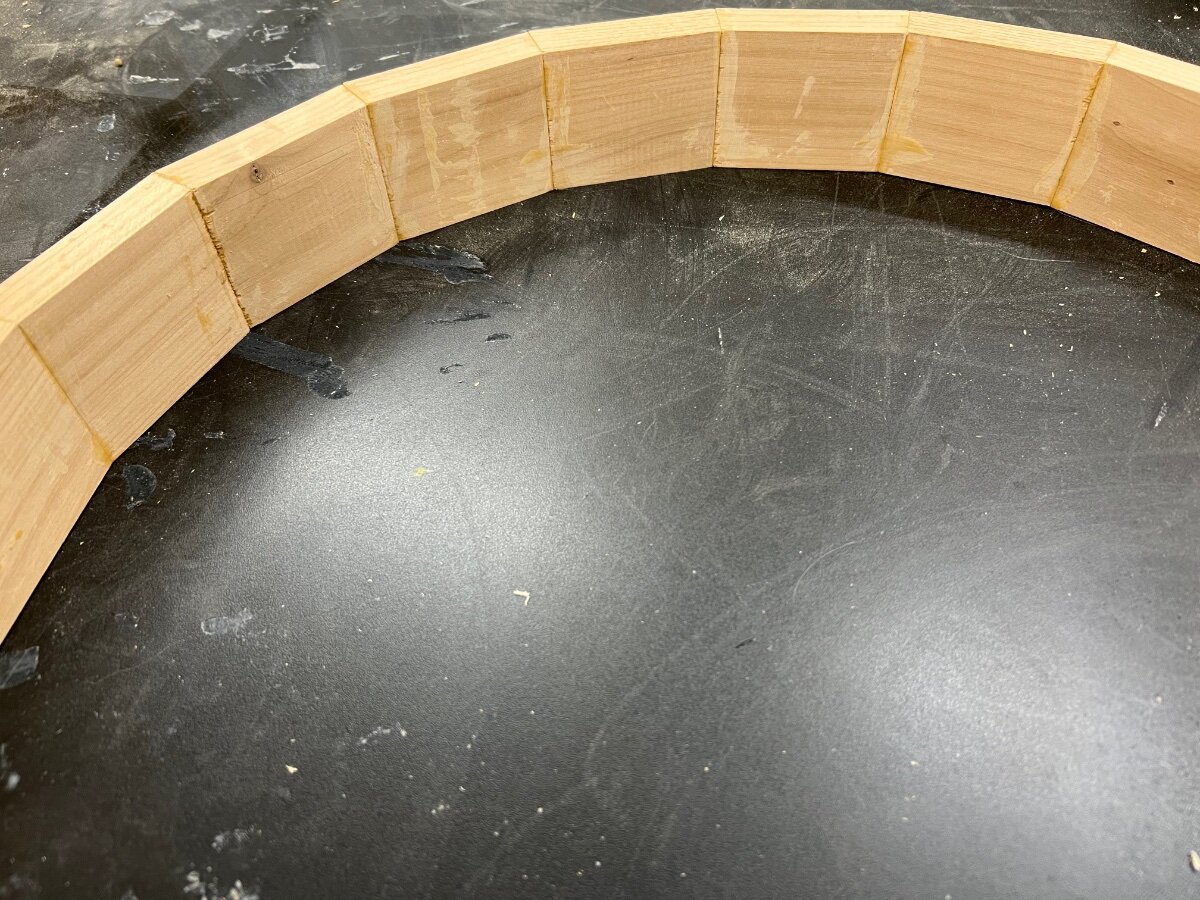
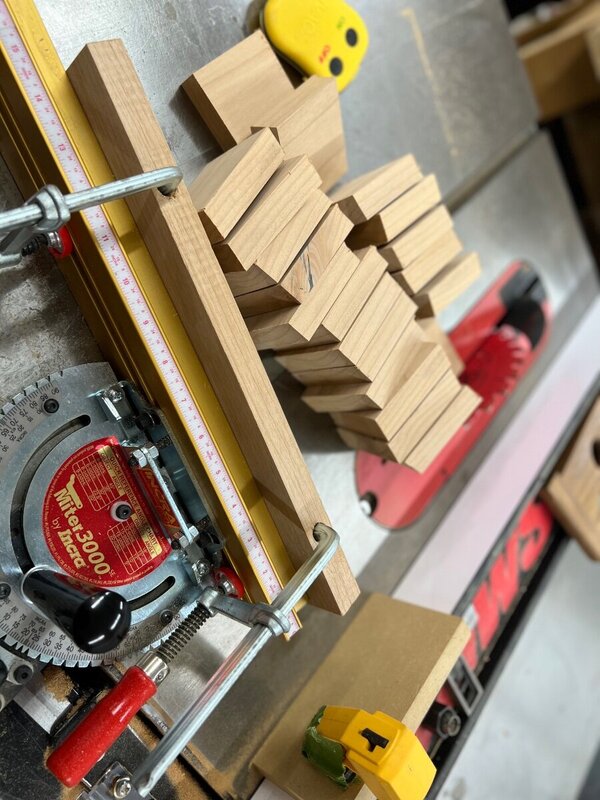
20"D x 3.141 (pie) = 63.82" (circumference) Circumference / 3.13 (inside length) = 20.07 (= 20 pieces) 360 / 20 = 18* (overall cut angle) 18* / 2 = 9* (cut angle for each side)
-
Was thinking the same. Especially first time using a bit like this. So not sure how it will go yet.
-
Valid points. I’ll take a stab at this first and see how it goes. I do have a soft pad on my orbital I’ll see how it goes. also picked up this guy to rabbet the bottom out for the base. Figure that would look better than just sticking it to the bottom.

-
So trying to think through this … basically a donut right? Then attach it and run the flush trim bit… correct? also .. forgot to add the smaller inside dimension was 3 1/8” … after all that math haha
-
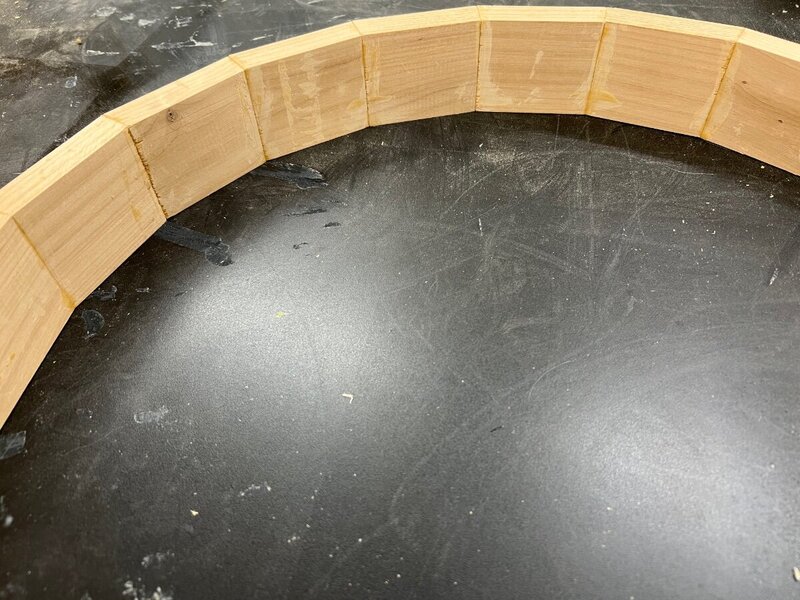
So after some research and math and all that fun stuff … finally getting started … got everything cut and glued up man was that an entertaining glue up. Took awhile to get it all situated… now my issue I am trying to figure out is how to sand the insides without losing the circle form. I was thinking rigid spindle sander?? But not sure how well that would do in keeping the form of the interior circle. There’s a good amount of glue I need to sand out … next up will be working on the base for this ..
-
I have not actually started moving things and setting it all up yet. I just got in all the pieces I needed this week, and am finishing up a project this week. Was going to probably start this over the weekend or early next week
-
hmmmm, valid point ... the neighbors fence to the side is about 20' away and the fence to the back is about 40' away correct ... the total run is maybe like 6'-8' or so, not super long. With probably 3' or so of that being from the dust deputy to the ceiling.
-
well, I could go through the wall, however, there is brick on the other side and I would really prefer not to put a massive hole in the brick if not needed.
-
yep, first video I have ever watched from him, but definitely going to go through his channel and see what else he has