Every purchase made through our Amazon Affiliate Page helps support this site
-
Posts
6,303 -
Joined
-
Last visited
-
Days Won
575
Content Type
Profiles
Forums
Downloads
Gallery
Events
Store
Articles
Blogs
Everything posted by Kev
-
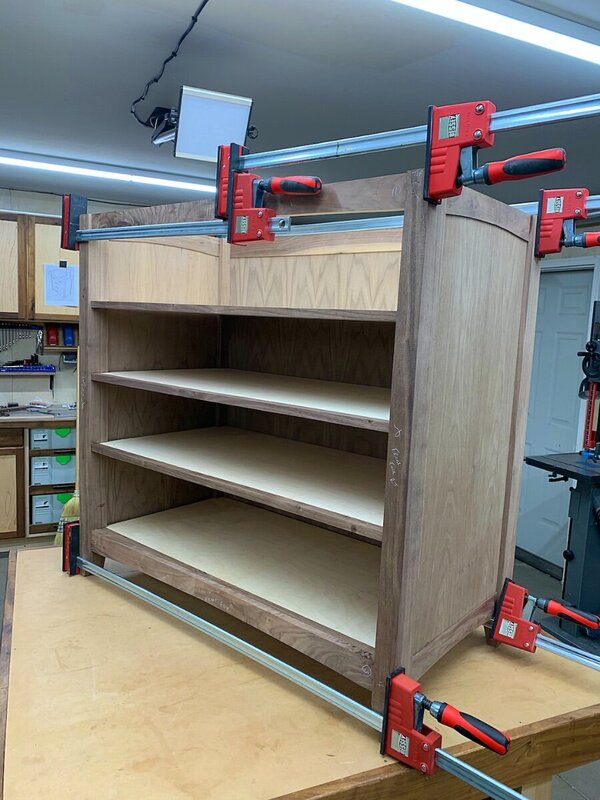
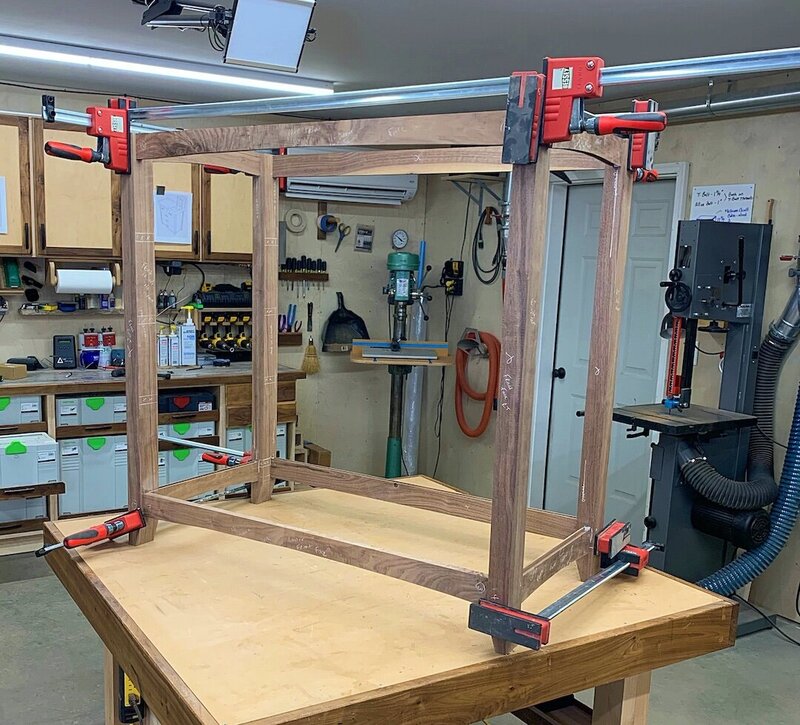
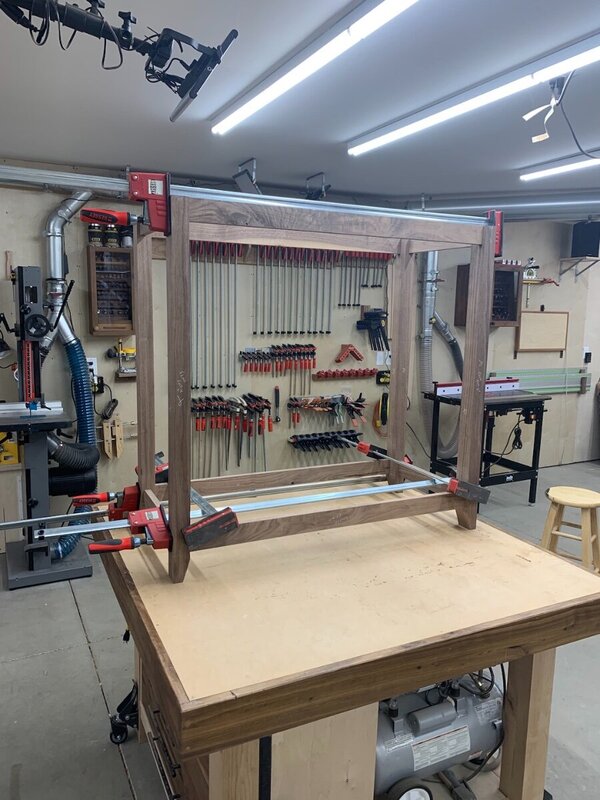
Not a lot to show today.. Glue up of the case is done though!
-
She's looking for all of the furniture I built in my wife's quilting room.. Desk, cutting table, and tracing table. I've sent her the quote so, waiting for her response.
-
lol.. A couple in New Jersey but, I think that's it.. Frankly, I just don't have time to build these pieces. My wife was a little shocked at the actual build value of the pieces..lol.
-
Yes.. It's made from brass and my biggest complaint of the vise.. As the brass tarnishes, it doesn't fit as nicely and requires a little light sanding to clean up..
-
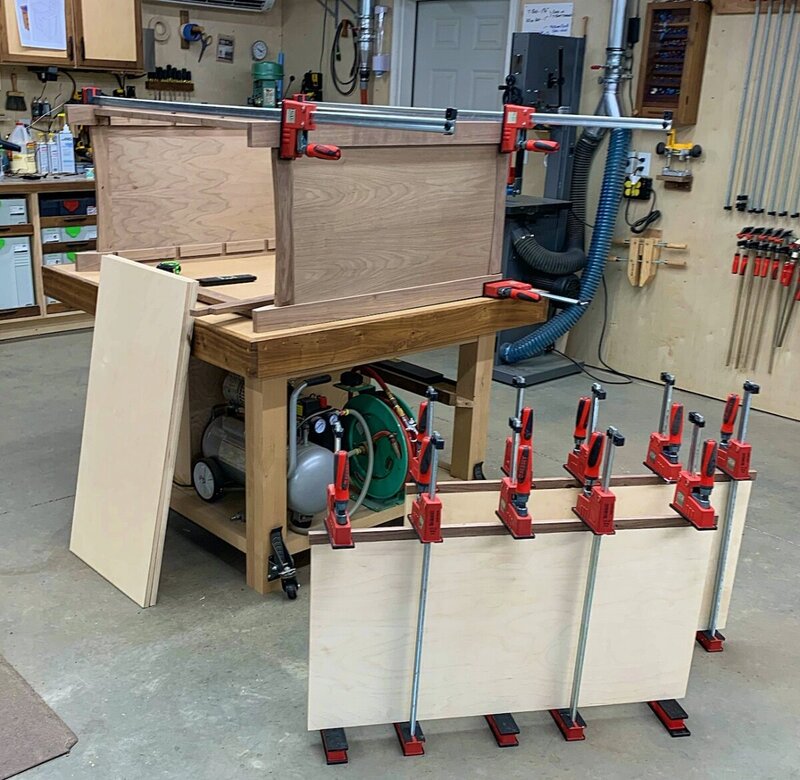
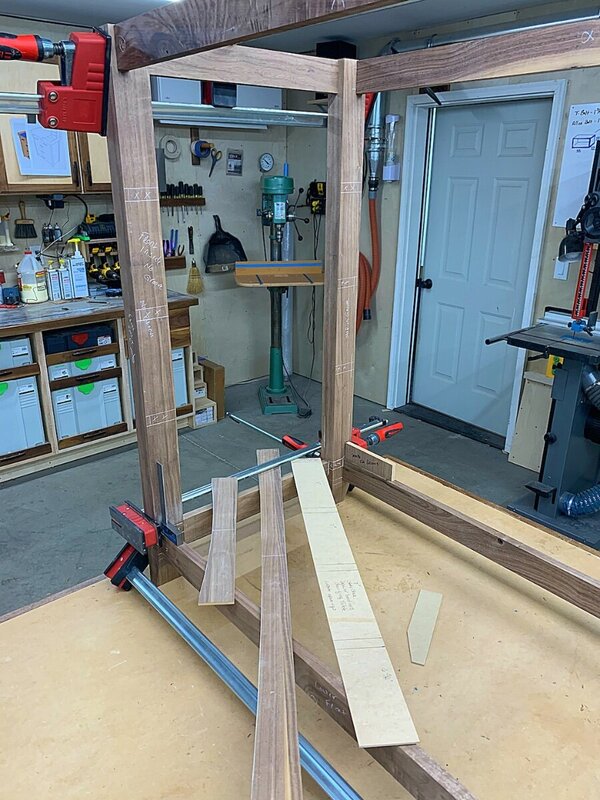
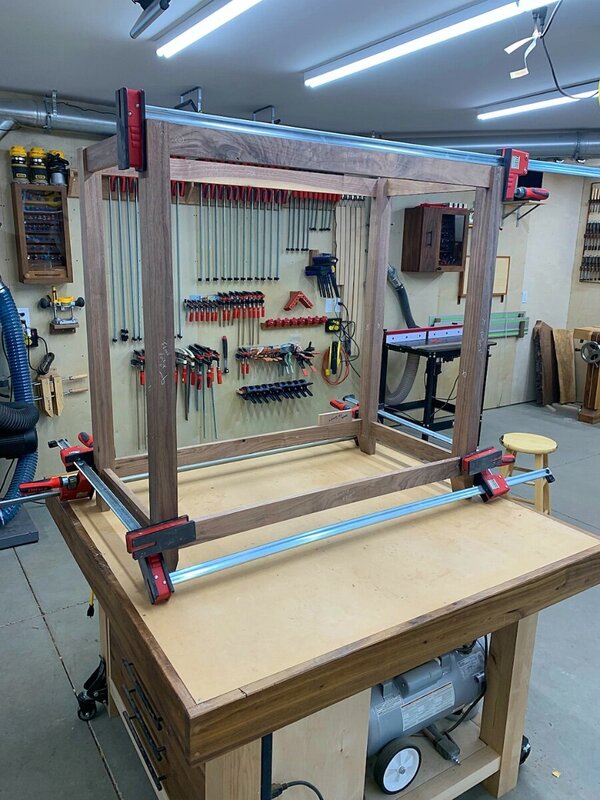
This is going to be another 2 person glue up! Once my wife got home, we worked through the dry fit to ensure everything fit together correctly. Overall, I'm pretty happy with it but, it was slow to put together! Definitely one for epoxy! I'll also dig out a couple pipe clamps to replaced the cobbled clamp set up.. Drawer glides showed up today as well..
-
-
Frames are just 3/4" BB ply with some walnut on the front. No notches in these.. As for the blue/green knob, that's either a tape measure or, if you're looking further, would be the turn handle on a Festool Systainer.. Unless I'm missing something all together?
-
Got another dry fit today and started making the dust frames.. Should be able to get a dry fit later tonight or tomorrow with all the frames in.. I also cut the back panel to final size..
-
Initial quote sheets are built.. Took me a while to get through all those parts!
-
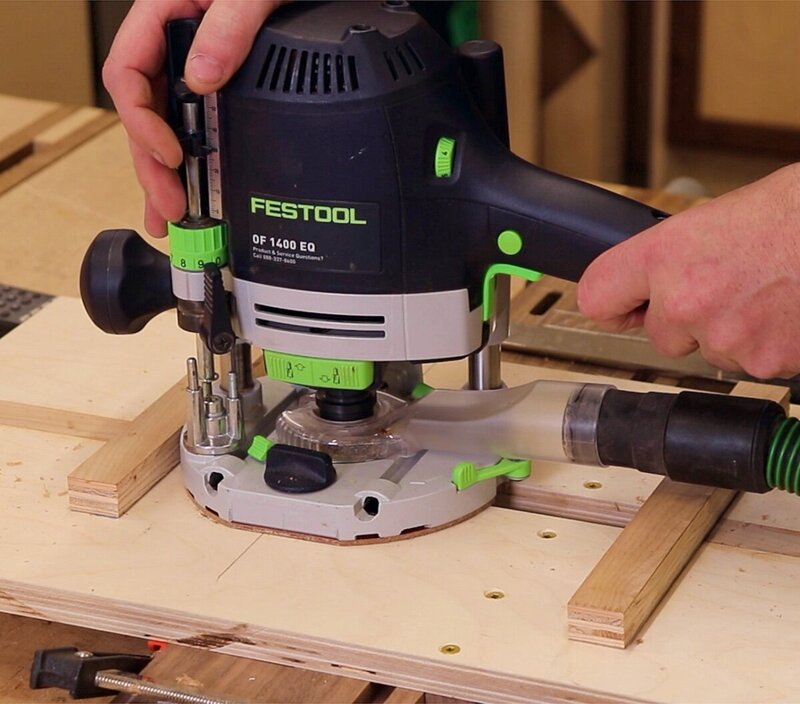
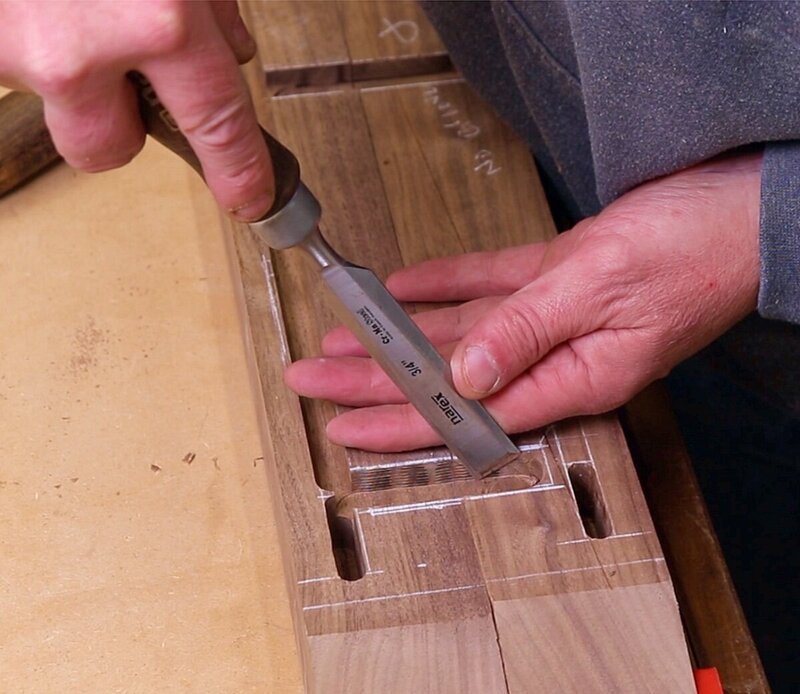
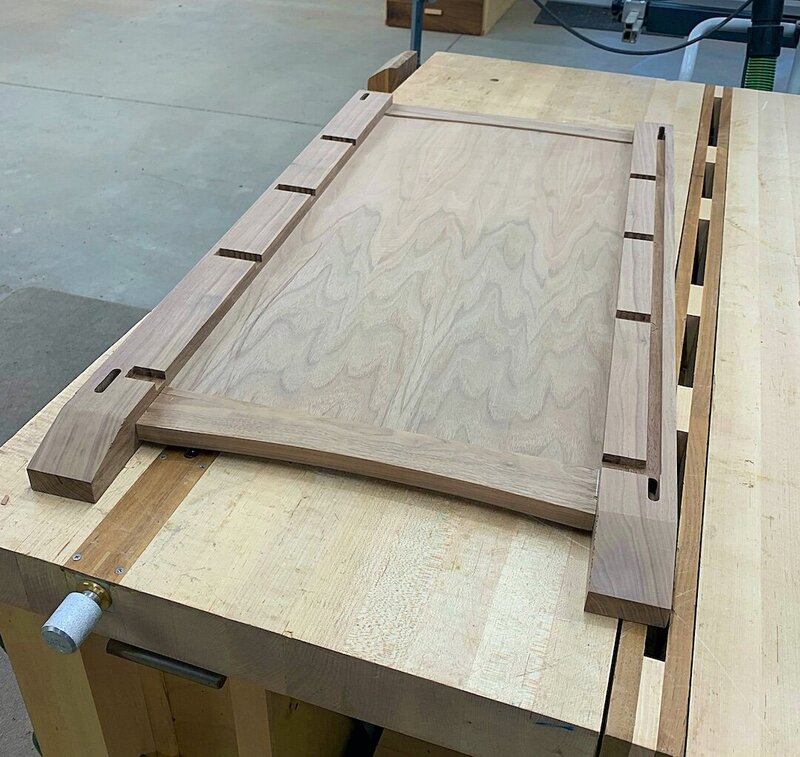
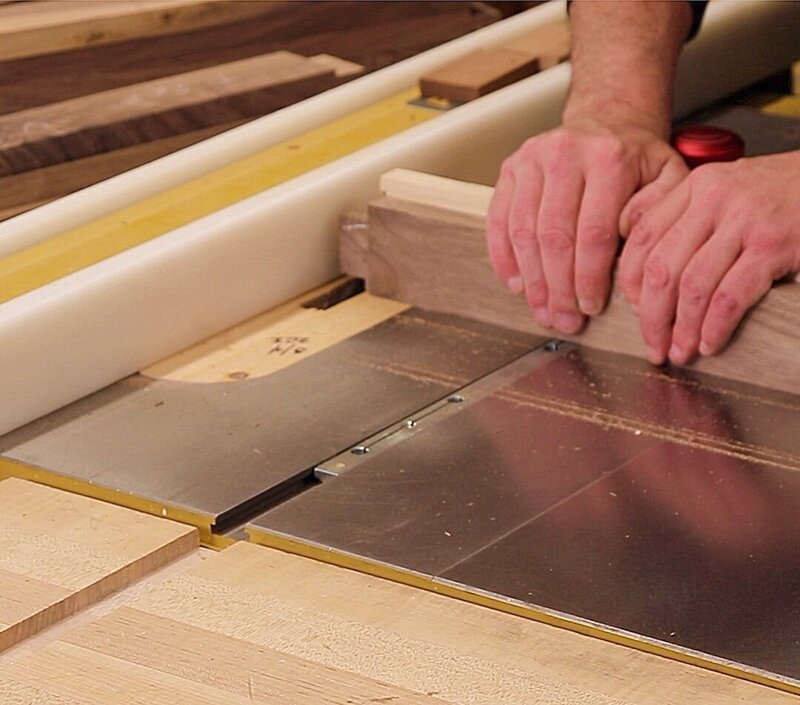
Other than stopping to shovel snow once in a while, I had a good day in the shop! First off, I routed all the grooves to accept the panels. Next, I created a jig and notched the legs for all the web frames - or dust frames if you will.. These notches needed to be squared off which I did with a chisel. One last dry fit to make sure everything is correct before going to glue up! I sanded everything to 180 grit just before using epoxy to do the glue up.. So, they sit in clamps tonight.. I should be able to do a full dry fit tomorrow to get measurements for the dust frames..
-
-
These projects aren't really shippable unless the builder was available to do the assembly.. For reference, I just printed 45 pages of plans to do this quote. Also, for the record, these are pieces I've built so they're (and I) available for any detail..
-
I've been contacted by a lady in Main that is asking for a few large pieces of furniture. I can and will work out a quote but, I could prefer someone closer to her to take the commission if anyone is interested??? Would be a good paying gig! PM me if interested and I'll give you details.
-
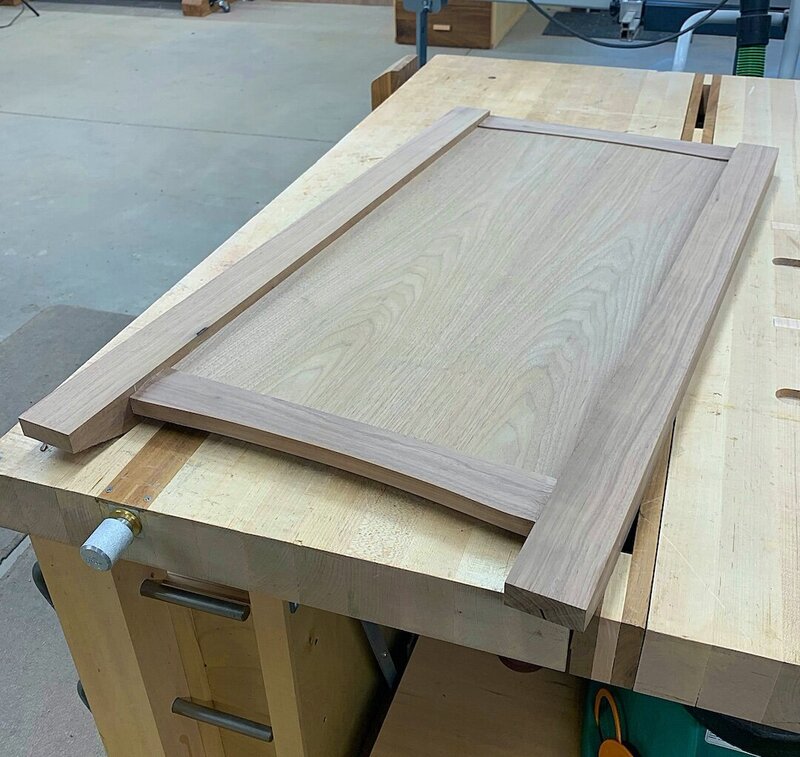
I found a little shop time this afternoon and managed to get a few things done...lol First off, I created the templates for the curves and made a story board for where the dust frames will go so that I can notch the legs.. Next, I pulled it all apart and cut the grooves and curves in all the rails. I then reassembled it so that I could mark the correct locations on the legs for the grooves to accept the panels. I should be able to get these grooves done tomorrow as well as the notches for the dust frames. Then, I'll reassemble and start the dust frames. I may also be able to get the 2 sides glued up tomorrow as well.. This will make the final glue up much easier!
-
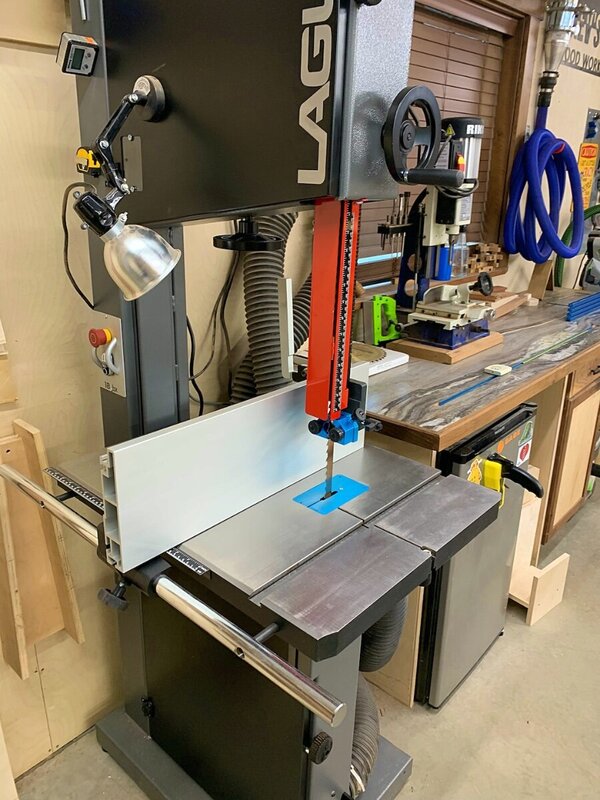
Well, I was in the grocery store with my wife when I had an "oh crap" moment because I was thinking about this project.. When I cut the side rails yesterday, I knew I was using 18" glides but forgot to account for the drawer material and false front.. Yea, this thing was too narrow.. Needless to say, when I got home a quick measurement confirmed my error and left me 2 options. Use 15" glides which I have on hand and would have been less work Remake the rails and my walnut stock is running a bit thin right now Well, I decided to remake the parts because I really wanted the deeper drawers. I had some left over 8/4 from the legs and resawed some of that to create book matched upper and lower rails for each side. I was able to remake these parts considerable faster because I wasn't filming it.. I might bring it up on film but, the viewer will never notice the change.. Ultimately, I added 2" to the rails which is more than I needed but, leaves me some wiggle room if I need it.. I will say the new bandsaw was a dream to resaw on! Yes, this was the first time resawing on it. Anyway, here's a pic after the new parts are in and the second dry fit is done. Now that this stuff is not crowding my thoughts, I'll get back to the weather "have to get done" list...lol
-
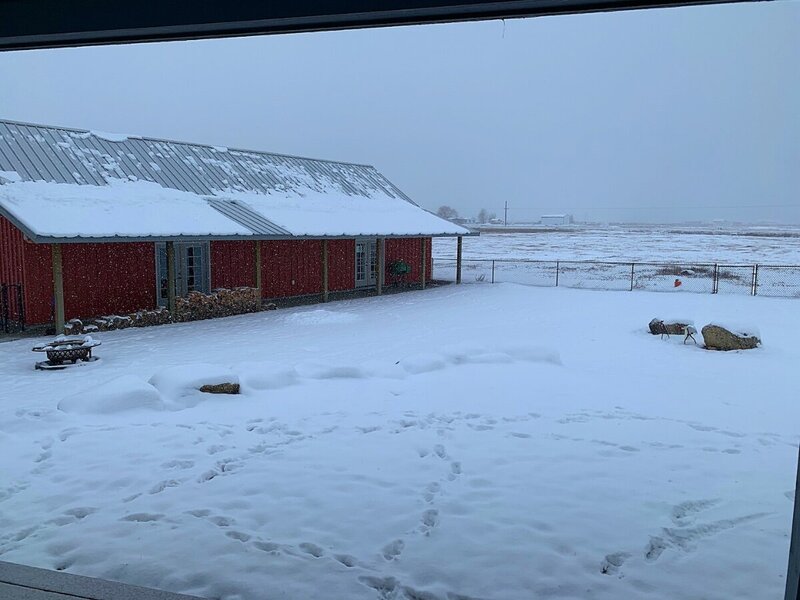
Not sure how much I'm going to get done today.. There's a break in the weather so, I need to take advantage of that to get a few things done.. We ended up with about 4" of snow yesterday and more on the way this week.. If I get anything done, I'll post it..
-
Because I was shooting video.. Wanted to show how to do it with a router and then round the tenons. HCM would have been a welcome option today believe me! Thanks!
-
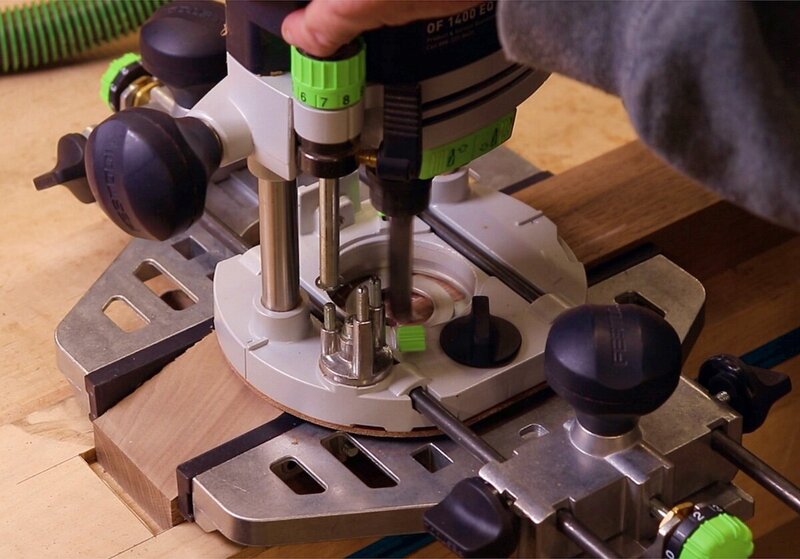
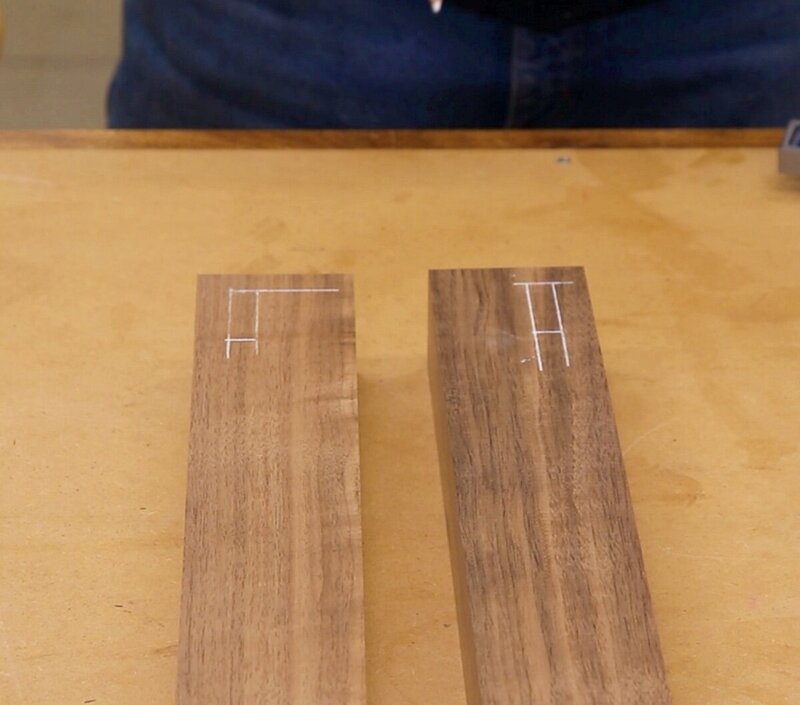
And that was a vivid reminder of why I go to the Domino so often.. Took most of the day but, this thing is finally dry fit with traditional M&T joints! Laying out the mortises.. I didn't grab a pic of cutting them.. All cut with the router, dual edge guide, and 3/8" router bit.. Cutting the tenons at the table saw.. And, the first dry fit after rounding all of the tenons and match fitting each mortise.. Oh.. I rough cut the feet as well.. Just created a template and then roughed them out at the bandsaw.. Nothing is sanded at this point, lots of that in my future!
-
First video is up!
-
Well, we got quite a bit of snow overnight so, a few chores to do before I get to joinery...lol
-
Yea, I think I have some time on this one.. Not fighting the clock makes it a bit easier!
-
Yea, I put them in the picture but, I don't think I'm going to use them.. I didn't use them on the dresser in our Master and that worked out pretty well. If I change my mind then, I'll probably revert to the domino to attach to the legs...lol. Trying to stay away from the domino on this one though..
-
I'll be honest, I'm a little confused with your question.. The upper and lower side rails will be M&T into the legs. The legs will be grooved to accept the panel, I don't think I'll be using the vertical stiles. I might change my mind on this but, for now that's the plan. Worst case is that I have to mill up 6 more parts for the 3 panels.
-
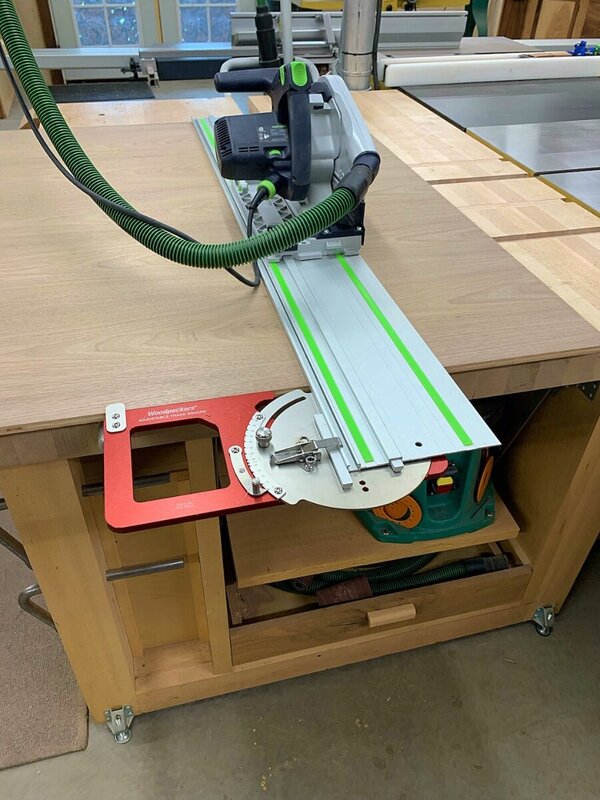
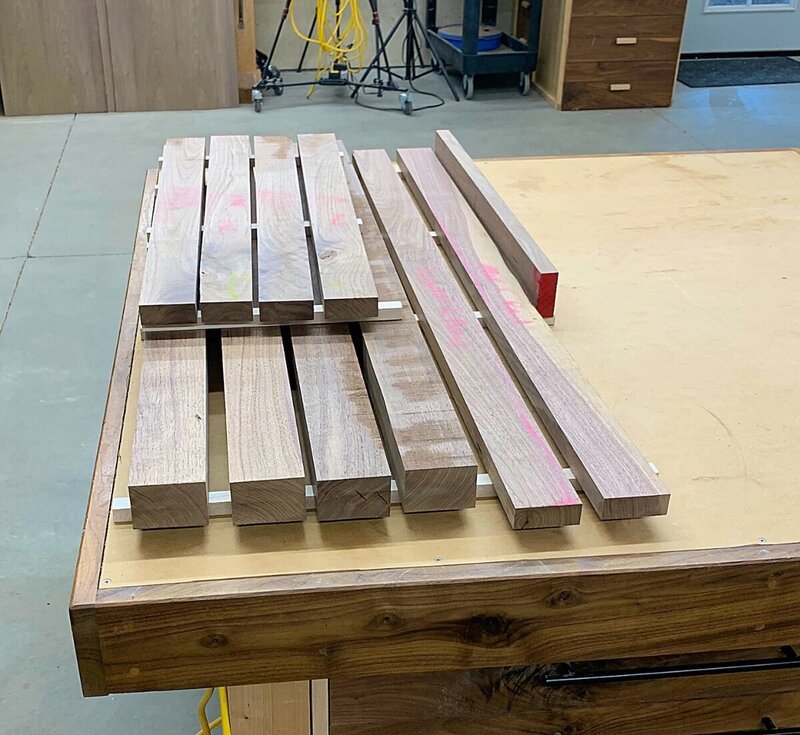
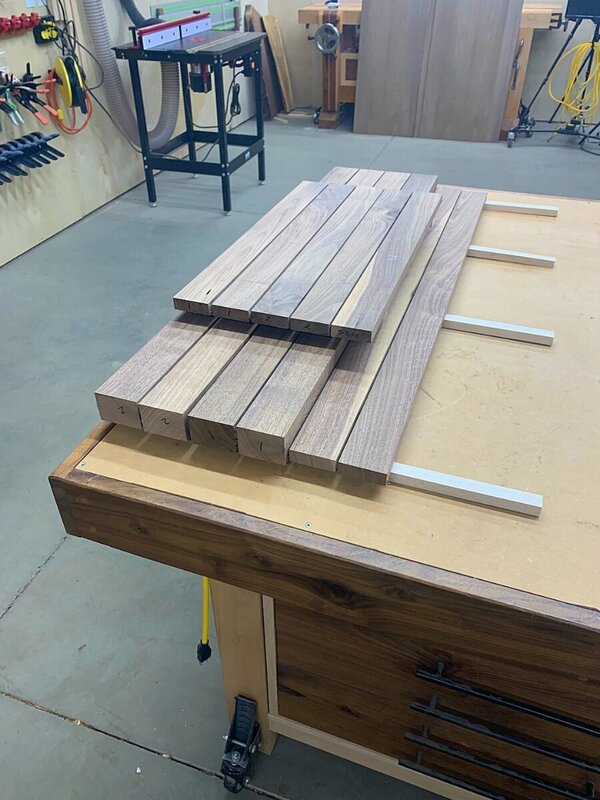
Good day in the shop! I picked up the 1/2" walnut ply that will be the side panels as well as the back and got that broke down! I was finally able to use the Woodpecker right angle attachment for the track saw and I must say that I'm pretty impressed! Next, I got all the parts roughed out. Each side set of rails were side by side in a board so, they were appropriately labeled to match up nicely in the final piece. Same with the legs. I used the new Bandsaw to rip this 8/4 material for the legs and couldn't be happier! Nice bandsaw and a woodslicer blade was an absolute pleasure to use! And, I got all these parts through their initial milling. All of these parts are a bit oversized still. I noticed quite a bit of reactionary wood in the 8/4 so, I want them to sit over night to see what they're going to do before taking them to final size. I also cut one additional rail so that I could use it for test cuts along the way. And, that's a wrap for today! My goal for tomorrow is to do some filming as well as get the M&Ts cut and ready for a dry fit. At that point, I'll have to made some design decisions about curves and things.. I have a few things running around in my head but, nothing concrete at this point. As this piece will be a bit deeper, I also had to order glides. I have lots of 15" on hand but, this one will use 18" glides. Additionally, I had to order some 6/4 for the long term top but, I'm certainly a bit away from needing that!


