Every purchase made through our Amazon Affiliate Page helps support this site
Kev
-
Posts
6,303 -
Joined
-
Last visited
-
Days Won
575
Content Type
Profiles
Forums
Downloads
Gallery
Events
Store
Articles
Blogs
Everything posted by Kev
-
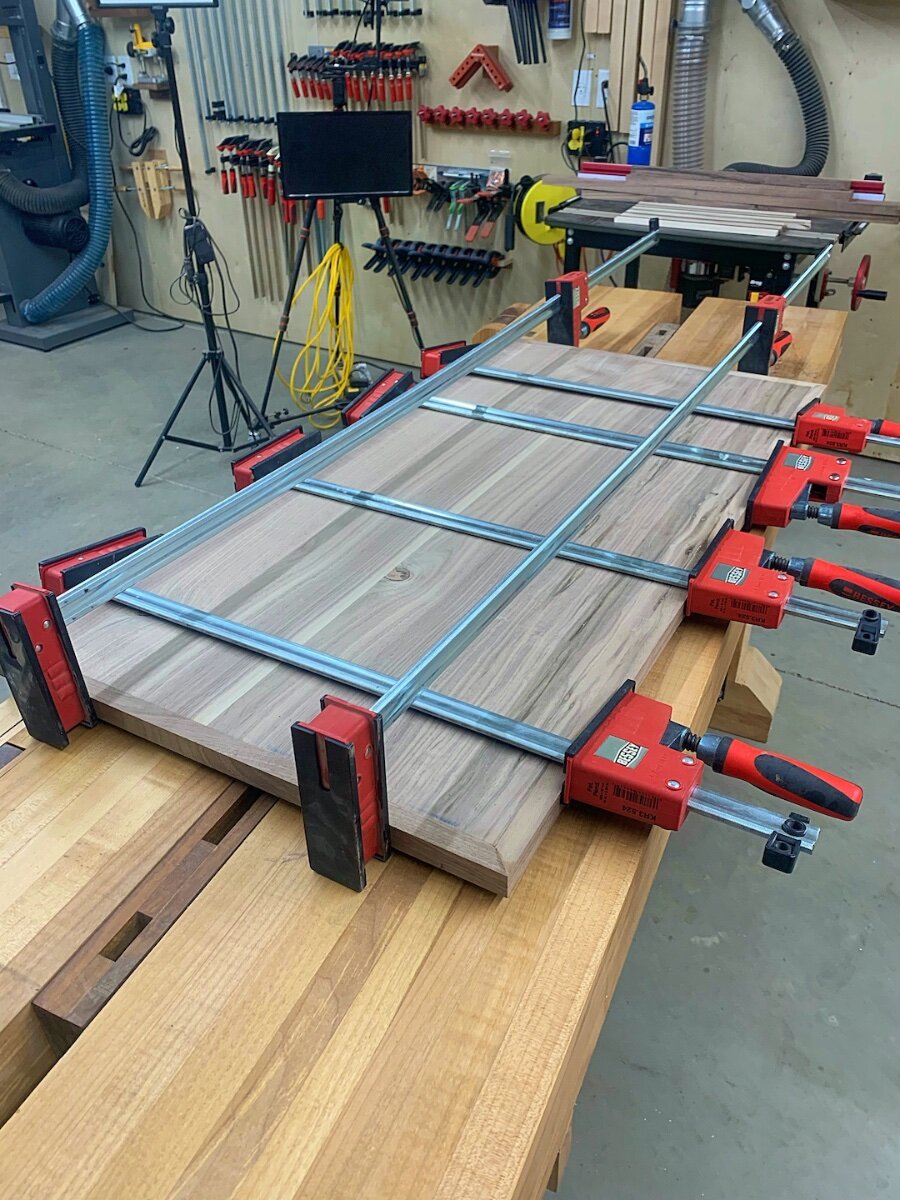
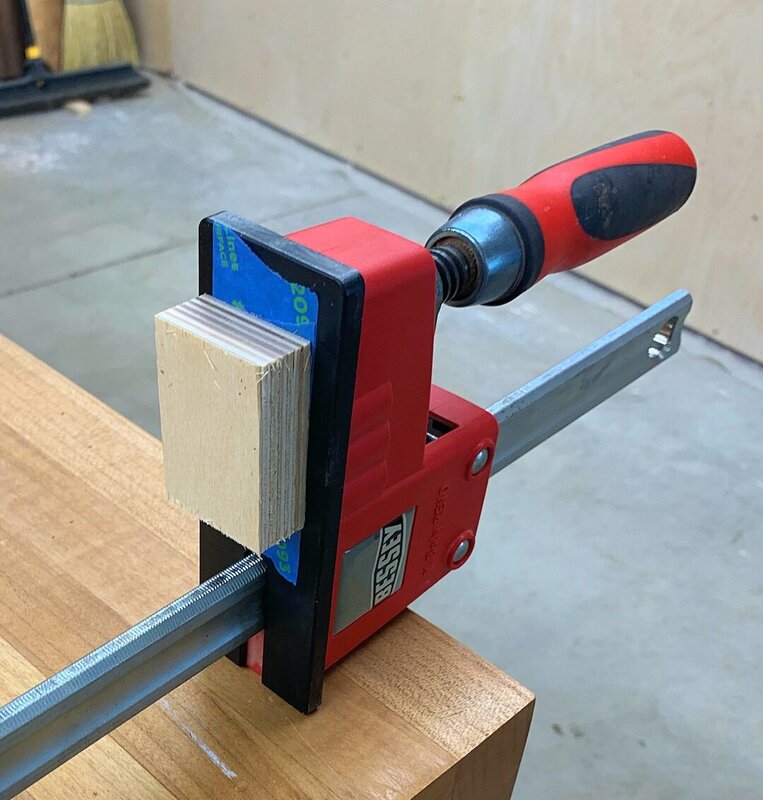
So, here's a nice trick when working with large finger joints like this.. I used blue tape and CA glue to attach the caul directly to the clamp. As you all know, these things get dry fit a bunch before the actual glue up. This just ensures that those clamps are always ready to go..
-
Yea, I had a look and they don't seem to have them.. I think I've only used them a handful of times but, sure appreciate them when I need them!
-
Well, not much else got done today.. I did manage to do a final milling on the epoxied parts, cut them to length and lay out for finger joints.. I don't have much walnut stock left so, a good night's sleep is in order before cutting those..
-
I've had them so long that I don't recall where I picked them up... I just had a look on Amazon and they don't have them either.. I'm not even sure if that company is still in business?
-
Yes, as far as I know they come in 3 different lengths and I have a set of all 3.. These were the shortest ones I had for this project and they were just right.. They worked perfect with the depth of my bench.
-
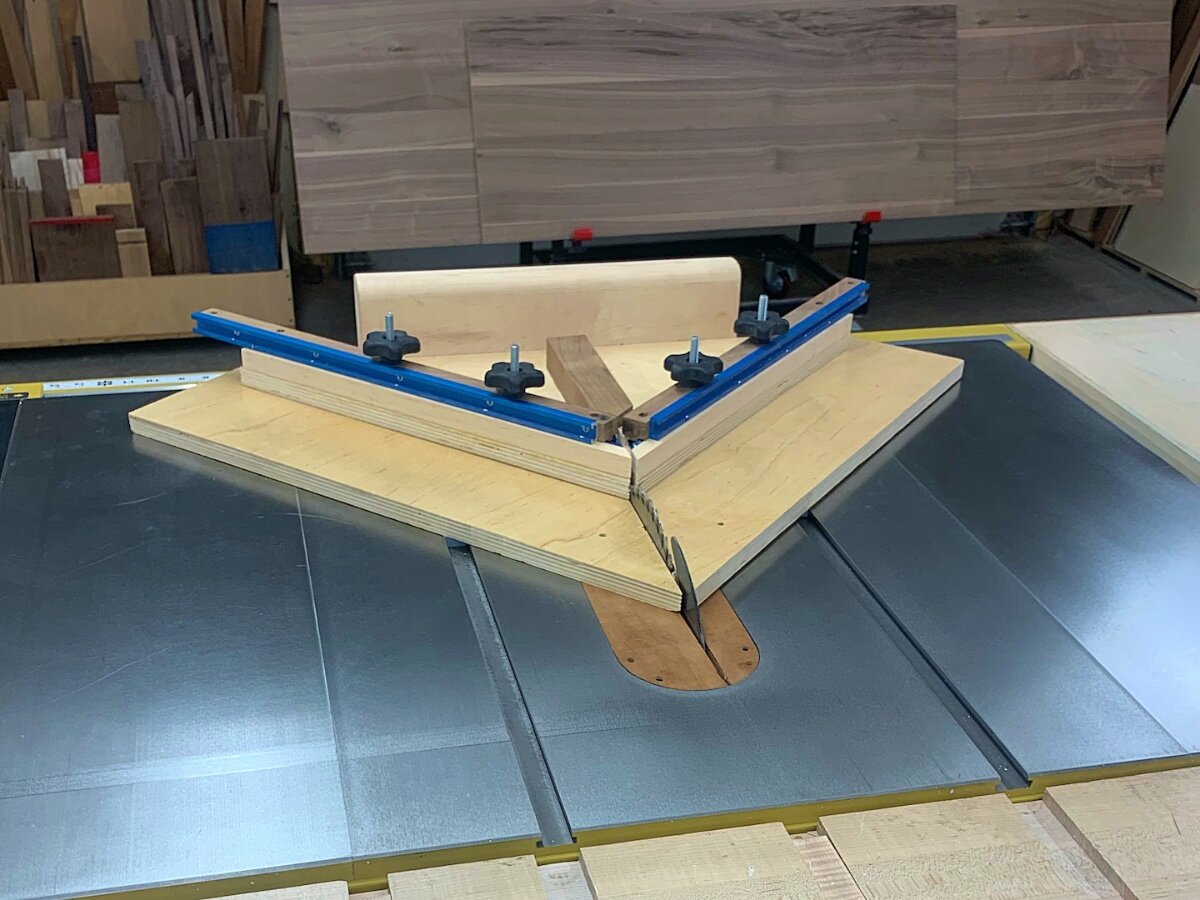
Interesting thought! I'd hate to spend that much time on a top that will be tossed away in a couple years.. Would look like the tail vise on my Roubo...lol Not sure what happened to my last post but, here it is again...lol Got the top framed out with mitered corners This picture frame jig made this turn out just right!

-
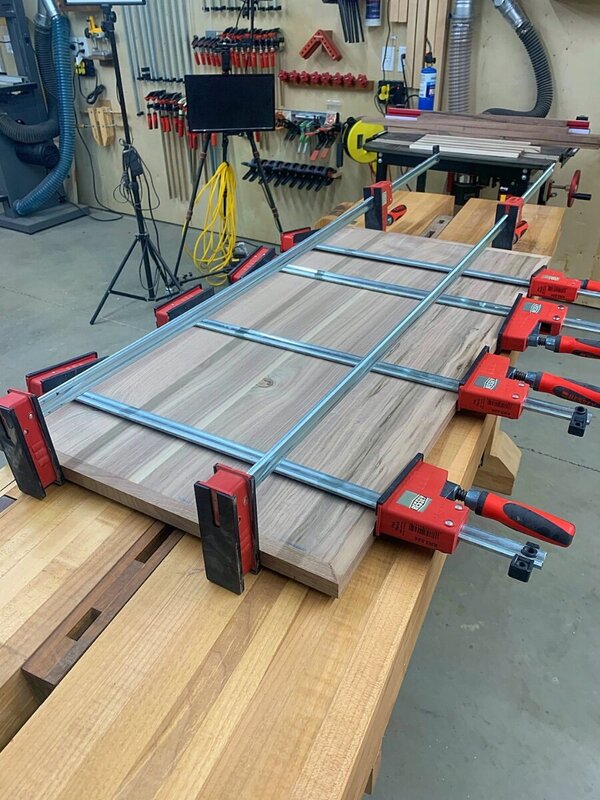
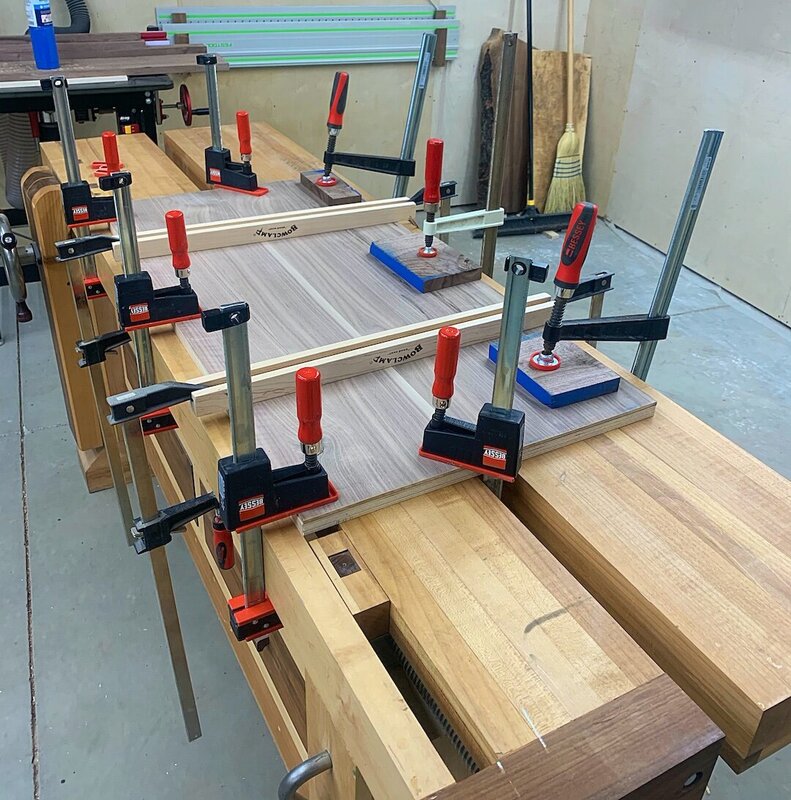
Waiting for glue and epoxy to cure.. I glued up the core of the changing top which is 3/4" BB with a piece of 1/4" Walnut. This is one place those clamping bows and a split top really come in handy! And epoxy in the knots to stabilize everything before final milling.
-
Height will be ~4.5".. n I figured if I were going to make the finger joints, I should just add the screws and square plugs to finish the detail.. Think Green and Green..
-
Thinking through this a bit this morning and I'm thinking large finger joints for the corner connections with screws and caps to reinforce.. Simple dados for the dividers. Thoughts? Oh, and my DC is full again. I realized it on time this time as I started breaking down the stock for these pieces.
-
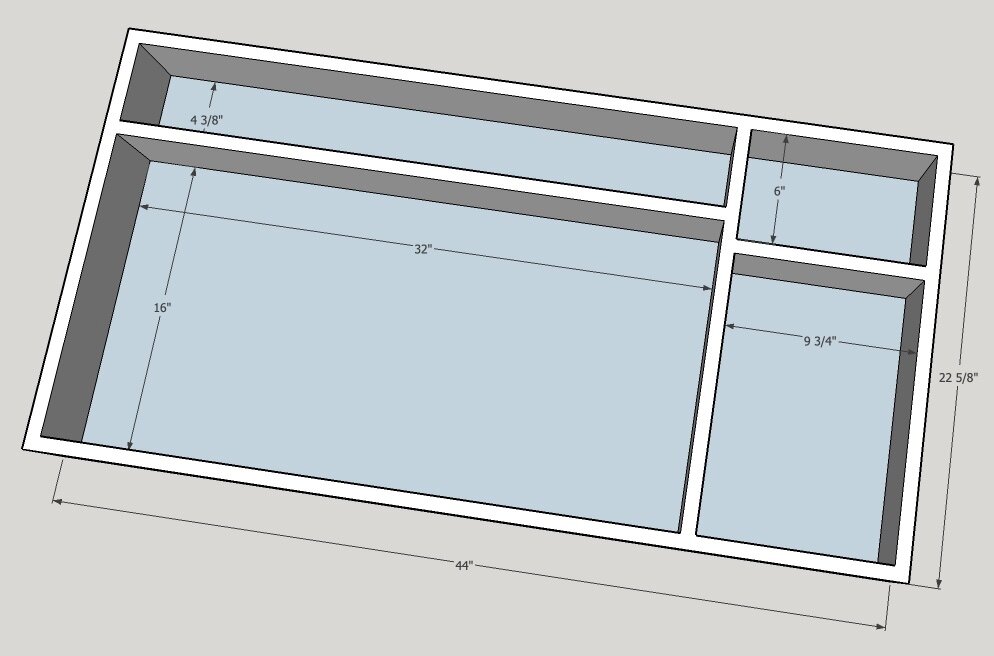
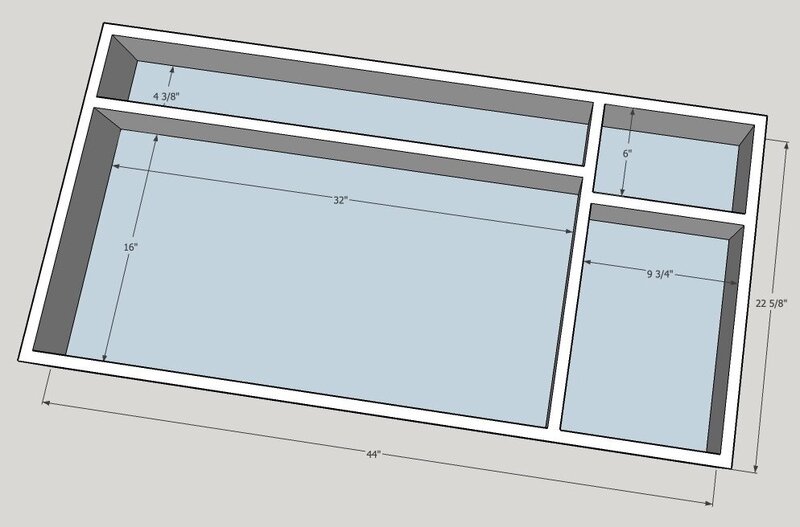
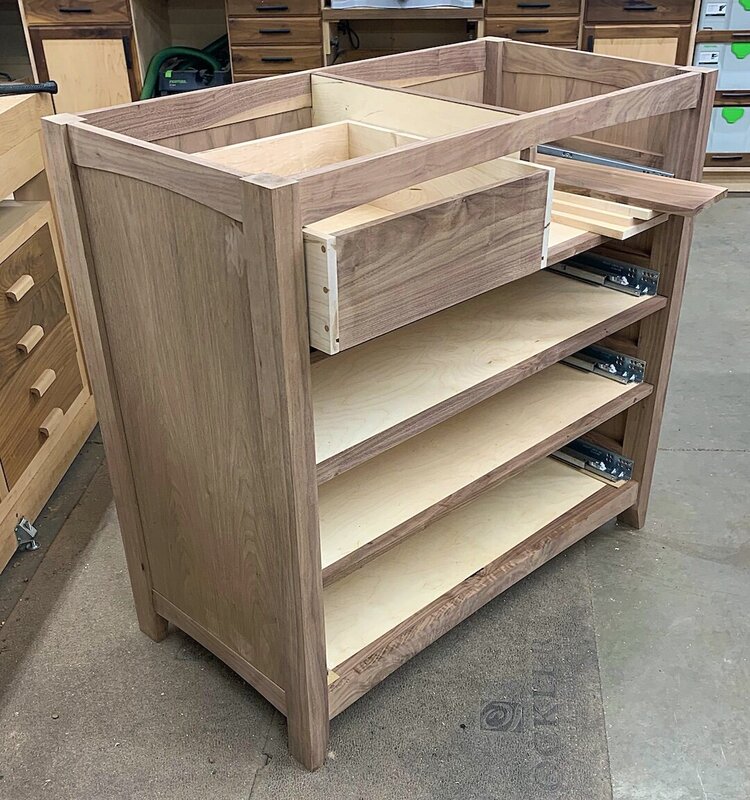
Getting ready to start the changing table top tomorrow and the plans have changed.. The overall size of this piece changed a bit so, I wanted to revisit the layout to make sure it was right.. Based on the current real numbers, this is what we've (baby mama consulted) come up with. No raised shelf, the "butt wipe warmer" has moved to the back right, a storage area behind the changing pad, an open area in the front right, and a standard sized changing pad.
-
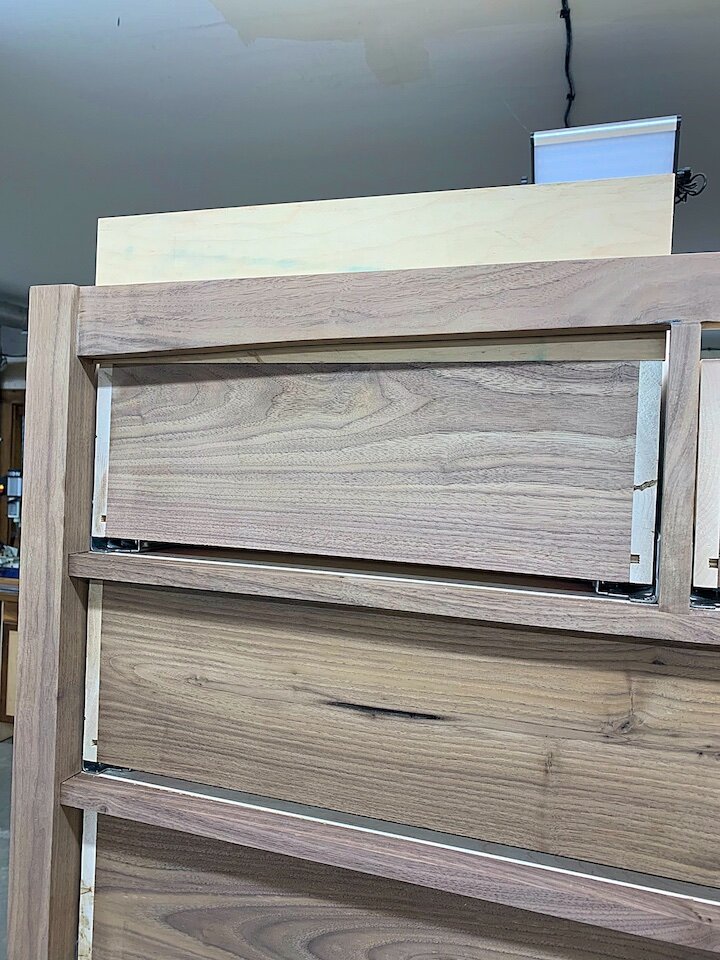
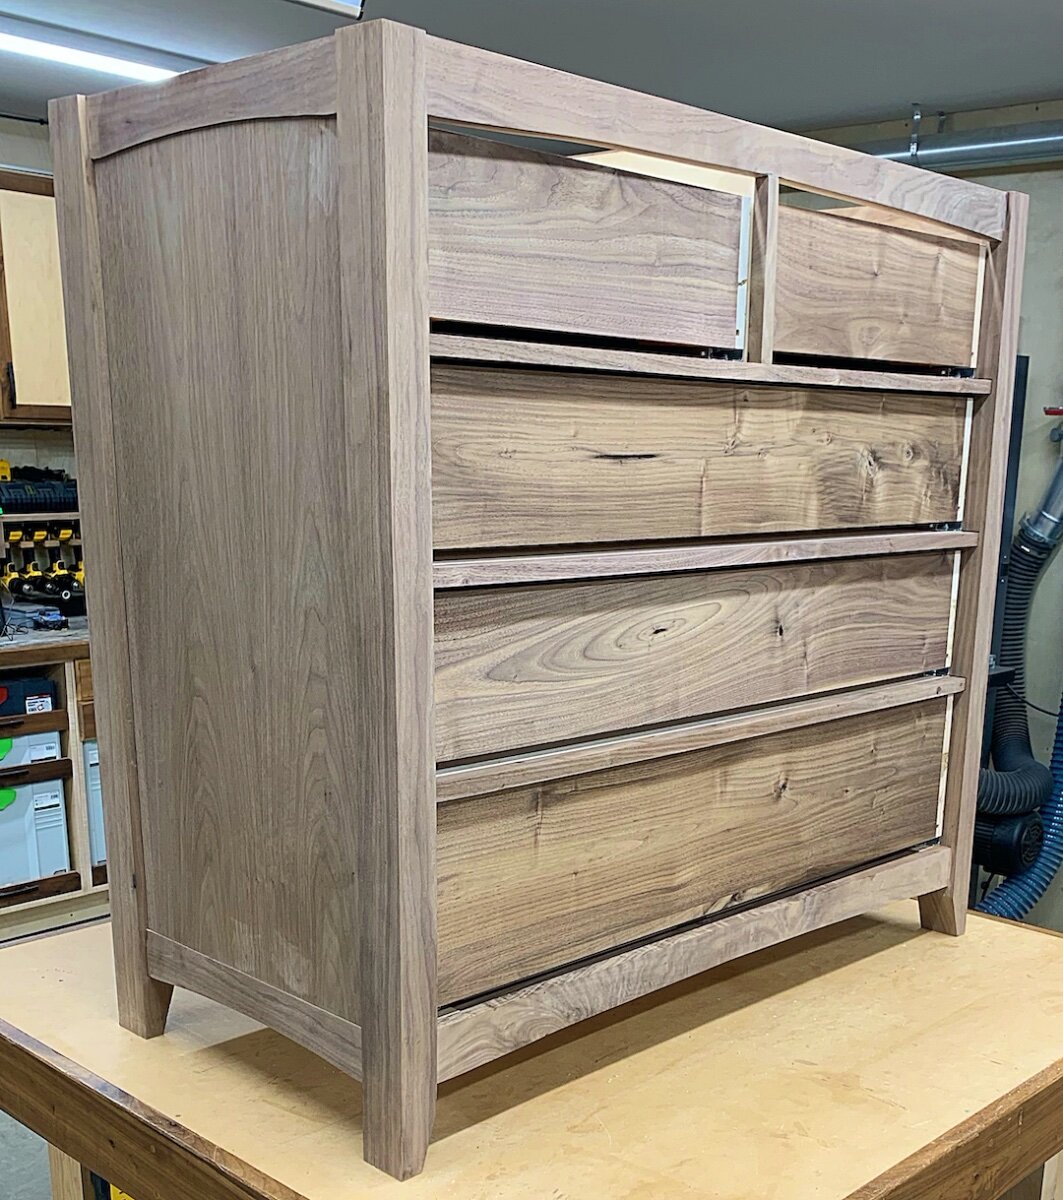
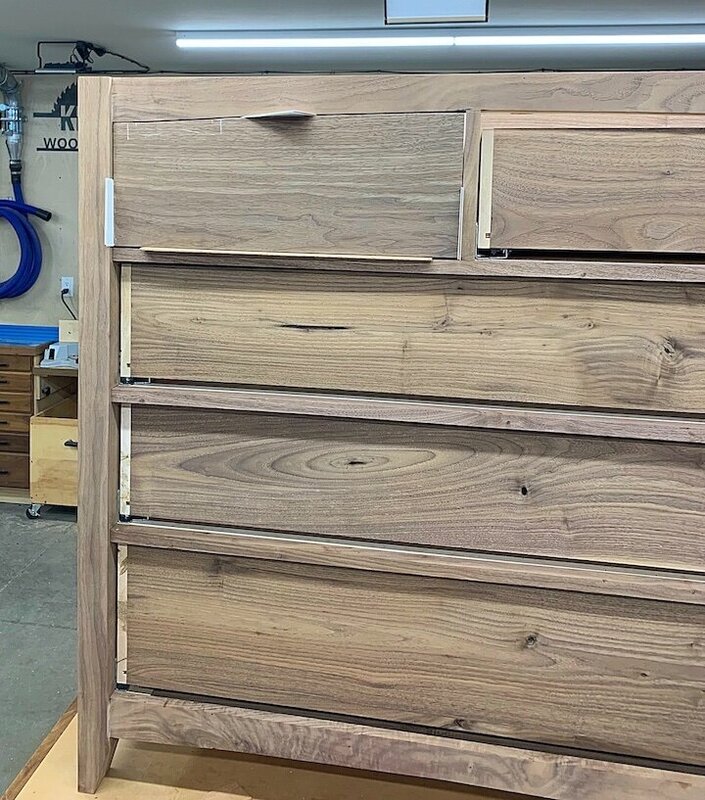
Drawer fronts are on and pretty close to complete.. Still some touch up sanding I want to do but, I'm pretty happy with them.. Left ~ 1/8 reveal since it's my dry season Changing table top tomorrow!

-
@Coop, here you go.. I didn't have to make a template because I had the original that I used to make the curved rail but, if I didn't, this is how I would make that template.. Then just cut it out and finesse to match the profile and transfer it to the drawer front. From there, it's just a bunch of work to get it to fit like you want.. This one is pretty close but, still needs a little work. Hope that helped!

-
I'll certainly show this in the video as I did with both the chest of drawers and the nightstands.. It's actually pretty simple.. Just need a template.. I'll try and remember to grab some pics to show the process.
-
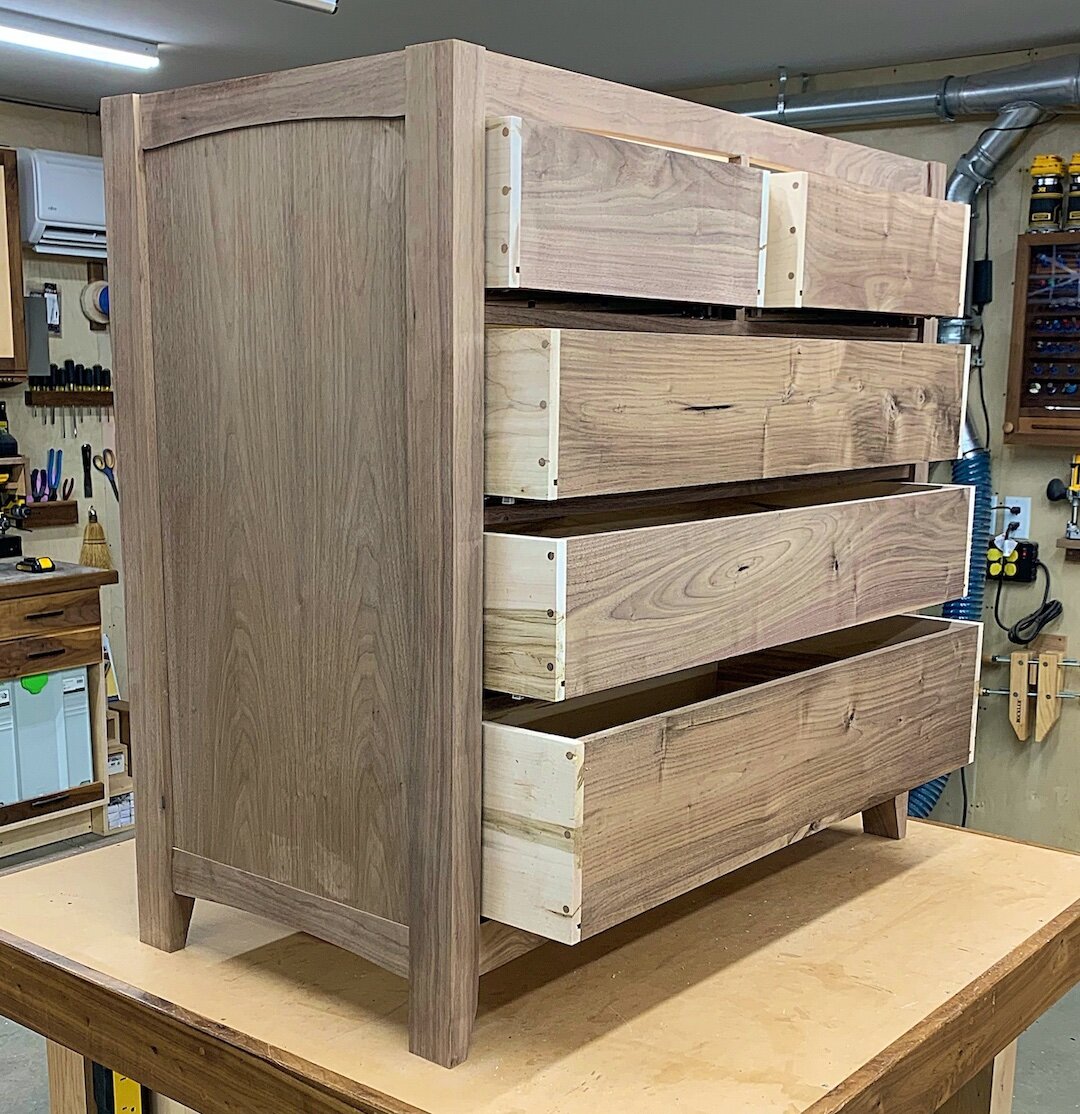
Good day in the shop! All the drawers in and working nicely! I'll start drawer fronts tomorrow as I have the material on hand. If the weather doesn't deliver as advertised, I'll make a trip to the HW dealer to pick up the top material.


-
As I said above, I had intended to do DTs so, the walnut fronts were to contrast nicely with the maple. The walnut was all milled up and ready to go and I didn't have any spare maple on hand. There's a few jigs out there to drill straight with a hand drill. I could have also set these up in the drill press. I just haven't had any issues with it. As for the plant, no I'm not a fan. But, I'm finding that there's more and more of them that I don't like...lol. They all have their downsides but, this one is doable. I've made some friends there which helps a great deal. Chicago on the other hand, you can have that one!
-
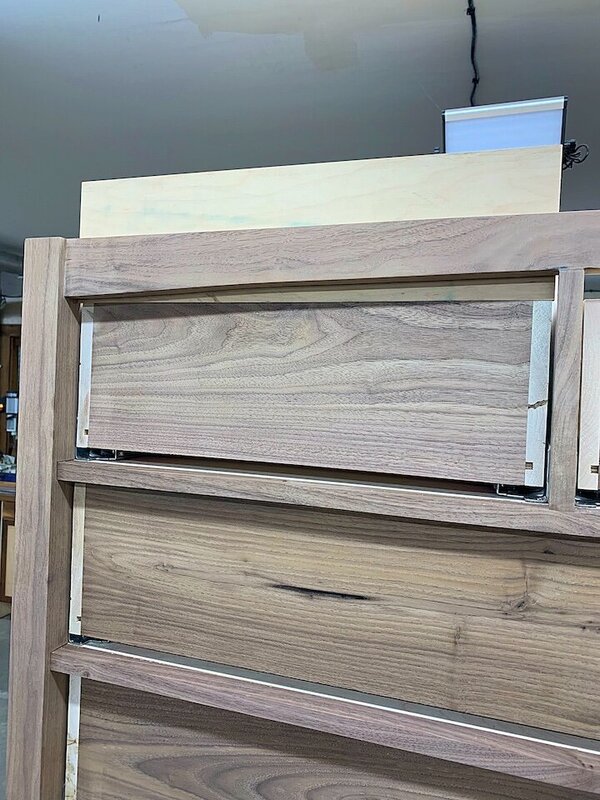
Well, I got the call that I didn't want this morning! Looks like I'm heading to Baton Rouge on the 1st of January so, this project has to jump into high gear! For the record, I'll be there until April so, I have a lot to do before I go! I was going to do DT joinery for the drawers which is why there's walnut fronts but, I just don't have the time. Especially since it's been a while since I've done them and I don't want to rush them and have them look like crap.. So, back to the dowels. It was good enough for our master bedroom, it will have to be good enough for this.. I got a lot done today! I got the center divider in and trimmed out, I got all of the inserts for the guides installed, finish sanding everything to 180 grit, installed all of the glides, and built the first drawer. That's just a false front, real ones still ahead. Also, for you with keen eyeballs, those strips under the bottom glides are to raise the glides 1/16" because I goofed those rails.. That spacer ensures that the drawer will function properly.
-
The other video is up!
-
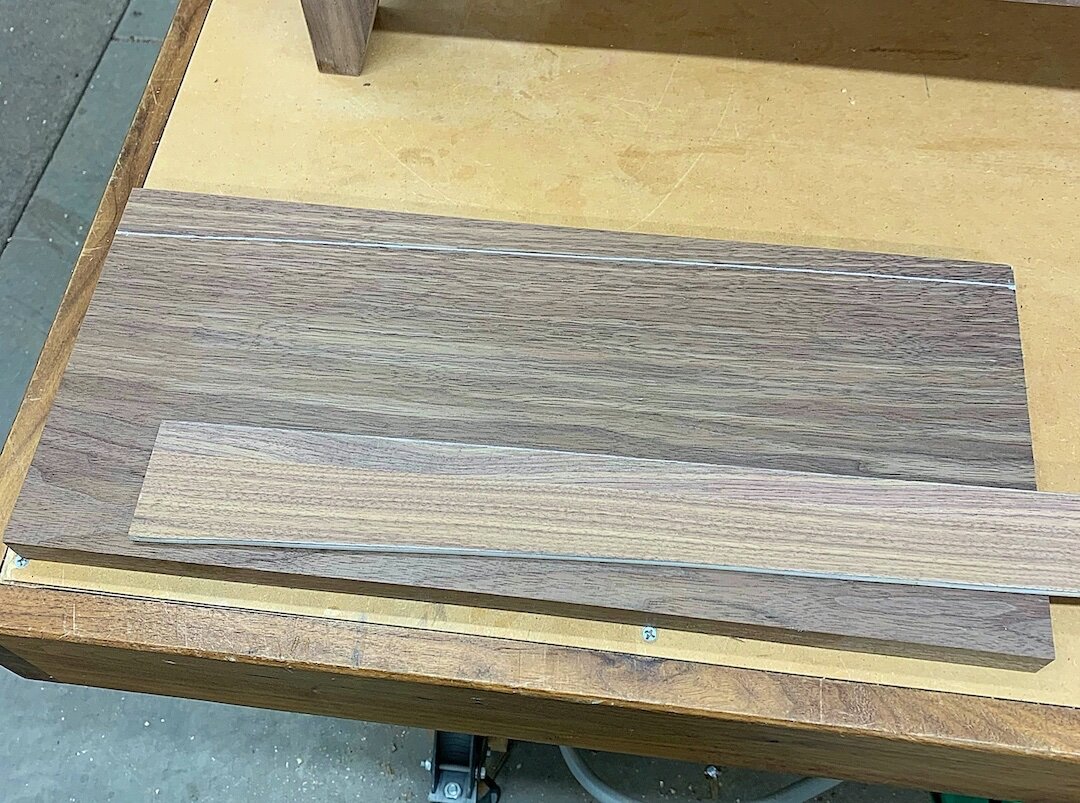
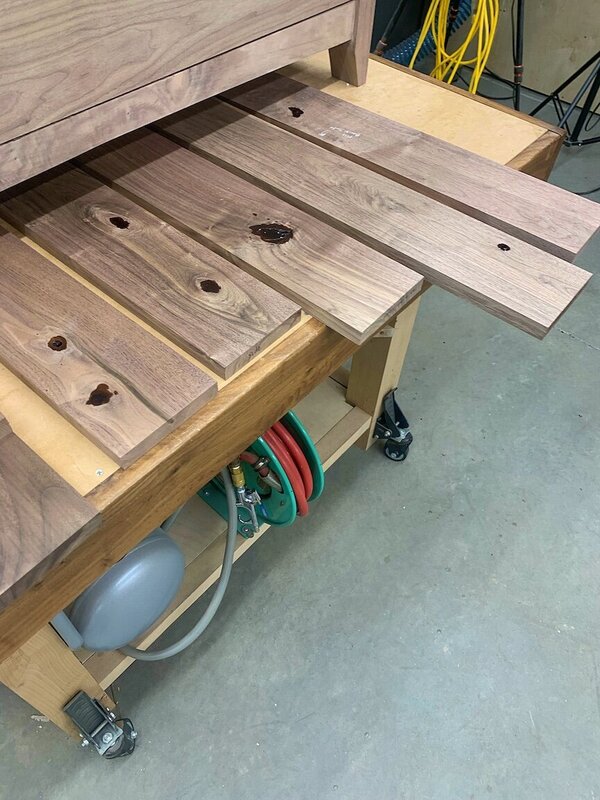
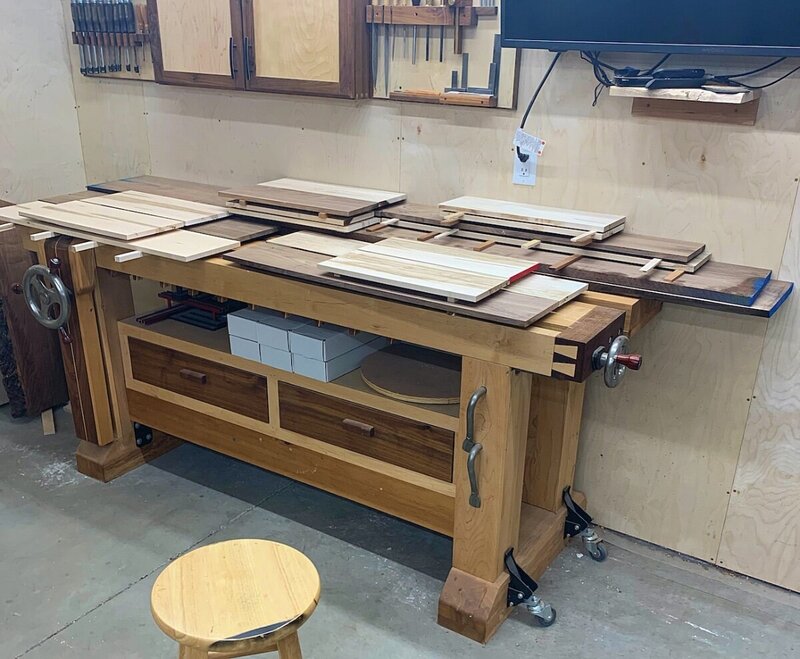
Well, 2 full DC cans later, I finally have the drawer parts milled to thickness. They're ~ 5/8" currently so, if I need one more round of flattening I have a little room. The 2 big boards in the back are for the drawer fronts and I won't start milling those until the drawers are in and I'm fitting each drawer front. Taking my wife to dinner tonight so, I'll get going on drawers tomorrow..
-
Fair questions! In this case, I didn't film the complete glue up because my wife was helping me and she doesn't want to be on camera so, that's just a poop happens and I missed a detail. Additionally, I wasn't filming when I miscalculated at the HW dealer or when I was milling and the DC overflowed.. I also haven't heard anything about the next job so, I'm not really in a rush to complete this project. I still have some videos in the bank. To be completely honest, I think these mistakes are more from not being in the shop for the last couple months.. Add to that the trouble I've had switching from 2 months of night shifts back to a normal schedule. Just not back on my game yet..
-
We all have bad days in the shop, they happen! Tomorrow's a new day and I'll get a fresh start..
-
Just wasn't my day for the shop.. Started milling on faces/edges for drawer parts and the DC started overflowing on the 3rd board.. Powered through and emptied the can only to find that my last walnut board wasn't wide enough...lol. You can't make this stuff up.. So, since it's a false drawer front, I did a glue up and it can sit for the night.. I'll sleep in tomorrow and take a fresh run at it..
-
Not much to see today.. Spent the day sanding and roughing out drawer parts.. I might get an initial milling on them yet tonight but, we'll see..
-
Yes/no.. There was just enough difference in the tenons that I'll have to raise the bottom glides slightly. No, you're never going to see it but, it still ticks me off. It was a stupid error! But, it's over now.. Made a trip to the HW dealer to pick up the drawer front material.. Hoping to work on drawers this weekend..
-
Well, I went to the shop this morning and got the clamps off only to find I had made a blunder in the glue up and I'm a bit upset at myself! I reversed the top and bottom front rails. It will still work but, I had selected a specific grain for that top rail and it's now on the bottom.. Not much I can do about it now other than just finish the piece.. It will still look good in the end.
-
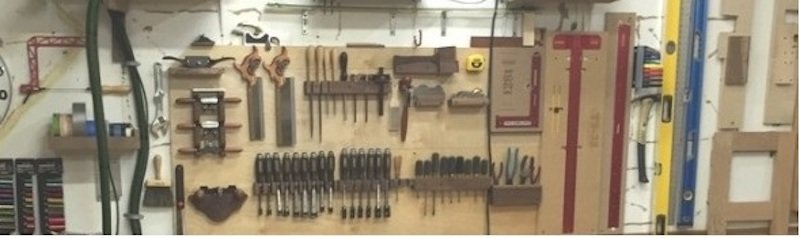
Wasn't too far off of the dresser, about one web frame to be exact...lol. It's in clamps and square as of now! I'll worry about squeeze out and issues tomorrow.. I did spend a little time roughing out the glide blocks for the case but, that's about it for this project... I also shot another video today on my top 10 shop items that improve my shop efficiency.. It's currently uploading and I'll probably release it right after the Demilune table..