
Every purchase made through our Amazon Affiliate Page helps support this site


Bushwacked
-
Posts
1,605 -
Joined
-
Last visited
-
Days Won
98
Content Type
Profiles
Forums
Downloads
Gallery
Events
Store
Articles
Blogs
Posts posted by Bushwacked
-
-
wow!! I see what you mean by outrageous pricing ... stumbled across this one while looking for the lift on amazon..

-
was it basically this?
https://www.cottagecraftworks.com/sewing-machine-air-lift-mechanism-sewing-cabinet-hardware
.......
Was going to edit the above post, but it errored out saying something was required, but I have no idea what that is. I even added the edit reason field and still errored out
-
stumbled on the below looking at that and see if they did anything special ... maybe that was the hardware you bought which is now discontinued ?

-
9 minutes ago, Kev said:
To be honest, I haven’t been home long enough to see if she’s done any drawer organizing but, I haven’t built anything specific.
I’ll look at Rockler’s site when I get to the hotel. I think there was only one option when I bought it.
The inserts are specific to each machine and the manufacturers want way too much money for one! I made a template out of 1/4” ply and then used that to make the plexiglass insert. Be warned to make this template before cutting the hole. It’s way easier to cut a hole with a template than to build a template to fit a hole.
as for the build, being individual cabinets it’s really pretty simple. The plans for this on are free on the website.
Ok, assuming I just am not searching with the right terms ... the few lifts I found were TV lifts, which are like $999 and up, and then some pull out lifts kinda like your outfeed one you did.
oooh so the plexiglass insert you made? good to know, will work on the template first then cut the whole.
yep the build, minus the insert/plexiglass and lift seemed straightforward ...
-
Kev I was curious how your wife is liking the quilting desk? Anything she had added or changed with it?
Also curious:
1) where did you find the plexiglass template the machine fits through?
2) which rockler lift is that?

I might be needing to make a smaller version of just the 1 side of this as well.
-
I still go the route of AutoCAD .. I have used it ever since tech club in high school where we had drawing competitions we competed in. It has worked fine for me for 20ish years, maybe one day I will switch over to something else, but for now its just easy. Plus, like yall said use it or lose it ... I dont do enough drawings to not lose it, at least for now ...
-
10 hours ago, Coop said:
3 lbs each of shrimp and crawfish ..... boiled spicy! Gotta wear gloves to eat them! ?
Damn that looks good!! The spicier the better!
-
On 4/27/2020 at 9:19 PM, Coop said:
I boiled about 4 gallons of water and poured over a fire ant mound close to my garden. You could hear those little suckers squealing!
LOL!! did you throw some sauce on them and eat the boiled fire ants?
-
 1
1
-
-
sounds good ... will just store things up there for now to get them out of the way and then figure out as I go.
I think a lot of the smaller things will change as I go, epecially when I put in those countertop cabinets.
-
 1
1
-
-
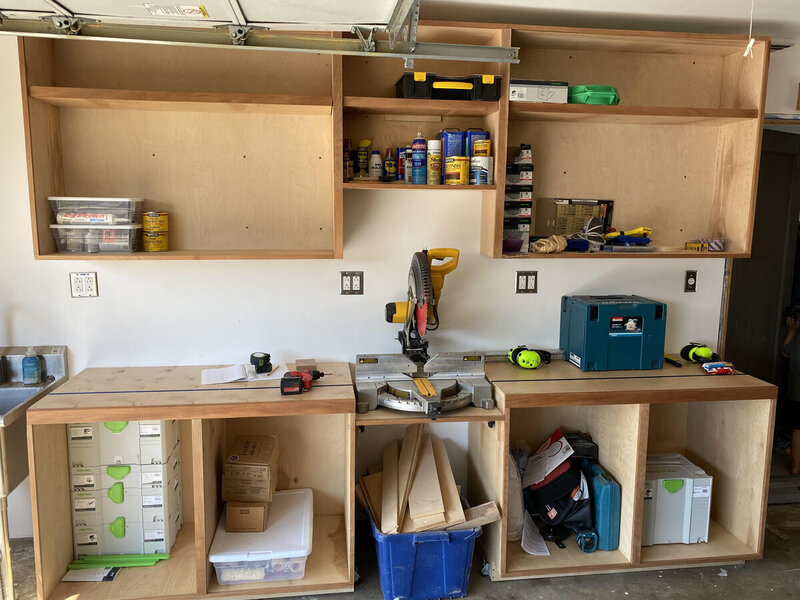
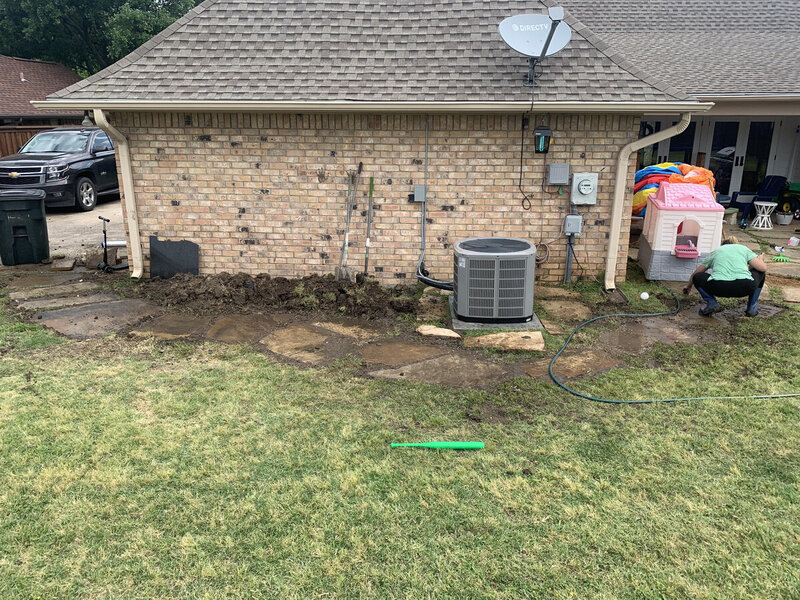
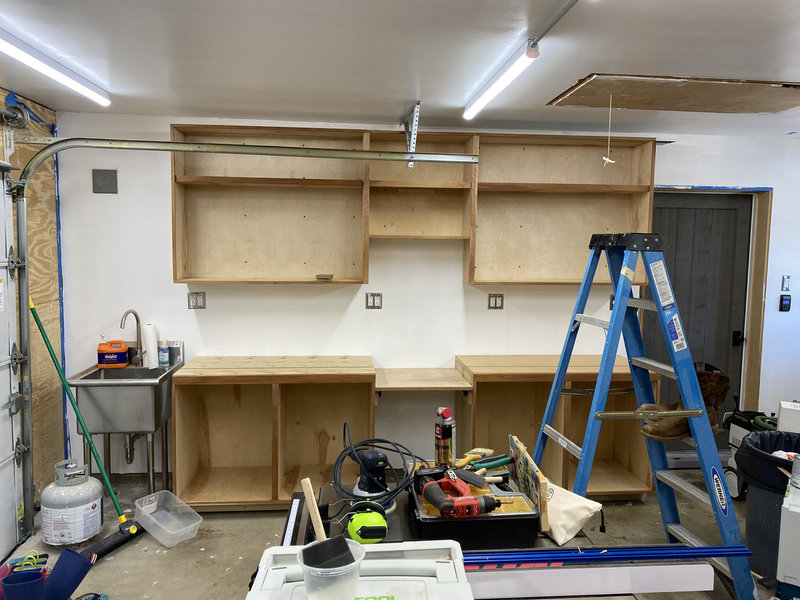
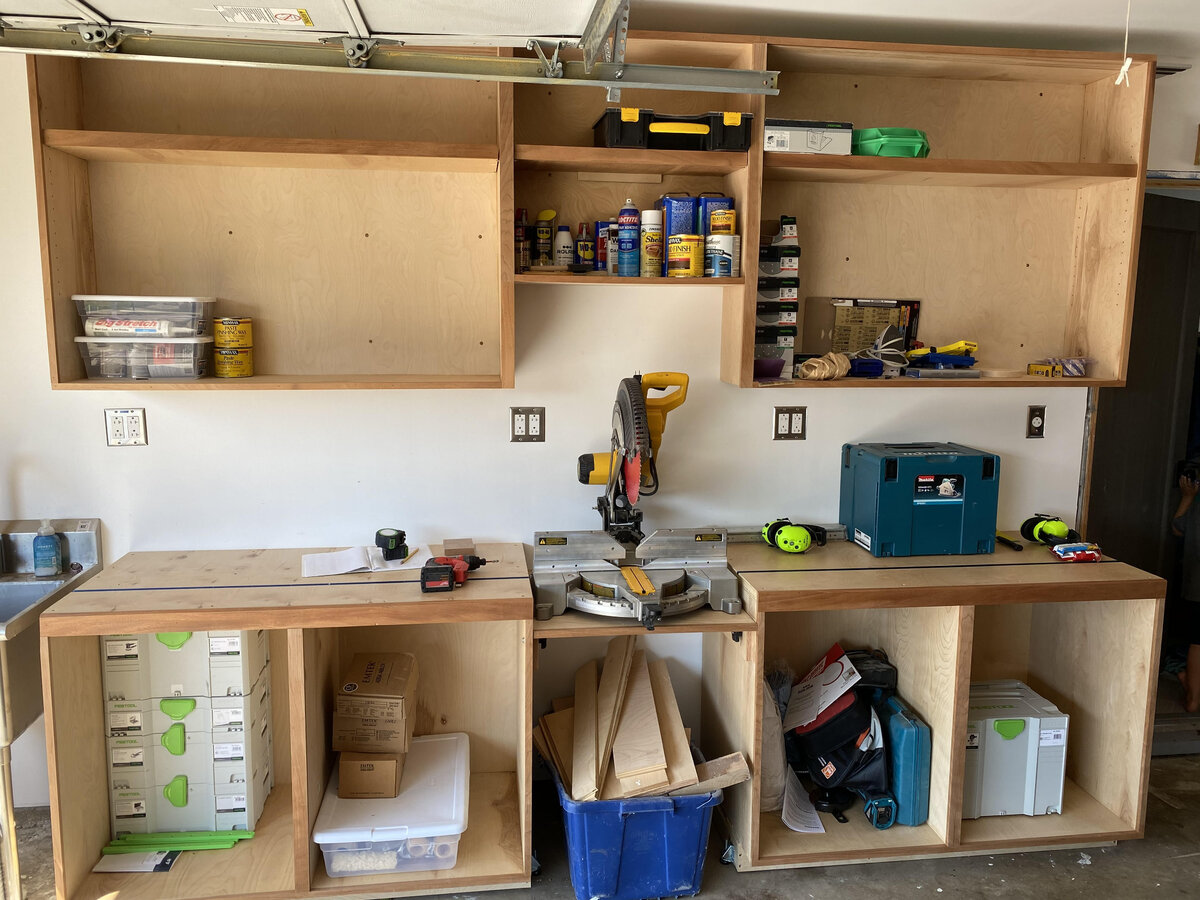
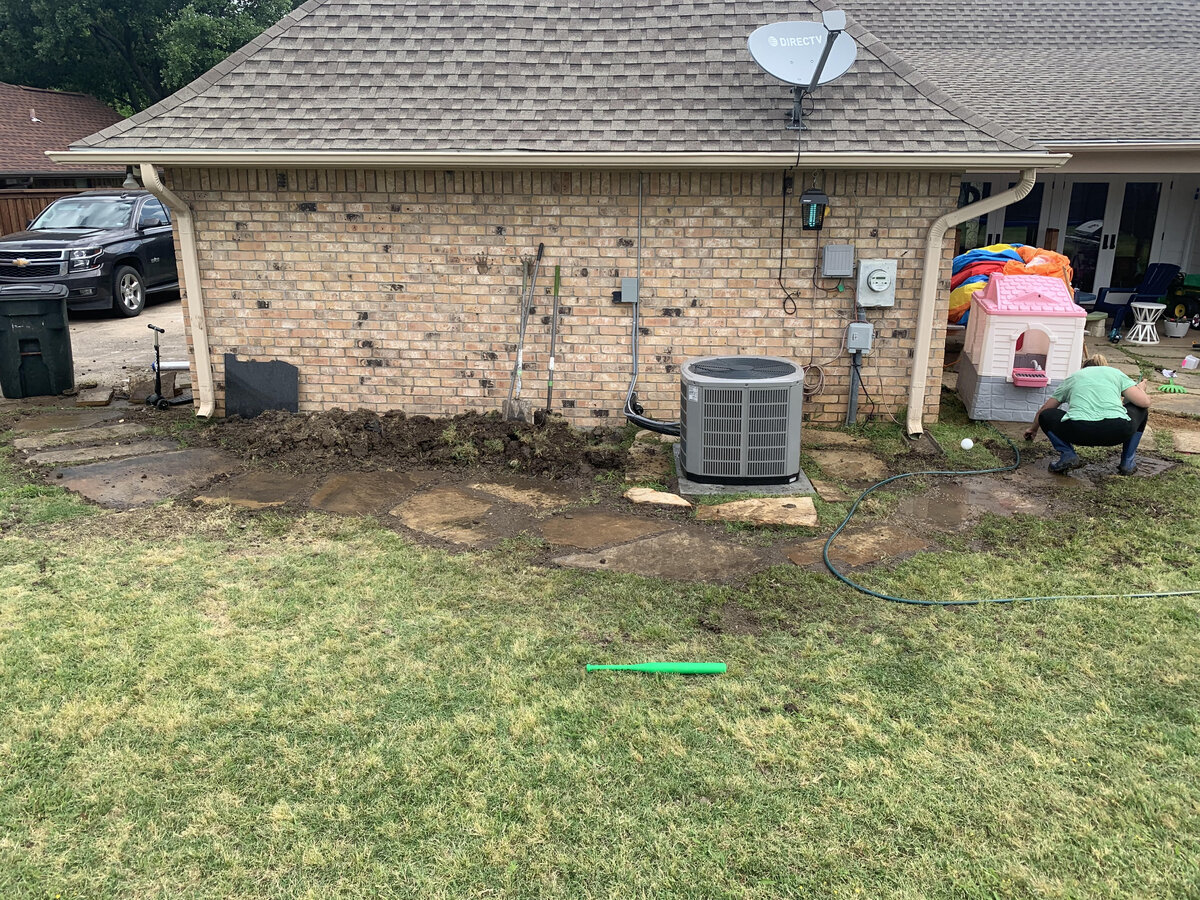
Had all the hopes to get in the shop and finish building the final 2 shelves for the cabinets and then start milling up door material ... between the kids wonderful attitudes and a stone path from the morning, I did not get much time.
Although, I did get a chance to start putting up the little things to get an idea on them. Not sure on the finish supplies if they should go above the miter saw or not... thoughts? Should they go somewhere on the bottom. All the sand paper on the right might stay up there, but not sure if I will bring it down when I build the smaller cabinets under it to sit on the countertop.
The flagstone walk ... Got a picture of the great unicorn working outside ? ... if she ever finds out you will never find my body.
-
1
-
-
3 hours ago, Kev said:
If you've used the right hinges, you should be fine..
Just something else to consider... If you build the doors first, now you have to locate your pull outs around those hinge locations. If you build the pull outs first, now you have to locate those hinges on your door around your pull outs..
My point is that they really go together. I would have a rough idea of where you want to pull outs before deciding on hinge location on your doors.
gotcha, makes sense ...
-
3 minutes ago, Coop said:
Thanks BW. I was going to like this but I received a message that said “ Sorry, there was a problem reacting to this content”. Third one of those that I have received tonight.
Kev took your powers away ?
-
heres the pic ... I just put them in the drawer section so it looked better and you wouldnt see them.
-
2
-
-
17 minutes ago, Chet said:
Tell her as soon as she cleans her room and puts away all her toys. ?
We remodeled our master bedroom back in 2012 and at that time we looked at that style rod but in the end we went with the regular ones for no particular reason.
haha if that was the case I would have years before she would get it ?
2 minutes ago, Coop said:Looking good dude! Is the cabinet secured to the wall?
Thanks! Yep I have like 3-4 of those cabinet screws, I believe you recommended in the shop build out, in there going into studs.
-
1
-
-
question on progression of next thing to work on ... assuming I should make the doors first and then work on drawers so if the hinges get in the way a little of the slides or drawer I can make up for it without much work. is that right?
-
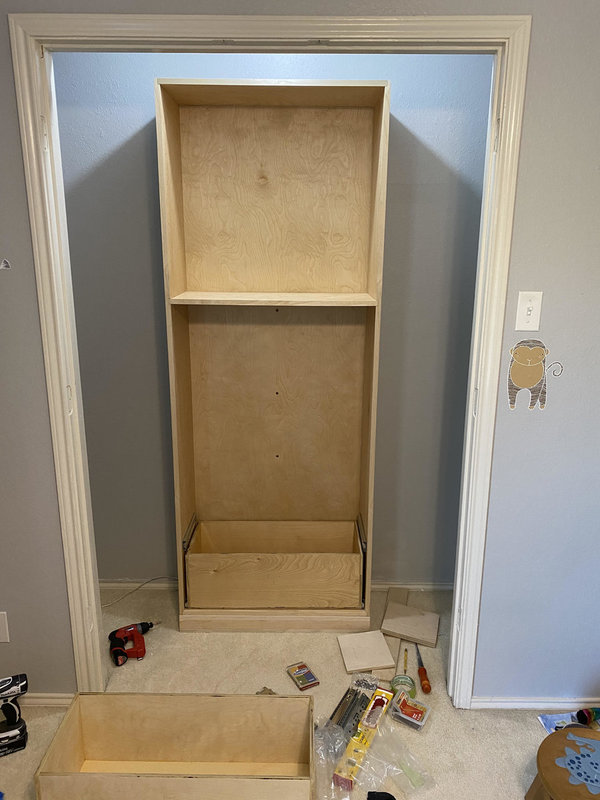
Well the parts finally showed up ... so got the rods installed today.
Still need the top shelf done, but not sure when I will get that up. Daughter is already asking when she gets hers ... soooo that may be coming sooner than later haha.
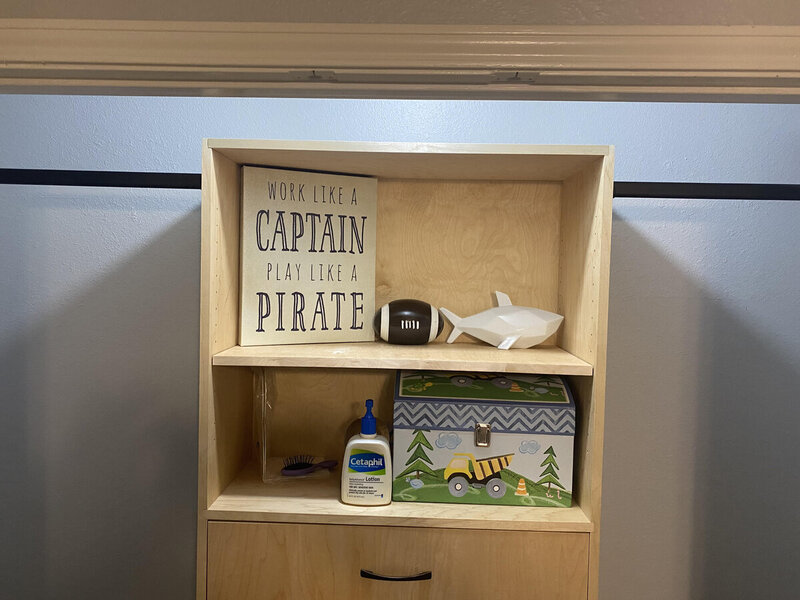
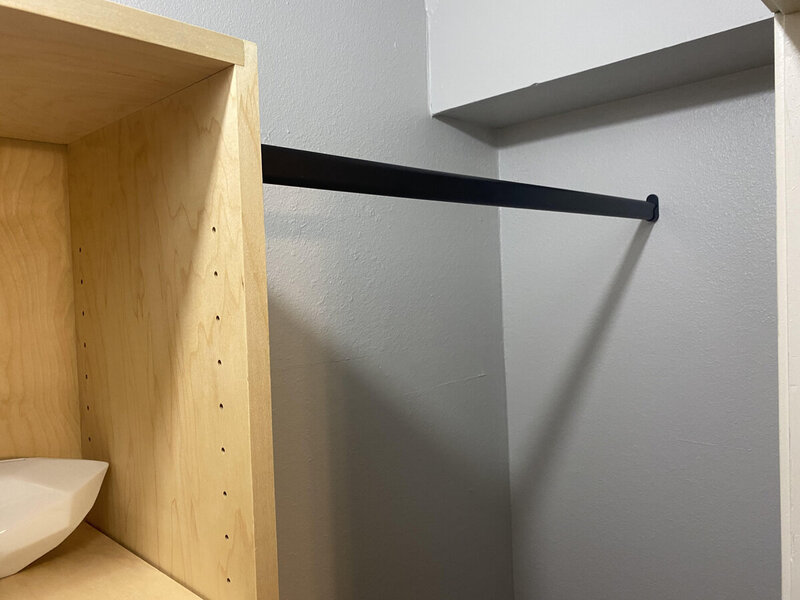
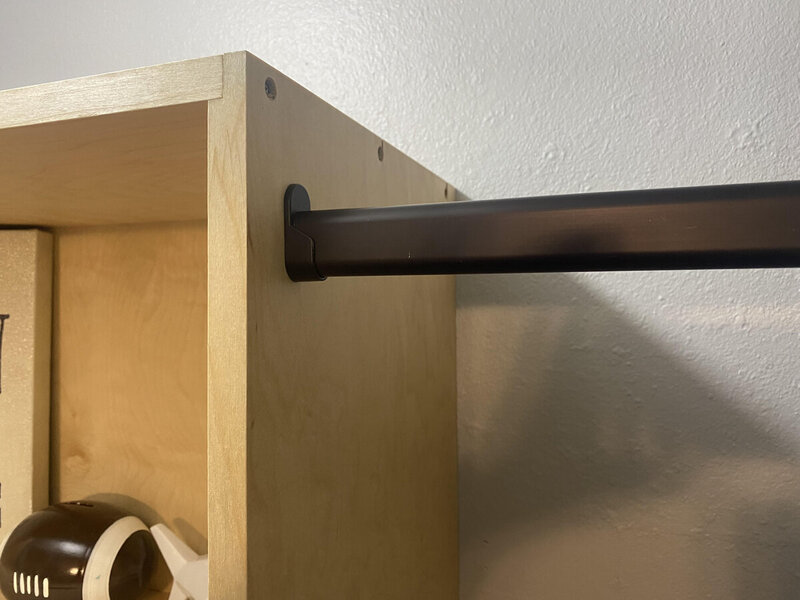
I got the oval rods, I think they actually look kinda good. A nice change from the basic circle rods i have had in every single closet.
-
3
-
-
looks like a great time!!
maybe I should google that haha
-
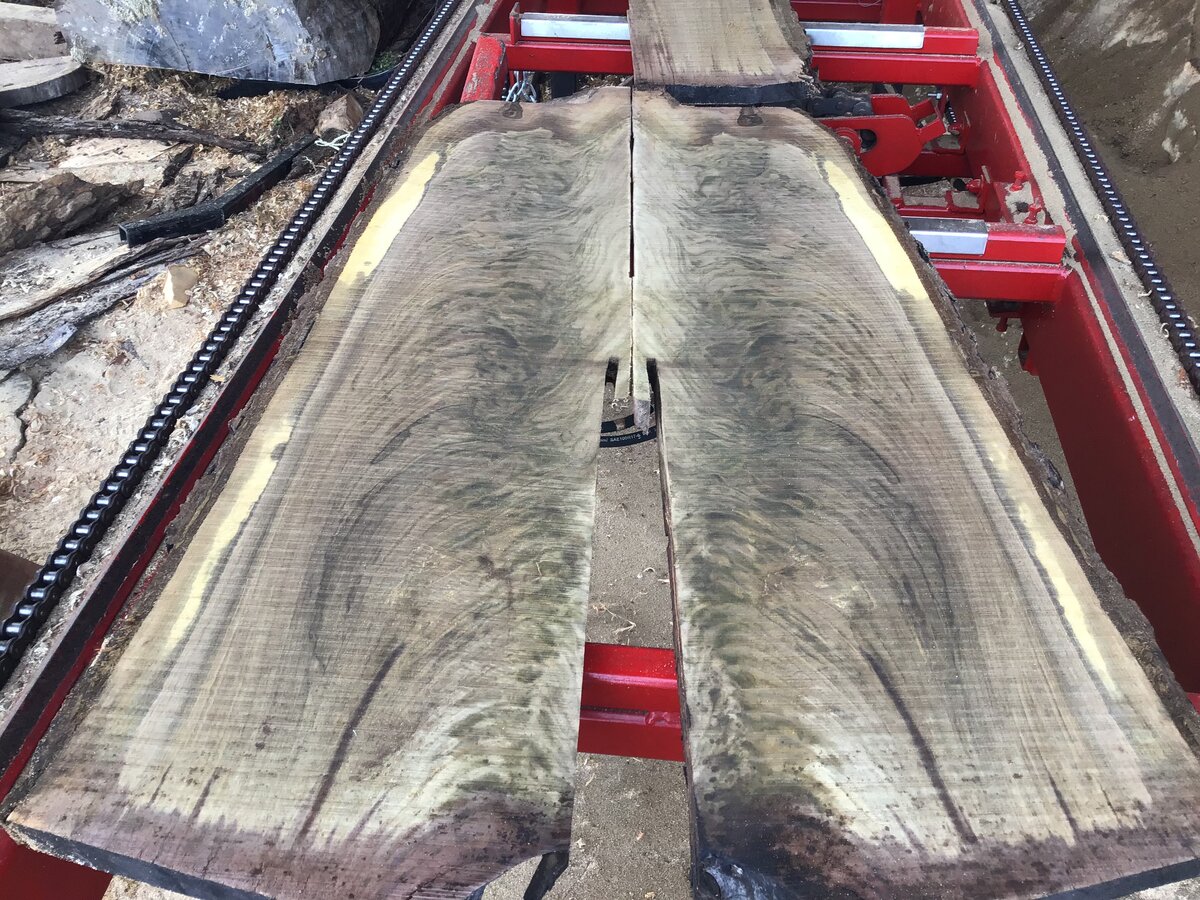
2 hours ago, Spanky said:
Here you go Coop. QS Figured Walnut

now those would look amazing in my office for my future dream desk!!!
-
35 minutes ago, Coop said:
Have you decided what you are going to do with the upper areas behind the garage door guides?
Ya I liked the idea of making the shelves at that height and then doors underneath. In the picture .. where the shelves go all the way across will be open and then doors underneath that. It "should" look like the top of the cabinet for the doors against those shelves, even though there will be a little gap between them as they dont sit flush, according to the plan.
-
2
-
-
ya measuring everything out right now, since I have an OK idea where I want things ...
Got the 2 outer cabinets that are going to be used for Systainer type storage with pullouts and doors. Then going to make the inner 2 all drawers, not sure on sizing just yet. Maybe 2 deeper drawers on the bottom then like 6 or 7" on the rest. Like was discussed on the old site, not sure if it carried over. That seems to be a decent idea to get the bigger stuff a home if needed then lots of small storage.
As far as cabinets ... how do you go through your measuring? Do you measure the inside opening then add one the amount of overhang from the door you want? OR is there another way that I am missing?
-
hmmmm interesting thought on that ... I do have several cases for tools. I think, off the top of my head I have around 6 cases/systainers
-
Thanks Kev!
Just curious, why did you not put doors on the festool ones?
Now the dust really makes me want to put doors on everything. Assuming outside of time/cost of materials, there probably isnt an amazing reason to not have doors?
-
Finished up the first round of finish ... going to sand with 400 and then apply 1 more coat.
Once I get that wrapped up I will start thinking about doors on the top for the left and right sides. Not sure about a door in the middle yet.
Going to go take measurements on those 2 cabs and get final dimensions. On the doors though, going to go with overlay doors though on the top. Still debating doors vs pullout drawers on the bottom. Should I do both? or just pullouts? Not sure whats best.
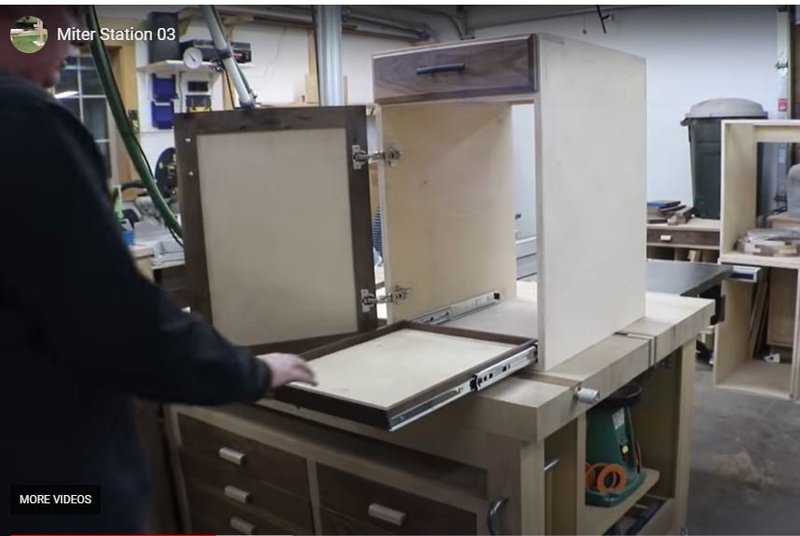
Been watching the miter station build on repeat for awhile ? ... this is what got me thinking about doing both. Although I know you do have several cabinets with just the pullout. What are your thoughts on that? Do you wish you went one way or the other on the open pullouts or the behind the door pullouts?
-
24 minutes ago, Chet said:
I am always within my budget because I buy tools vicariously.
LOL! That is a great way to "spend" money ?


Quilting Desk
in Member Project Journals
Posted
WOW! that is nuts that they get more expensive ... what was so special about your wifes that it cost so much?
From my very limited understanding of these it just needs to fit around the base its its flush and expands the level sewing area..