
Every purchase made through our Amazon Affiliate Page helps support this site

Tmize
-
Posts
1,430 -
Joined
-
Last visited
-
Days Won
26
Content Type
Profiles
Forums
Downloads
Gallery
Events
Store
Articles
Blogs
Posts posted by Tmize
-
-
The site says it’s like a 12 week wait time ?
-
So I put down the down payment on the bad axe 14” bayonet saw. I needed a good crosscut joinery saw. I went looking for a LN but they all sold out at all the places I know that sell them. I went with the hybrid tooth pattern instead of just crosscut figured I would give it a shot I can always refile it.
-
24 minutes ago, Chet said:
Are you hooked up right at the saw with flex hose? And I am just guessing here, but I wonder if you used something like PVC fittings to come out from under the saw, a sweeping 45 degree not a tight 45 and then hook up your flex. On my system I used 2, 22 degree fittings with a 4 inch piece of pipe between them any time I needed a 45 and it gives a nice sweep. This MIGHT give you better air flow leaving the saw because of the gradual bend and the smooth interior surface of the pipe.
Your guess is correct I used about a 4’ piece of flex to connect to the saw. There isn’t much room under the saw to make the connection. I’ll measure how much room I have. Then next time I’m at the hardware store I’ll put together so pieces an see if it will work
-
I have a rigid 4512 table saw. It’s a good saw for what I use it for. I have a 4” dust port on the bottom side under the body on the saw. It catches some of the sawdust. It does tend to shoot a bunch of dust back up on the table. I’ve tried different blade heights trying to see if catch more with not much luck. I’ve taken the ZC insert out an used the factory one. I’ve thought of sealing up around the the blade adjustment wheel for more suction.
The dust collector is only about 20’ away an only has two machines on it with blast gates on both. The collector works great on my bandsaw so I think it’s my table saw design that’s the issue. Any suggestions on how to help with the extra dust? I know they make over arm to collect at the blade but they cost more than I paid for the saw. I’m not looking for perfection just a lil less clean up after a long sawing session.
-
Nice looking table. Never thought about using a roller to apply stain good tip
-
 1
1
-
-
She did a amazing job on this I can’t wait to see her next project
-
 1
1
-
-
@Coop works for me from a iPhone
-
One of the the few good things about a basement shop I have central hvac just had to cut in a grill.
-
$200 hell I’d almost cut it with a butter knife for that price
-
1
-
-
5 hours ago, Woodenskye (Bryan) said:
I went to local HD and they didn't have, then again maybe I need to go when a person with a brain was working. I asked about beam saw and the first words out of his mouth was what is that.
Instead of calling it a beam saw they may know it by the blade size. They make at least 3 sizes 10,12,16 that I know of. 10” is fairly common in carpentry work deck building an so on. It’s max cut is 3 3/4“ I believe. Works great on 4x4 post.
-
The bench looks great. I almost painted mine to I just got lazy. It’s a big project an a true workout. I worked on mine today an the finished bench is worth all the pita parts of the build.
-
4 hours ago, Chet said:
Does the cabinet have enough mass for the Moxon or could there be some un-wanted vibration when using hand tools?
For mounting it to the cabinet, maybe some T - nuts on the underside of the cabinet top and long threaded bolts to go through the Moxon. You would have some holes in you counter top when the Moxon wasn't there but should be to big of a problem.
I don’t think mass I a problem it’s full of tools an I could screw it to the wall if needed. I’ll check on the t nut idea on clearance under the top
-
The beam saw is the ticket if you can get a hold of it. I’ve done the finish the cut with a hand saw it’s not bad as long as it’s sharp. Kev an Chet answered the rest for you.
-
Yea on the bench that’s not the problem. I meant on the cabinet
2 minutes ago, Kev said:You put dog holes in the bench, use them to your advantage.. I use them for the hi-vise and they work well to hold it..
-
42 minutes ago, Kev said:
Bunch turned out great! Super happy for you!
As for the Moxon... I wouldn't mount it where you suggested. The reason I say this? Suggest doing a few projects and see where it ends up getting used and then make that decision.
Just my 2 worth..
Ok I’ll try that just got to come up with a way to temp mount it.
-
34 minutes ago, Woodenskye (Bryan) said:
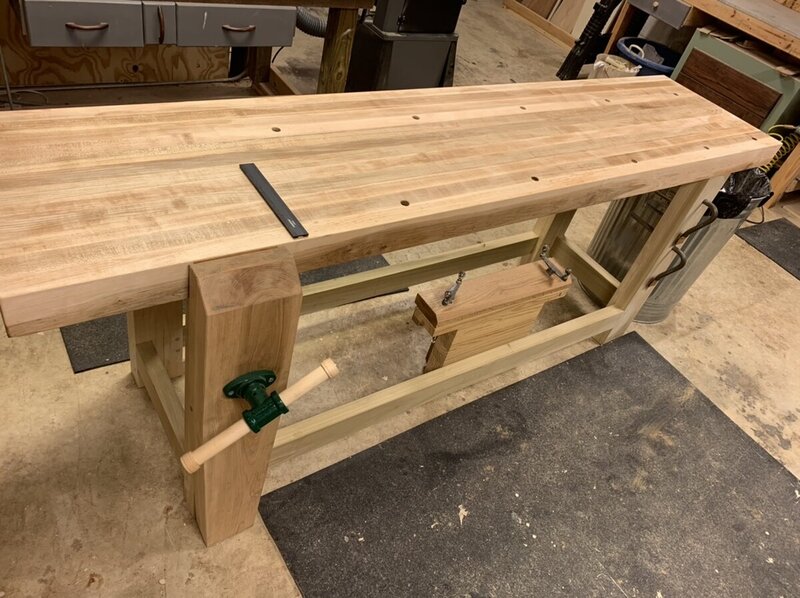
Nice work on the bench! Turned out really good. Is the planing stop from Veritas?
Yes it I love it. I like planing against a stop over being held in a vise.
-
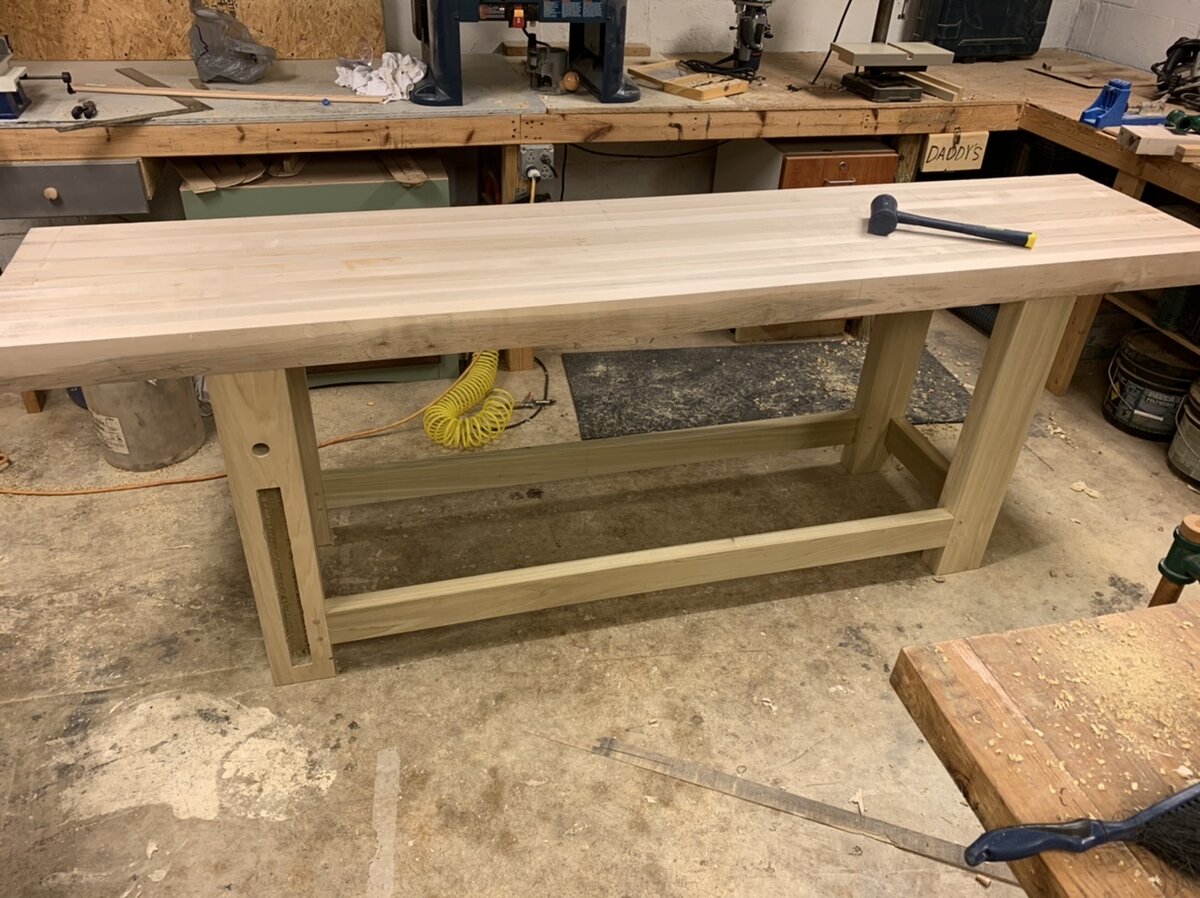
Today’s progress in the shop. I finished up the bench well as far as I’m taking. I left some bumps an bruise it’s going to happen anyway. I put 1 coat of danish oil on the top an chop. For a lil glue protection.
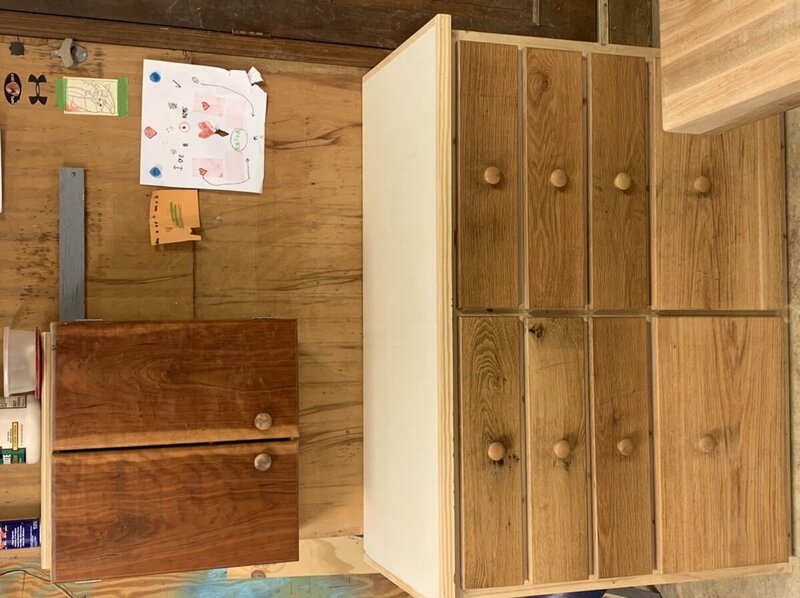
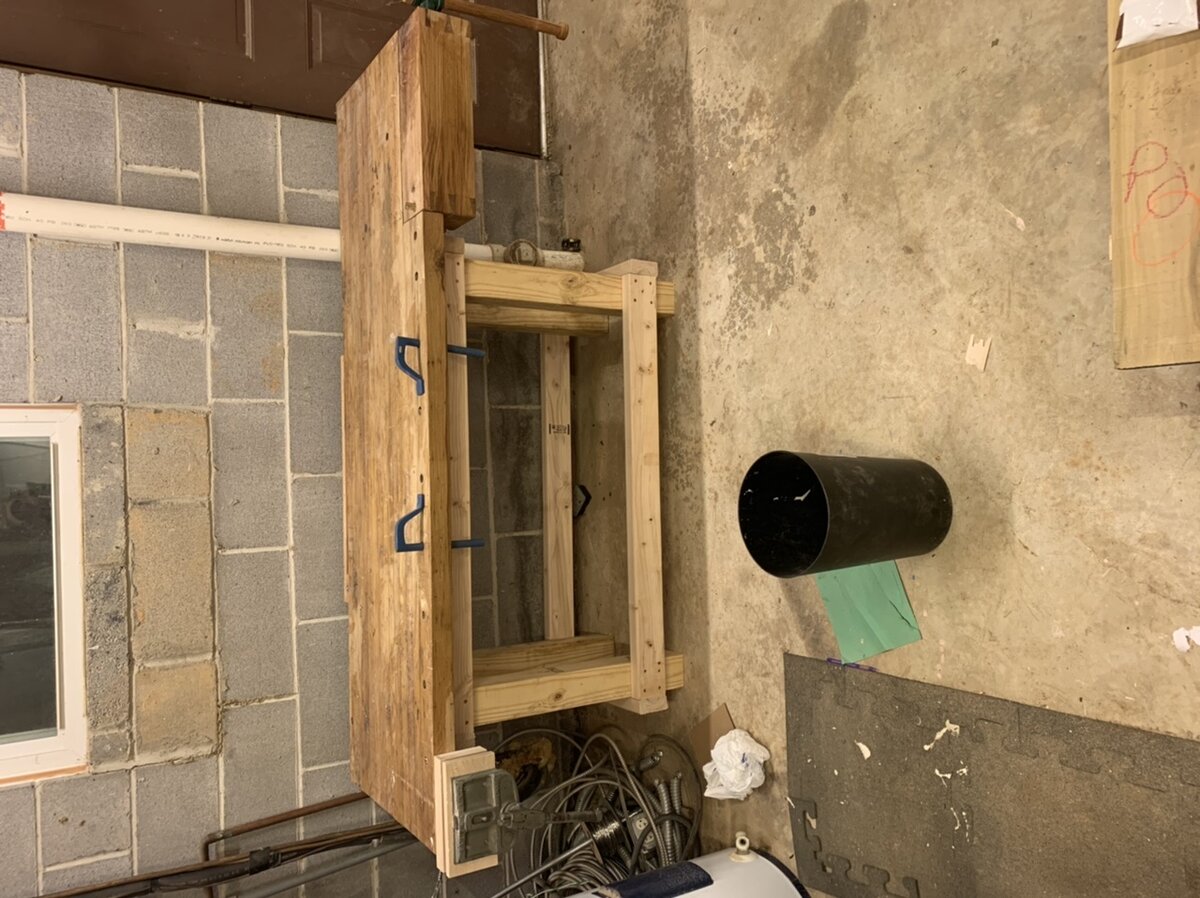
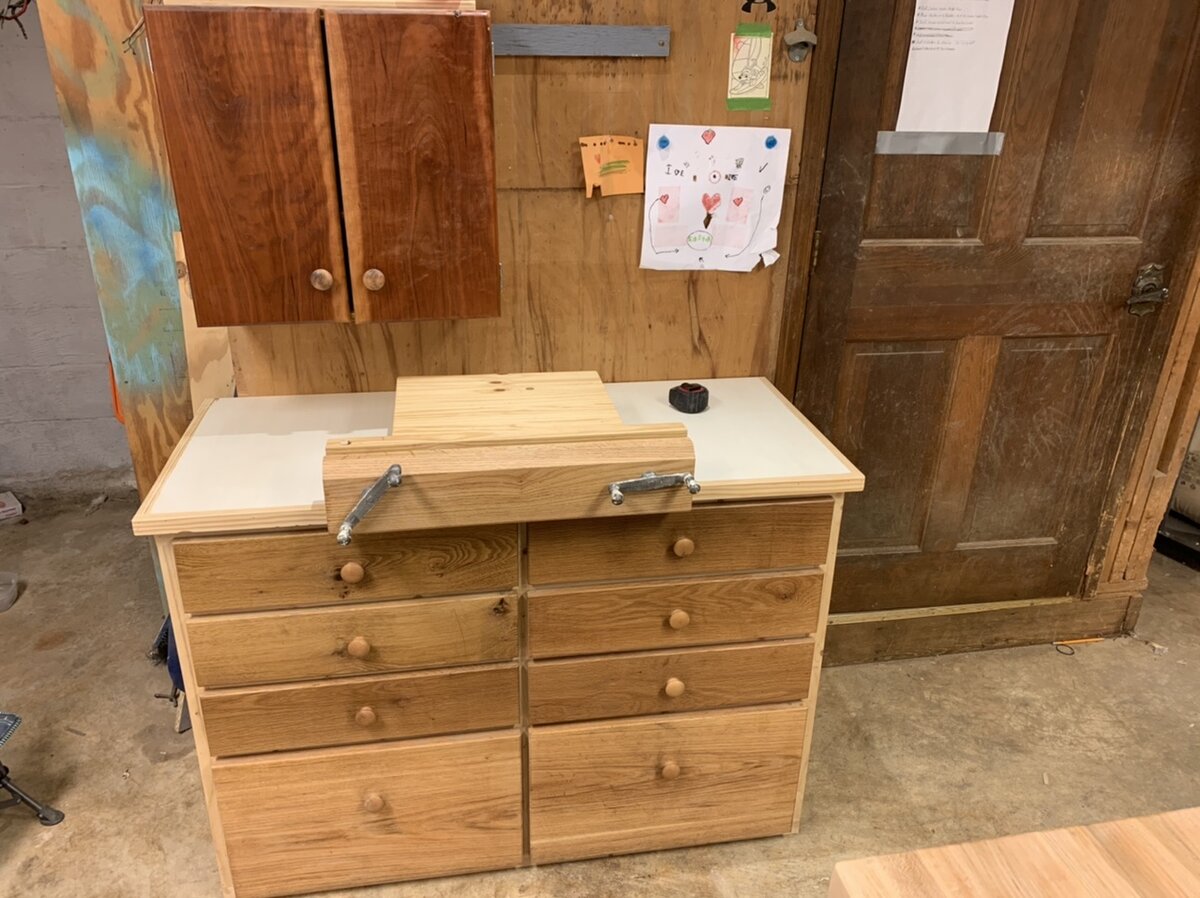
I tore apart my old bench an built a cheap frame for the top. I lowered it down for a better height for my son.

I took the old base cabinet that was under my old bench. I made a new top out of some left over plywood an trimmed it some pine.

So question for the group I’m thinking about mounting my Moxon vise here permanently. Does anyone see a issue I may be missing?
-
1
-
-
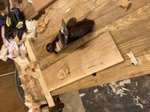
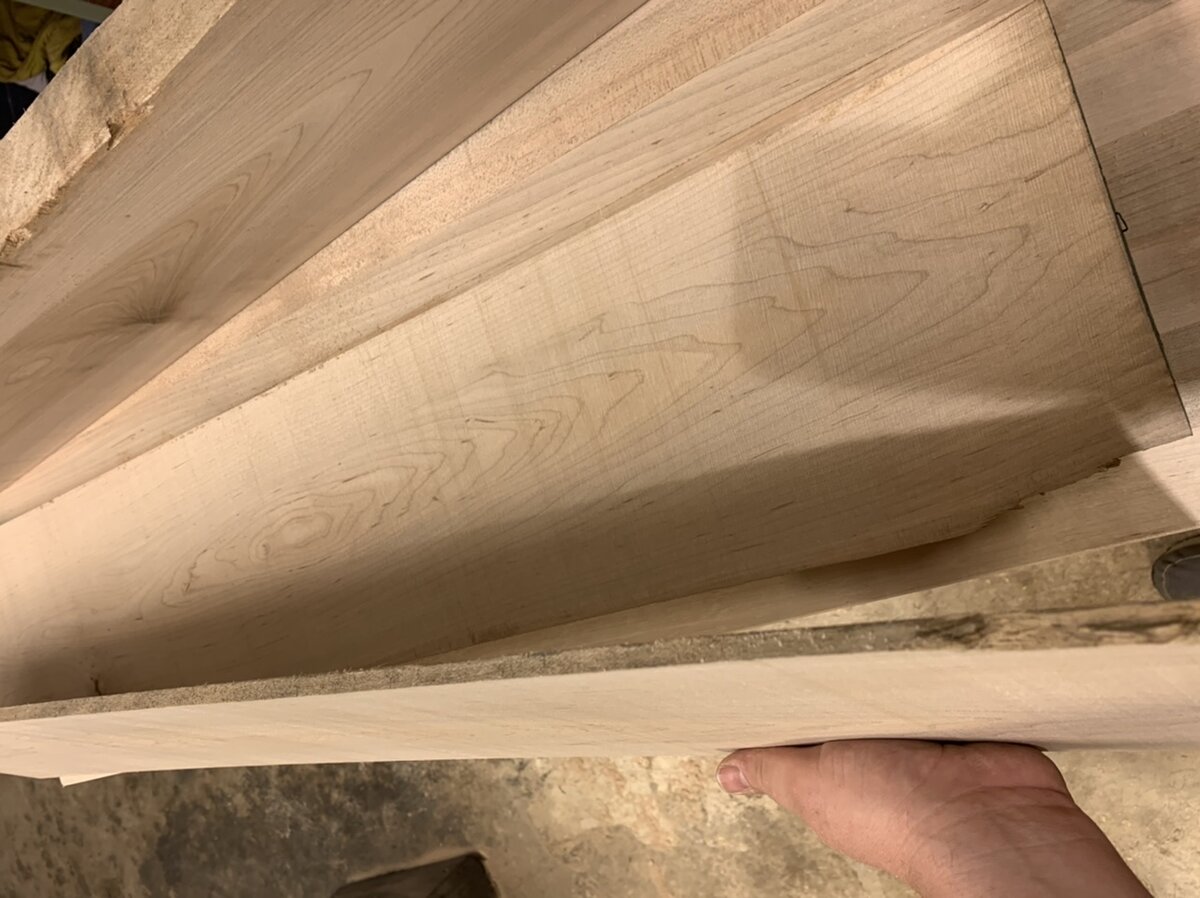
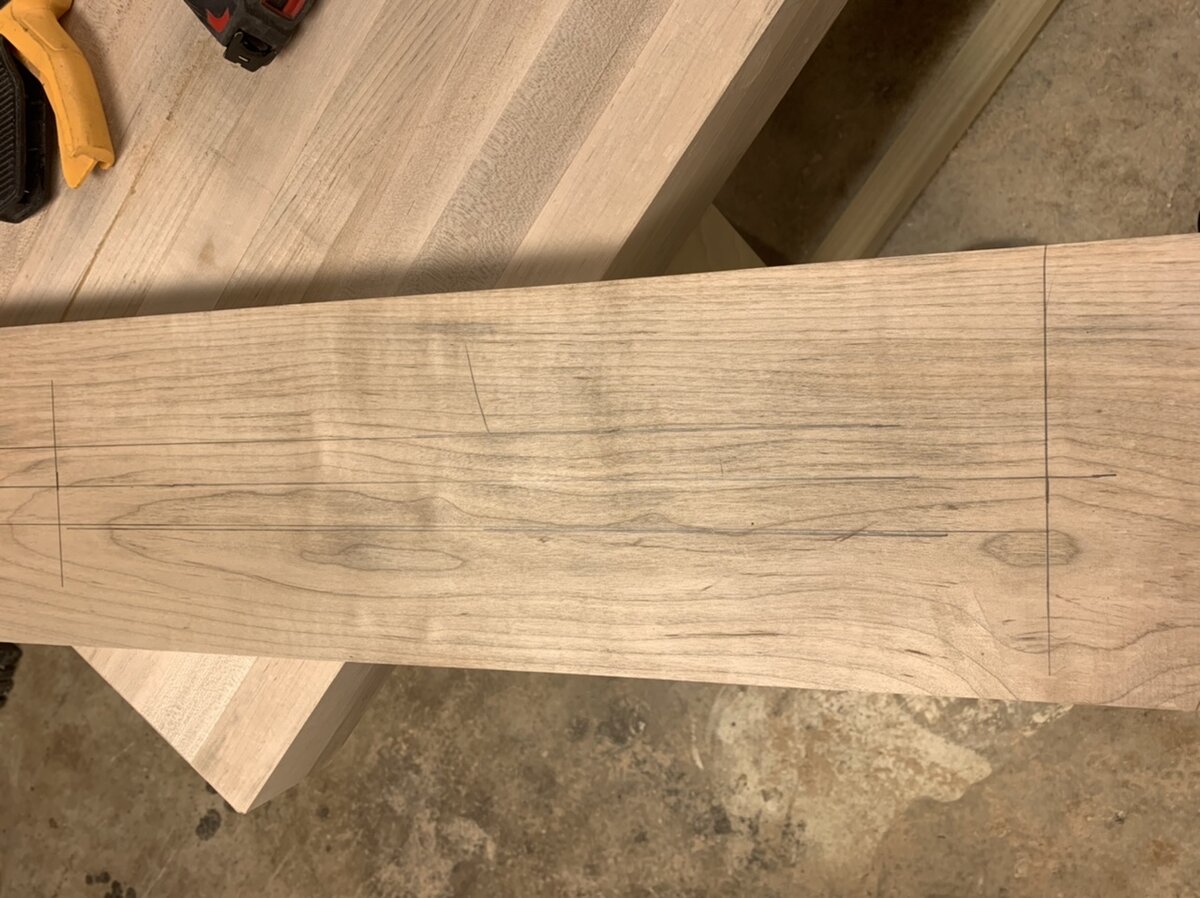
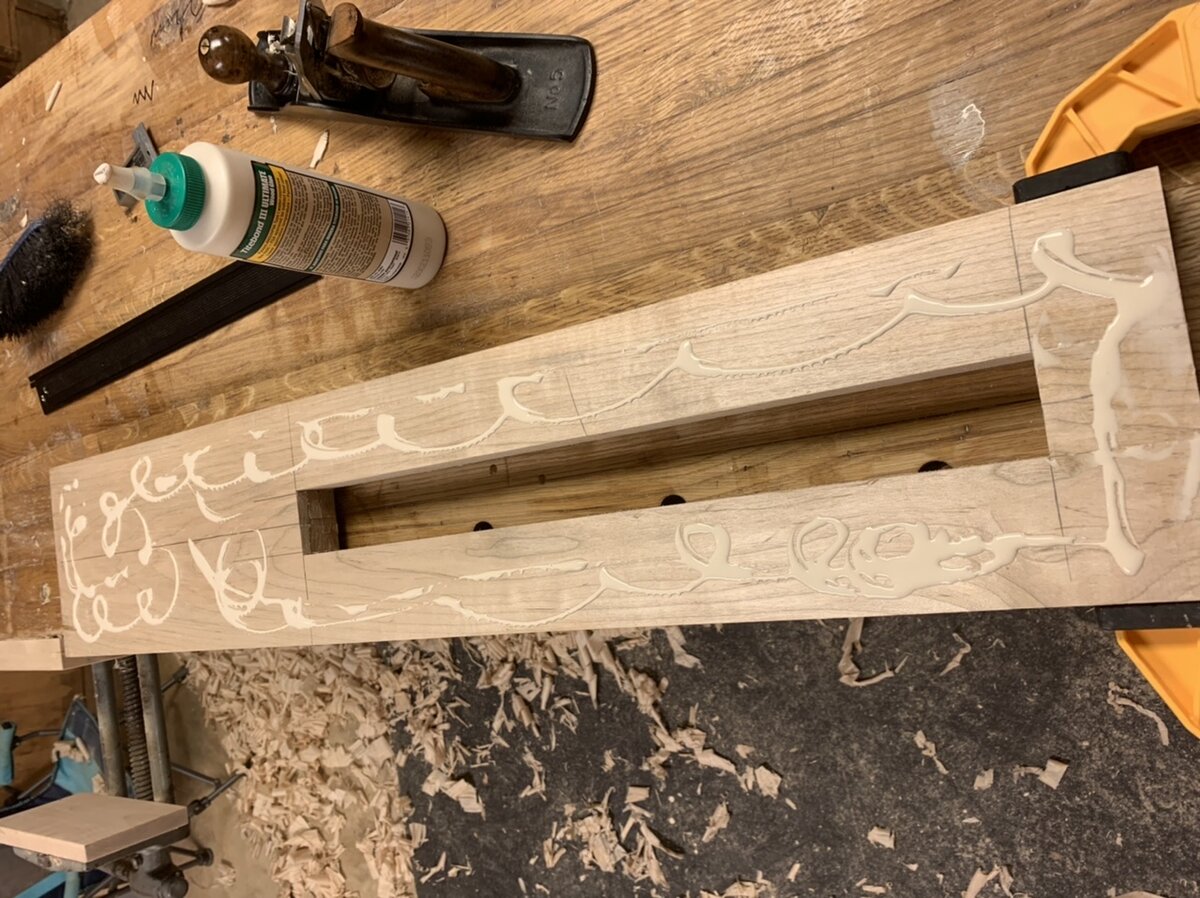
So I started on the chop this morning. I wasn’t looking forward to making the mortise for the criss cross so I cheated. To get the 3” needed for the chop I had to do a glue up. So what I did was resaw a piece of 8/4 down to the mortise depth then cut out the mortise with the bandsaw. Then glued the other piece on to it to make the perfect mortise pocket.


 Im all but finished now got a few more dog holes to drill. The leg vise hardware went good. I recommend to anyone when you go to install the pins that hold the criss cross to the leg an chop wax it first so much easier to install an remove as you adjust the toe in on the vise. It’s shop furniture it’s got so ugly spots already got grease hand prints from the screw install. I’m ok with that I’ve got projects stacking up. So after this weekend it’s back to projects
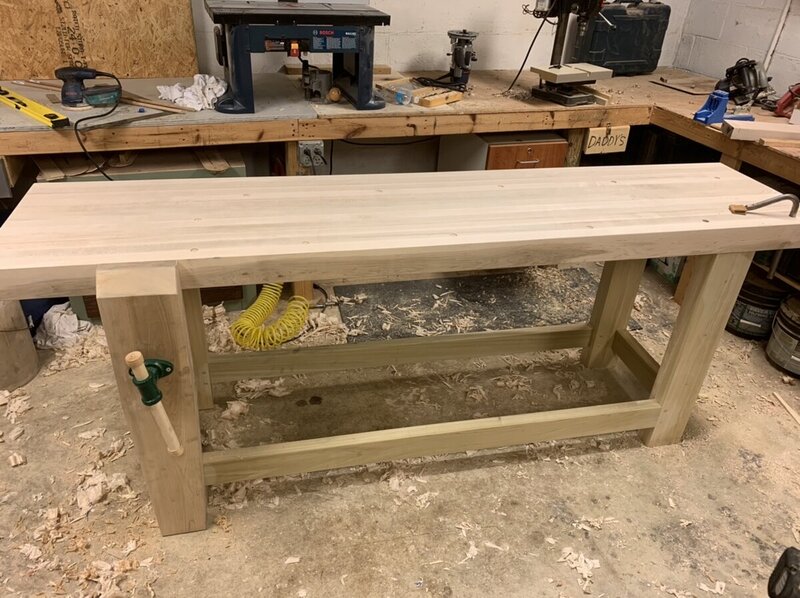 Next will but adding on to my tool storage cabinet that sits behind the bench final resting spot. An then some moving stuff around an try out my new layout. My son has already claimed my old bench.
-
2
-
-
20 hours ago, Chet said:
Thats looking good and getting close to the finish line. Are you putting a shelf on the bottom?
No I’m not doing the self. It’s just a place for shavings to pile up.
-
I’m fighting the urge that I normally do with shop furniture an just rush thru the final prep work an just start using it.
-
Yea I don’t think I’ll have problem with this one moving around on me.
-
This is great I’m enjoy the ride along so much. That girl does have some skill genetics?
-
1
-
-
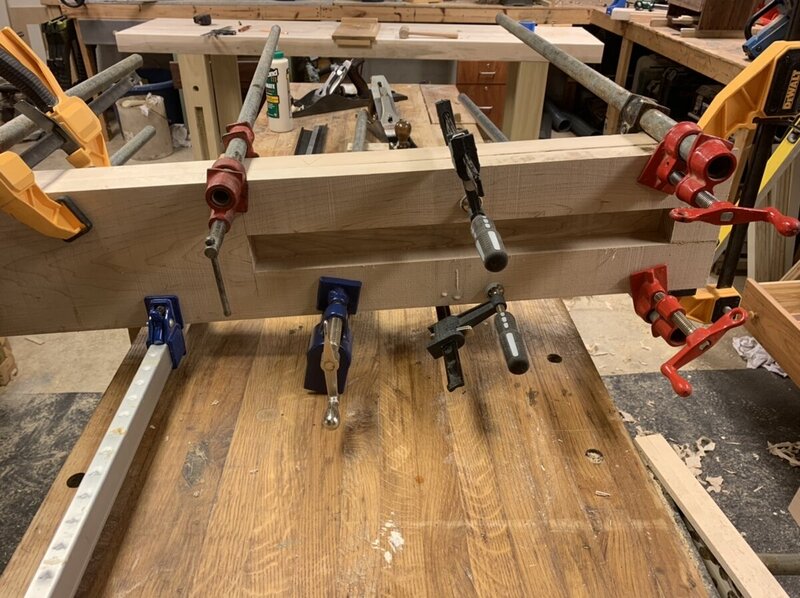
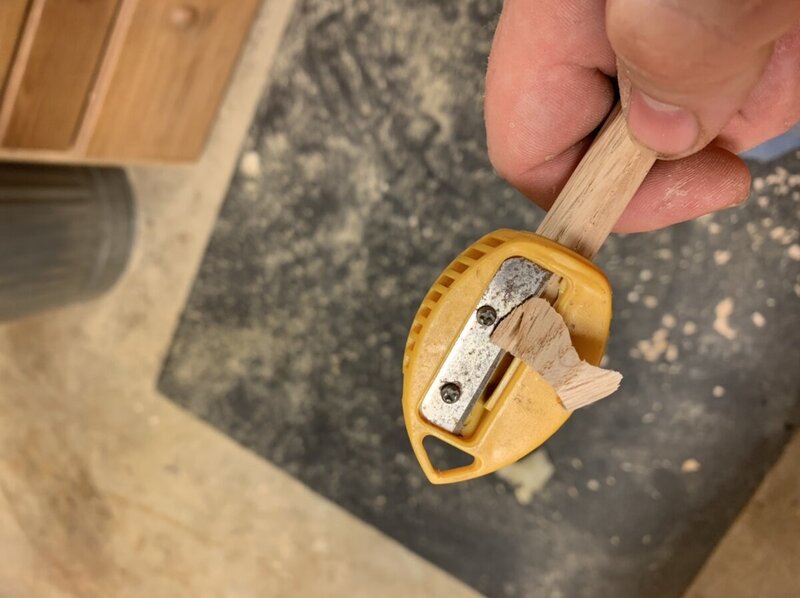 I sharpened up my dowels to help with the draw bore. Turns out a carpenter pencil sharpener works great on 1/2 dowels.
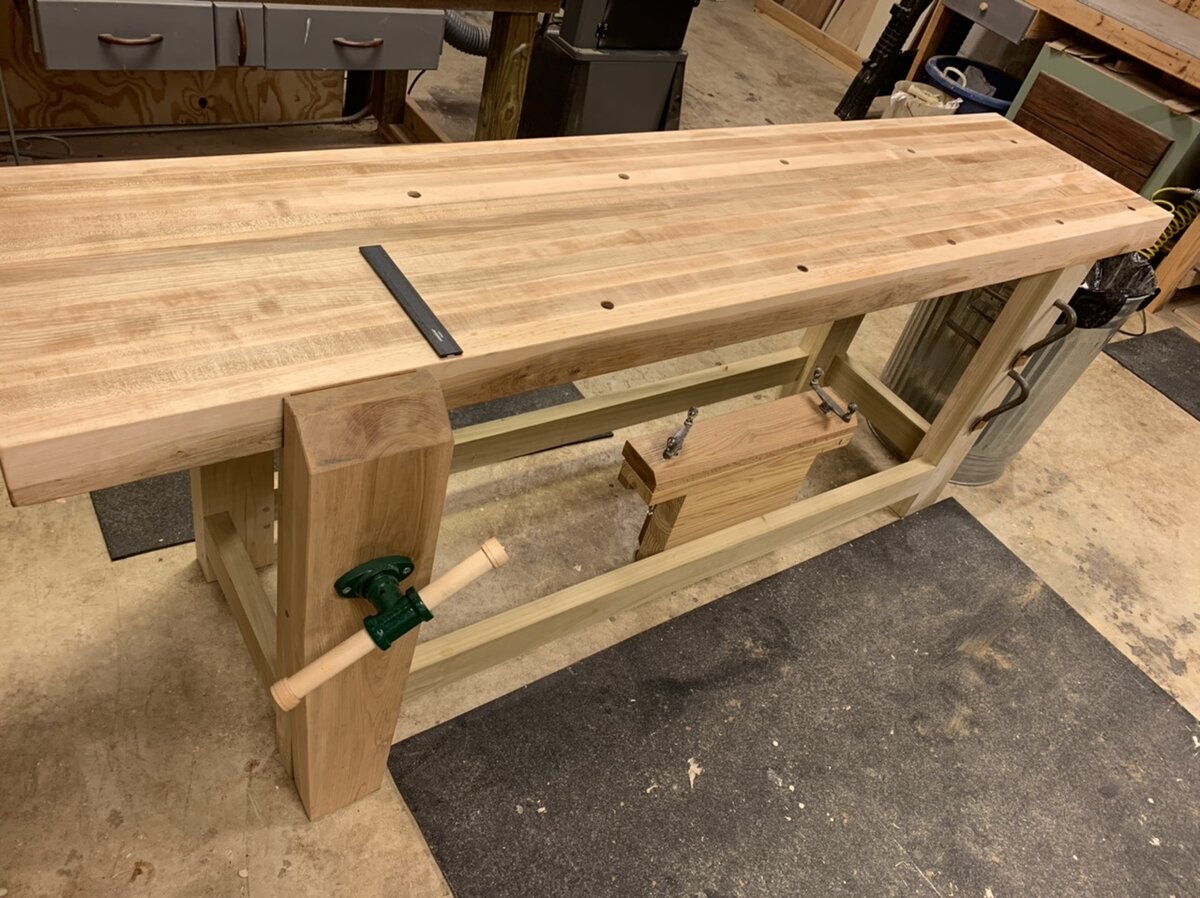
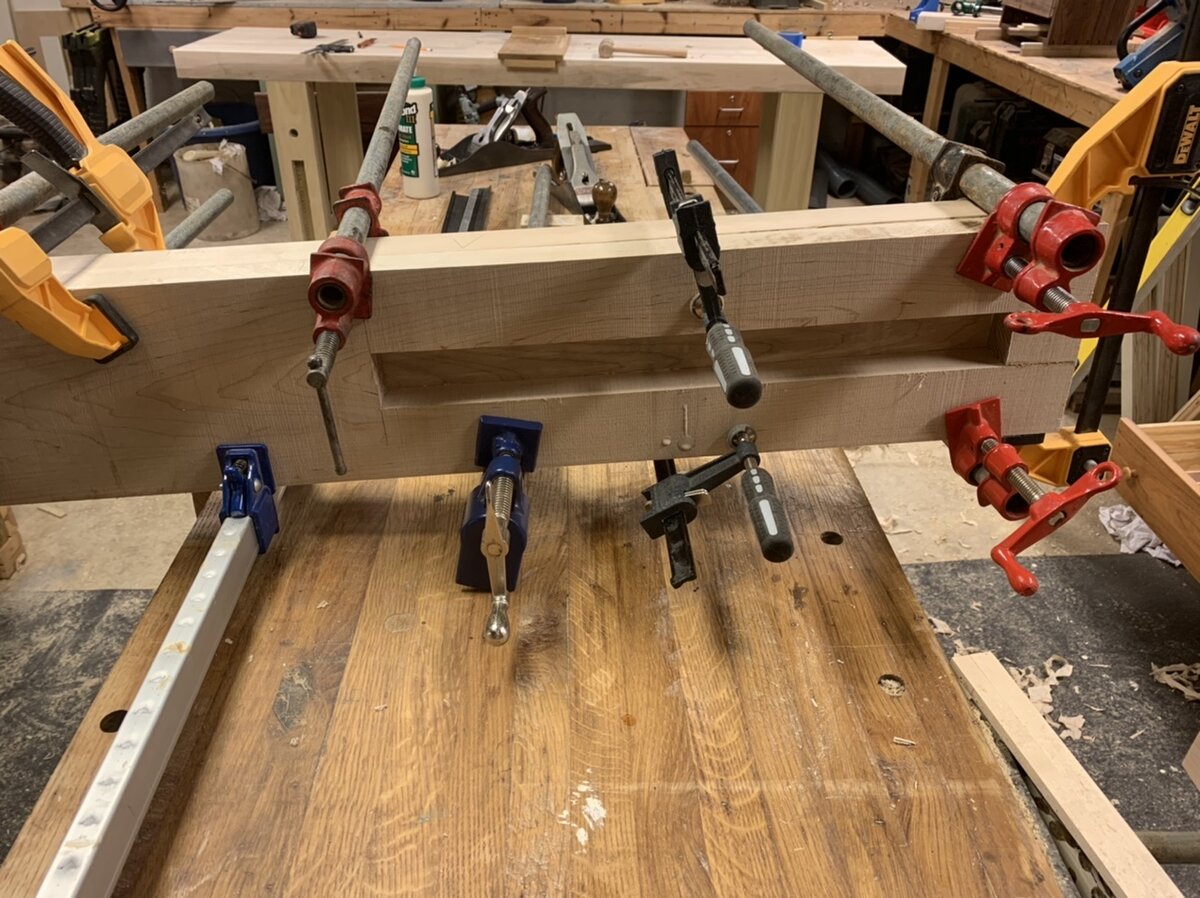
 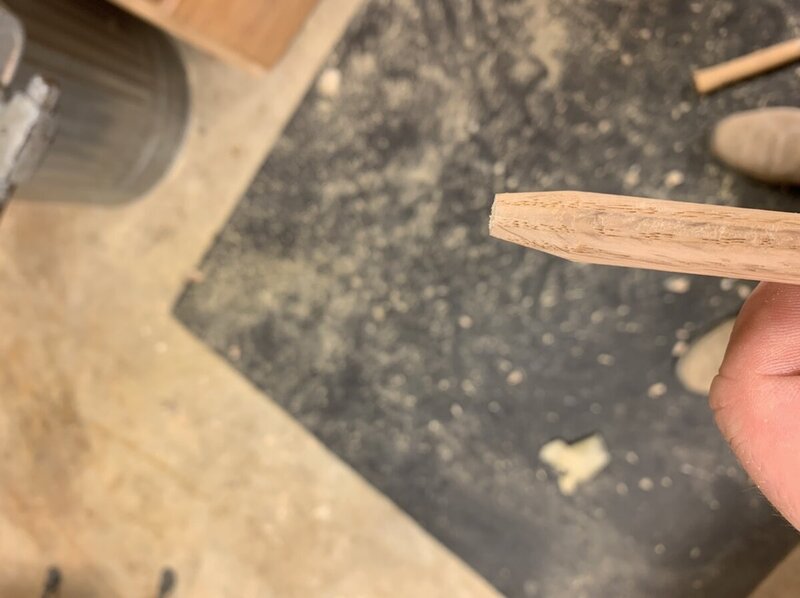 once I got it all pegged I set up up on the slab. Had to trim just a fussy on one mortise. It went together well. To be honest if I was to do this again I would use a double shoulder tenon. With just one long shoulder with the drawboring it tried to twist the stretcher an opened up a small gap. No problem tho this thing is solid as rock.
  The beast is standing on its own now
-
4
-
-
I’m still trying to teach my son (an myself)the clean up part it’s just not sticking
-
3
-
 1
1
-


Bad axe saws
in Handtool Discussions
Posted
It’s still sooner than LN is expected to be caught back up also