
Every purchase made through our Amazon Affiliate Page helps support this site

Tmize
-
Posts
1,430 -
Joined
-
Last visited
-
Days Won
26
Content Type
Profiles
Forums
Downloads
Gallery
Events
Store
Articles
Blogs
Posts posted by Tmize
-
-
On most any face frame furniture I’ve built I always build the face frame first. Like Chet said you can use it as a template for the casework then. Now plywood cases like kitchen or shop cabinets I’ll build the case then build the face frame touch oversize an plane flush.
-
 1
1
-
-
It was a great time. We went out again today this time was a much longer trek. We did 2.3 miles yesterday the big falls in the pics above. Today was 4 miles. We found our almost 3 yr old daughter limits. I had to carry her the last mile out. That flat wore me out I can do the miles that’s not much problem. The 35lb child an 15-20lb pack that got me. Here are some pics from today. Maybe tomorrow I’ll get started back on my lil side project I start last weekend.


-
3
-
-
So with the wife being cooped up in the house with the kids at the house now 6 weeks. So she started googling waterfalls around us. We have been the last two weekends hiking an finding them. I was born an raised around here an never knew they existed.


-
3
-
-
My option it’s a great skill to master to can only make your work more enjoyable an effective.
26 minutes ago, Jamie said:Oh I know ?. Don’t get me wrong, I’m not pulling the plug on any of my saws or other tools. Just thinking it will add to the skill set. Also I’m between projects right now and need something to pass the time. Had these in a drawer for a year or so with the intention of cleaning them up someday.
Next project lumber did get purchased today, or should say an agreement was made on it. Need to pick it up yet. 8/4 red oak, 360bf for 2.50 a bf
-
2
-
-
Just a warning it’s a slippery slope you are going down?
-
 1
1
-
-
Any oak is such a porous wood it’s hard to judge the finish level of it. What I mean by that is when sanding it feels the pores with dust which can seem smoother with sanding. Try it on cherry or walnut or maple an the difference is amazing. Now on occasion I will hit a surface with 320 grit hand sanded if it gives me some problems.
Before you went thru the whole back flattening google the charlesworth ruler trick. You can still do it now it does hurt. Basically it put a back bevel of about 1/2 degree an takes a lot of the work out of the flatten process.
12 minutes ago, Jamie said:@Tmize so I took the blade back off, polished the back of the iron, which was a pain. Took quite a bit of time to get it flat as it seemed like it was taken to a disc sander. Worked on it off and on for a couple hours. Then sharpened the cutting edge. Re shaped it to a 30 degrees and put a 35 degree secondary bevel on it. Made a huge difference! Cuts like a hot knife through butter. Tried it on some read oak, can really see where hitting a board with this before sanding could save a ton of time. The finish on it turned out really nice. Thanks for all your advice!
-
It’s moving right along. It will be a very nice shop when your finished. Did you just Brad nail the face frames on the case?
-
I like hss to me in normal (not highly figured) wood you get better finish. That what I buy for my planer. To answer Spanky all the shops local to me charge about the same to sharpen as I can buy new blades for. I have done touch up sharpening before on my planer knives. It works that not if they are chipped. I’ve heard carbide blades leave a rougher surface due to them not being as sharp but last longer. Is there any truth in that?
-
Lots of reading. I’m the type that when I find a interest I dive head first an try an learn as much I can. Forums, books if you do a little research you will find so much info you had no idea was even out there
-
1
-
-
To be honest I don’t know maybe sounds possible
-
Yes they are called bevel down planes. Most block planes are bevel up. Easy way to remember is if the bed angle on the plane is 12-20* then the bevel faces up. If the bed angle is 40-60* the bevel is down.
-
I don’t think I could ever remodel my shop like you have. I would be in to hurry to get it back an rush thru all these great details you are doing that makes it a great show worthy shop.
-
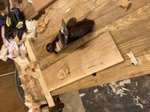
 This the chip breaker placement on my main smoother type 11 Stanley #4.
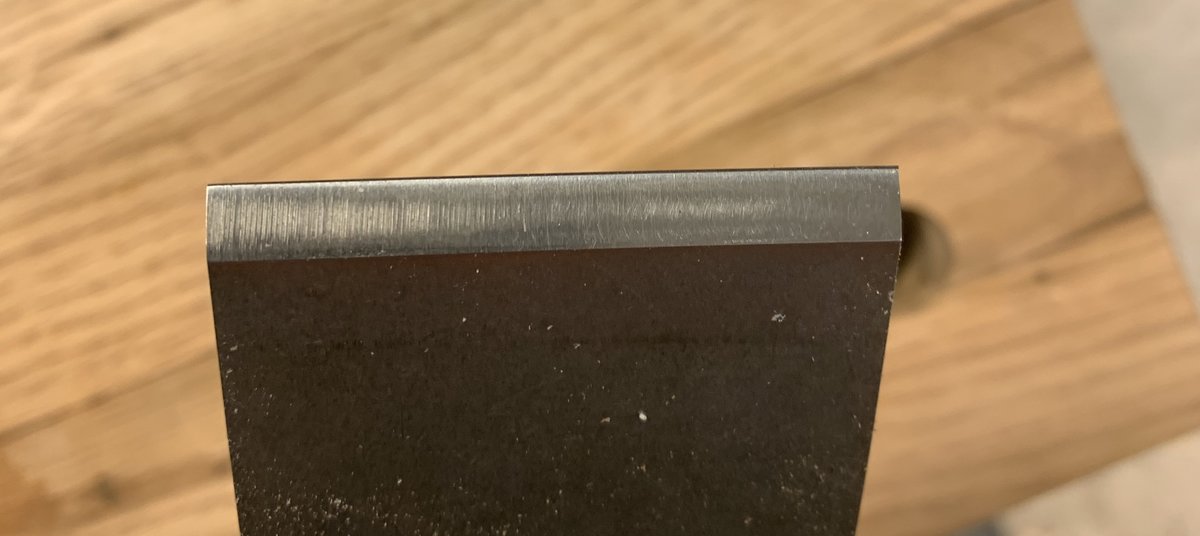
  This is the mouth opening on the #4. I’m believe the chipbreaker setting is the key to no tear out. Many different views on this subject
 This is my all around workhorse Stanley type 11 #6. I do my final flattening an jointing with this. You may notice has the same tight chipbreaker. It makes it a lil tougher when taking a heavier shaving but worth it in that I don’t have to worry much on grain direction.
 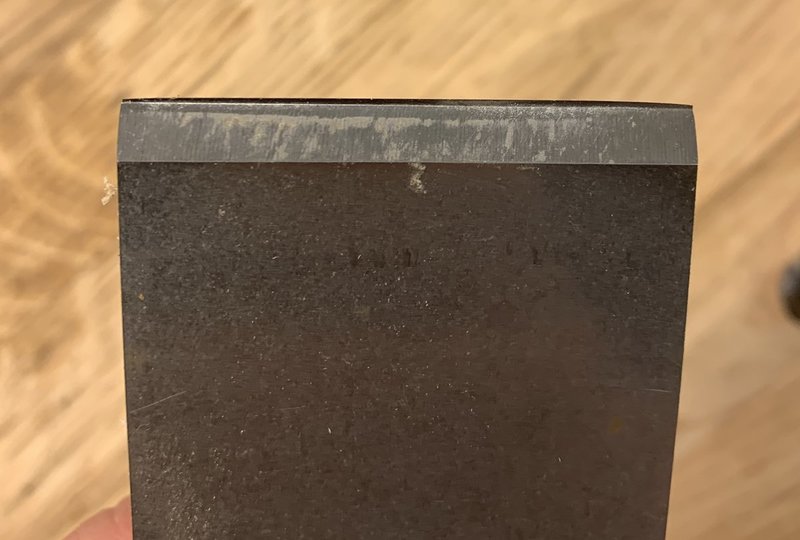 My jack plane if I have some material to remove like 1/8 or so in couple passes. Will smooth to on narrow pieces.
  Finally my foreplane its for when I need to make the wood disappear. It just a old woodie that I refurbished. You hardly know it’s cutting til the chips start flying up out of it. ?
Hope this helps explain some of what I was trying to say last night.
-
1
-
-
1 hour ago, Chet said:
Yea, thats a Laguna bandsaw and they have ceramic guides.
I am not sure about this. My Laguna is over 4 years old and they still spark anytime there is pressure on one side of the blade like cutting a tight curve. I guess if you never re-adjust them to the blade then yea they would wear done and not touch the blade anymore. Maybe different ceramic guides act different after use.
Mine in the manual an the setup YouTube video said it would spark til they broke in. I’ve even noticed on mine that it did after I setup the blade and hasn’t since. But all I’ve done is resaw on mine never put a small blade on it.
-
Ceramic guides will spark when they are new. Once broke in they stop
-
1
-
-
7 hours ago, Jamie said:
What is the best way to set the depth of cut? I think I had it set way to aggressively.
Start with the iron barely fully retracted in the plane. Start pushing it on the piece of wood. Then start slowly spinn the wheel clockwise with your trigger finger. If it will not spin easy enough back off on the screw holding the cap iron. This way you can slowly advance to the cut you want an not have any surprises like you take a huge chunk out of your workpiece
-
1
-
-
It looks to be a 70’s-80’s model. Yes fitting doors or drawer the #4 is great for. As far as flatten a panel it can just depends on how much you need to take off to get it flat. An the amount you need to take off is based on the mouth opening an camber on the blade. If you want to take a med size shaving say thickness of card stock in hardwood a pass. I would do a 1:10 - 1:12 camber. Which is draw a 10 or 12 inch circle cut it out an place it over the back of the blade draw the curve onto it. Then take it to the grinder an grind the corners back to the marks. Be careful an not get the metal to hot. When it gets to hot to touch drunk it in some water to cool.
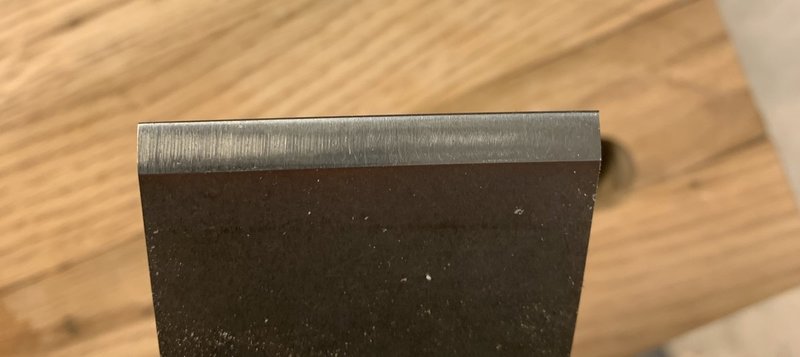
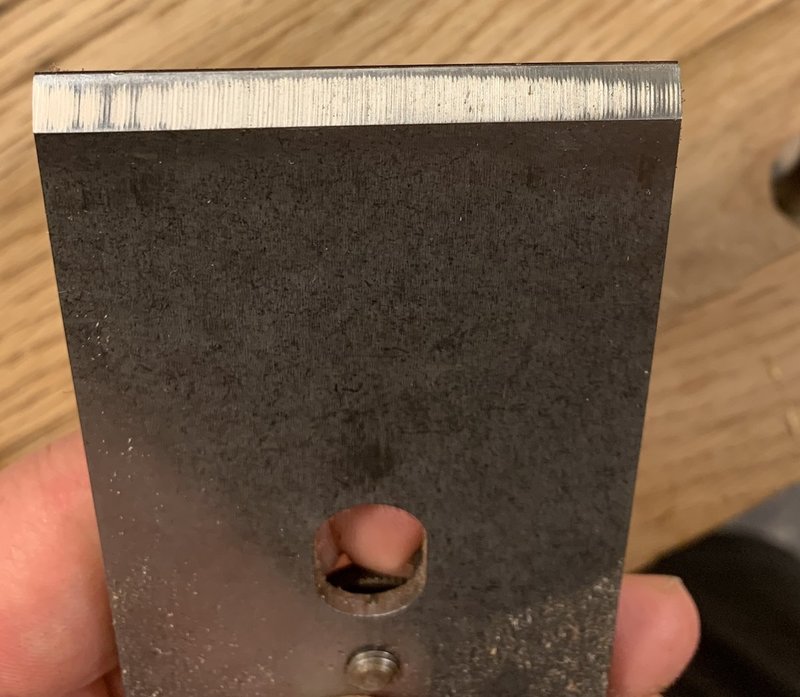
The chip breaker setting it up can be tricky. It really only comes into play for me jointing an smoothing. The rest of the time it’s just there to function the depth controls. I’ll try an get some pictures tomorrow of how I set mine up. I set it back from the edge to where you can only see the tiniest bit of shine under direct light. Experts say between 2-5 thousands back is perfect I just eyeball it ?. You want it to fit the back of the iron where no light is passing thru when you hold it up on either side. The chip breaker should be just as polished as the cutting edge where it is coming out of the mouth.
The job of the chip breaker is to guide the shaving up at 80-90* at that angle right as it is being cut eliminates tear out. What it does is forces it to bend an not break out ahead of the cut. If you get the angle higher it actually mimic a scraping action an creates dust instead of a shaving.
The angle the blade is honed on a bevel down plane doesn’t have any effect on its ability to cut. 35* is perfectly fine where the different angles come in to play is the steel the iron is made of. A1 steel holds a edge longer at a steeper angle. O1 gets sharper than A1 due to finer grain structure but wears faster but holds up better at a lower cutting angle than A1. Now can I really tell that much of a difference. Nope I have both an as far as working can’t tell. A1 is a lil tougher to sharpen tho takes couple extra seconds. Thee is a few more types out there I just don’t have enough experience with them to say on.
-
1
-
-
Ok now you have my attention. My favorite is QS walnut of anything
-
12 hours ago, Jamie said:
As being a power tool dominate woodworker I could see the usefulness of being able to clamp in the middle of the bench. If you guys would see my collection of planes you would kick me off the forum! Heck I honestly don’t know the last time I used them Most of them I know I haven’t touched, they are rusted up and doubt they are sharp. They mostly all came in a box from an auction that I paid $8 for 3-4 planes. Wish I knew more about them..Are you ever worried about cutting into your bench if something moves on you?
With my adjustable height table having a ton of wiggle in it I’m considering a more dedicated bench. I really like the hold downs I see you guys use. Or is that something that I could incorporate into my bench?
I am a hand plane addict there I admit. Their is a learn curve to them for sure. Key is setting them up correctly for the task you want them to do. They are no different than a power tool. If you ever want to get them out a figure them out let me know I’ll help anyway I can. Just pm me or start a topic on it.
Hold fast will hold in 1.5 worth of material. Just make sure an rough up the post with some sandpaper first. They make specialty ones that hold all the way to 3/4. Now if your bench is will shaky/unstable I wouldn’t bother the movement will cause them to loose up.
-
1
-
-
I still haven’t got around to starting the build yet. But Rick your bench is just about what I had sketched up with a leg vise instead of the front vise.
-
Hi
in New Members
Welcome
-
It is a fight that will never be lost or won. Like so many in our hobby everyone is so strongly opinionated. It is fun to sit back an watch the battles tho.
Personally I don’t I answered this when it came up before I would take either one as a gift ( if anyone was looking for a gift idea?). I’m with kev on the sawstop. I really would hate having to remember to put it in bypass everytime I need to rip a 2x4 or I buy air dried lumber from time to time an that could be bad. I don’t much for safety tech anyway I’m more common sense than we need to make this rule to keep the idiots safe and alive to reproduce.
-
I really like the cherry bead that an the finish set the whole piece off
-
1
-
-


My Son's Closet
in Member Project Journals
Posted