Every purchase made through our Amazon Affiliate Page helps support this site


pkinneb
-
Posts
279 -
Joined
-
Last visited
-
Days Won
18
Content Type
Profiles
Forums
Downloads
Gallery
Events
Store
Articles
Blogs
Everything posted by pkinneb
-
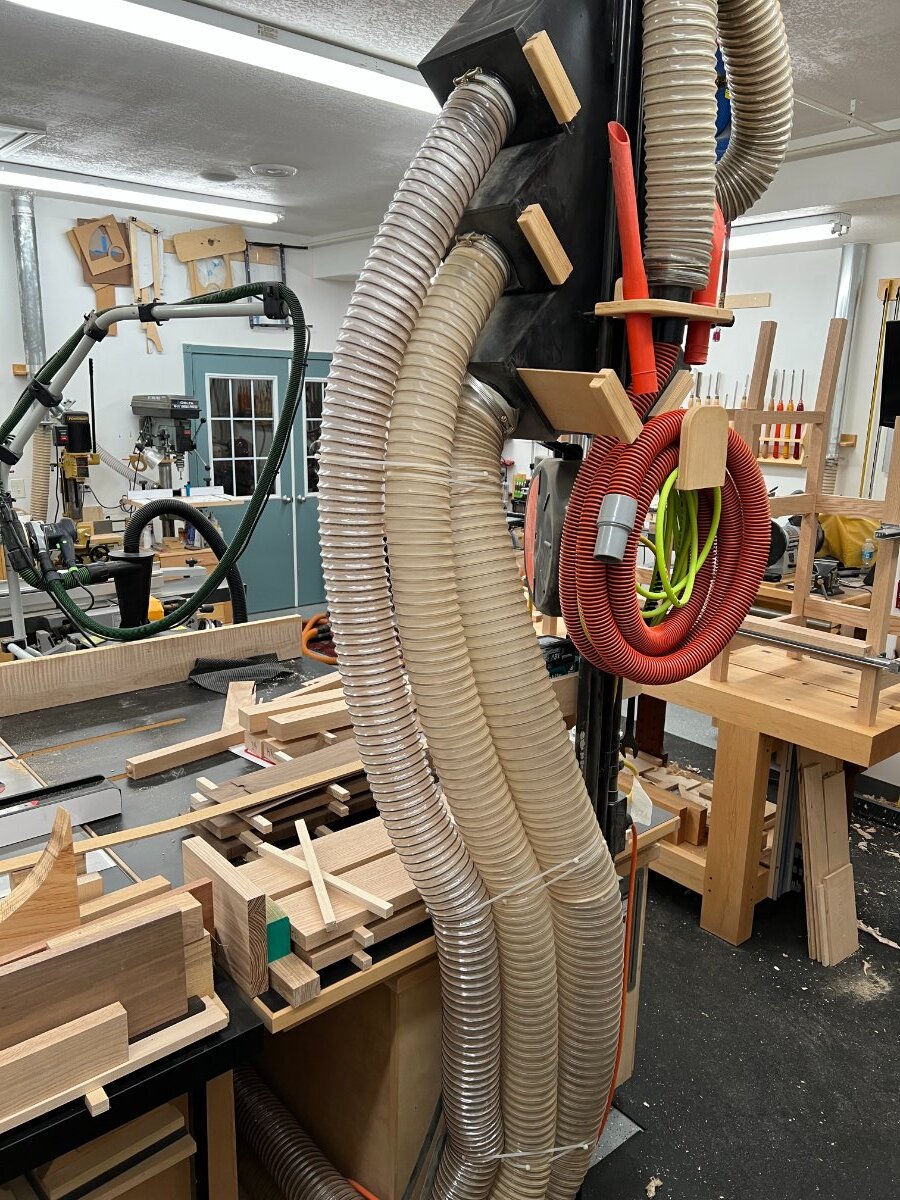
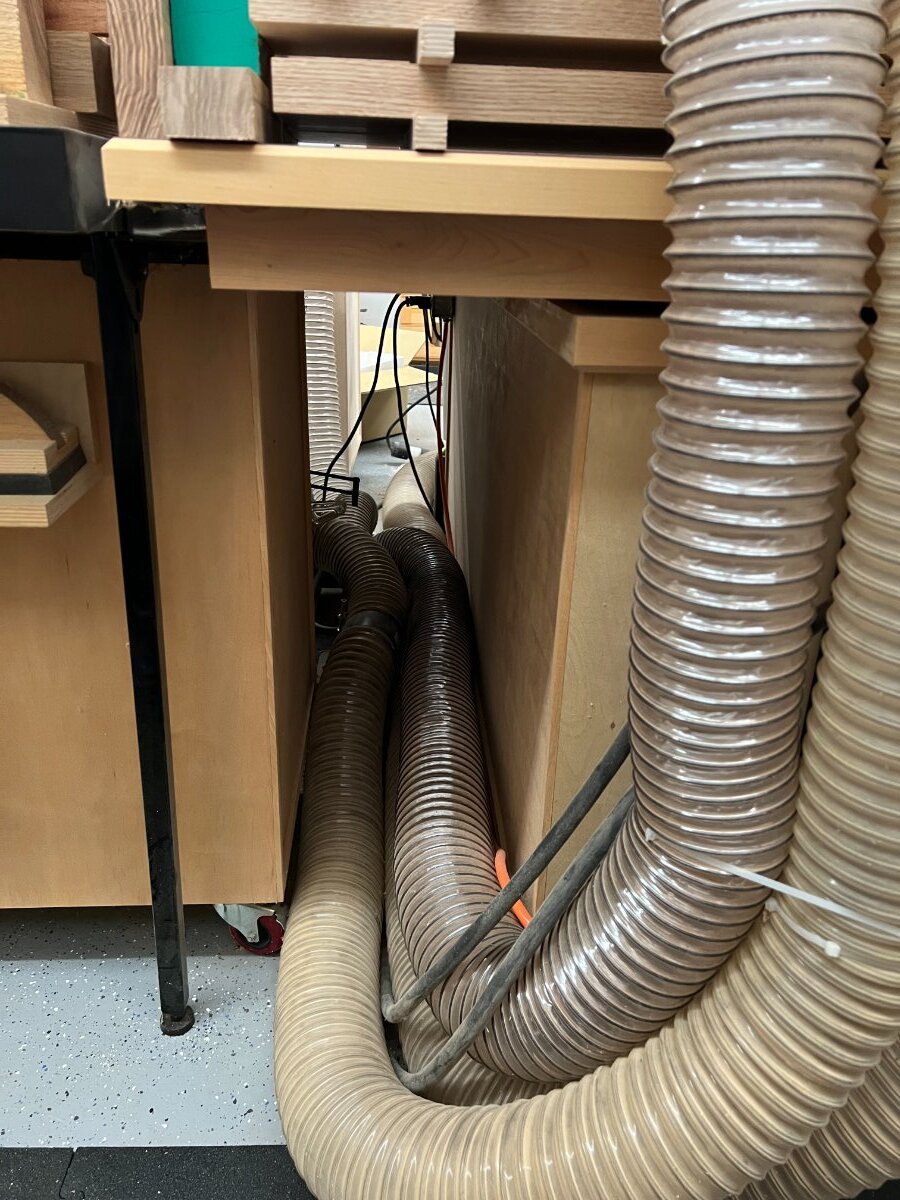
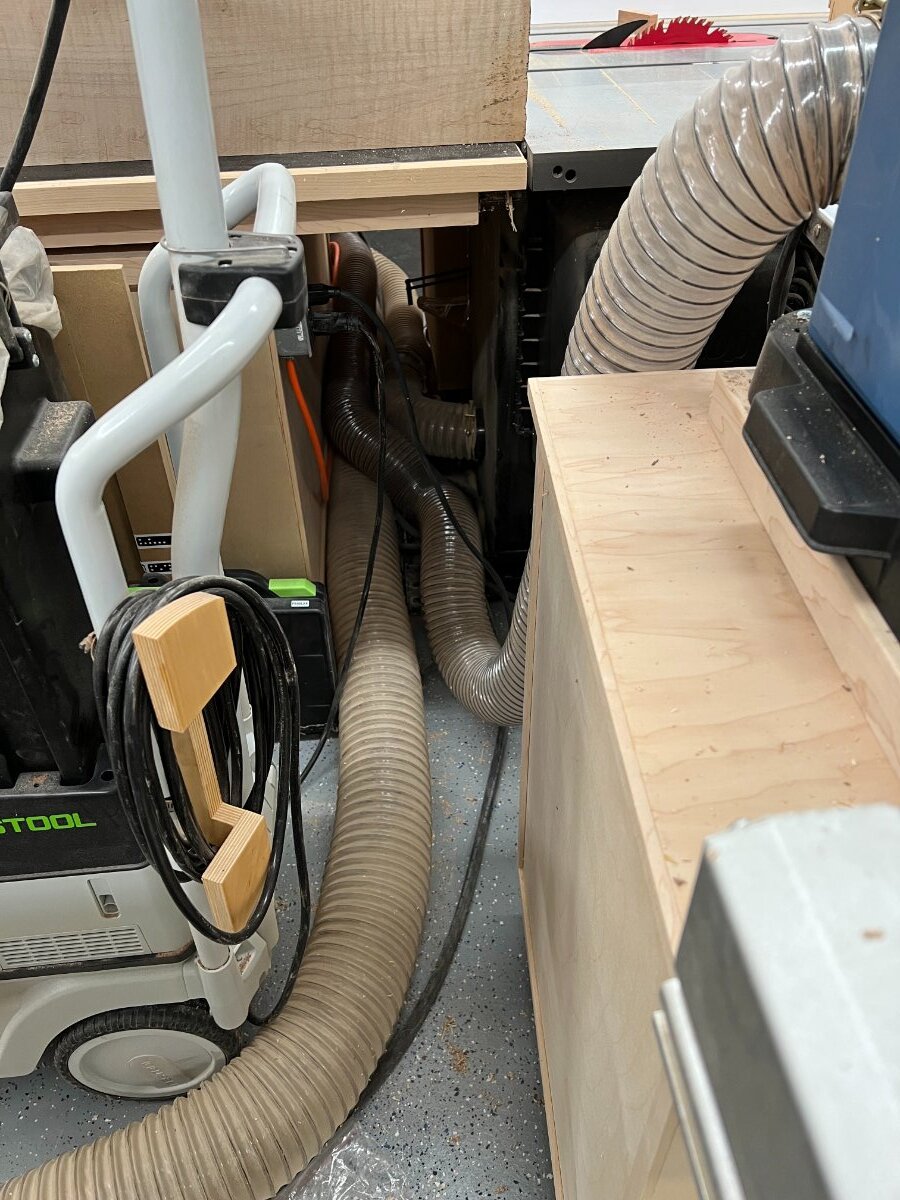
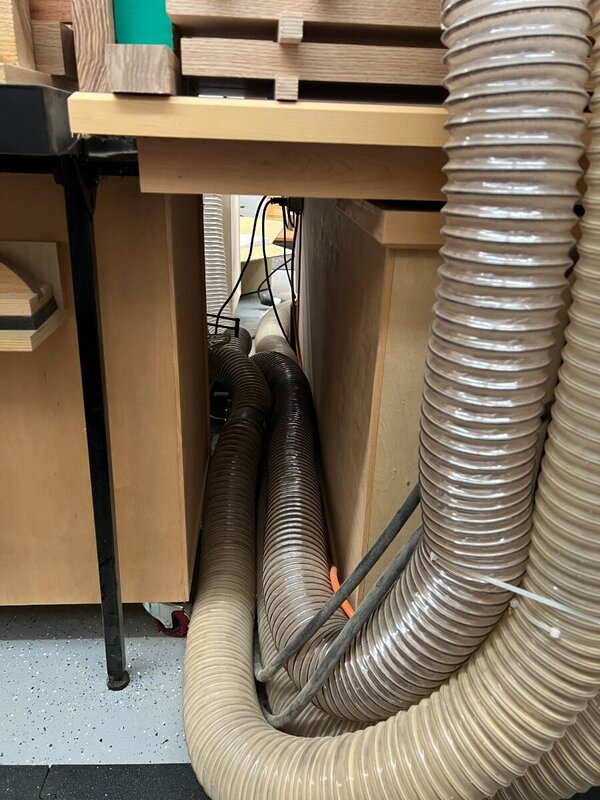
I agree with Chet it is such a nice piece if needed take the time and go with option 3. FWIW long sections of flex pipe work just fine even if folks tell you different. I have used this set up for two decades without issue.


-
I hear you Ray!! When I did my basement I called several dry wall hangers but nobody would take on the work finally frustrated with the delays I hung it myself. Luckily I was able to find somebody to tape it, he did in two weeks what would have taken me months 🙂
-
I haven't. Need to get good enough to have something to duplicate first 🙂
-
I plan on making more Windsor chairs so I am setting up for turning spindles but would love to delve into bowls and platters as well. Like you I am pretty much a beginner
-
I look forward to following this! Are your plans to do bowl turning?
-
I have Rob's DT saw and two Bad Ax saws (tenon and 12" hybrid) they are all awesome but the Cosman handle, while not as pretty, just fits like a glove and is a dream to use for DT's. I also like the 12" hybrid I use it for almost everything not DT's. Probably could have gotten by without the Tenon saw but its extra depth comes in handy when needed.
-
Thanks I’ll let him know. They do heat and cool correct?
-
Wow! We're are looking at our first snow of the season Saturday here in central MN So the Mr Cools are heat pumps too, correct? One of my fell Windsor chair group guys was asking me about shop heat and I told him that's what I see most folks going with but I have no personal experience with them.
-
Agreed! I have his DT saw and love it so I would never use a pull saw for those but I still think a pull saw is a very useful tool to own and honestly they are cheap too. I have a dedicated shooting board plane and feel that I should have saved my money on that one. It works well but I actually learned hand tools from Rob's videos and still find myself grabbing my Woodriver #5 for that use most days 🤦♂️
-
I agree it was worth watching. I also agree with him on most of his opinions on the tools in the video. Probably the only one that caused me pause was the mortise chisel I prefer them to have a slight bevel on the sides.
-
Wow just made it 🙂
-
I just saw that, what a piece of art it is!
-
That is going to be one awesome shop!!
-
Yep totally get it! I see content creators get flamed for all kinds of stuff kinda cracks me up as it makes no sense to me. I have seen folks with very nice tools make junk and I have seen folks with crap tools make museum pieces. For me it really comes down to how much time/ money you have and whether you enjoy the task. In your case I suspect knowing your audience and what they want/ expect to see is probably #1. I have always figured the price of tools into the project I am working on and this has allowed me to purchase many nice tools over the years, with the boss's approval. Having said that I am also getting close to the end of my working years so I am trying to knock any big ticket items off my list prior to retirement. This and my new lathe (if I ever get it) were two of those items.
-
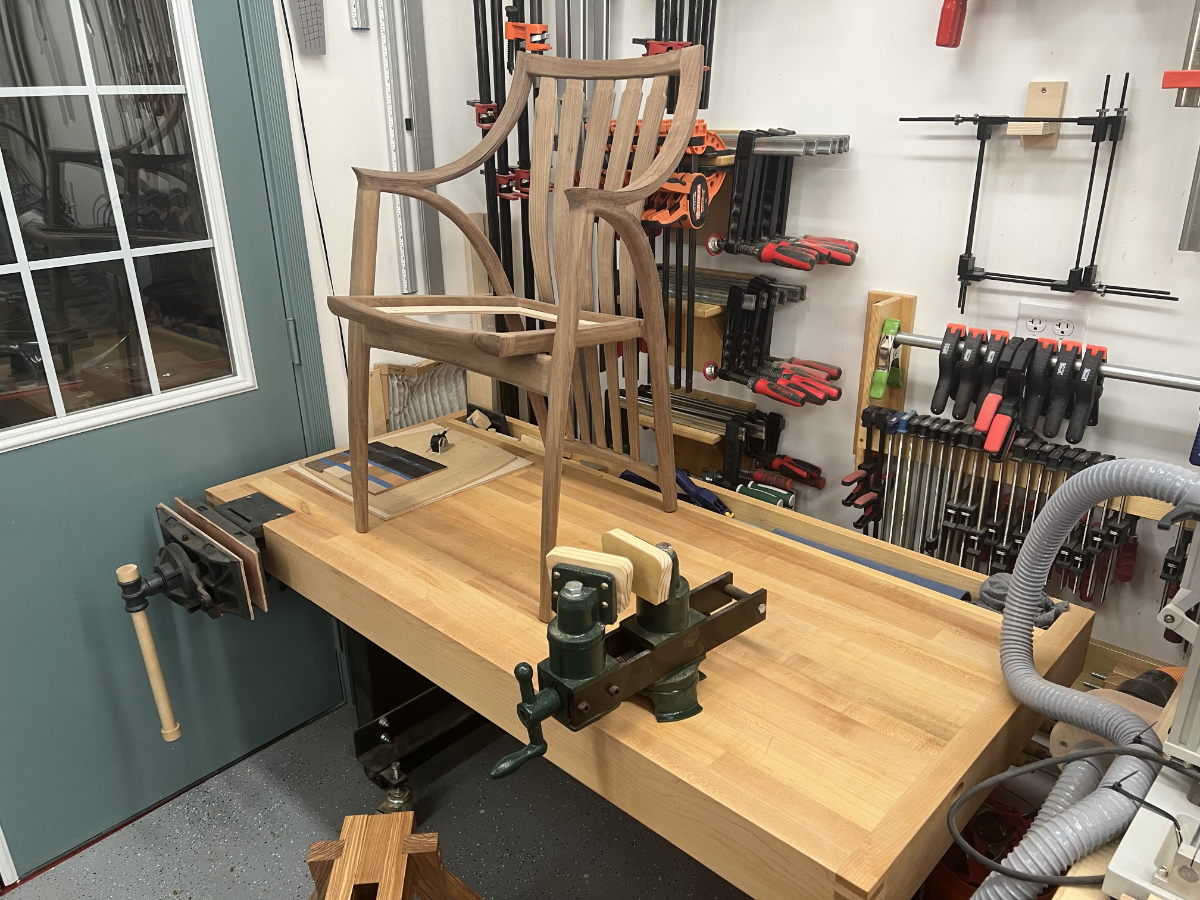
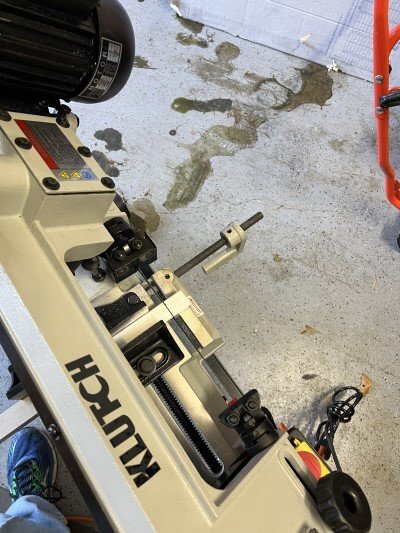
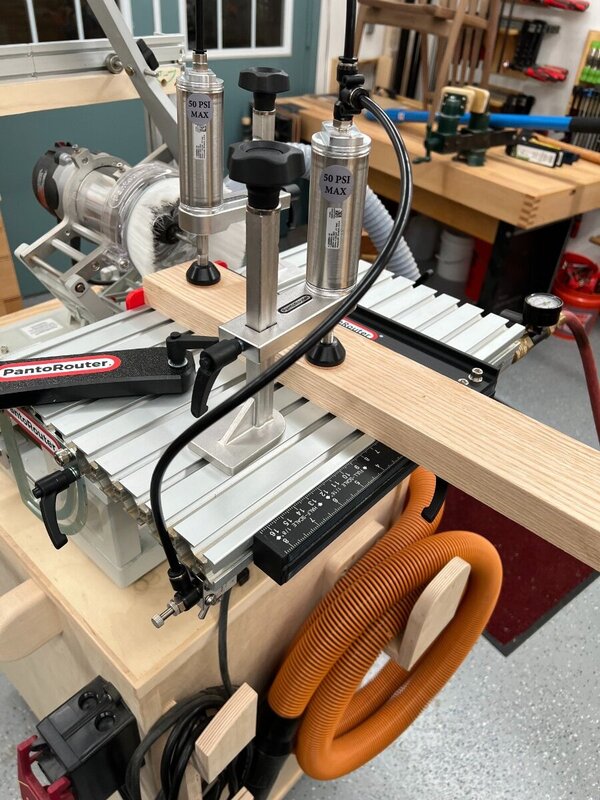
Kev like most tools there is almost always a cheaper way to do it and this isn't it 🙂 Having said that I used a Multi router at the MASW when I made my #1 chair and found it to be really good for slots/tenons on multiple parts. I have set of spectator chairs that I have started and a set of barstools on deck and decided this would be my chance to "have a reason" to get one. I have had it for a while and made some boxes etc with it but I found the manual clamps to be a bit slow and cumbersome so when I saw these air clamps (which I had used on the Multi router) I decided to get them. When you have multiples of the same thing the air clamps really speed things up. Like I say right now I cannot really justify the money I have into it but will report back on my thoughts after these chair builds and let you all know if my thoughts have changed.
-
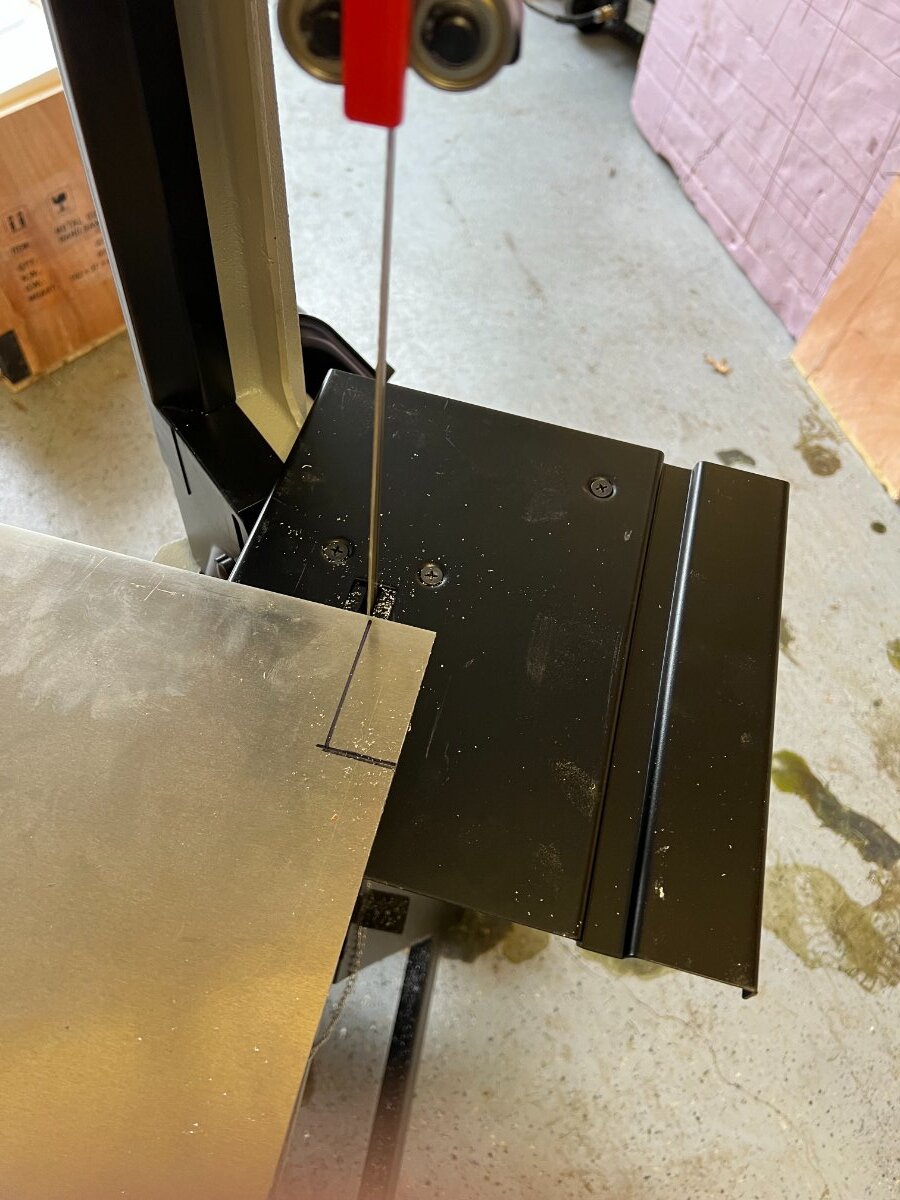
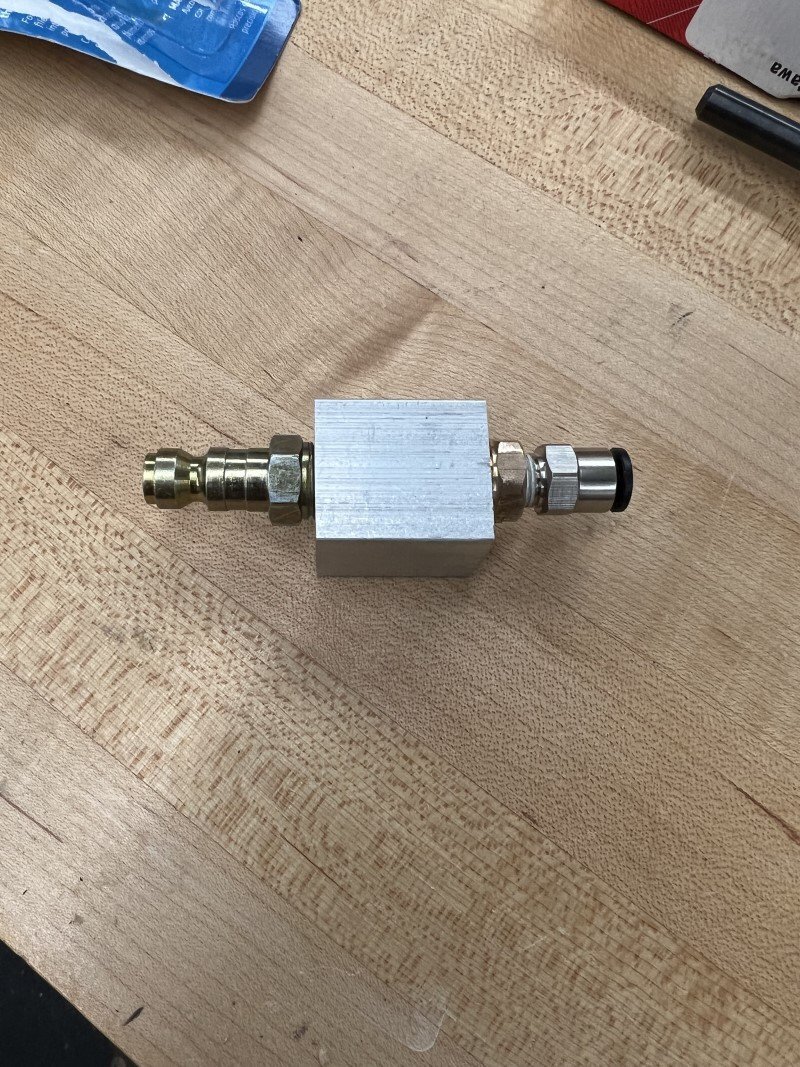
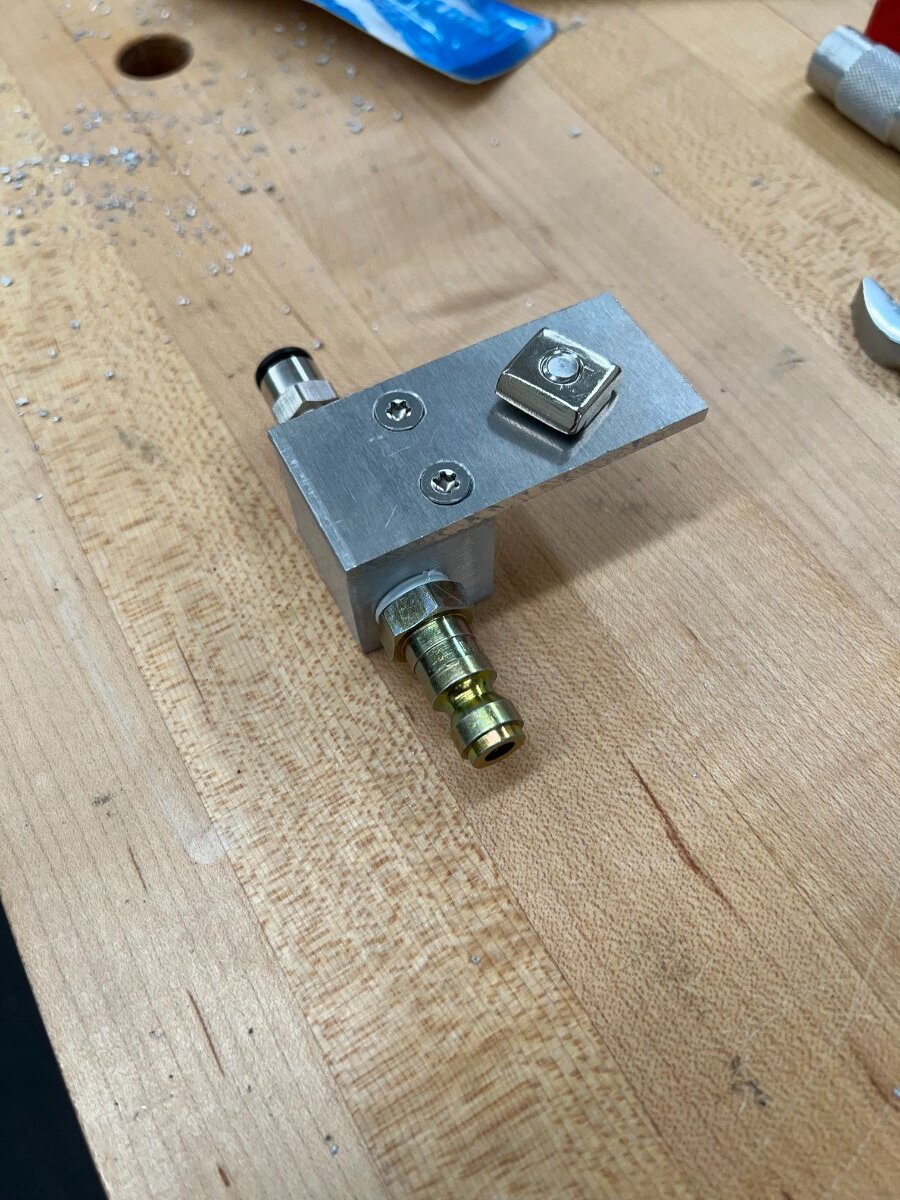
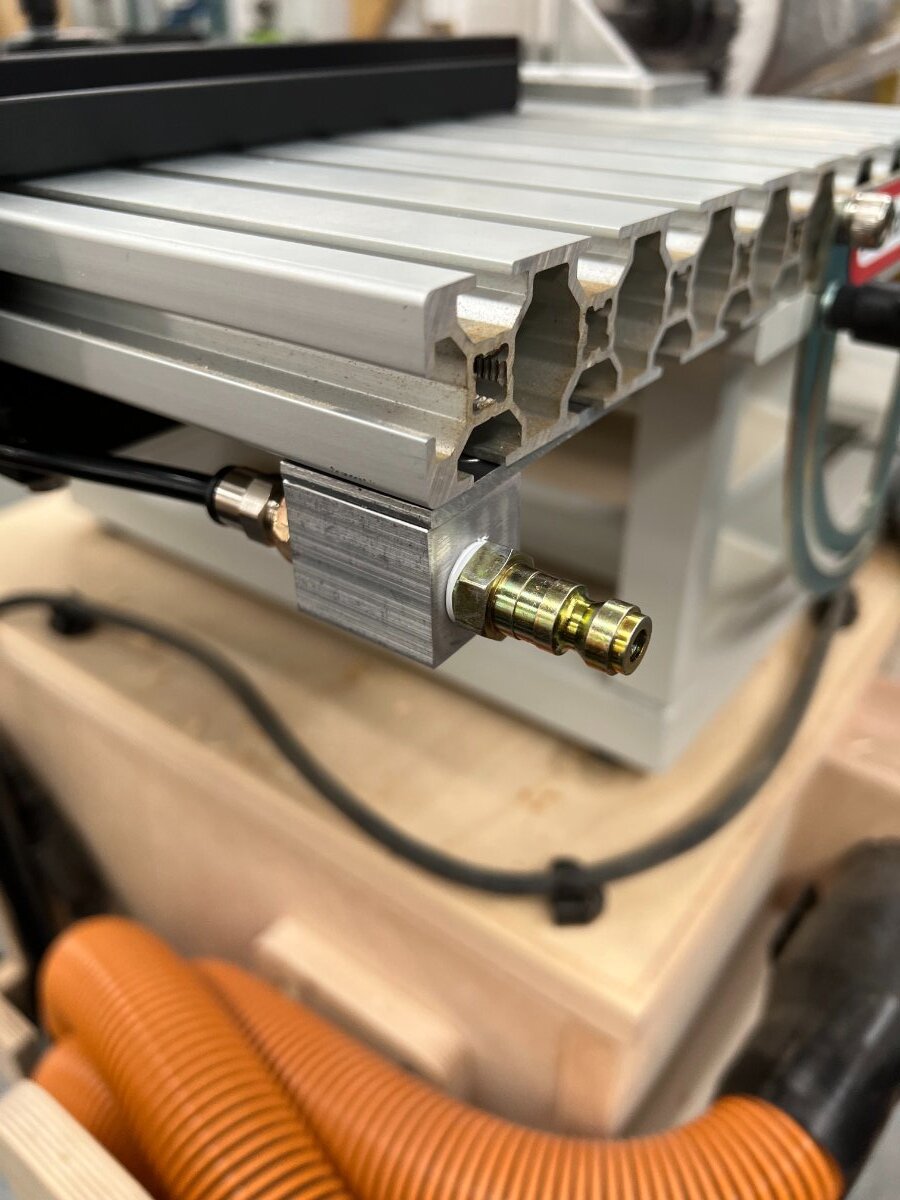
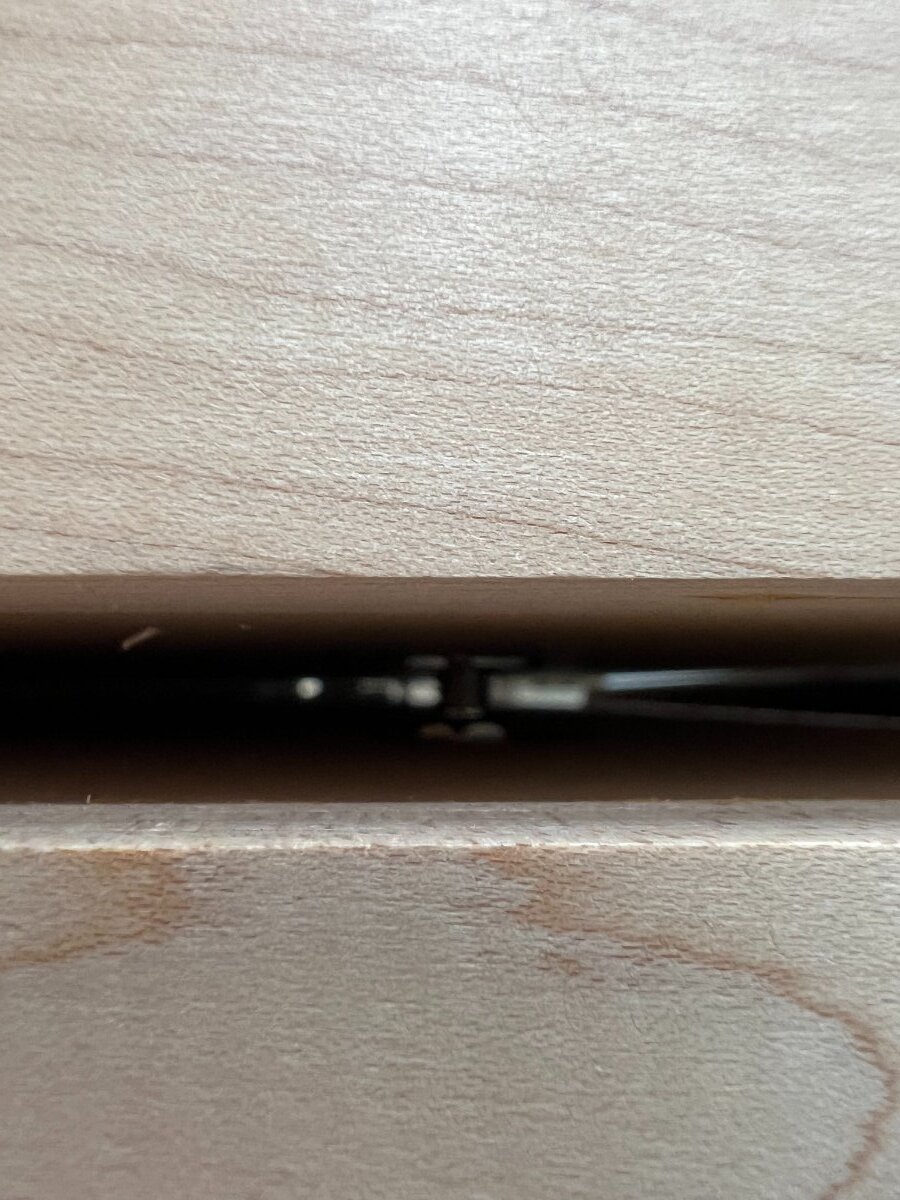
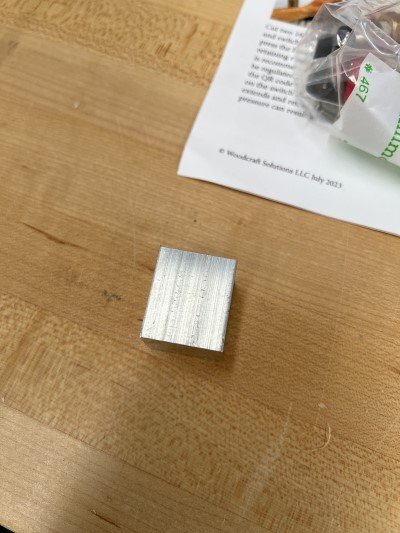
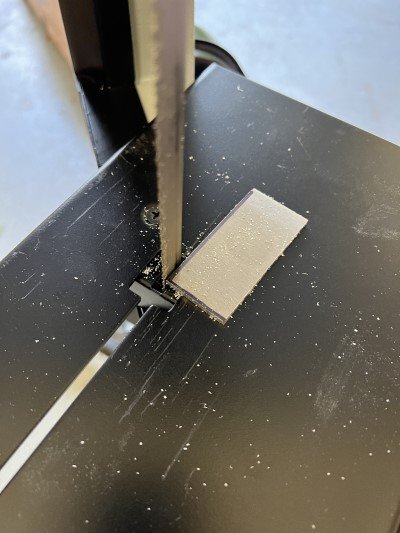
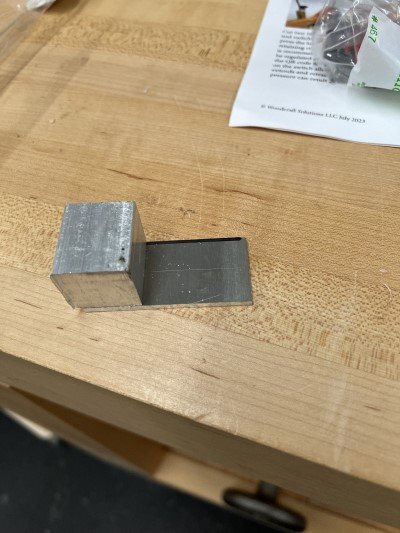
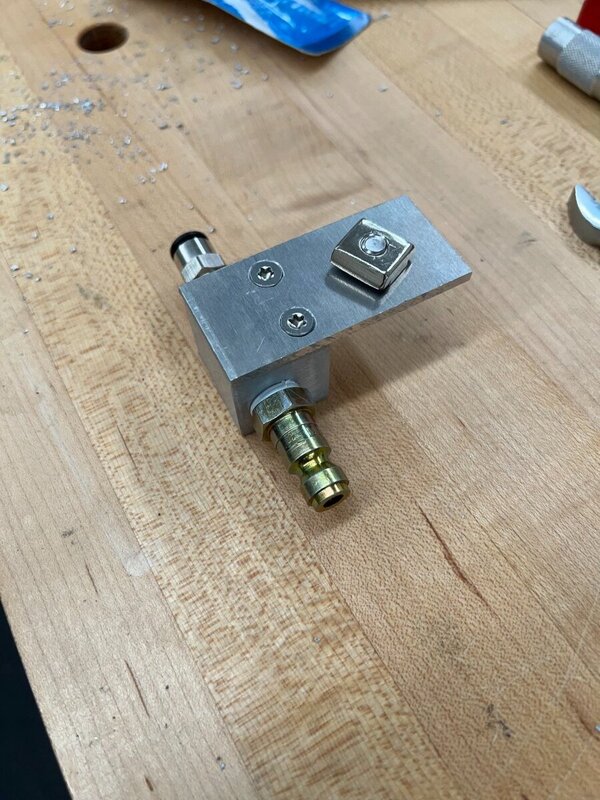
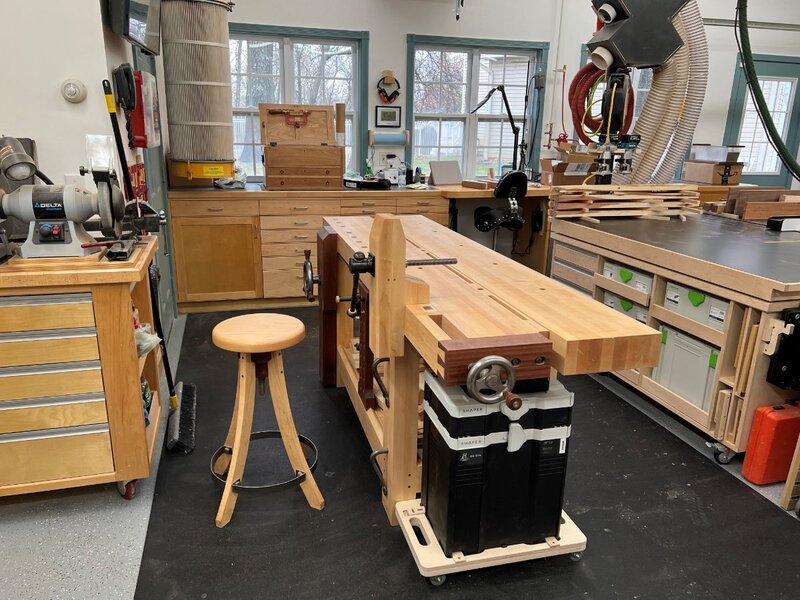
Got my Pantorouter air clamps installed. Fabricated an air connection as designed by Ramon Valdez. I will post more of a review once I have a chance to use them, which I will be doing on a pair of pool table spectator chairs I have started, but I think they are going to be awesome for all the repeatable mortise and tenons I will be doing.


-
Glad he showed the video becuase it was a dangerous act and watching it in slow motion really shows just how quick things can go south. Having said that, like you, I struggle to see how music was any part of the cause...I'm with you that was a stretch at best.
-
I did that with my basement project a few years back and sold it on CL afterword's ended up costing me like $20 in the end well worth it and didn't put me under a stressful time crunch.
-
It does add up but well worth it to place every run you think you might ever need before the walls get covered. I am actually getting ready to cut a pretty good sized hole (5" by 42") in one of my interior walls to splice in a new 220 outlet. Given this is the first time in 20 years, since I built the shop, I don't feel to bad. Again it pays to plan ahead 🙂
-
I unfortunately could not find anything. However here is one better a video series on it I knew I got it from somewhere since I've never had an original thought but I am a pretty good copier 🤣. Obviously my base is different but the top is a direct copy. BTW it appears the torsion box was 3/4" strips.
-
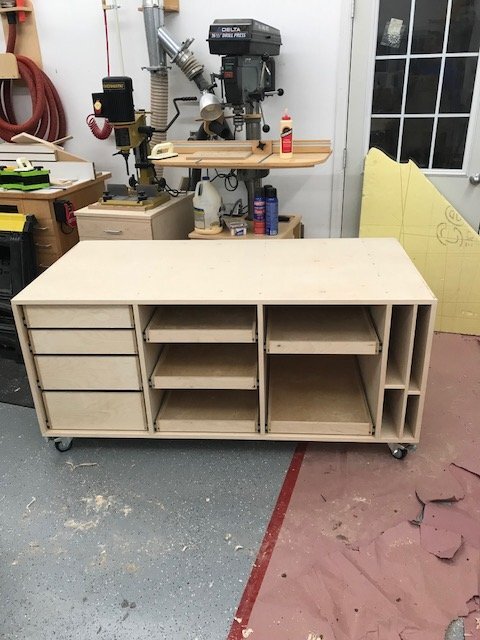
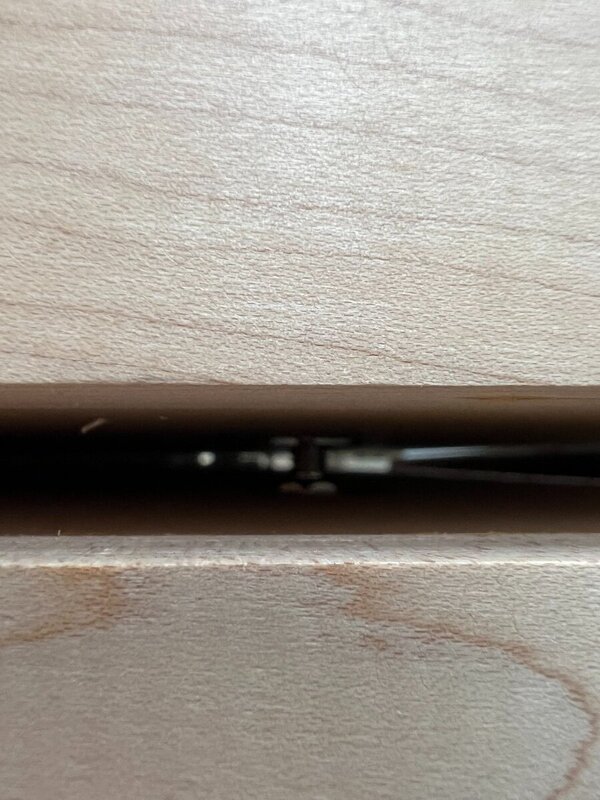
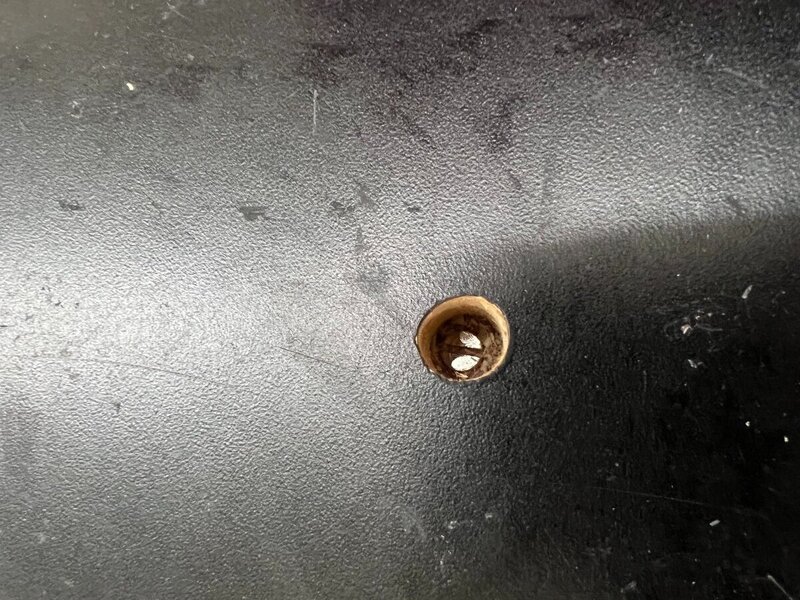
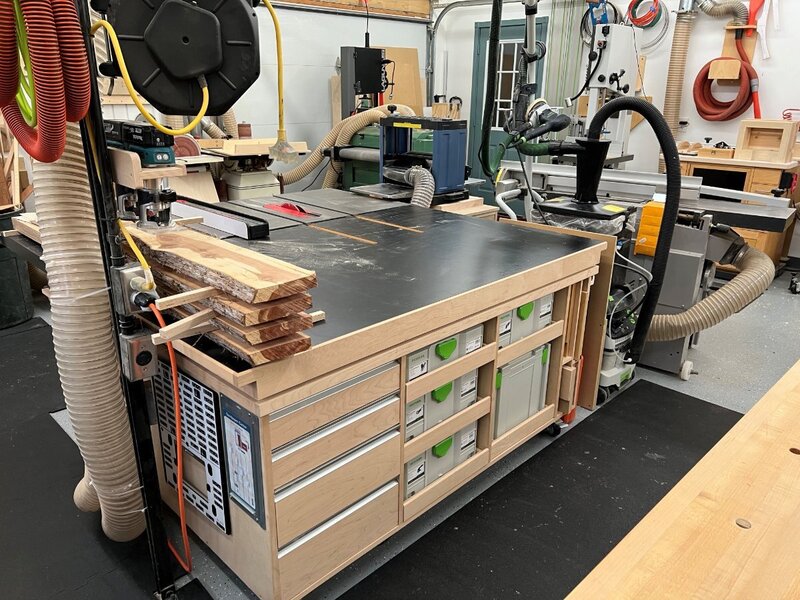
Coop unfortunately I couldn't find any pics of the top construction but it is standard torsion box construction. In this case 6"x6" squares made with 1/2" thick 1 3/4" wide mdf strips with a 3/4" MDF top, bottom, sides and solid spots for the the squares holding the four adjustable feet. The top is 68" wide and 43" deep and 3 1/4" thick. Pic below is before I routed in the spaces for the miter bar The cabinet it sits on is 64" wide and 31" deep which allows space for my Dust collection hoses between it and the saw cabinet. The top can be micro adjusted with the four 3/8" feet that are mounted through and onto the cabinet to get it perfectly level with the saw and can be easily adjusted from the top. I copied this design from somewhere but can't recall where. Both the saw and cabinet are on casters in case they ever need to be moved. I should also mention I do have another bench in the space which has the Noden adjustable base and started with a cheap Rockler bench top that I have since modified with a till and apron. This bench has a pattern makers vise and a gun stock vise I use this for chairs and extra flat space when needed.


-
Not sure of your specific use case but if you already have a roubo I think I would forgo the solid top for the originally designed torsion box. That's what my set up is so I am partial to it and in my work flow I don't find a need for anything different. In my set up I do have small overhangs on the ends and also some open space on the underside which allow some clamping but I have only done that a few times.
-
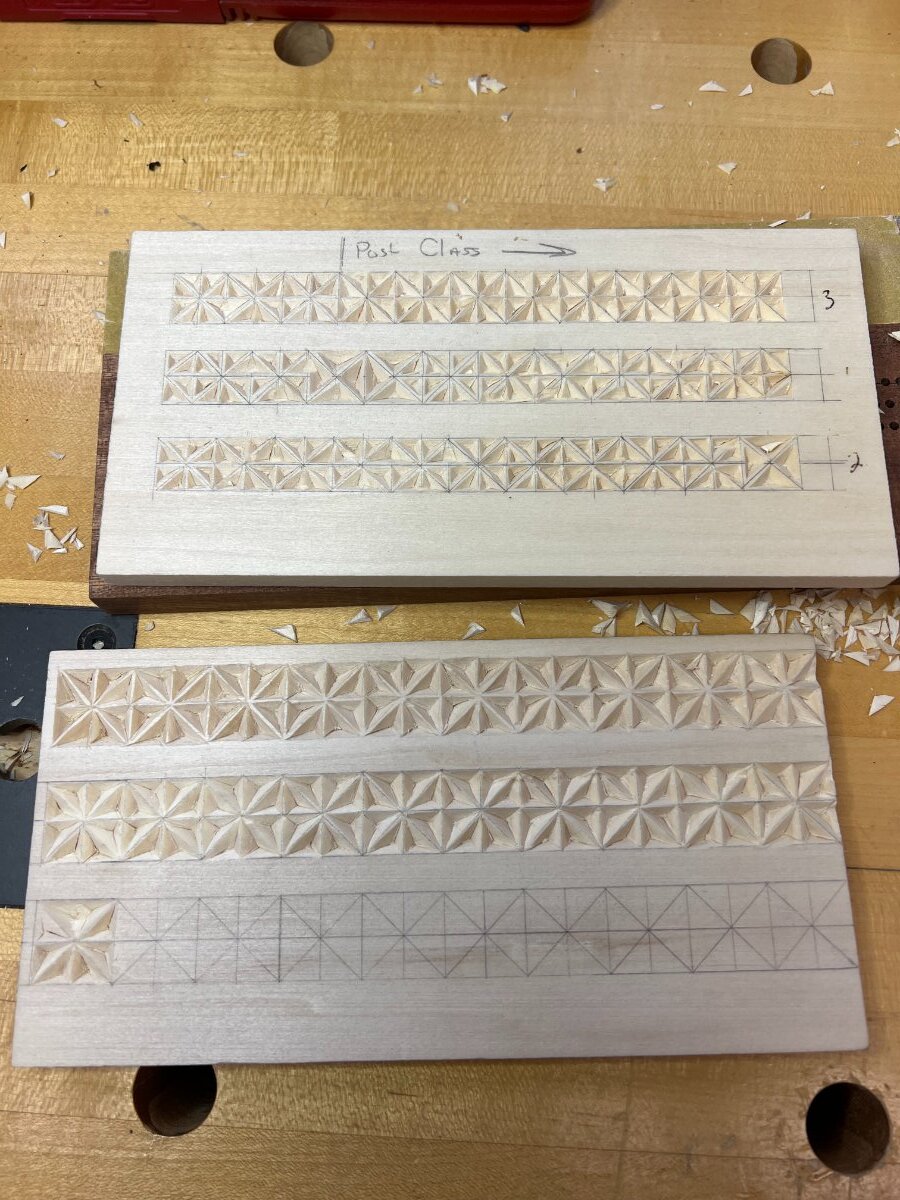
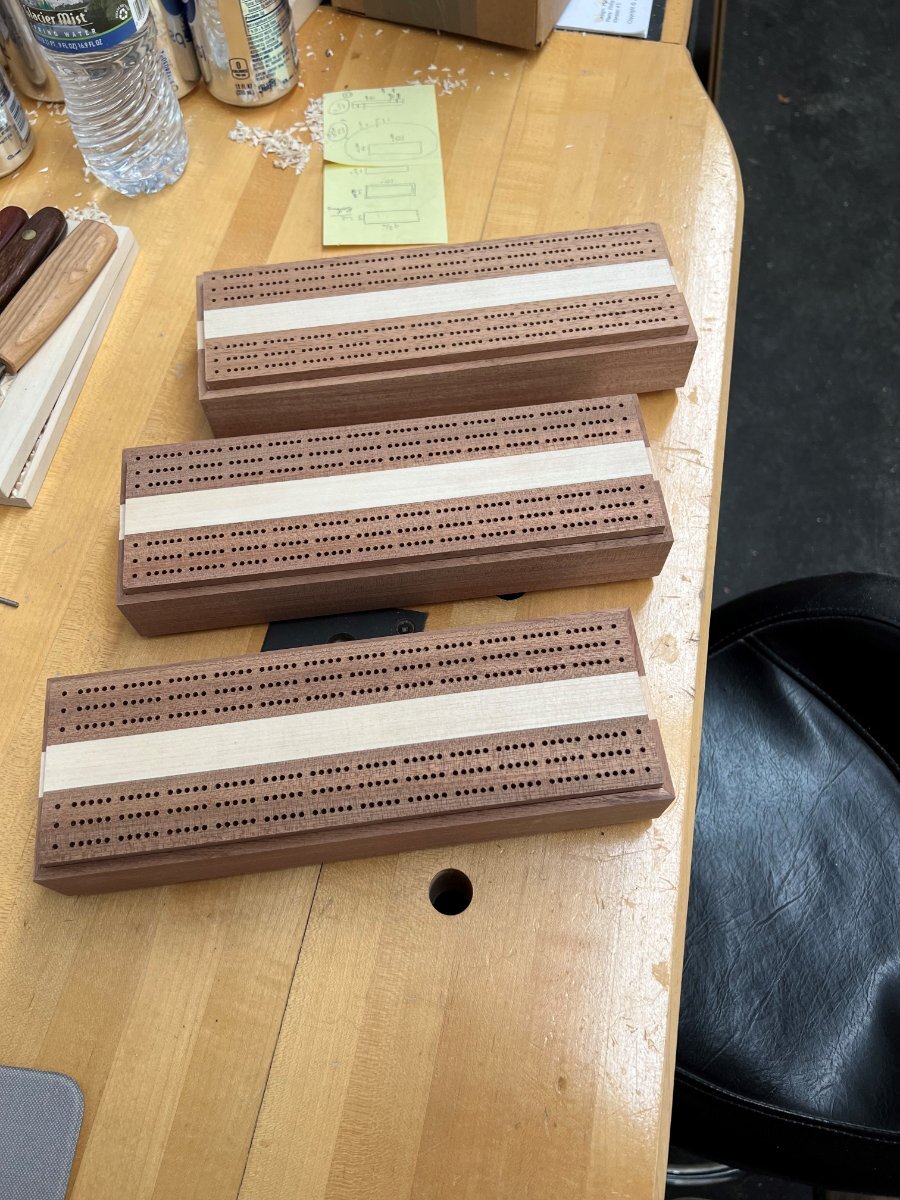
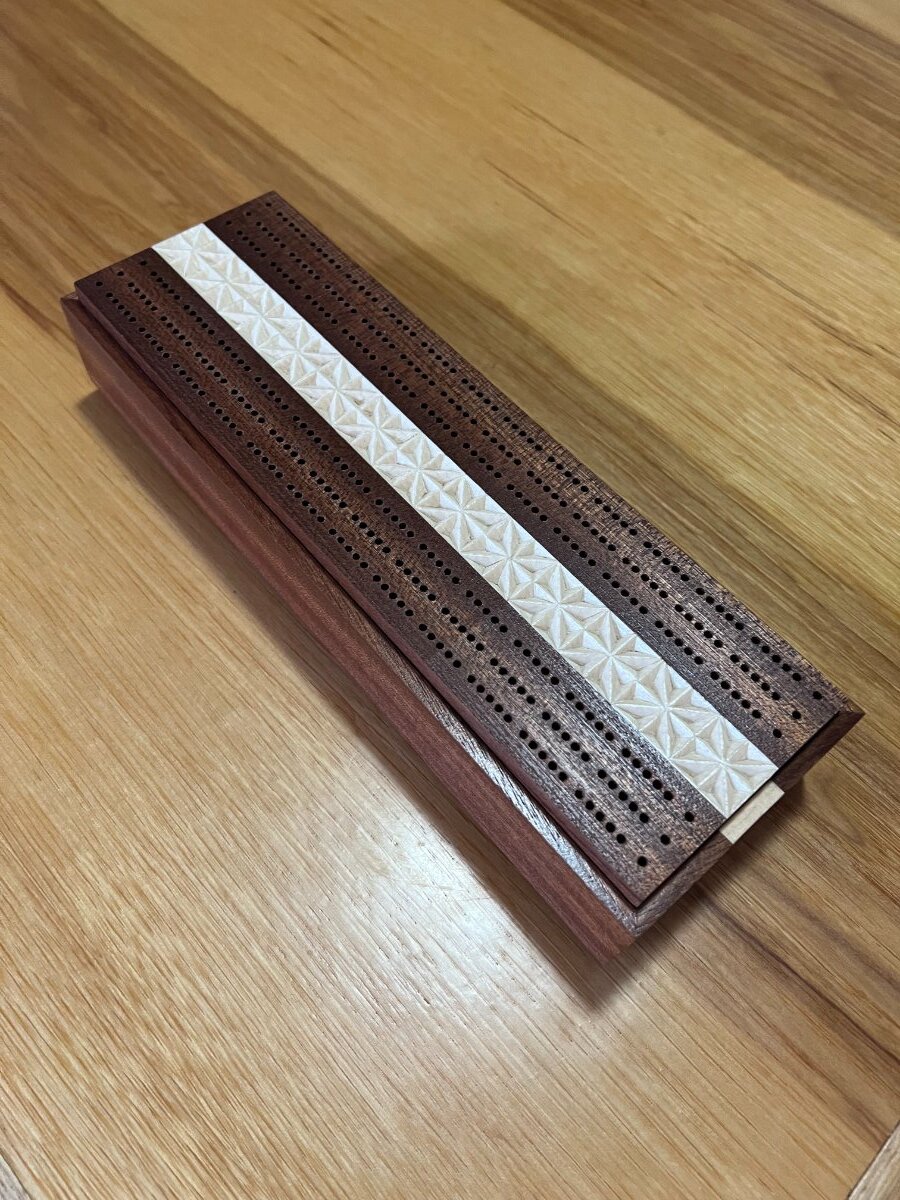
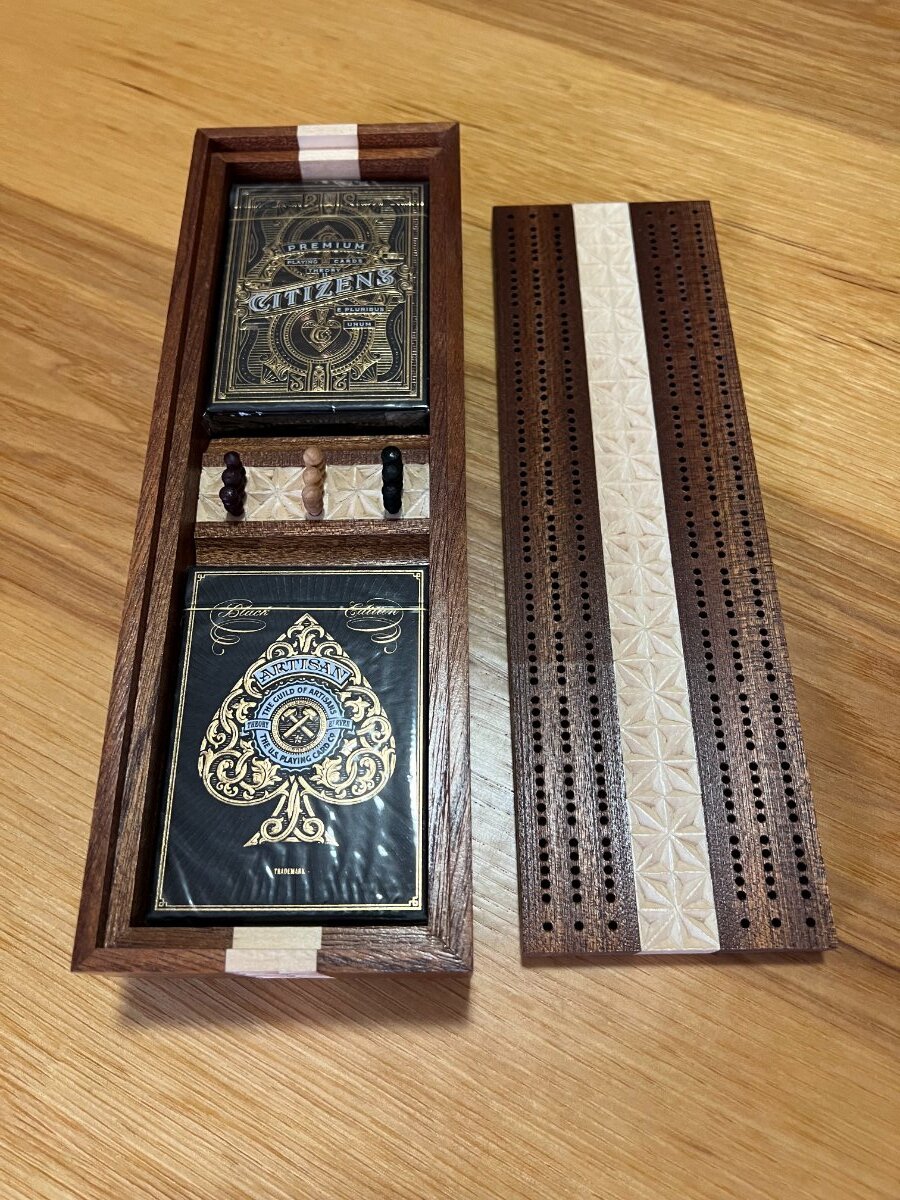
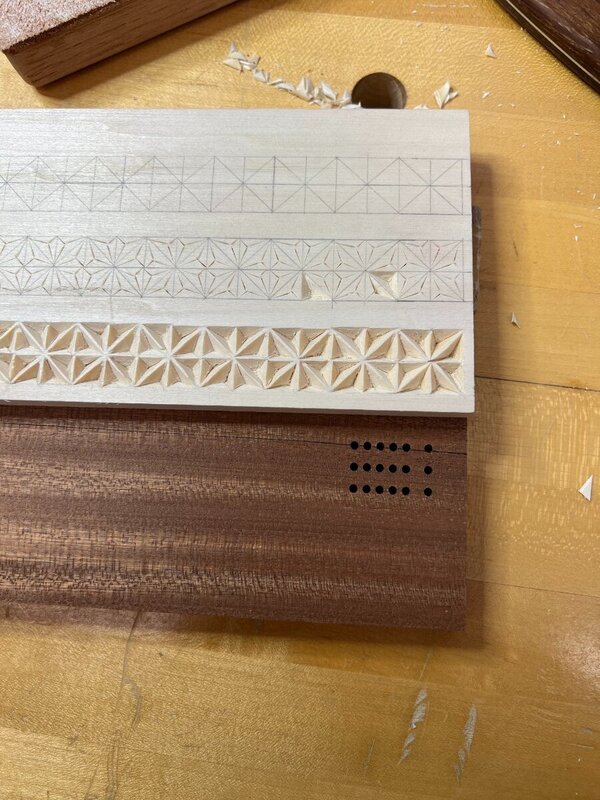
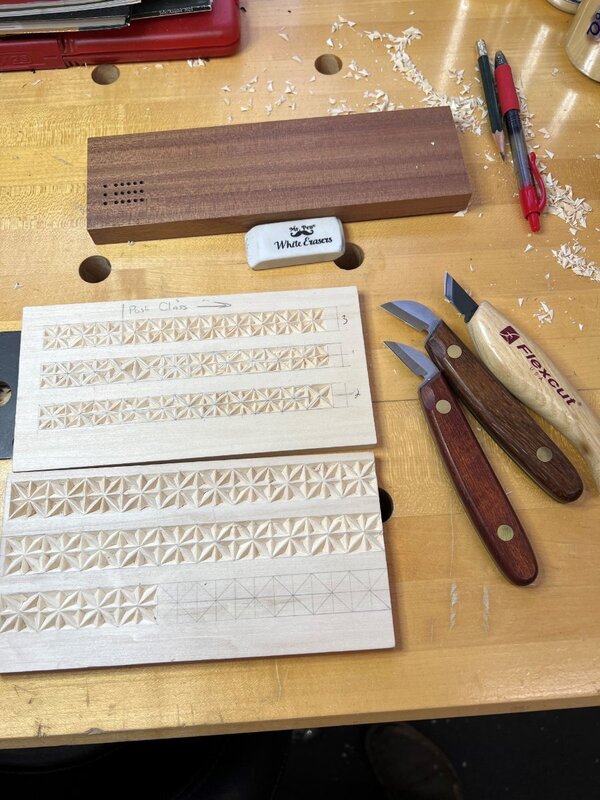
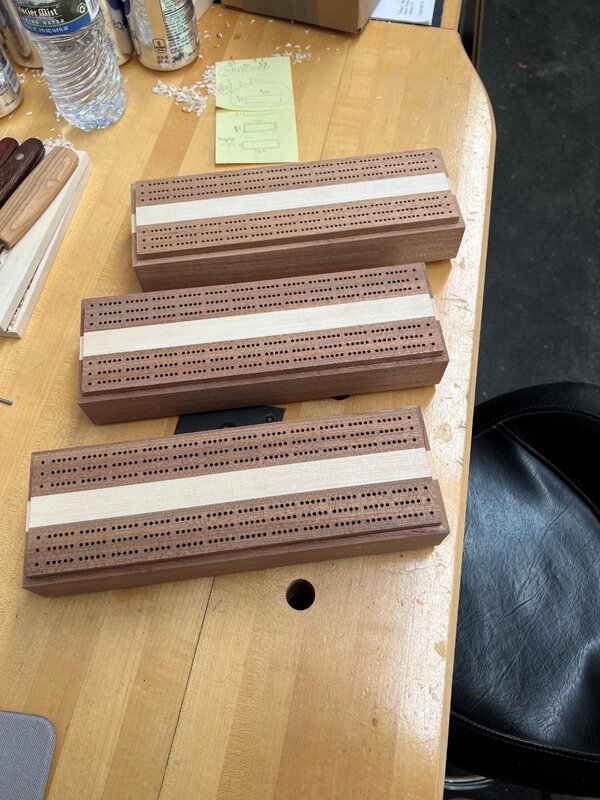
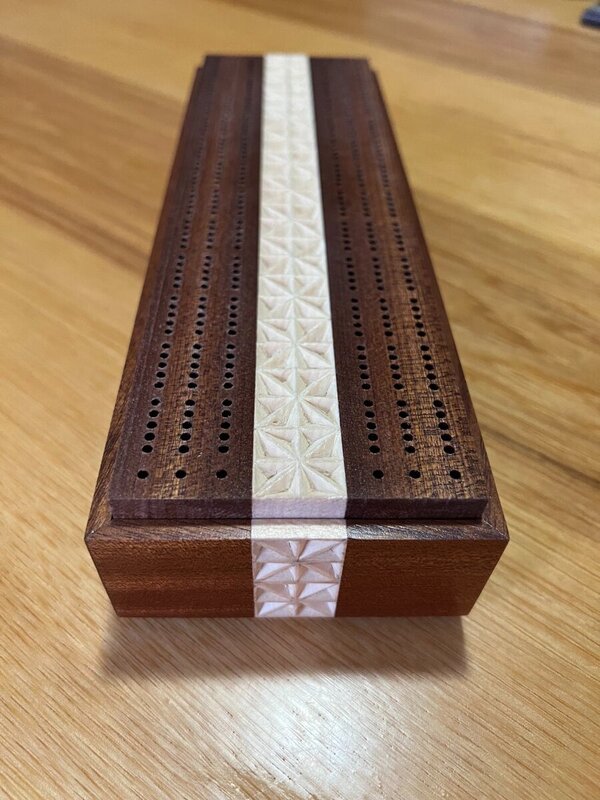
Honestly Kev its three basic cuts its just that its over and over and over LOL First step is to layout the pattern I was looking to match the pin holes without getting the box to big. Ultimately I ended up with 7/8" squares which are broken down to into 8 triangles. First row is the design, second I use the knife to make the three initial cuts for each triangle (center), then go back and remove each chip (bottom row). One of my biggest issues was my poor eyes I needed to use a magnifier and was only able to do 3 or 4 7/8" squares at at time before the stain got to me. I did take a one day class at our Woodcraft store and then just a fair amount of practice. You don't have to look to hard to see mistakes in these practice boards but I was getting better as I went. Here you can see the knifes I have. I preferred the one to the left (from mychipcarving.com )the best and keep a strop handy as a sharp knife is required. Also you see the eraser here I found that if I wasn't careful I could damage the piece using this to erase a line(s) that didn't get removed. I later used an eraser pencil and it worked much better. I also had issues with the chips on the very ends breaking out so I found using a jig like this solved that for me I made this one for my uncle after seeing it on amy.makes.everything Instagram page. Since I was making one I thought why not do three so I still have two more to go one for our game room and another for a gift. After that not sure I'll do much more chip carving but I always like learning new things so I do not regret the journey.


-
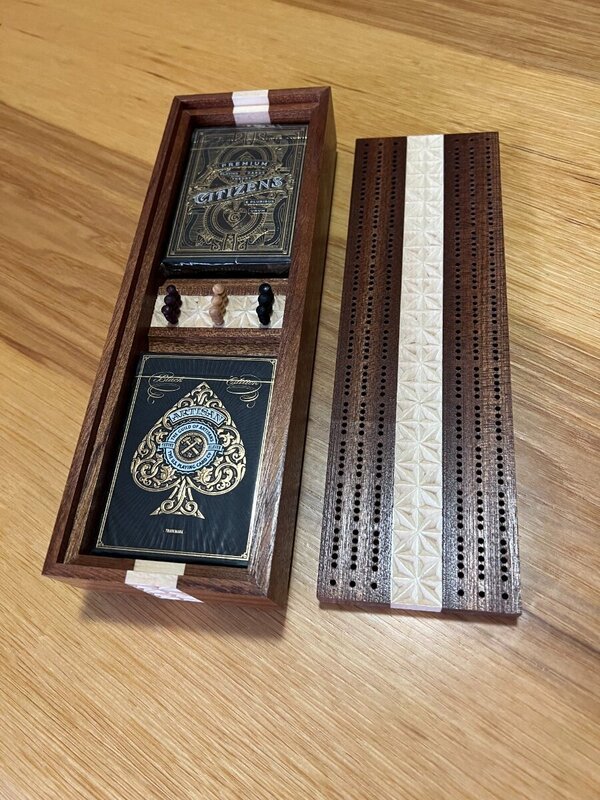
Finally finished I chip carved cribbage board for my uncle that was for xmas 22 😲 Its been a tough 10 months around here but hope to get it delivered in the next week or so. Sapele and Basswood. Its an amy.makes.everything (Instagram) Design


-
Thanks guys! From a wood working perspective pretty straight forward 1/16" ish shop sawn veneers for the top and bottom panels, sandwiched over 1/8" mdf. Previously I used wood guides and a hand held router to cut out for the cross this time I used my Shaper Origin. Instead of 15 min took me a couple hours but I learned about the machine and now will be able to do future ones in a few min. I also realized last night as I was posting the pics that I forgot to do the keys...oh well you guys won't tell anyone right LOL