
Every purchase made through our Amazon Affiliate Page helps support this site

Chet
-
Posts
2,280 -
Joined
-
Last visited
-
Days Won
93
Content Type
Profiles
Forums
Downloads
Gallery
Events
Store
Articles
Blogs
Posts posted by Chet
-
-
2 hours ago, Kev said:
Anyway, rant over..
I know Youtube is there because they want to make money but I hear more and more negative from people that post videos. It seems like Youtube is getting pretty full of themselves. I know from a watcher's perspective it is becoming like watching network television with the amount of ads they are inserting into the videos. I know that if I click through the ad the person that posted the video doesn't make money from my view. There are some that I really try to support. One couple I have followed for a couple of years post videos that are about 15 - 18 minutes and in that time there are usually 3 or for ad breaks.
-
16 minutes ago, Kev said:
Ok.. I need a shop apprentice that will come mill this lumber for me!
What's the pay and bennie package?
-
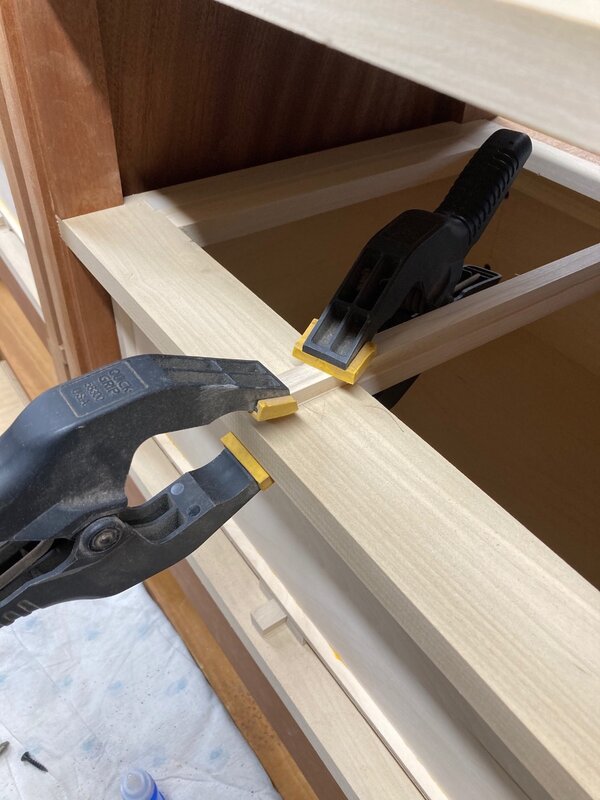
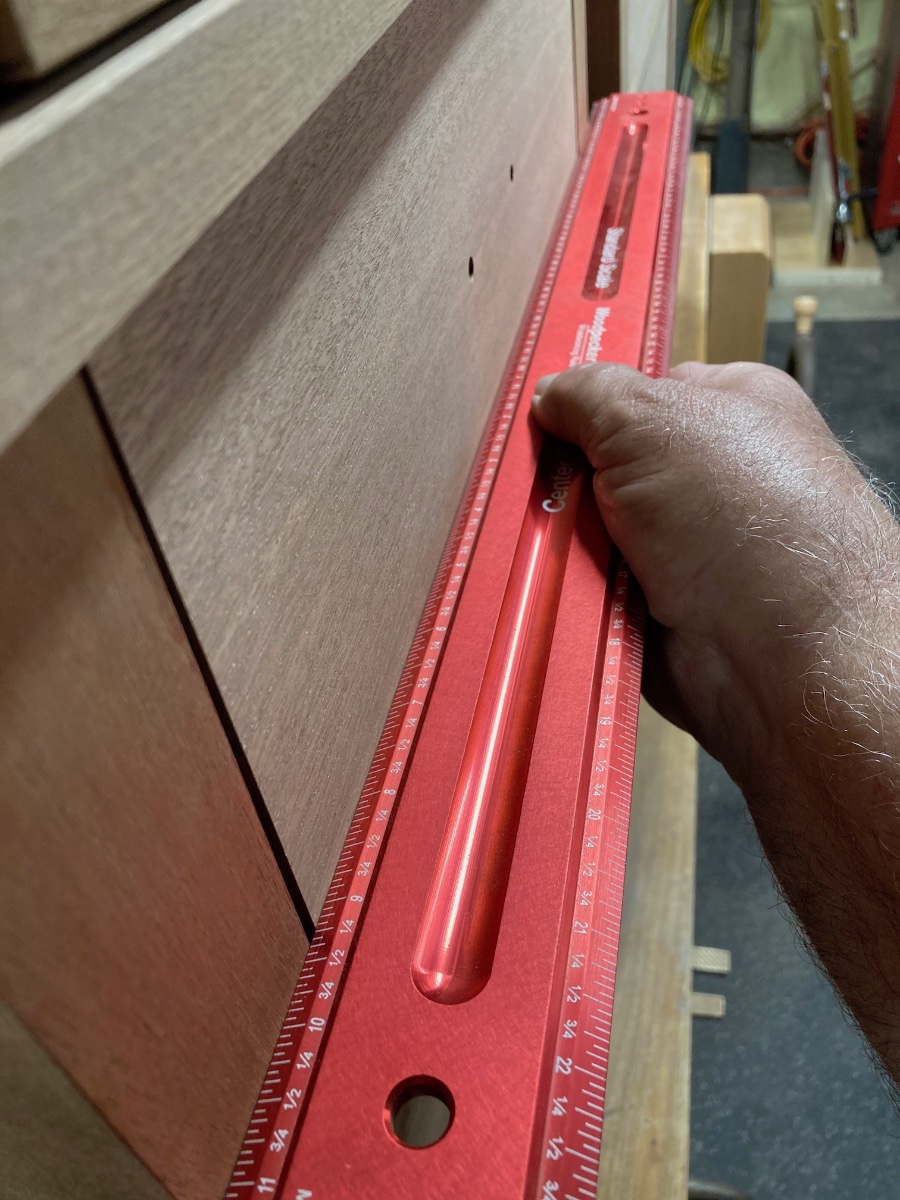
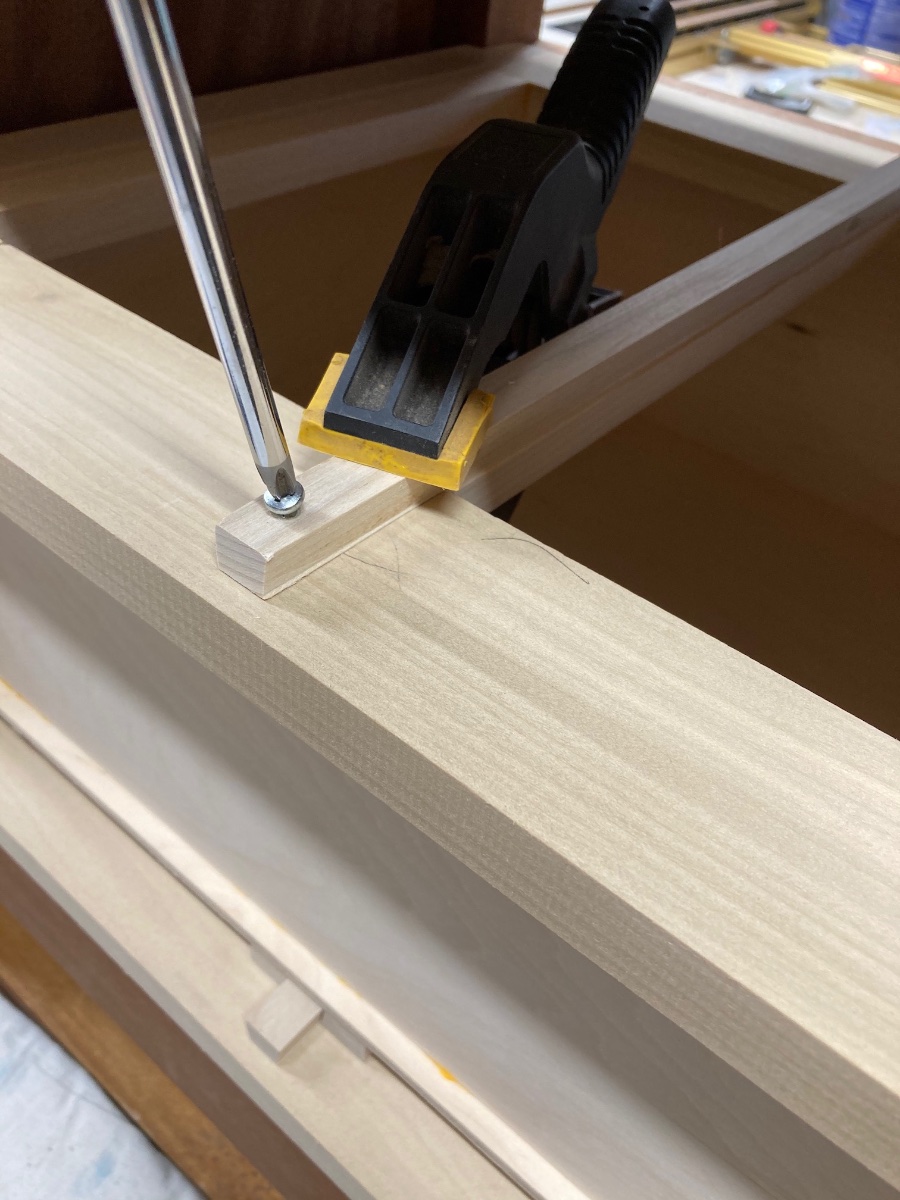
After mounting the drawer fronts to the drawers, the final thing to do was center and flush the drawers to the front of the cabinet.
If you recall, back when I first installed the drawer slides into the cabinets I left the back un-attached. This makes flushing and centering the drawer real easy. I push the drawer in, then with a good straight edge across the front of the cabinet I push the drawer back toward the front of the cabinet from the back side. Then nudging the un-attached portion of the glide left or right to get the drawer perfectly flush on both sides.

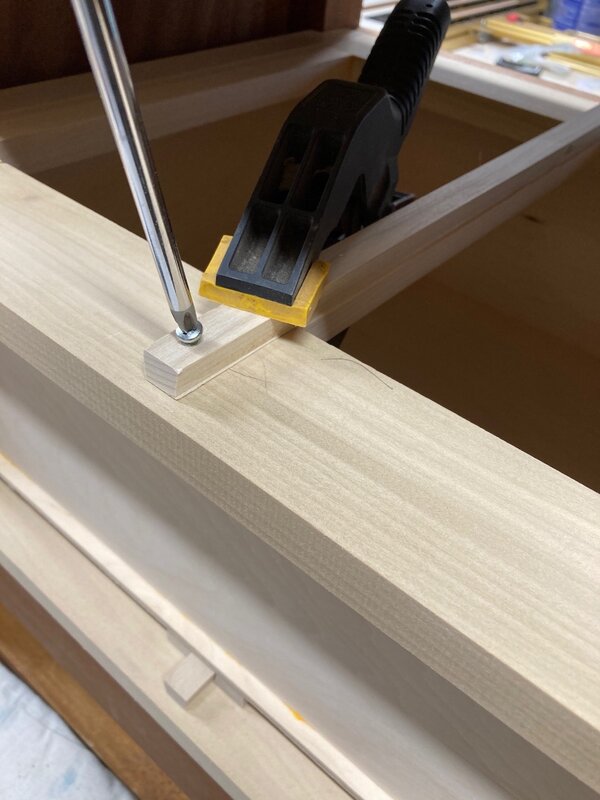
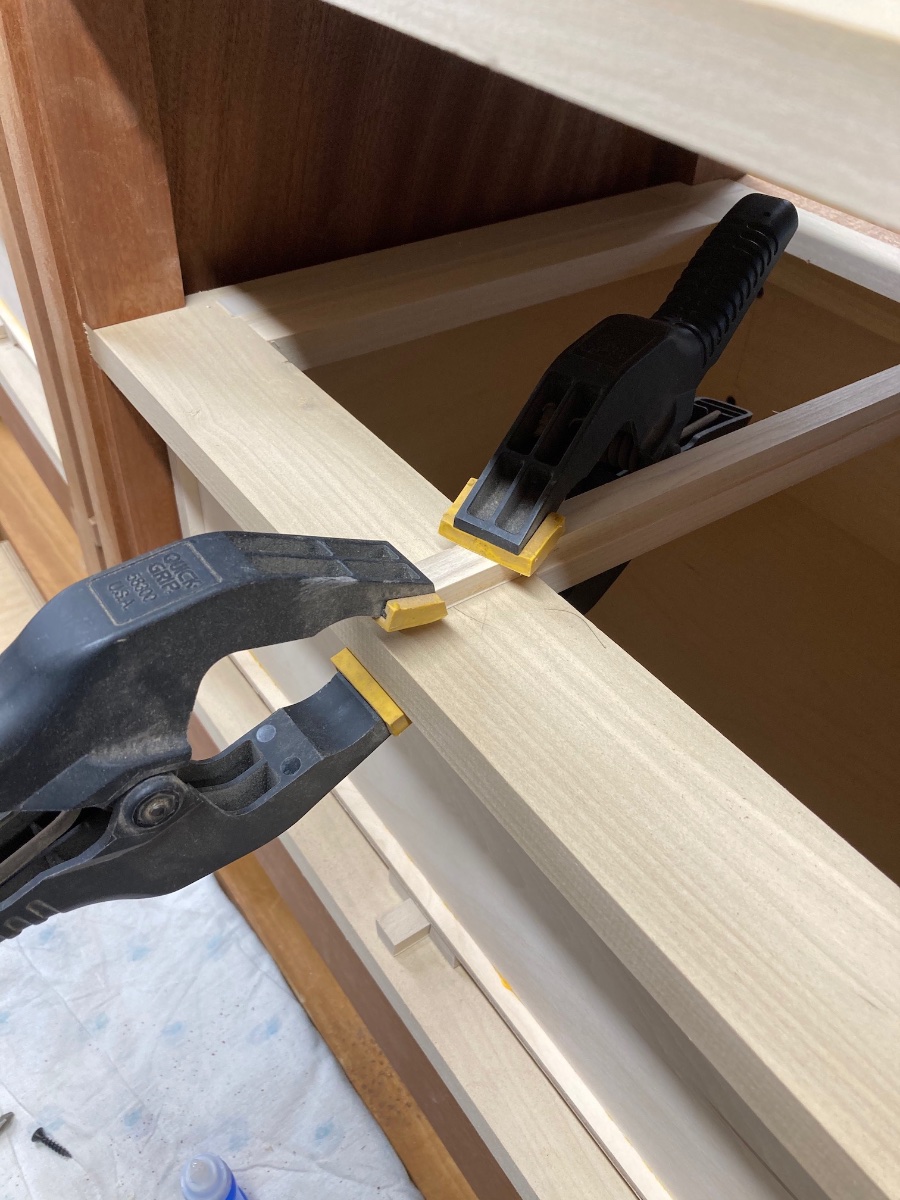
Once this is done and being careful not to move anything, I clamp the slide to the web frame with a spring clamp.
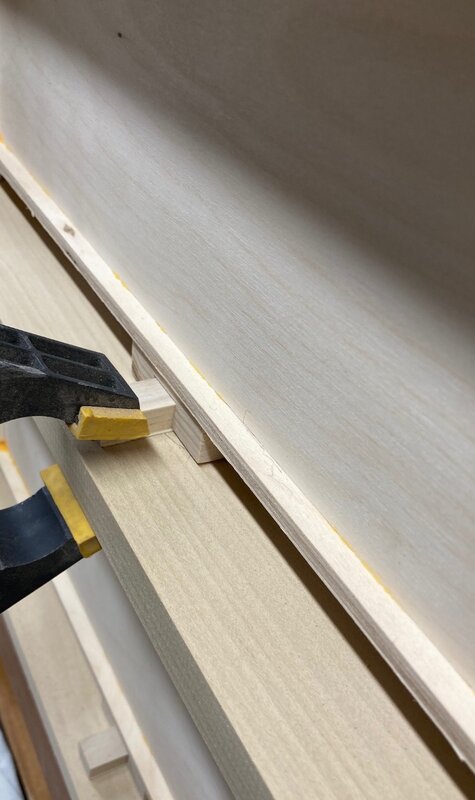
Then I push the drawer back out and place a second spring clamp on the inside of the web frame. This allows me to remove the first which gives me room to drill and install the screw.
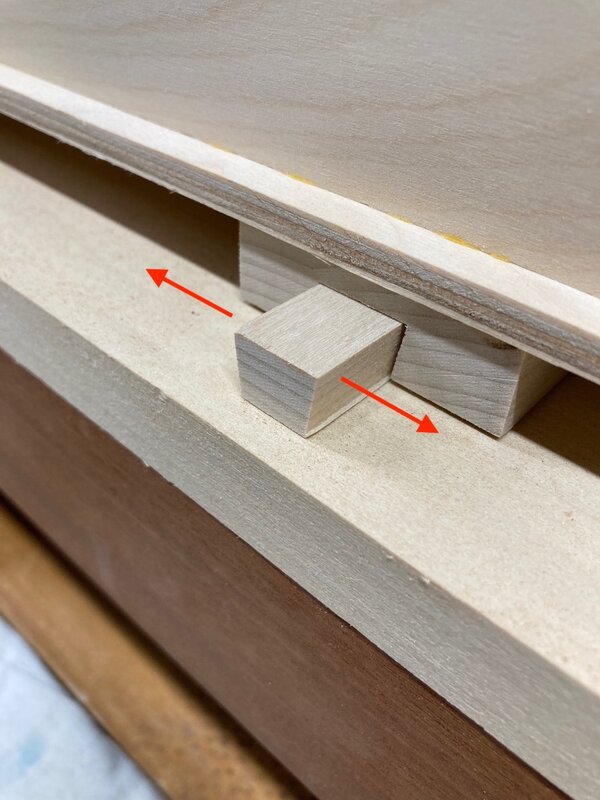
The glide is narrow so I do this by hand with a screw drive so I don't split the glide. I also installed some stop blocks for the drawers.
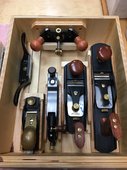
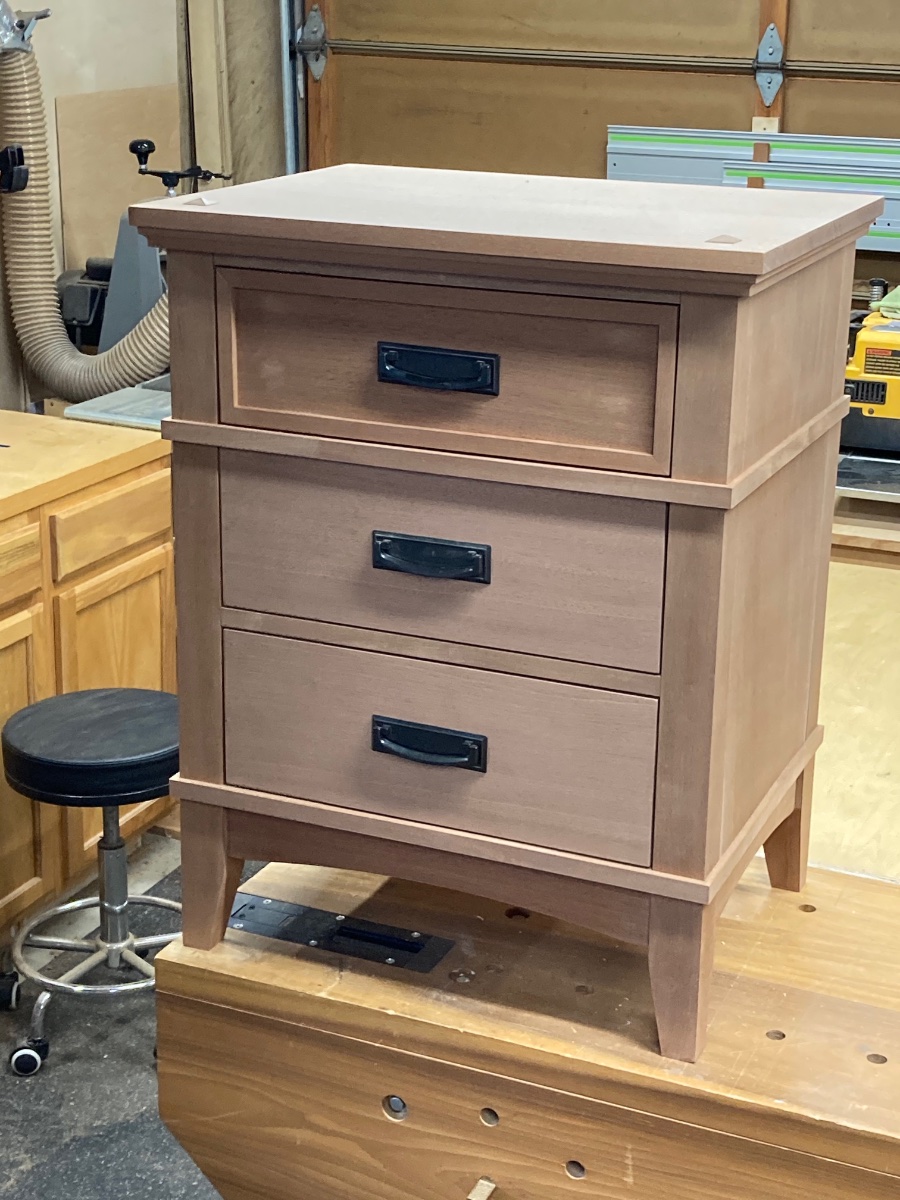
Final picture before starting the finish process shows a dry fit of the drawer pulls. We liked the drawer pulls on the existing nightstands so I removed them and replaced them with some others.
Before I made this latest post I applied a coat of blonde shellac. I usually use garnet shellac but on something dark like Sapele I use blonde so the wood doesn't get to dark. Tomorrow I will sand lightly and then start applying General Finishes High Performance.

-
 3
3
-
-
I used that aluminum tape on mine but on a joint were gravity and weight come in to play I used a couple of self tapping screws. I kept them pretty short just enough to help but I didn't want them going all the way through to the inside.
Where I did use screws, I did the screws first so the tape would go over them.
-
1
-
-
You did a great job on this Jamie. Top to bottom the whole design goes together well.
-
 1
1
-
-
14 hours ago, Kev said:
He said "brace yourself"
At least he didn't say you might want to sit down.
-
 1
1
-
-
I wonder if you couldn't get away with something as simple 1 1/2" high X 3/4" thick with a fairly heavy chamfer round the top edge.
Come up with a clean un-assuming design and then two god awful designs and then pray that she picks right.
-
1
-
2
-
-
I used to do this but over the past 6 years I have finally got myself to stop pointing stuff out. What finally got me on the right path was realizing that not only do they not notice the mistakes they also don't notice the fine detail we put into projects. People just see the whole piece.
And on that note, yesterday I was gluing on stop blocks for the drawers in the nightstands. Just 3/4 inch square blocks. When I took th spring clamps off I had glued one on with the grain turned 90° to all the rest. With the back on and drawers in you won't be able to see it, even with the drawer out you probable couldn't tell. But thinking about it, its like an itch you can't scratch. I think I will end up prying it off and doing a new one.
-
2
-
-
29 minutes ago, Jamie said:
if the piece ever gets refinished there is a chance that the history will be lost.
Are you talking about when someone buys one of you pieces in an antique store decades from now, takes it home and paints it. Lol
-
4
-
-
35 minutes ago, Coop said:
I think that a past member of WTOL from Cal said there was a program that will give numerous patterns for cutting boards.
I remember Brendon talking about that but if I have to have a computer program help me make a cutting board I just going to spend the program money on a nice burn pit.🤯
-
2
-
-
55 minutes ago, Jamie said:
It is the 1/8” kerf which I do like.
Yea, I like full kerf blades myself.
-
1
-
-
1 hour ago, Kev said:
I've watched Ashley Harwood use the pen to sign freehand and it looks really nice!
I was going t say this and she mentioned in her first series on Marc's guild a specific make and pen tip that see liked.
The branding iron that I got this past Christmas has done well so far it takes about ten minutes to warm up.
-
1
-
-
I think If I ever have to replace my 3 Freud blades, besides Freud, I think Amana would be on the list of ones to look at.
-
51 minutes ago, Kev said:
Remember, big bits, slow speed!
If I remember right doesn't Jamie have a shaper for those big boy bits.
-
1
-
-
I use a flush trim saw and then sand.
-
2
-
-
What is you reference point and how do you line it up and make sure it is identical? To me the stop block is the reference and it is static so it has little chance of moving even a hair from cut to cut.
-
4 hours ago, Kev said:
I wasn't much concerned with grain continuity for the test but, in a real project, that's probably a really good idea. However, with the kerf in the fence to align the cut and the work piece clamped into place, I could make the argument for "overkill" as well.. Not wrong either way.
This isn't for the grain continuity, that is something that I lay out right after I re-saw my piece for the box sides and ends. That way I don't have to worry about getting them mixed up and then trying to figure out the right order and which side goes out all over again. Using the stop block for every miter cut is more about the best possible accuracy of your four pieces in relation to each other. Being off by the thickness of a heavy pencil line on a big project like cabinets or furniture pieces won't even show up, but on a small box with sides 3/8 of an inch or less in thickness that difference of a pencil line is going to show up almost immediately.
-
1
-
-
13 hours ago, Kev said:
Second cut against the stop block
I set my stop block for both cuts, this way they are both absolutely the same. I set my stop block, cut both miters of the front and back pieces, then reset the stop block and cut the miters of both end pieces.
-
2 hours ago, Kev said:
to a PVC Y
There are some non Nordfab metal wyes out there that would have tied in better than PVC, Yes?
-
Is the table height about the same as the Griz? Higher, Lower?
-
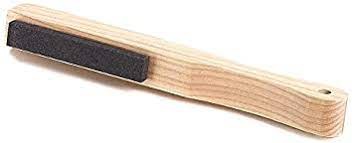
I forgot where I got mine but Rockler carries them. Bandsaw Finishing Stone Amazon might have them also. I think I may have purchased mine through Highland with a blade order.
I have seen people using their sharpening stone for this but I don't think I would do that for a number of reasons.
You are correct in its usage. Your motion is as if your are rounding the back edge of the blade. mainly you are clearing burrs and easing the edges. I have heard where this is supposed to help with blade tracking also.
-
1 hour ago, Kev said:
But now they're adding a 16% surcharge to your bill in an effort to not raise their prices.
But they have raised their prices by 16%. 16% of what ever your total is isn't a surcharge thats a price increase. Price increases happen, why label it a surcharge.
I would just a soon have one price, no surcharge, no handling fees, just give me my bottom line with out the hokus pokus to try and make me feel okay about the price.
-
1
-
-
13 minutes ago, Kev said:
I appreciated having this piping during the last 2 moves but, I'm thinking of tearing it all out, selling it, and paying off my mortgage!
Now that you are mostly set in the shop this isn't the dumbest idea. Maybe not the mortgage but you could certainly upgrade some of the final tools. Or buy Robin a new long arm. Which ever gets you better milage.
-
2
-
-
No I still have the original and I have been happy with them, they haven't given me any reason to want to change. You get some sparks every once in a while, especially doing curve work but that is normal. I read that somewhere in the manual or on Laguna's website in a Q & A.
I do use this stone on a stick thing to round over the back edges of a new blade.
-
1
-


Master BR Bed
in Member Project Journals
Posted
Or it could have been the other way around, I don't recall anymore.