
Every purchase made through our Amazon Affiliate Page helps support this site

Jamie
-
Posts
1,467 -
Joined
-
Last visited
-
Days Won
54
Content Type
Profiles
Forums
Downloads
Gallery
Events
Store
Articles
Blogs
Posts posted by Jamie
-
-
49 minutes ago, Woodenskye (Bryan) said:
Jamie. Is there any way you can just get a refund from HD. It may be worth looking at the hitachi saws from Lowe’s. I have the 12” slider that can slide forward or back. It is built like a tank, but it has been accurate and remains that way even after I move. I don’t have space to keep set up permanently.
You know I have never looked at the hitachi till just now. That thing does look like a tank and at a nice price point. Im sure I could return the mikita if I needed to. Thanks for the info!
-
4 hours ago, Woodenskye (Bryan) said:
Sorry to hear you got a lemon. I haven’t looked at miter saws in quite some time, but looking at your set up, aren’t you going to have issues with the depth of a Makita slider?
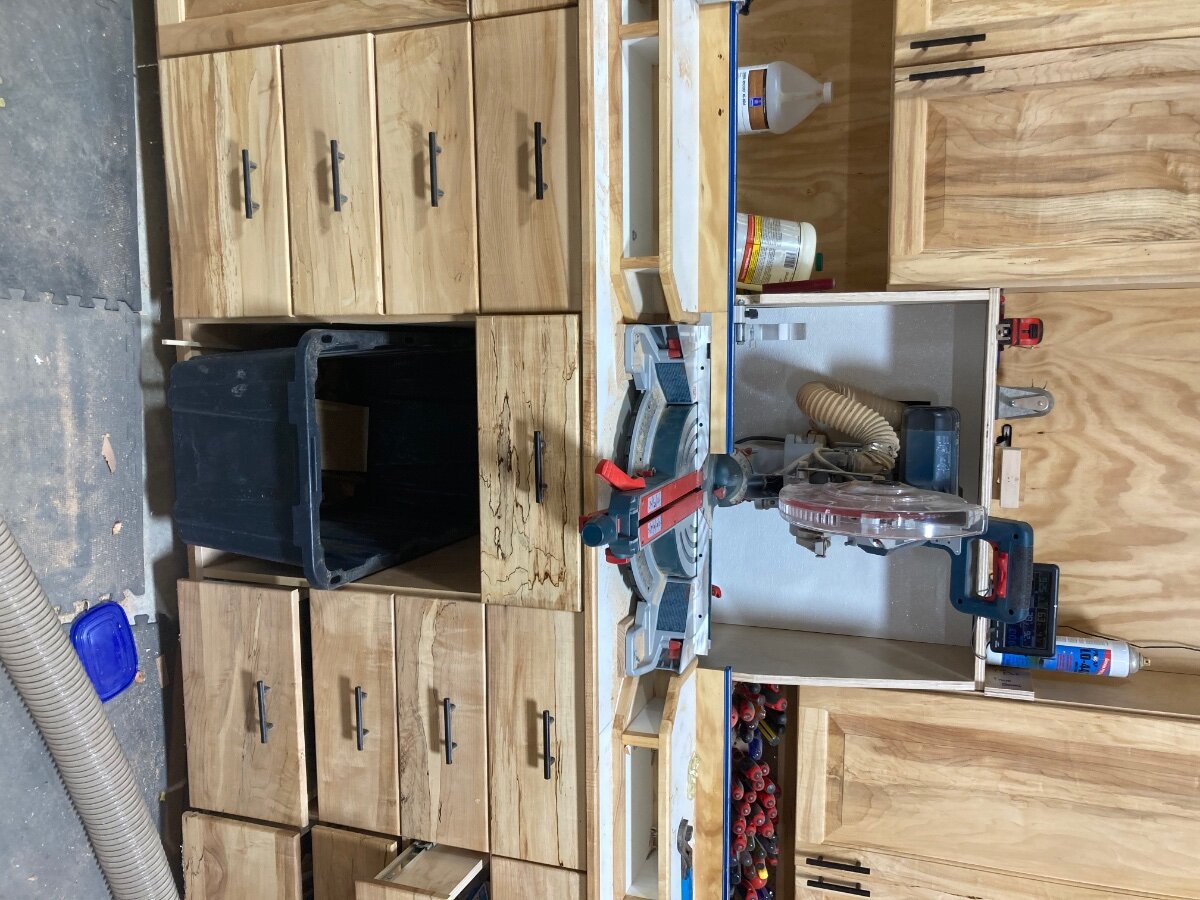
Thanks, I do have 30" to the actual wall from the front edge of the counter. The white that you see behind the saw now is there to mostly cover up the dust collection.
3 hours ago, Bushwacked said:thats rough to hear Jamie! That was going to be the saw I got if I ever got rid of my Dewalt. I guess I will need to rethink it when/if the time comes.
Will definitely be interested in how the Makita works for you ... I am pretty sure TWW did a miter saw review on that and the bosch awhile back ... I think he found the new makita slider wasnt square either ... if its the video I am thinking of ...
I seen the video TWW did and that really pushed me into buying the bosch, I dont believe he had any issues with it is why he recommended it over the kapex. I know he had a makita that he was going to try out along with the bosch but liked the bosch to much to even try it.
-
Thanks for the sympathies.
I was upset about it as well @Kev looking at it for as long as I did along with watching a ton of reviews I was thinking it would be a good one to have. Im sure its just a fluke and can chalk it up to the luck I have. After getting the bosch and looking at other reviews there were things different on the saw I had vs ones in some of the videos. The biggest difference I noticed was the safety lock on the switch. The saw I have its on the bottom and in an awkward place to get with your thumb, also have to push it quite a ways to get it to allow the switch to be turned on. Just not a very natural feel.
I was also looking at the kapex to when I bought the bosch and just recently to replace the bosch. I just cant bring myself to spending that kind of money. In all honesty I dont cut that many miters with the majority of my cuts being 90 degrees I just mostly need something to cut square. Maybe should've let the old dewalt stay in place.
-
 1
1
-
-
1 minute ago, Coop said:
Hey Jamie! So to be clear, the second part of the post, after HD replaced it with the Makita, the issues now are with the Makita?
Hey coop!
Sorry I should’ve explained a little better. I have yet received the Mikita, just ordered it in today. I should mention that hd sold the Mikita to me with a %20 discount. -
Hey guys! Been to long!
I bought the Bosch 12” glide saw after staring at them online for about 3 years. Bought this to replace my dewalt single bevel saw that I’ve had for years. I had a %10 off coupon at home depot so ordered it up. Got the saw delivered in January and it sat in the box till a few weeks ago. Got around to putting in place on the stand which took quite a few hours to change the dust collection hood and get the saw set to the height of the tables. I decided to extend the fence system just close enough to the saw to avoid hitting it with a miter cut.
First impressions of the saw was “man this thing is big”. I was impressed on how smooth the saw moved and the overall finish of the saw. After a quick check for squareness it seemed pretty close out of the box.
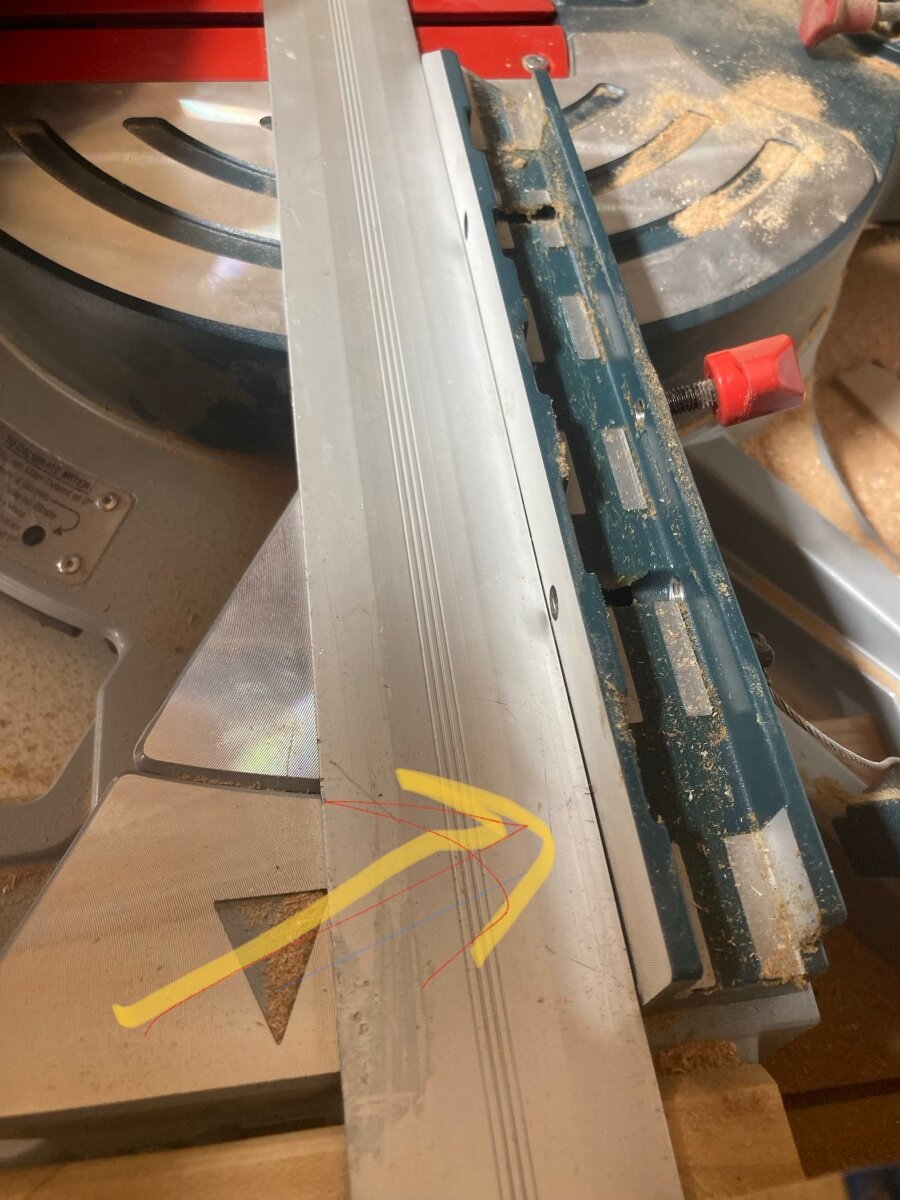
With the saw set in place I fine tuned the squarenesses of the saw and proceeded to move onto my next project. After cutting many parts and taking those boards across other equipment I was finding the cuts to not be square. Went back and checked the miter saw and sure enough it was out of square. So readjusted and made a few test cuts. First cut would be square and the next wouldn’t be. Left me scratching my head. Lost some sleep over the whole deal and got up early to check over a few things. Found out the the back fences are not in plane with each other. Seems to be an issue in the manufacturing where the fence is secured to the saw.
Long story short Home Depot is taking the saw back and gave me a discount on the Mikita 12” slider. I have read that basically every saw made has had an issue like this to some extent. Needless to say my 3 year long dream hasn’t been much fun. After using the saw for a short period I couldn’t recommend getting one. Take away the not being square thing and I still wouldn’t.
The handle on the saw wasn’t comfortable and the safety lock seem awkward to use.
Blade changes we not easy to do, came from the factory so tight that I thought I broke the blade lock.
Blade guard is so bulky that you can’t see your cut very well.
Hooking dust collection up is a waste of time as it collects maybe %25 of the dust.


-
That is some nice looking walnut!
-
Looks awesome!!
-
1
-
-
Amazing job!
-
 1
1
-
-
Wow! Interesting thought on this one. I'm glad to see him show the troubles with the epoxy, I remember them very well from the one project I used epoxy on. Happy to see I'm not the only one with issues!
-
Awesome job bud!
-
1
-
-
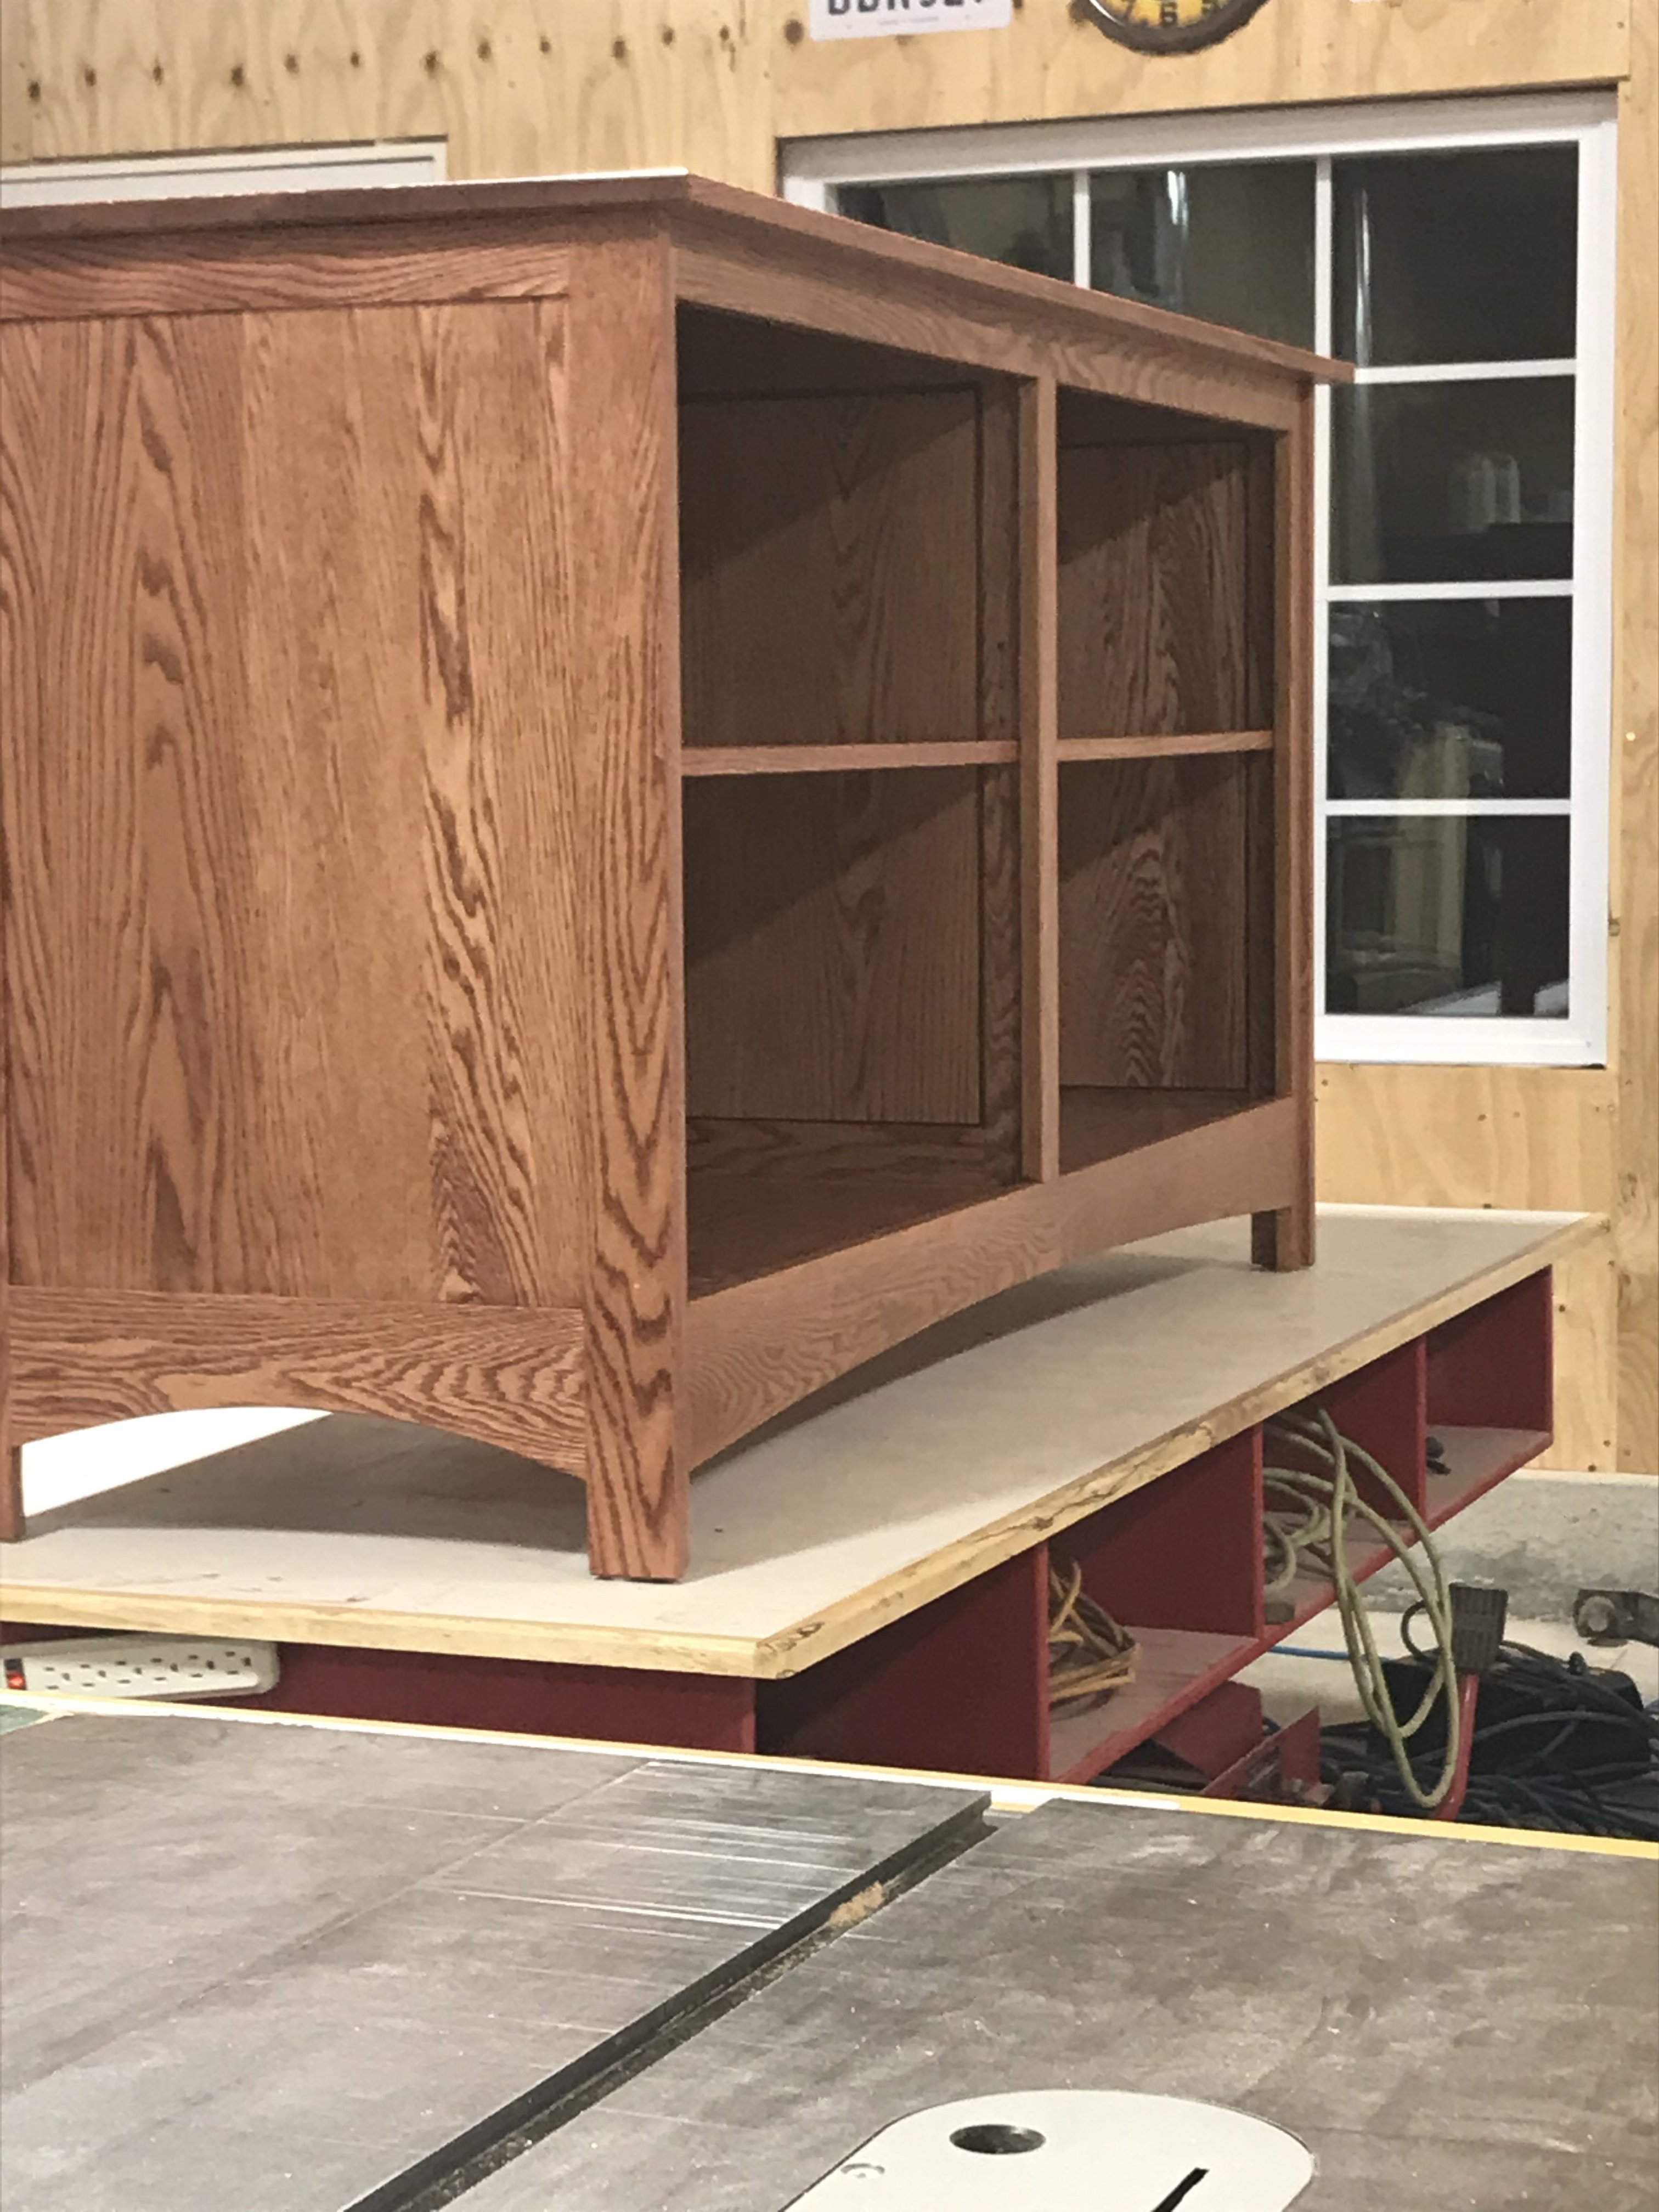
Hey guys sorry this has taken me so long to post. Life has been crazy and haven’t had any free time in quite a while. So the current kitchen project isn’t quite completed, the customer is ok with it not being finished yet as the contractor who is doing the remodel hasn’t shown up yet.
Will show you guys the steps for assembly of a base cabinet in this post. Hopefully it makes sense on the Constructon style after this post.

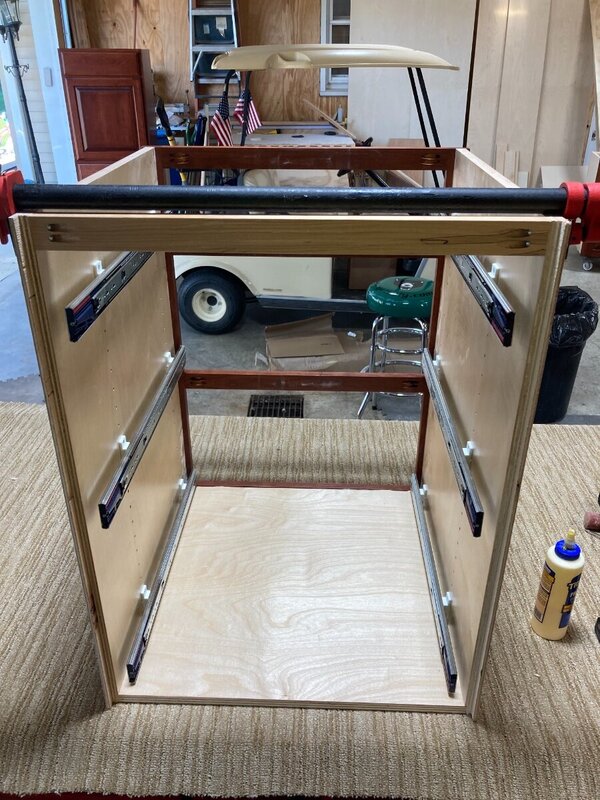
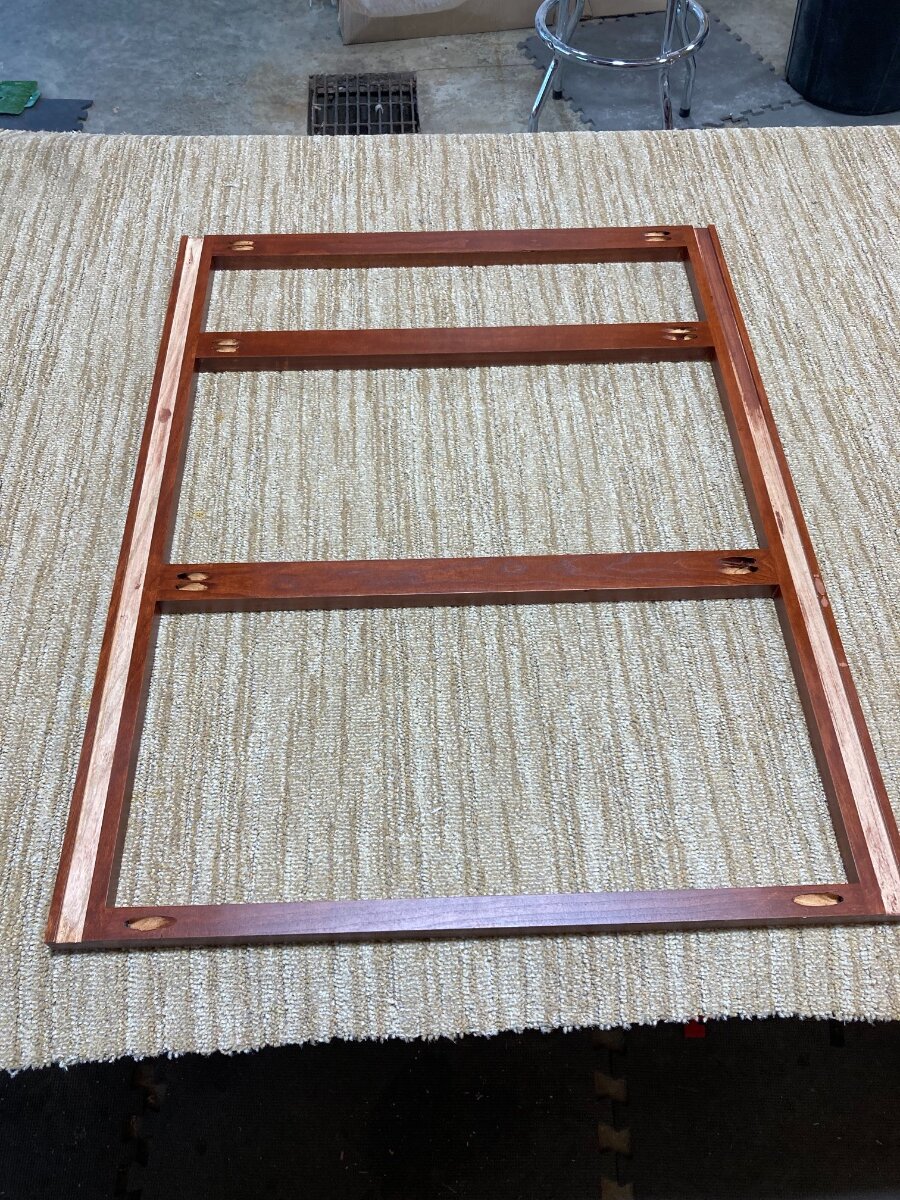
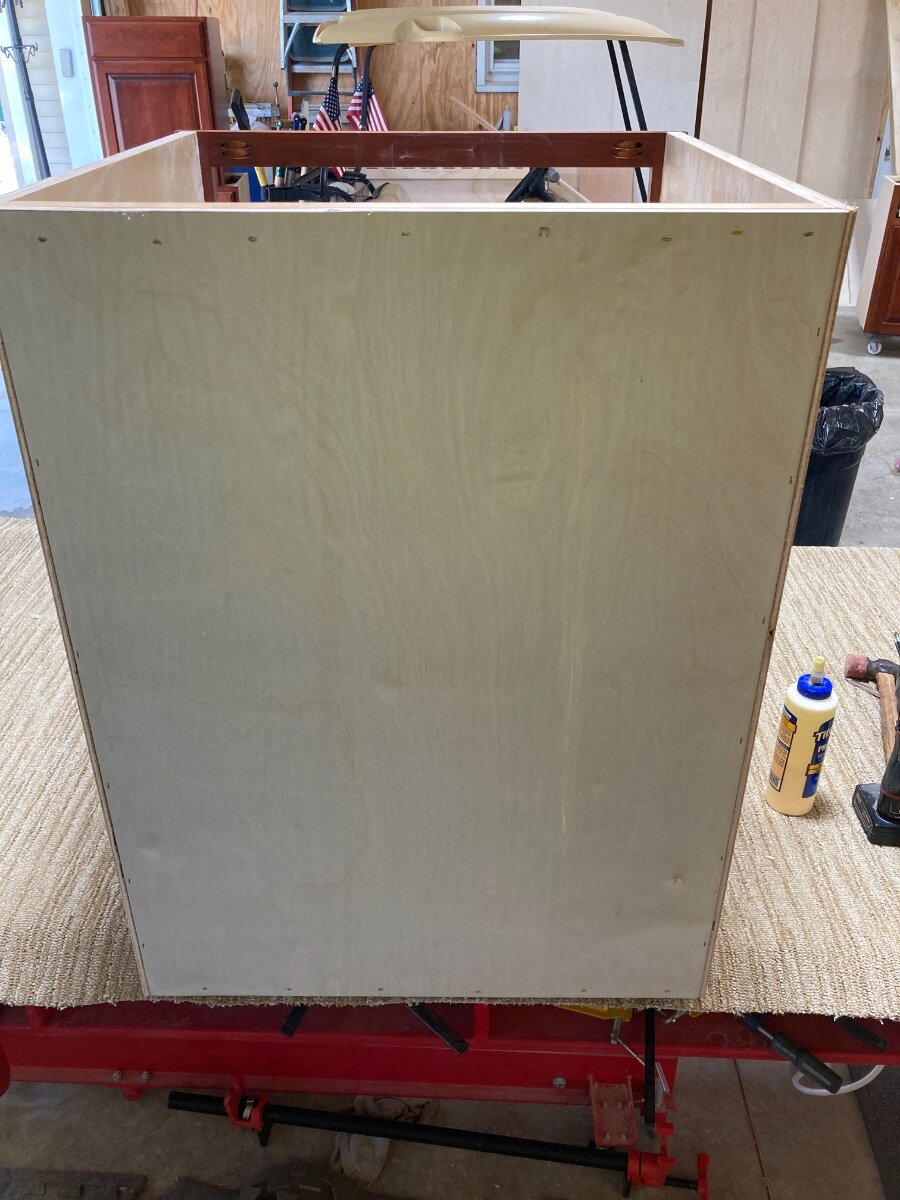
This cabinet is a 3 drawer base. Start with the face frame face down on the bench. I did pick up a chunk of carpet to cover the bench for $10 from a local carpet shop. Just a piece of scrap they had laying around.

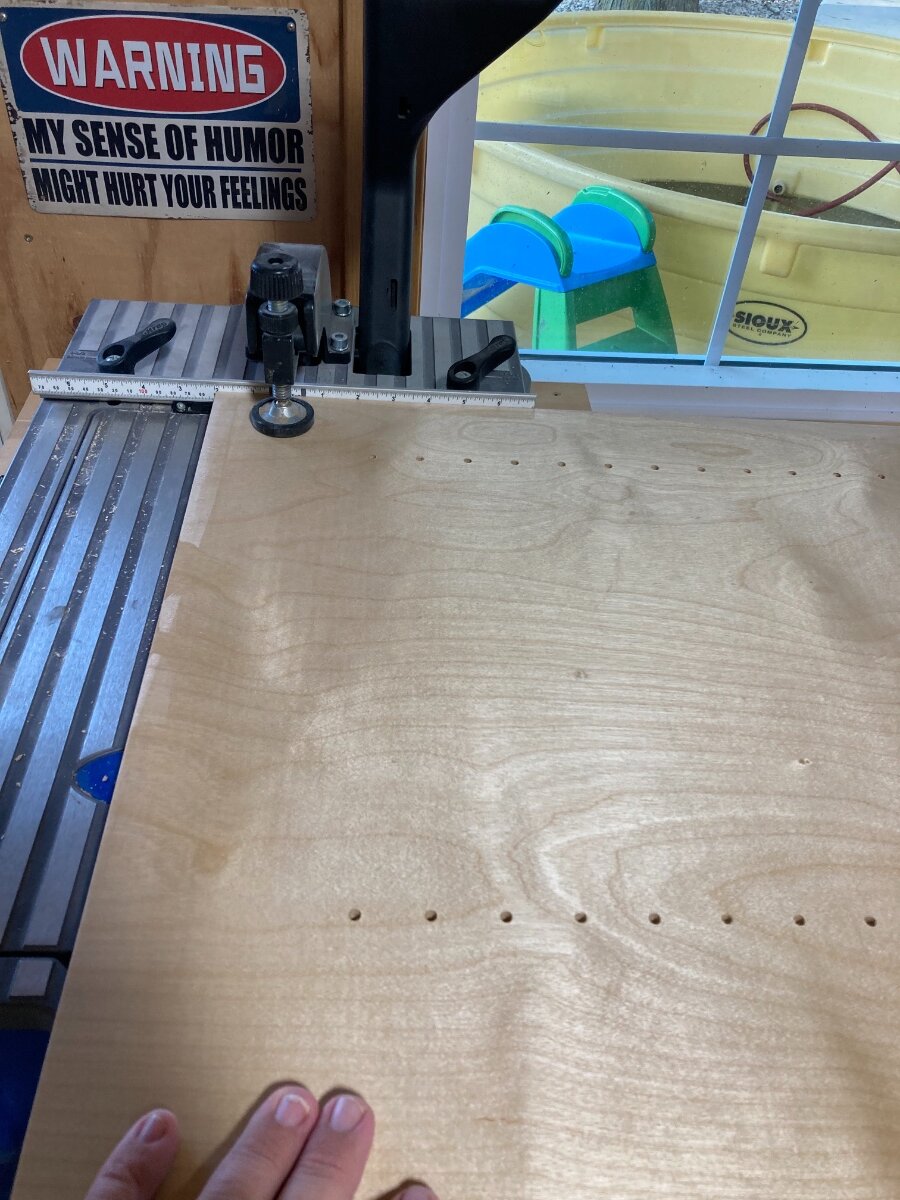
I gather all the ply parts for the cabinet, which can be a little sorting when you first start assembly. While finishing all the parts get mixed around. The cabinet sides get pocket holes placed where they meet the face frame.
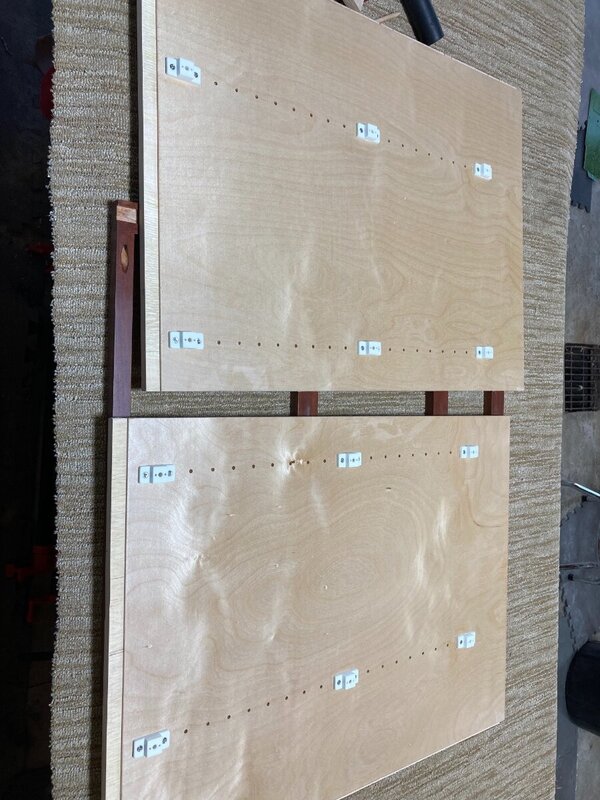
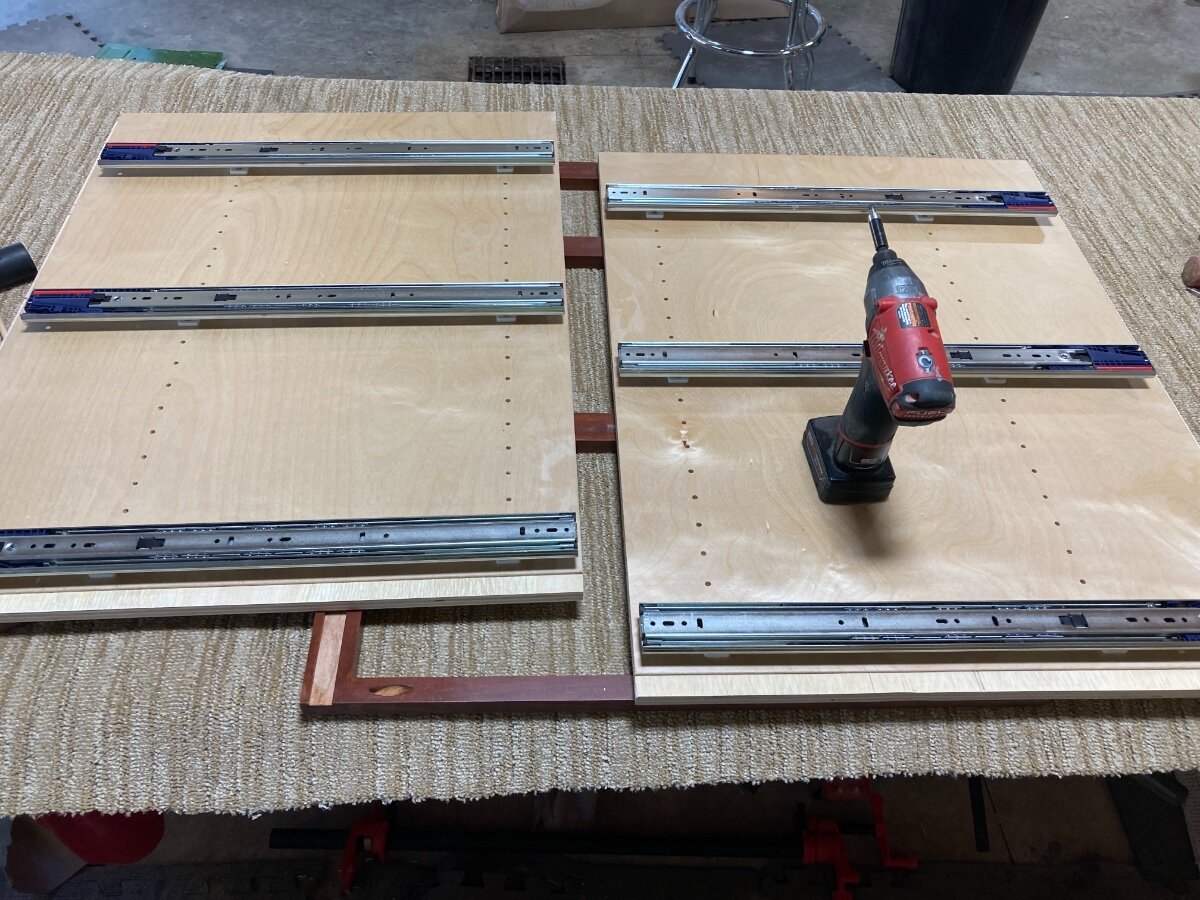
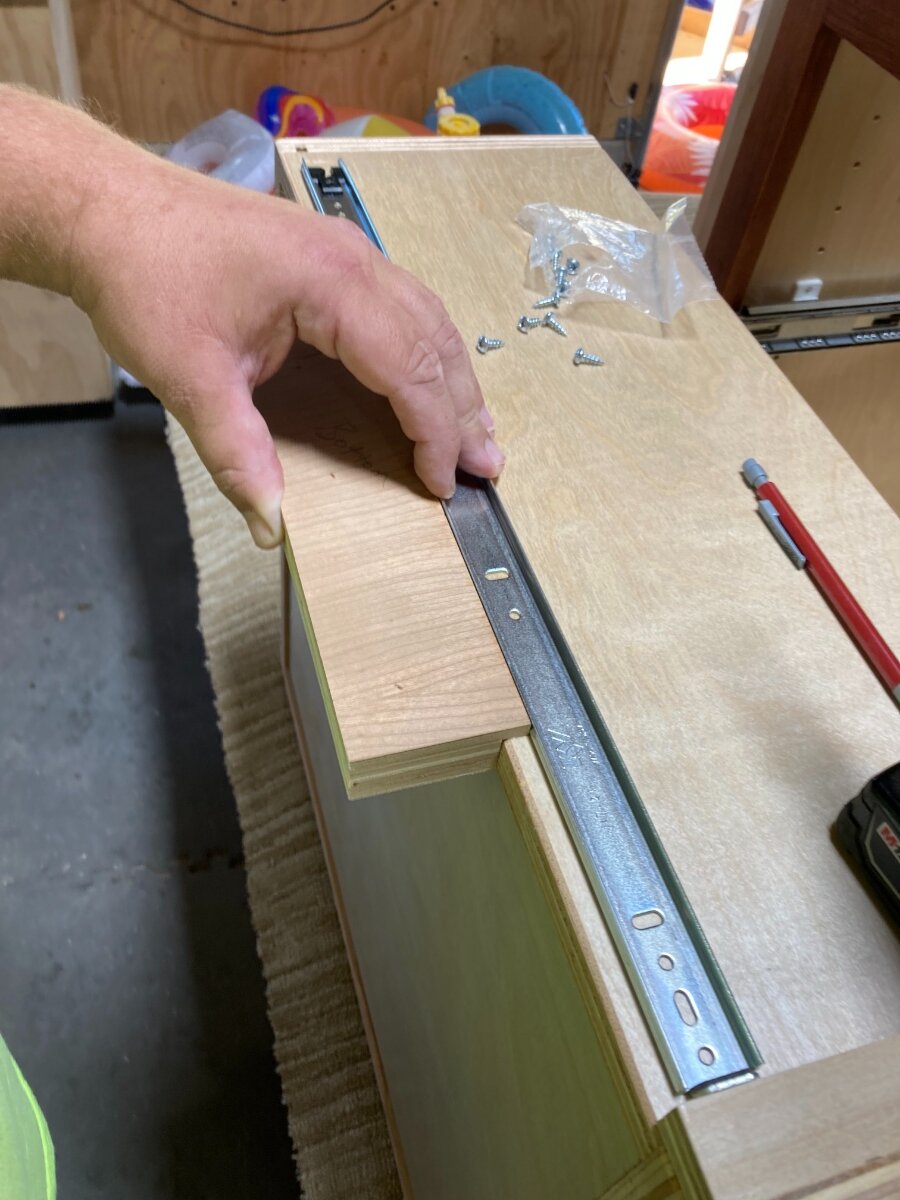
With this cabinet getting drawers I use a spacer to mount the drawer slides to.

Drawer slides attached while the sides are laying flat on the bench. Find this much easier than when the side is attached.
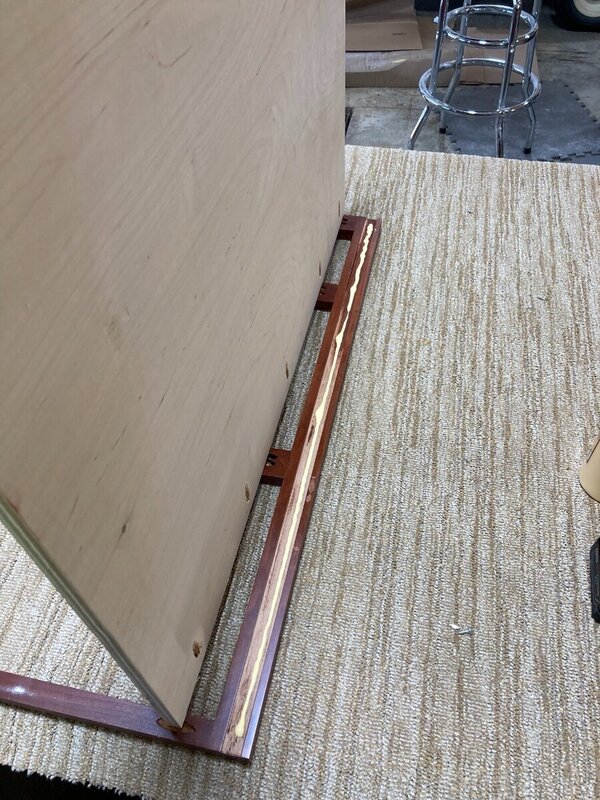
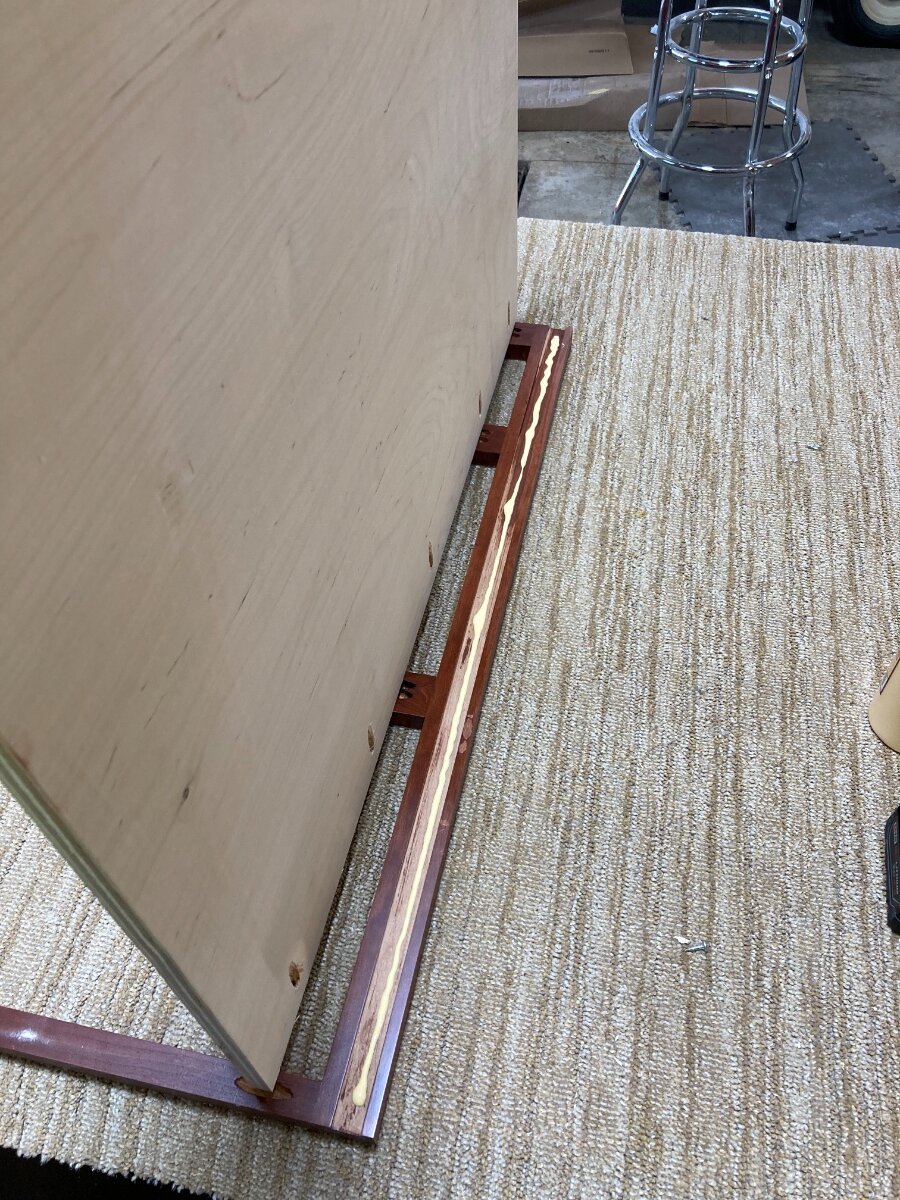
Some glue place in the dado of the face frame.
With both sides attached the bottom is pocket holed and glue and screwed into place.
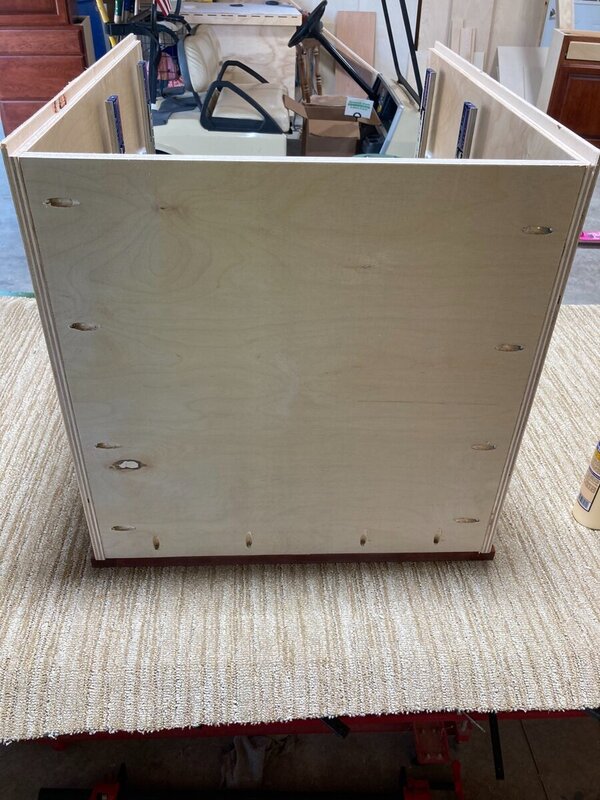
A cleat is then put in across the top. This is there to have something more substantial to screw through when installing.

1/2” back is then stapled on.
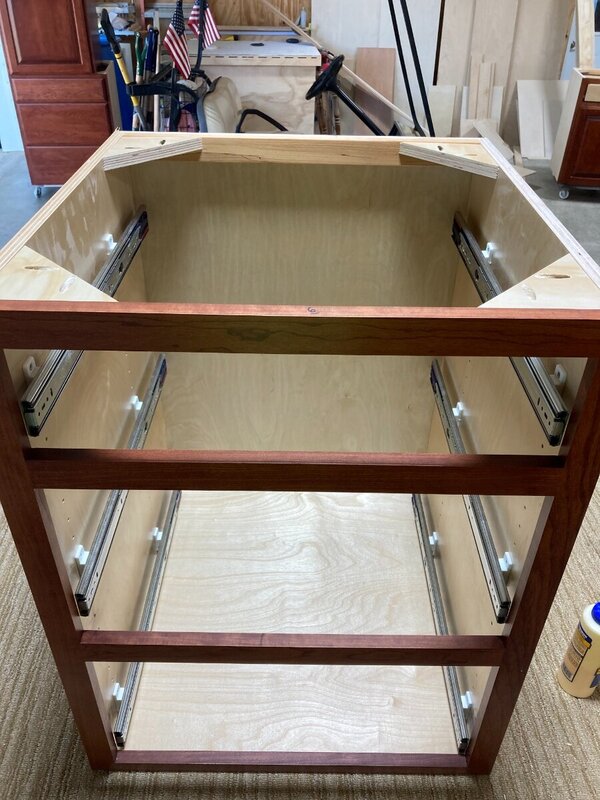
In the corners of base cabinets I put in corner blocks. Not there for only stiffness but is gives a place to attach counters to.
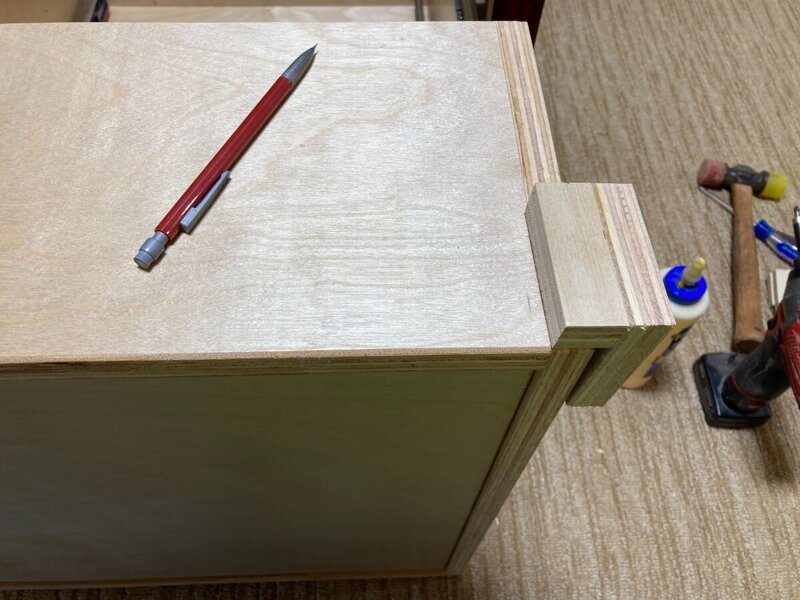

Some shop made jigs for attaching slides to the drawers.
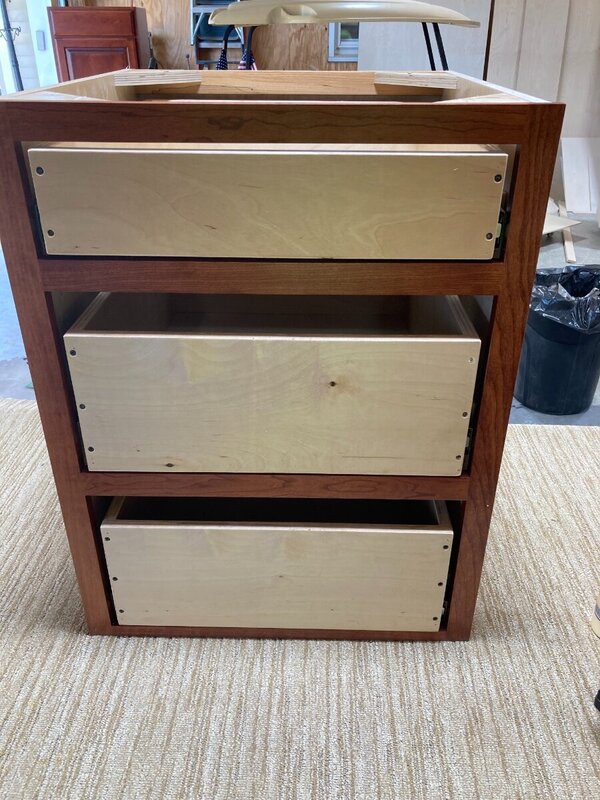
Drawers all in.
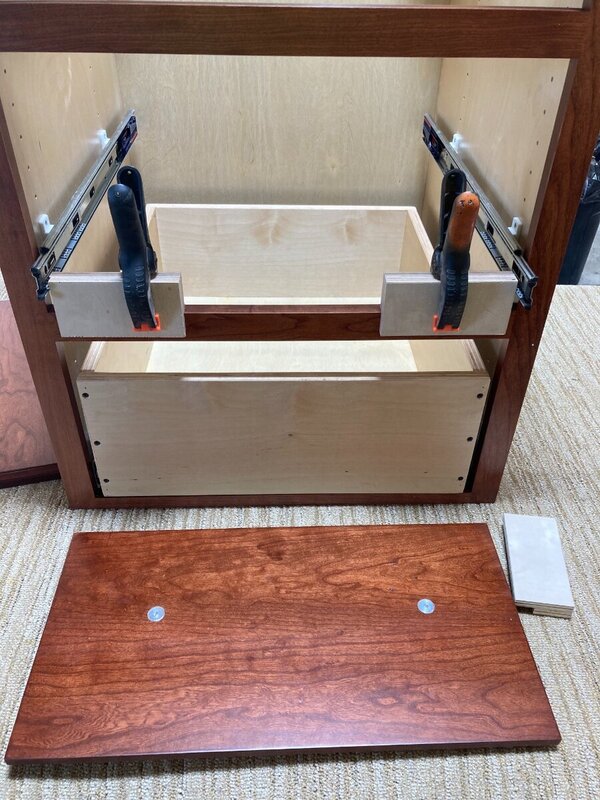
For the fronts I use a Blum mounting system. Pretty slick with the inserts adjustability.
Ran out of room for this post with pictures. The whole project was going all to well until I got into a hurry and tried to move a drying rack full of the doors. Hit a bump in the concrete and the doors fell like dominos. Long story short I ended up with a good gash on my nose and one door completely broken and a handful to fix. So by trying to save a minute it cost me about 8 hours and a bruised pride. It really turned off my motivation for the whole project and even being in the shop. Really can’t wait to have this one behind me so I can get back to making a project that I can have fun with. Don’t read into this the wrong way, I knew what I was getting into when I took this on and it has allowed me to make so nice tool upgrades. Has made me realize why I no longer work in the cabinet business.
-
5
-
-
Looks awesome!!
-
This is bad news. They were going to be playing locally in a couple weeks.
-
2 hours ago, Chet said:
Maybe you could hit the routed shapes and lettering with a propane or MAPP gas torch and then run it though the drum sander to clean up the edges to get them crisp looking again.
Now there is an idea
-
1 hour ago, Bushwacked said:
looks great! however, is paint ok for a cutting board? just curious on a few things .. like blood getting into the groves and cleaning it out, wont the paint start to chip after a few times of that?
I am just curious ... I know a few cutting board FB pages I am on people lose their mind when people post an epoxy board haha. So curious if this is the same type of thing.
That is a very good question, my answer is I don't know. I have done one other board like this and gave it away as a wedding gift to really good friends, they havent said anything to me about it chipping out. They are good enough friends that I would think they would mention it to me.
My wife brought it up as well, thought we should maybe try stain in it.
-
Last resort is a 3" grk through the frame into a stud. Shouldn't go anywhere after that 🙂
Are you putting those small screws in with a impact or a drill? Maybe go the hand route.
-
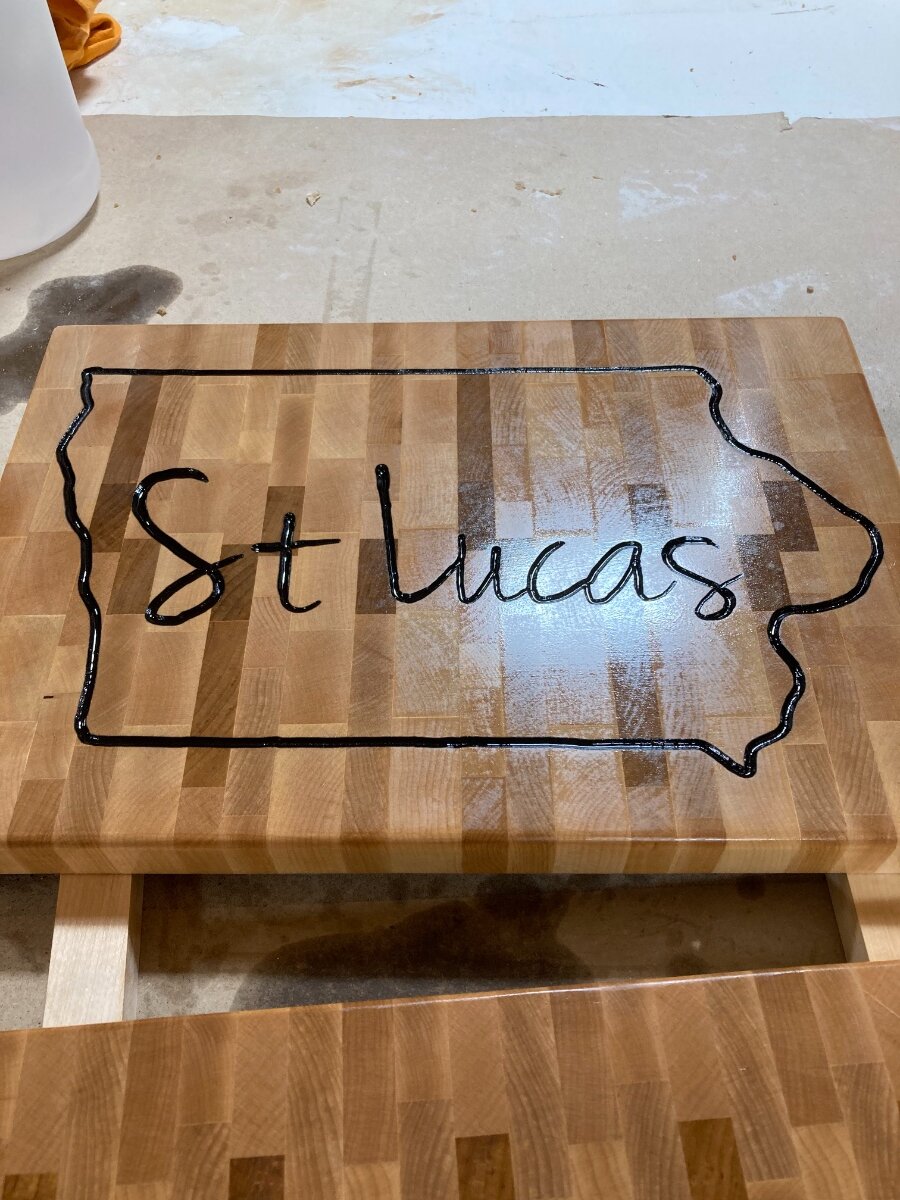
Made a few cutting boards for some gifts. This one here was made for our community park auction. The town has been building a new city park for a few years and do a Facebook auction as a fundraiser.

Took the picture as it was in the process of soaking up some mineral oil yet. The state outline and lettering I cut in with a v groove bit and a plunge router. My wife has a circut that she cut the design out on, put the sticker on the board and painted over it. Removed the sticker to get the pattern to cut, then painted over the cut before sending back through the drum sander. With the variation in width on the letters I did try and adjust the depth of cut as I went Have to say it worked better than I thought. There are a few wobbles in the cut but I can live with them.
For finish I like to hit with around 5 coats of mineral oil then use a butcher block conditioner product. Seems to be a wax and mineral oil mix.
-
4
-
-
Haha I kinda forgot about this trend till I was looking at some of the pictures of our latest trip. Went to Colorado for about a week. Kids had a good time as did we. The Mountain View’s and weather were a nice change from the heat and humidity of Iowa summers.
Kevs shirt made an appearance on the trip as well!

Lol don’t know why I look so mad in the pic, other than the kids taking my sunglasses from me! I assure you I was in. Good mood!


-
4
-
-
Sorry for not being around much lately. Took a little family trip and have been playing catch up since. We went to Rocky Mountain national park to take in the sites. Was a great time!
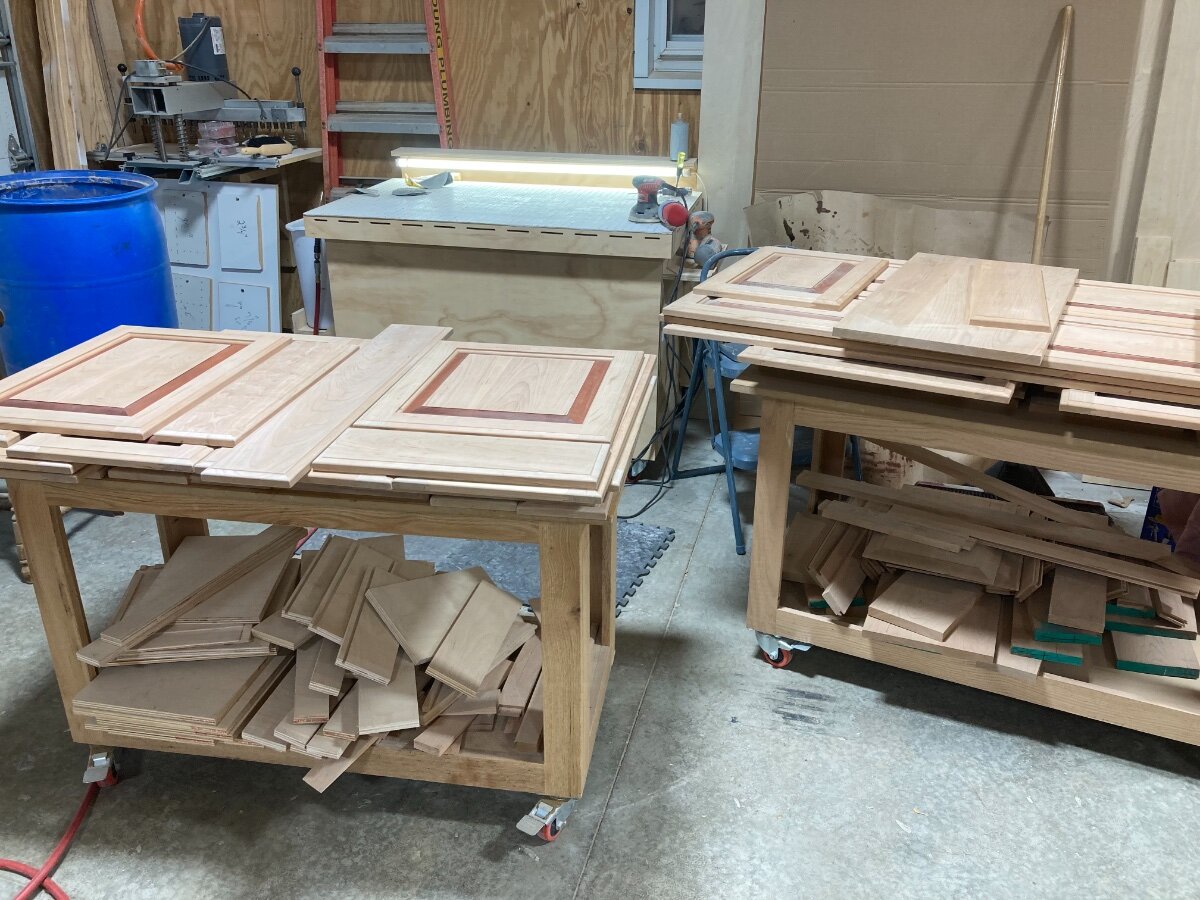
Only work that I’ve gotten done on the cabinets is getting all the doors and face frames finish sanded. Took quite a bit of time to get through them all. I believe it was right around 7 hours of sanding time.

This photo was taken after about 2 solid hours of sanding, the cart on the left was the progress. Will start staining as soon as I get the 1/4” ply skins cut and sanded.
-
7
-
-
Late to the party here but I have recently used the kreg version where you use your existing saw. Have to say that the rubber strips on the bottom of the track kept it in place. The track on the other hand had some play in it. It worked fir the few cuts I made with better than expected accuracy.
-
1
-
-
9 hours ago, Bushwacked said:
Hmmmm, this might be the approach I need to take ... if this step doesnt work out. Not sure on final position of it, we shall see how annoying it is jointing or not. From this angle the outfeed of the jointer is closest to us.
Now that turned out really nice! Great job!
-
1
-
-
12 hours ago, Chet said:
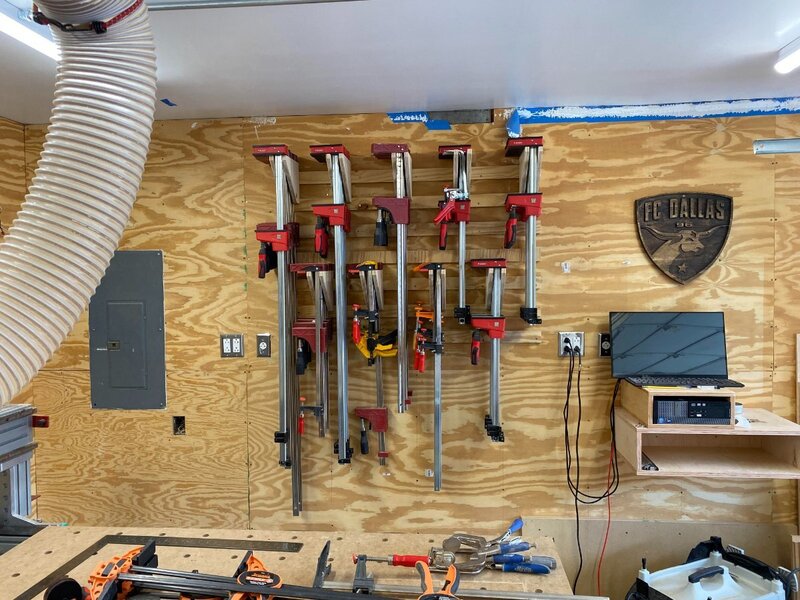
I ran a custom made heavy duty extension cord along my over head ducting for my DC to the right side of my table saw to power my DC which sits just to the right of my table saw. I just used zip ties every so often to hold it in place.
+1
-
Thanks guys! Yeah I was thinking it was more like a quart to fill it! Have 50’ of hose that I added the 4’ whip hose to. Either way it saves a ton of time not having to refill the cup.
-
Is there a way you can get the power from overhead?


Bosch 12” Glide miter saw
in Shop Tools and Reviews
Posted
Ill have to go back and find that video, thank you guys for all the great info