Every purchase made through our Amazon Affiliate Page helps support this site

RxR Sawdust Station
-
Posts
277 -
Joined
-
Last visited
-
Days Won
5
Content Type
Profiles
Forums
Downloads
Gallery
Events
Store
Articles
Blogs
Everything posted by RxR Sawdust Station
-
Venom Steel Disposable Gloves - Nice!
RxR Sawdust Station replied to RxR Sawdust Station's topic in Shop Tips and Techniques
And that's not including Vet costs. I've had family and friends spends 1000's of $ on an animal that will die soon of natural causes. It just boggles my mind. But, I do understand the love they have for their animal. I'd get a new one. And, I got'chu covered! Cut Resistant Gloves Stainless Steel Wire Metal Mesh Butcher Safety Work Gloves for Cutting, Slicing Chopping and Peeling. https://www.amazon.com/Resistant-Stainless-Butcher-Cutting-Chopping/dp/B07FPMMPDW ?, RXR -
Venom Steel Disposable Gloves - Nice!
RxR Sawdust Station replied to RxR Sawdust Station's topic in Shop Tips and Techniques
These are my previous disposable gloves. They used to be in a box. I went to pull out a pair and the whole glob came out in my attempt! ? And, I'm not sure that I ever put on a pair that didn't tear just putting them on. I won't even use them any more. It's not worth the effort to just have them tear. They're junk. Venom Steel states their gloves are 70% thicker than whats on the market (from memory, brief scan). ?. RXR
-
Venom Steel Disposable Gloves - Nice!
RxR Sawdust Station replied to RxR Sawdust Station's topic in Shop Tips and Techniques
*It looks like a girls dog! ? DOH! ? RXR -
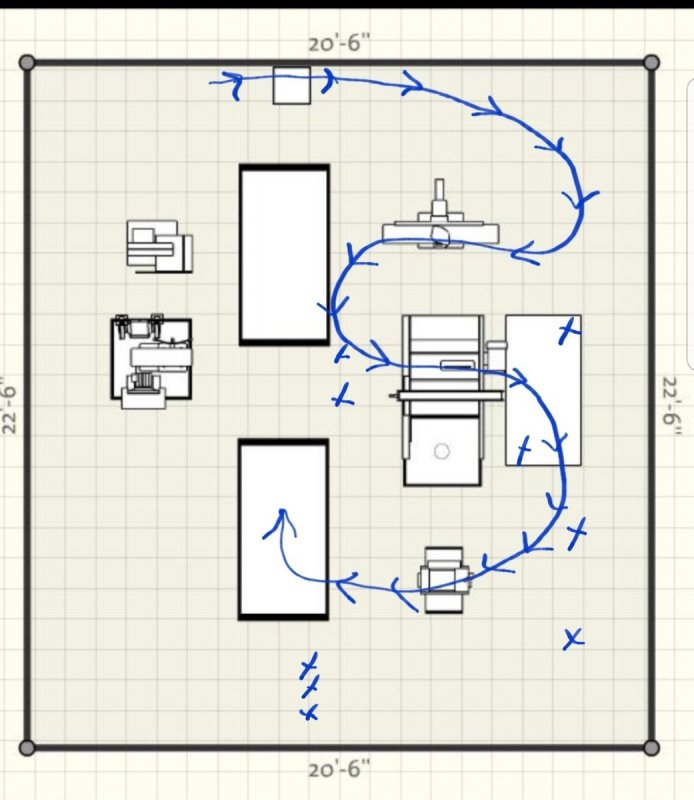
It's a great method to determine the best layout for the shop you have at that time. ? ?, RXR
-
I was just going through the pictures on my phone trying to find a picture of that Rockler light in the garage I had my things in in Texas and I came across this. It's a Grizzly.com shop layout tool. I was diagramming work flow. I imagine something like that would work if you went the American Green Lights route. IF you're not able to do a SketchUp (I am admittedly not very good at it even though I'm AutoCAD certified - just haven't spent much time on it) or use the Grizzly layout tool, IF you provide me a hand drawn sketch with shop dimensions and machine/tool layout I'll do the Grizzly layout for you. ?, RXR
-
Venom Steel Disposable Gloves - Nice!
RxR Sawdust Station replied to RxR Sawdust Station's topic in Shop Tips and Techniques
Of course it is. I looks like a girls dog! ? Nice looking Fluffy, @Coop! ?, RXR -
Venom Steel Disposable Gloves - Nice!
RxR Sawdust Station replied to RxR Sawdust Station's topic in Shop Tips and Techniques
Let us know how that goes, please! ? ?, RXR -
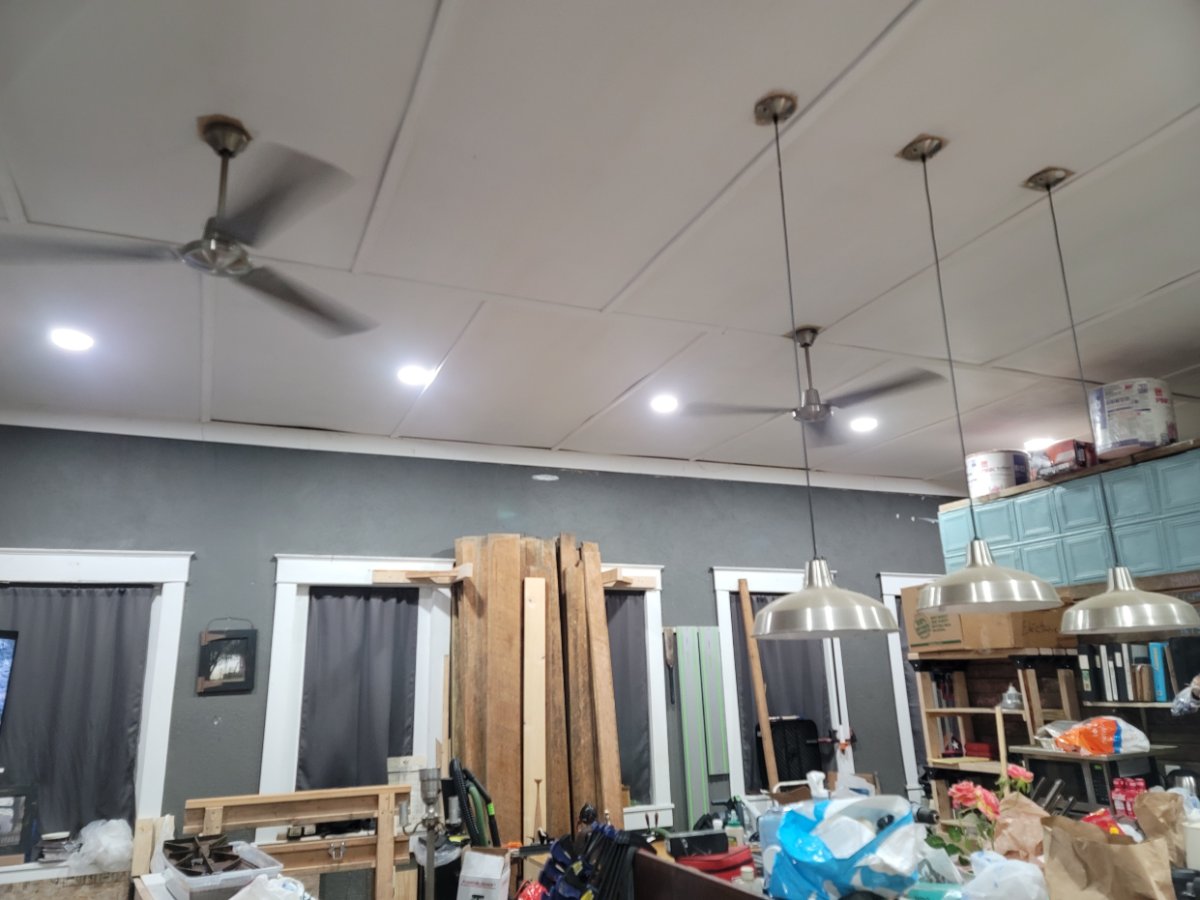
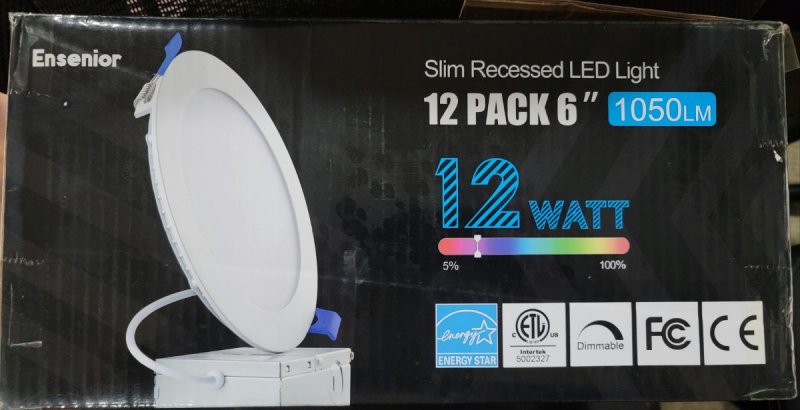
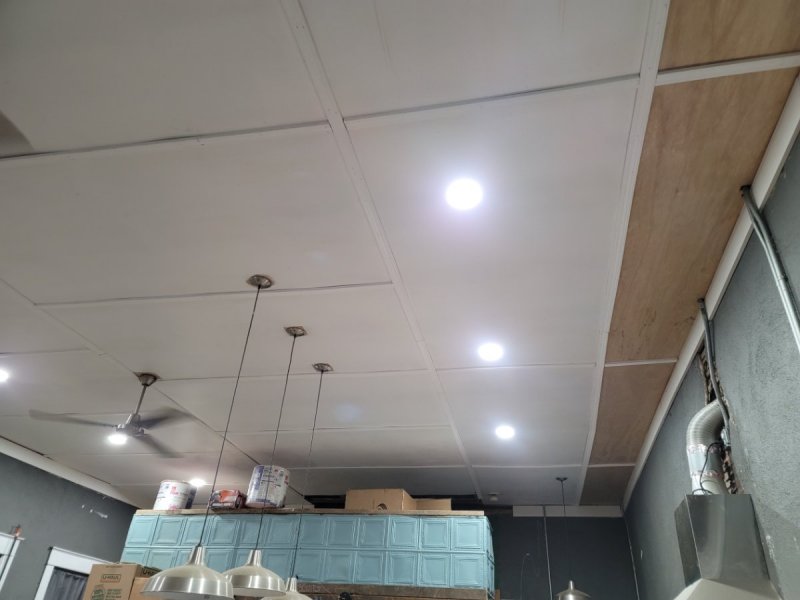
Hey Coop ?, I have seen many woodworkers using http://www.americangreenlights.com/. There are several woodworker videos right here: http://www.americangreenlights.com/youtube-makers.html They can take your shop dimensions and tool/work locations in SketchUp and provide you with lighting for your situation and make you a lighting simulation - what lights you need where. Marc just provided Jim at American Green Lights with hand-drawn dimensions and shop layout: https://www.youtube.com/watch?v=eeNFxOErm-U Marc also goes into some details about terminology you may find useful. They also do retrofits like you're talking about. When I moved into the 1924 Schoolhouse there were no ceiling lights. My niece was sensitive to bright lighting. When I had lights installed I did my homework. At the time doing woodworking here was not a consideration. We installed 9 of these: There are 5 along the long West wall (1 above the modified ship's ladder). There are 4 on the East wall (1 above my head where I'm taking the shot from). There was already a pendant light with an LED bulb above the washer and dryer. All the lights I installed on precisely centered on each window in both directions. I had the lights put on a dimmered two way switch. I can dim the lights from the switch at the entrance and turn the lights on and off from either end of the space. The lighting is excellent for a living space BUT I find the light wanting while doing work. Especially close in work. Layout and cut lines are difficult. I will have to do something about that. Part of the reason are the 11-1/2 feet ceilings. And, I think another part of the reason are my eyes. They're not doing so well. I have two of these (1 is actually in Texas still). They're great shop lighting with twist light sockets (E26 is what they're called). Those are the sockets that were already in the space. https://www.rockler.com/lumen-led-utility-light-with-aluminum-shroud What I have are 5,000 Lumen LEDs. Coincidentally they're on sale right now. They're the same price as their 3,000 Lumen LEDs - $24.99. I have been window shopping on how I can incorporate this light into my work area (even temporarily). I hope this information helps. ?, RXR

-
Venom Steel Disposable Gloves - Nice!
RxR Sawdust Station posted a topic in Shop Tips and Techniques
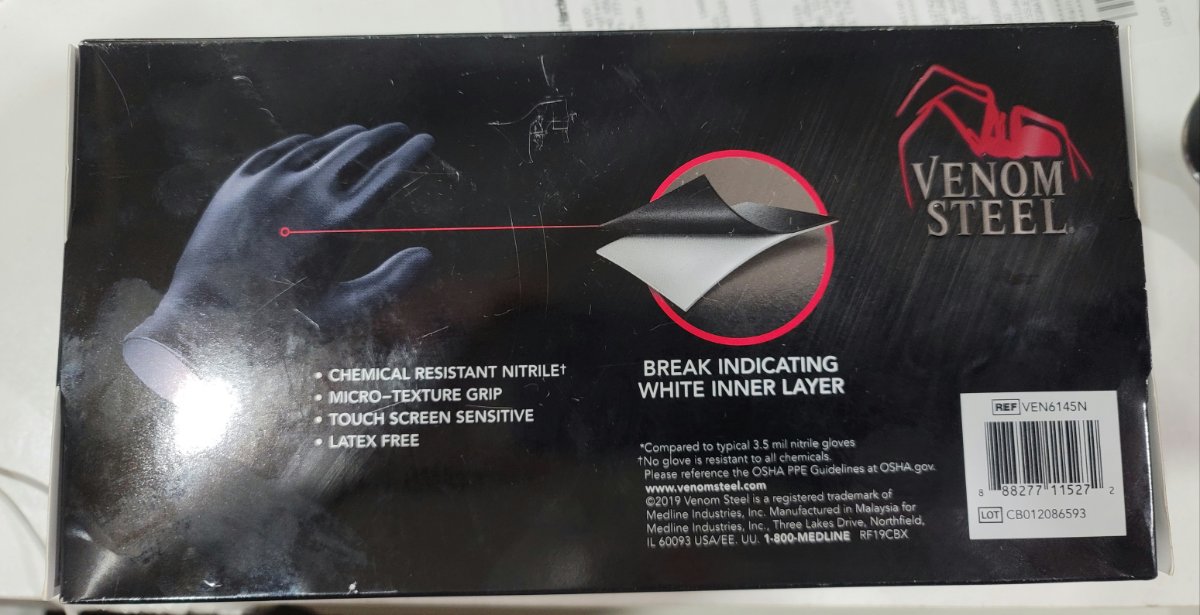
I'm really not sure where to put things - thread topics. My apologies. I bought these for woodworking. They haven't touch any wood yet. I had they well before I knew I was getting the Wolf C34S Range. They've come in VERY handy in that task (those tasks). Nasty, nasty jobs involving extremely caustic materials. Best disposable gloves I've ever used. And, I just discovered they are Touch Screen Sensitive. I tested them right before composing this post. They are in fact touch screen sensitive. $18.99 on Amazon for 50 pairs. 2 Layer Gloves, 6 mil Thick. https://www.amazon.com/Venom-Nitrile-Resistant-Disposable-X-Large/dp/B01CO9RKB6 IF you're looking for good workshop disposable gloves I wouldn't hesitate getting these. I haven't torn one yet. My SIL did a lot of the early caustic work and I didn't see any evidence of a torn glove. She never mentioned tearing a glove. I won't hesitate buying them again. ? ?, RR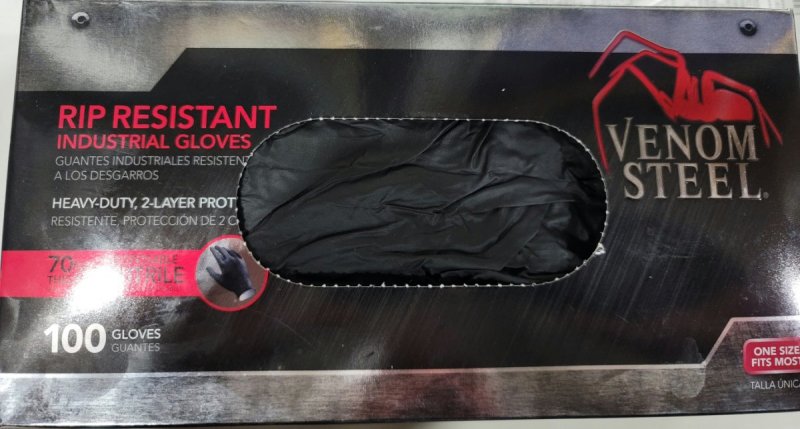


-
It's fixed in my Firefox. ?, RR
-
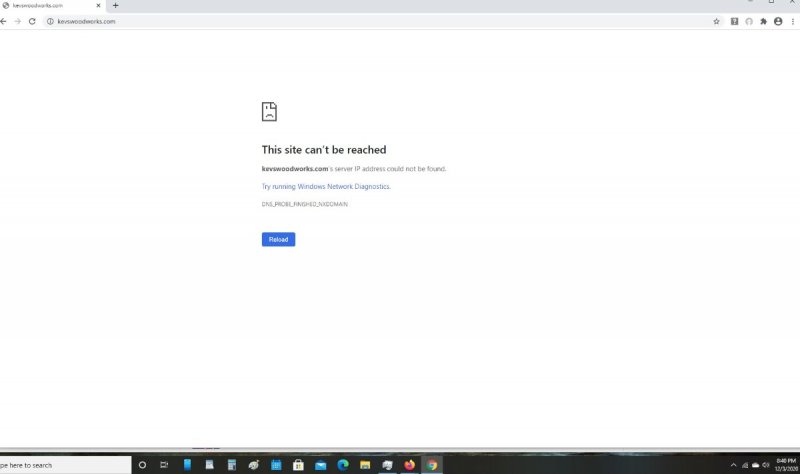
***My last message was still in the "Text Editor". I had to manually reverse the cursor motion with the back button to get rid of it*** New business: (time and date stamped) In Chrome: Then Edge: Just minutes ago. Regards, RR

-
Speaking of which, I'm on my PC and using Firefox, @Kev.
-
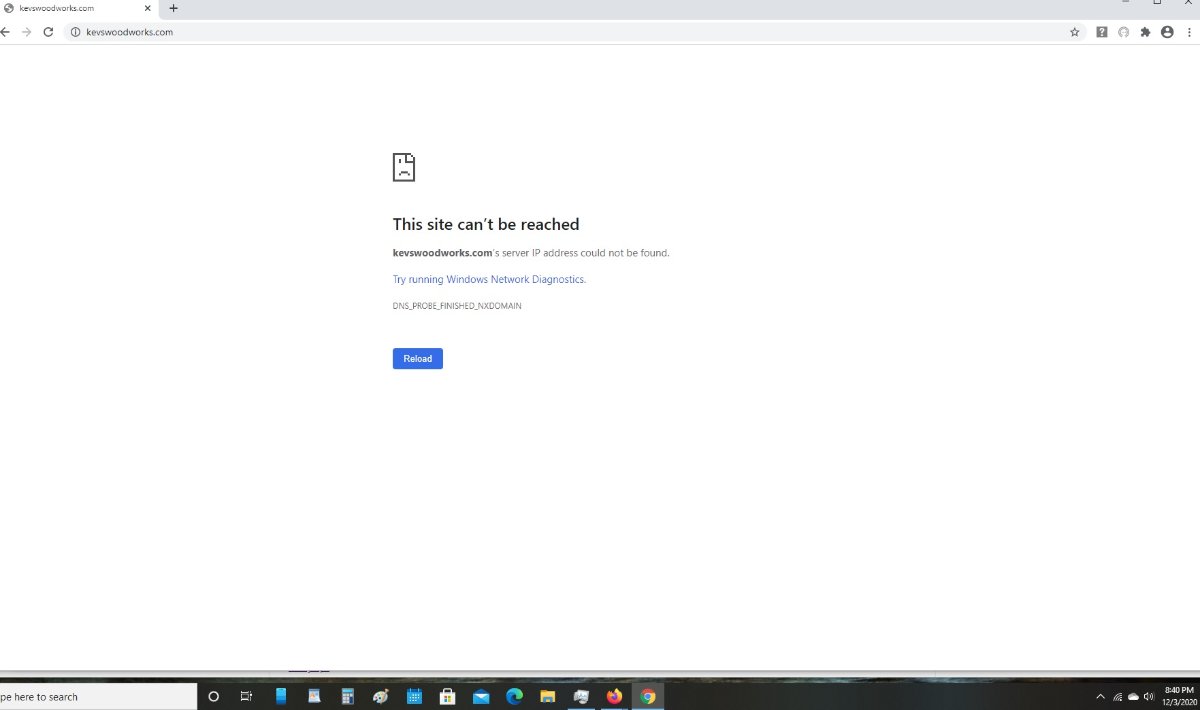
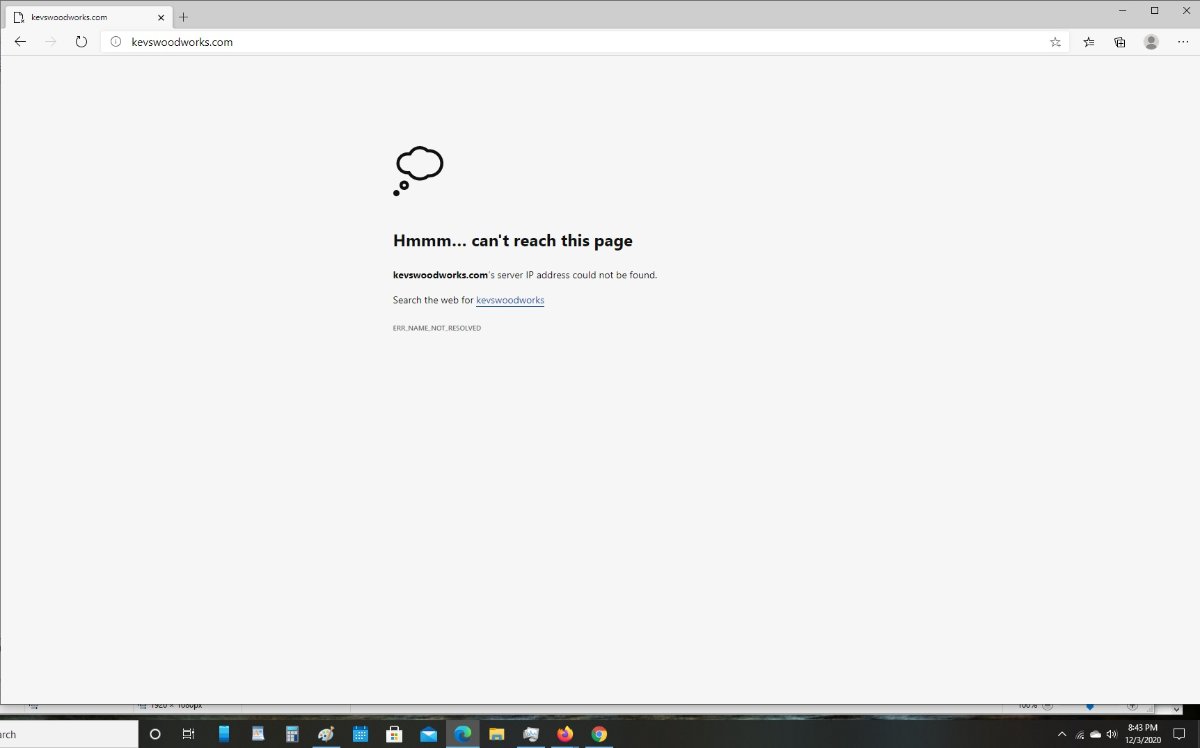
No, sir...not resolved. I even went back out to kevswoodworks . com and reentered the forum from there and they're still not fully rendered. This screenshot shows a lot more of what I was trying to describe. All the way down to the bottom of the screenshot showing the drill-down - the Home > General Discussion > General Discussion > Server Migration links. (I included > where some sort of symbol should be (now I don't remember if they were arrow or what? ? ) but now isn't and only shows the little box with F something or other in it (some sort of alphanumeric code)).

-
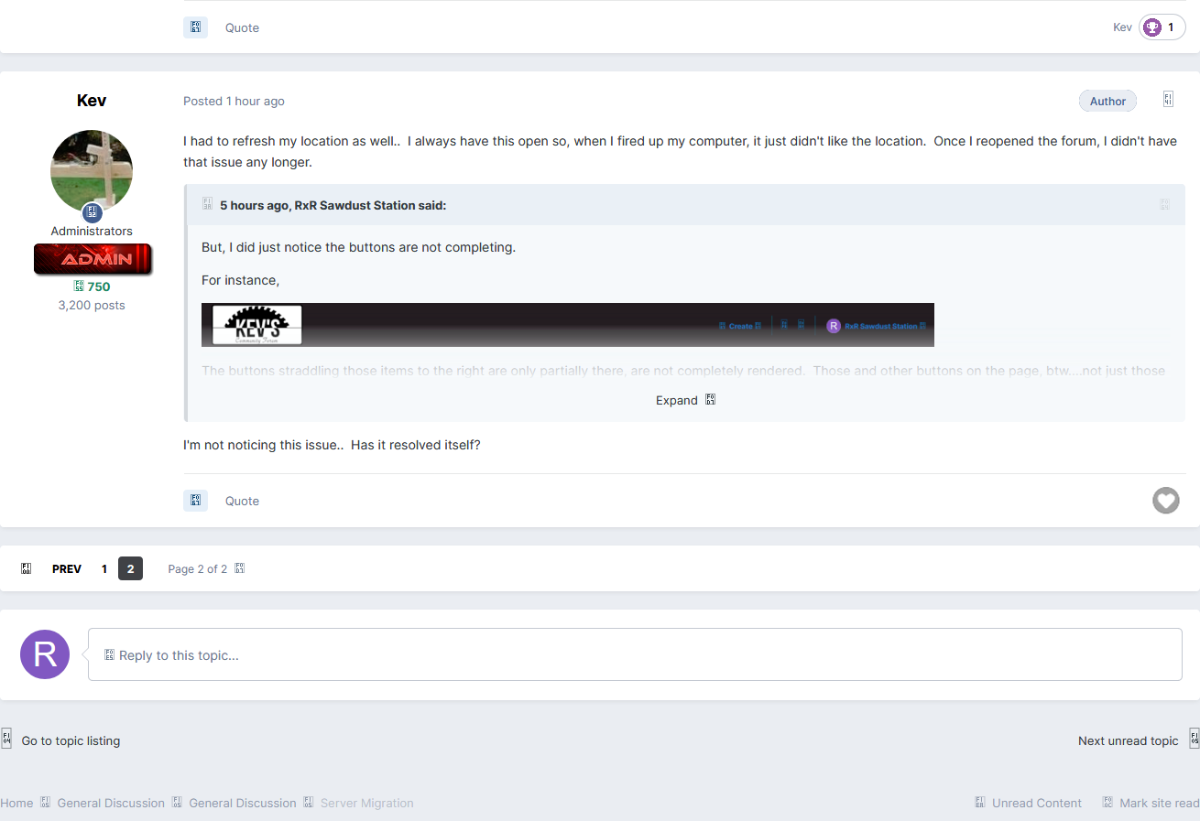
Hey BW. Happened to me too. It does look like url went from kcwoodworks to kevswoodworks. Regardless, glad to see you made it back! ? But, I did just notice the buttons are not completing. For instance, The buttons straddling those items to the right are only partially there, are not completely rendered. Those and other buttons on the page, btw....not just those buttons in the screenshot. ?, RR

-
Not that I've noticed in the three minutes I've been on the 'new' here... ?, RR
-
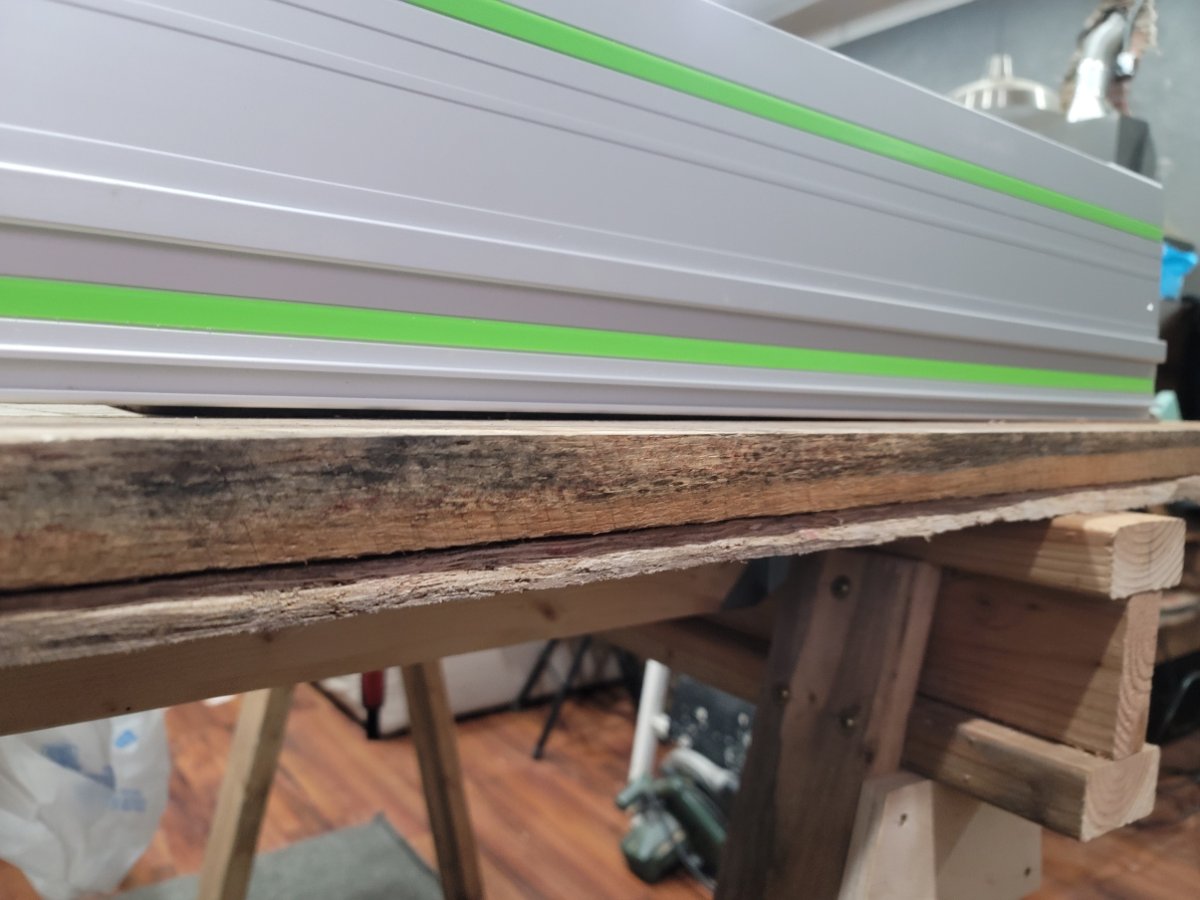
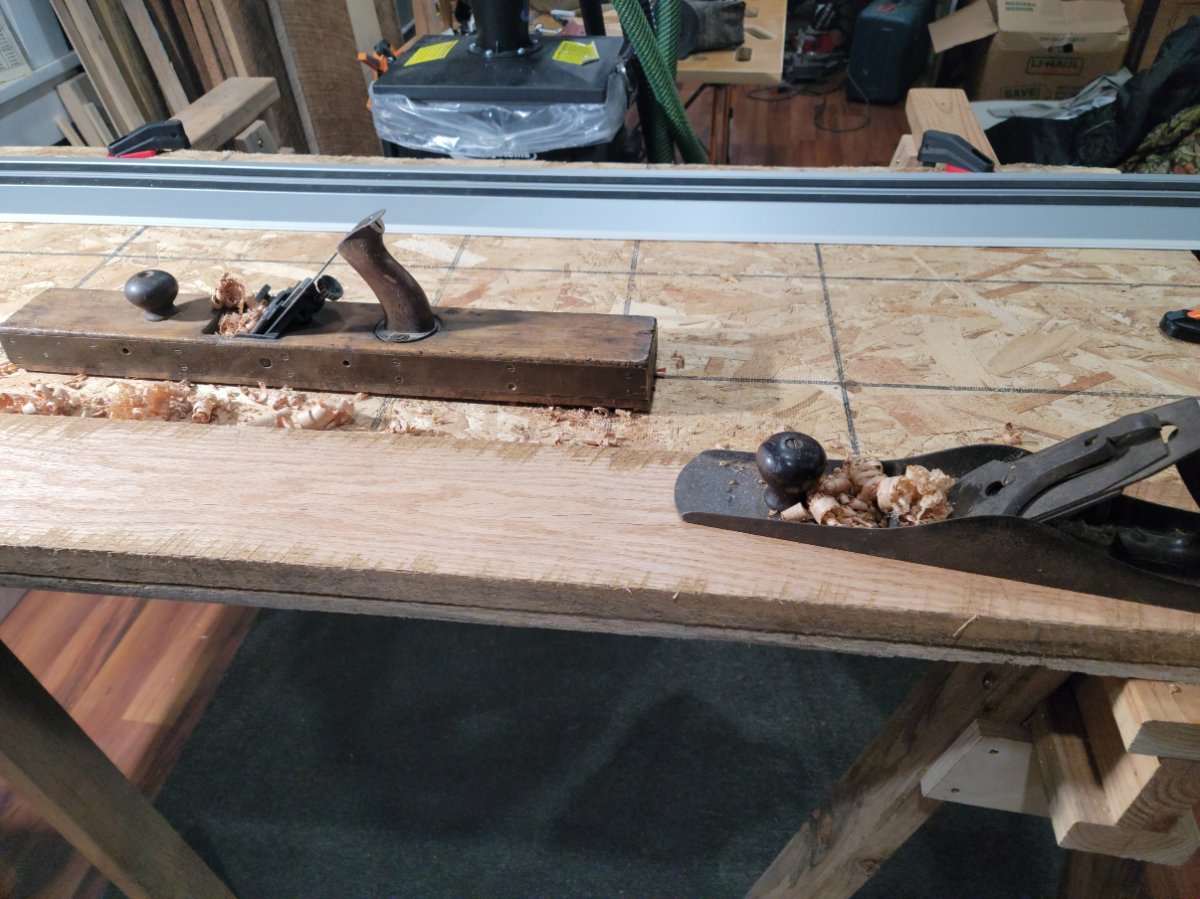
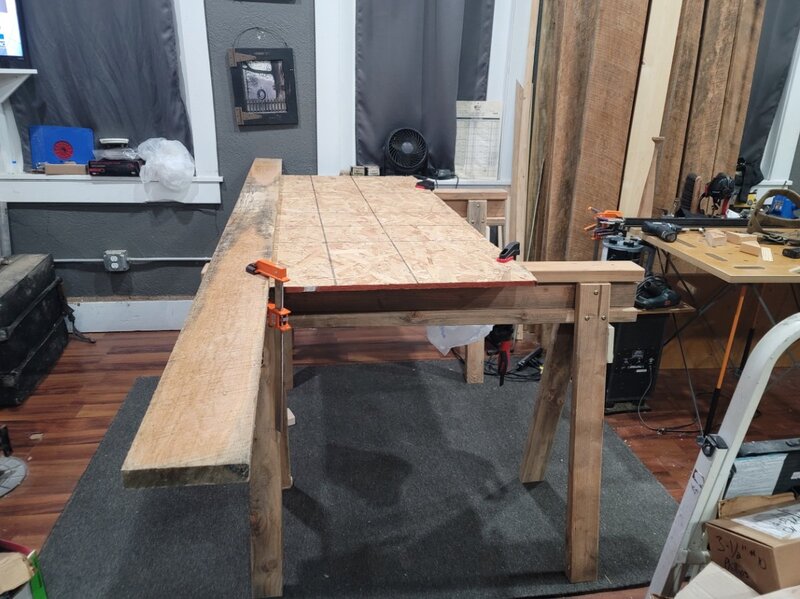
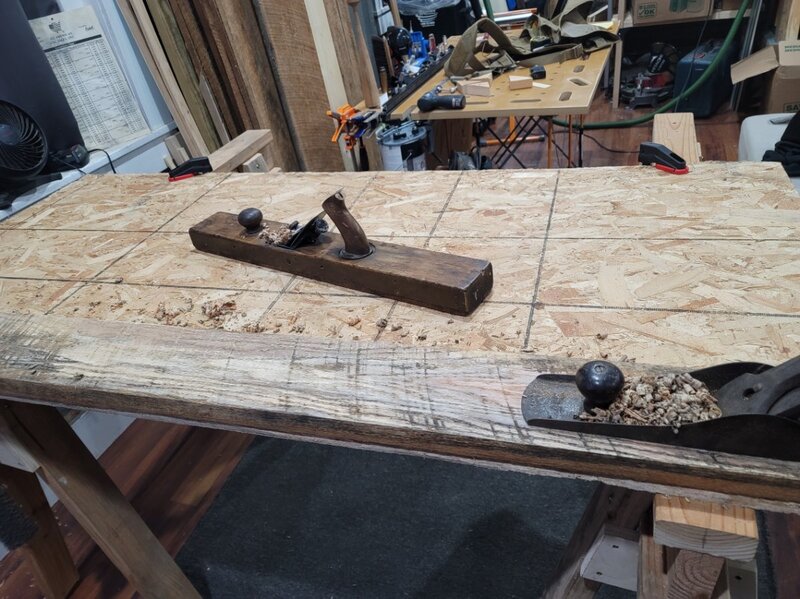
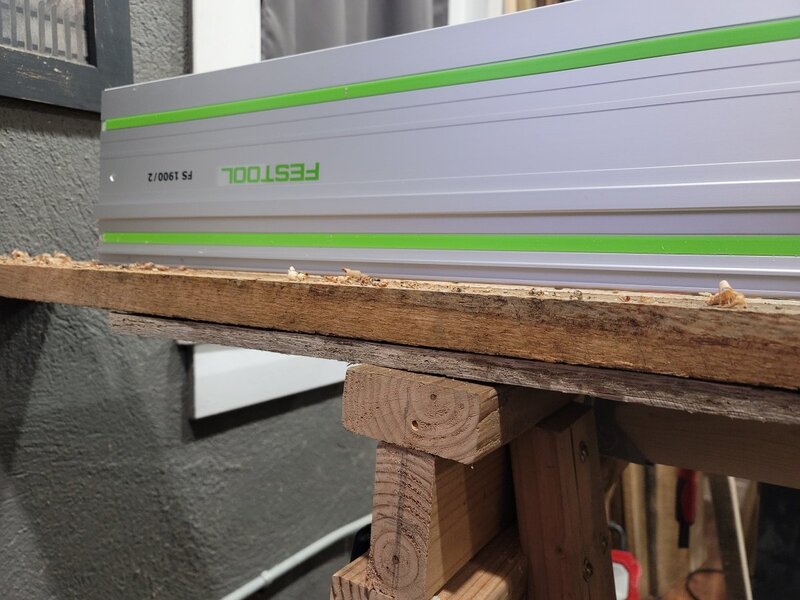
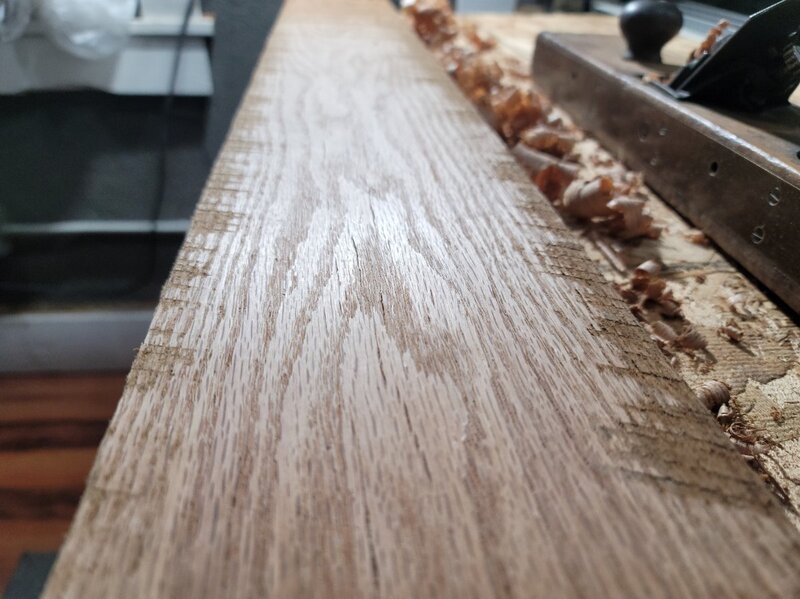
Since I read your sage advice, @Tmize? I thought about going digital window shopping for a straight edge. I have a 4 foot level but I don't completely trust it. I once used it as a clamping aid like a caul when I made my table saw sled front fence. It's aluminum and I've never trusted it after that ?. It's probably fine but.... ? ? But, I was setting up to try the Gage and #7 again, against the wall this time...just because it was on my mind now. And, on the 36 inch tall sawhorses. It then hit me that I have a straight edge. A 75 inch long straight edge. My Festool FS-1900/2 guide rail should be perfectly straight. Extruded aluminum is generally perfect dimensionally IF not abused (like using it for a woodworking caul! ?. At this point I trust it to be straight. ' Using my new straight edge ?, I discovered the red oak was positioned upside down. Although I took a few swipes at it anyway just checking the working height. I like the height but my back is still really hurting. I have to lay off until it feels better, even if it's just a little bit better (gonna try and get that countertop painted. that's really why I set the sawhorses up again but the thought of trying out the planes with the wall backing up the red oak took over ?) My straight edge is shown touching on both ends. Of the two (not properly set up hand planes) I think I prefer the #7. Although it has a junk iron on it that I know is junk because I had to completely rebuild the edge when I got it. It was wavy and scorched (like grinder or belt sander wavy and scorched). I used two pieces of 1/4 inch glass on top of each other on my table saw wing and sand paper to put this edge on it. I did pretty good but I know it's not a good as it could or should be. It was my first attempt at sharpening any hand plane iron. I did use a modified honing guide (modified by me after much research) and made a self-made iron angle gauge. I think I 'might' like hand planing. I have always envisioned hand planing when I decided to jump into woodworking with both feet a few years ago. Not sure how my back is going to view it ???. The only real hand planing I've done up to this point was a oak door threshold with two angled edges I did for my BIL's girlfriend. Even with these junker hand planes the product looks pretty nice. Gonna clean up again and try to get that countertop painted. ??, RR


-
Benjamin Moore Cabinet Coat Paint
RxR Sawdust Station replied to Chet's topic in Shop Tools and Reviews
Excellent information, Chet! Thank you for that!' Getting over to your remodel thread soon! ?, RR -
Axiom Stratus Air Cleaner/Air Filtration....
RxR Sawdust Station replied to RxR Sawdust Station's topic in Power Tools
Hello Jamie, First - +1 (empty quiver ?). No I haven't ordered any. I'm really leaning toward the Axiom Stratus. Given my situation (11-1/2 foot ceiling), it just makes more sense to me - even if it only makes sense in my head and not in reality! ?, But, yeah...it's a great price reduction on what looks to be a very nice unit if that is the direction one goes. Regards, RR -
This post just posted. With even more images than I had originally intended to incorporated as I originally composed it. So it was a site issue, not a me issue or an image issue. ***Not complaining or critiquing...just edifying...clarifying for those looking in*** Regards! ?, RR

-
***I don't know who created the ? limit but we need to have a word! Oh, wait....?*** +1 (in lieu of ?). I have considered how to incorporate clecos into woodworking many times, too. The thickness of the matting parts would either make it difficult or too costly. They make long reach clecos. For precision hole processing, clecos can't be beat! But these extra length clecos also require special tools to use them. Either the circular hand tools I posted in the first hand tool image marked (Install) above (for those not familiar) or a for larger jobs a pneumatic tool for the ones pictured above here or their hex head counterparts. I've done single jobs using hundreds or maybe a thousand at a time, literally (of different diameters while stepping the holes out to finished diameter). Holding an entire 4x8 sheet of aluminum on an aircraft to repair or replace a skin section is a massive job and each hole has to maintain a tolerance (that's thoroughly inspected and recorded into Ship's Record) when you're finished with it. ***these are 5/16ths. They're all color coded. They reuse this color*** Regards!, RR
-
I appreciate your acceptance of somewhat off topic discussion in specific topic threads ?. I really am surprised I don't see more aviation and machining tools and shop aids in woodworking. I really think any woodworker could ensure perpendicular holes with either of those shop aids. The accuracy one can easily obtain is amazing. WOW!!! It hurts my back reading the words! ? The beast may have set guinness book of records for a bureau for finished dimensions and weight! ? That is unless you're Hobbit sized! ? It is beautiful, Kev! Quite impressive! ***oh, don't ask me about easily obtaining accurate drill depths without the use of tape and costing only pennies, relatively (I have a full sets of them ??). don't to it! ?*** ?, RR
-
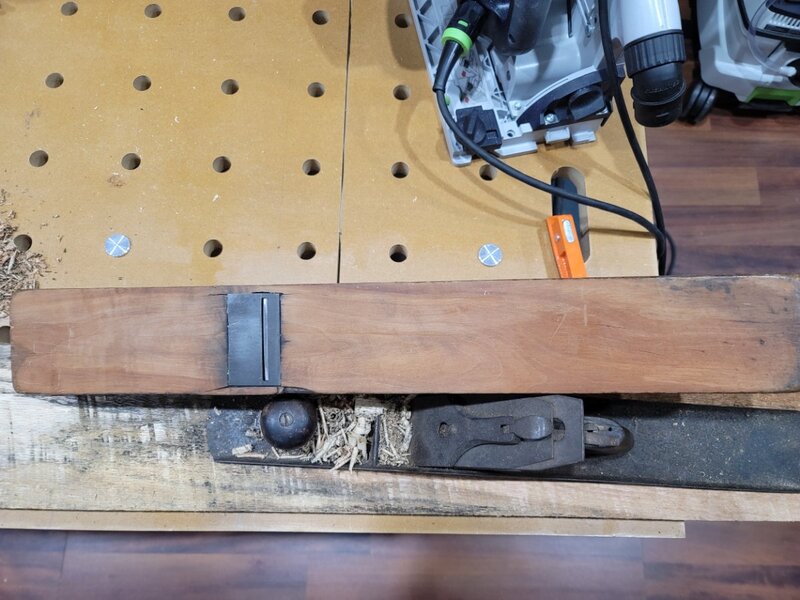
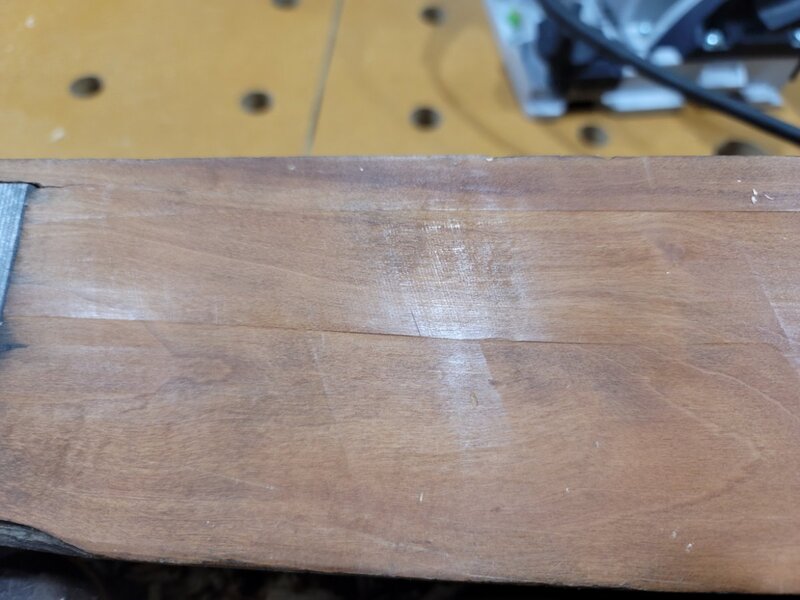
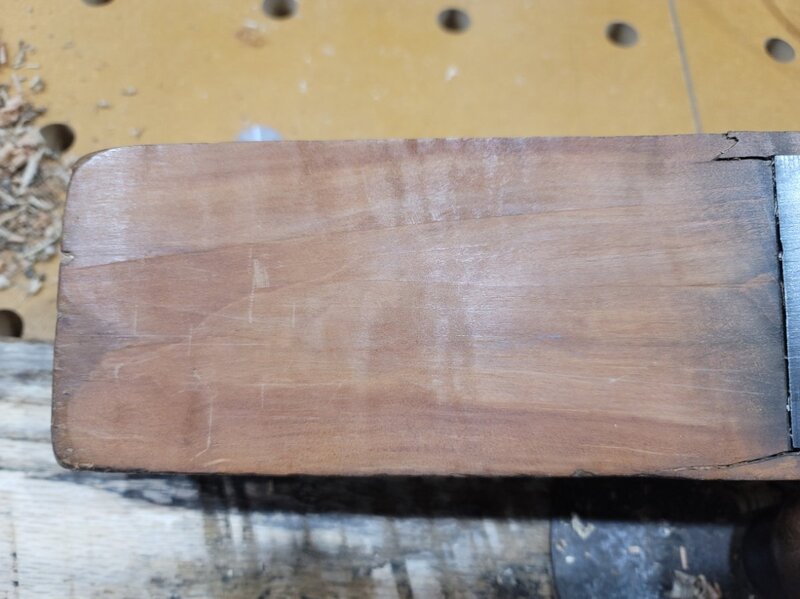
Good information, all! You remind me that I have at least one other smaller hand plane I could make a scrub plane out of it and do as you recommend, hit the high spots first. And the straight edge. I don't have one but it is on my "need to buy" tool list. Some winding sticks, too. Thank you! Christmas is nigh...hopefully some of those things will be on sale ? (oh, and clamps! ??!). I know the Gage has a twist in it. I don't think it is a 'natural' twist. I think 'some' of the twist was introduced into the sole by someone 'trying' to rehabilitate it. You can see the many different levels on the surface. I'm trying to capture the light reflecting off the sole in these images showing the butchering of the sole. In this image you can see at least two hand plane iron cuts in the sole. Then here is the toe. You can see the wavy surface and the difference in color showing the original surface and the 'new' surface. Now 'maybe' the resurfacing did improve what the person started with ? I think at my level of competency at this point in time, a wavy, iron cut sole may benefit me! ? Thanks again, T! ? RR
-
I watched this when it dropped. You really don't get the scale of it until you're standing next to it. She's a beast! A beautiful beast. Really nice lines all around (even the back panel ?). That's an amazing piece and video, Kev! ??? P.S. this is all I intended to do, speak positively about your masterpiece Bureau when I was sidetracked by drilling straight, perpendicular holes ?!
-
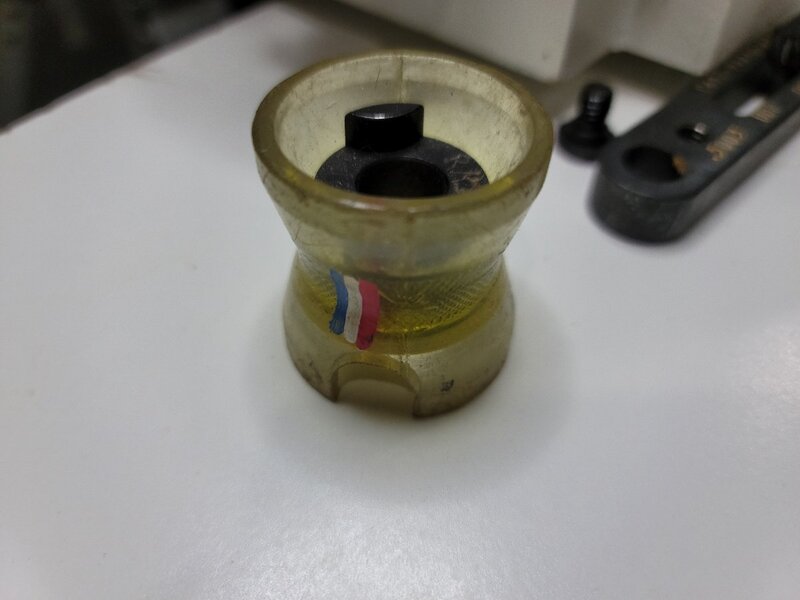
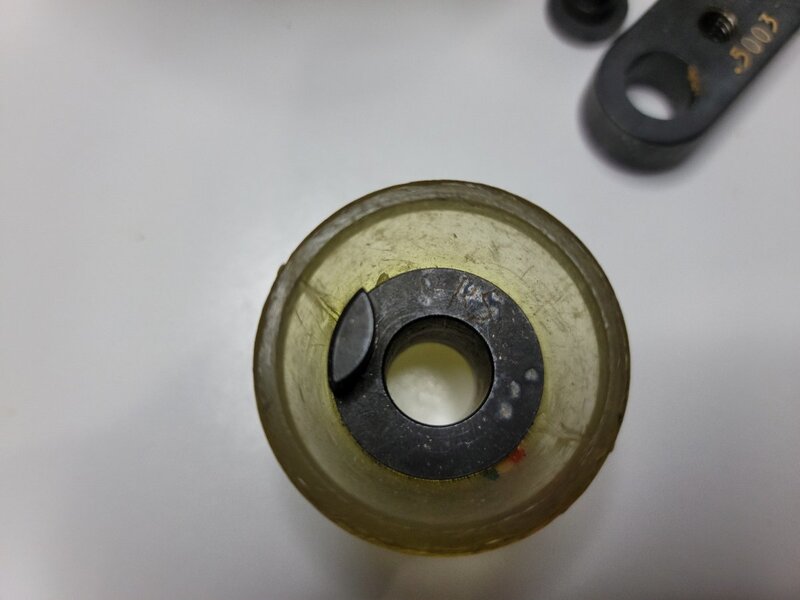
Just so you all know I'm not blowing smoke, here's my trusted and well used hole processing buddy ?, my Egg Cup. As in any professional aviation shop all of your tools have to be tagged (ID'd) to you. At one place I spent time marking all my tools with Red, White and Blue paint markers (although, in this image it's upside down making it look like the colors of France. I have no affinity for France (I hold a grudge ?) ?) . That wasn't good enough. I really liked it, they didn't. So I then etched my initials into this egg cup. ***P.S. I didn't mean to flood this thread with so many "Hand Tool" posts. IF you're so inclined, they can be moved there. ???***

-
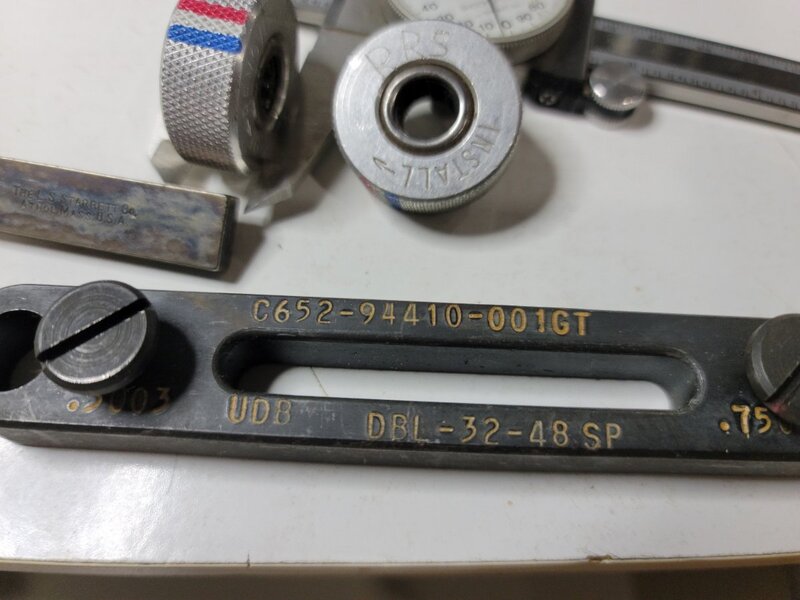
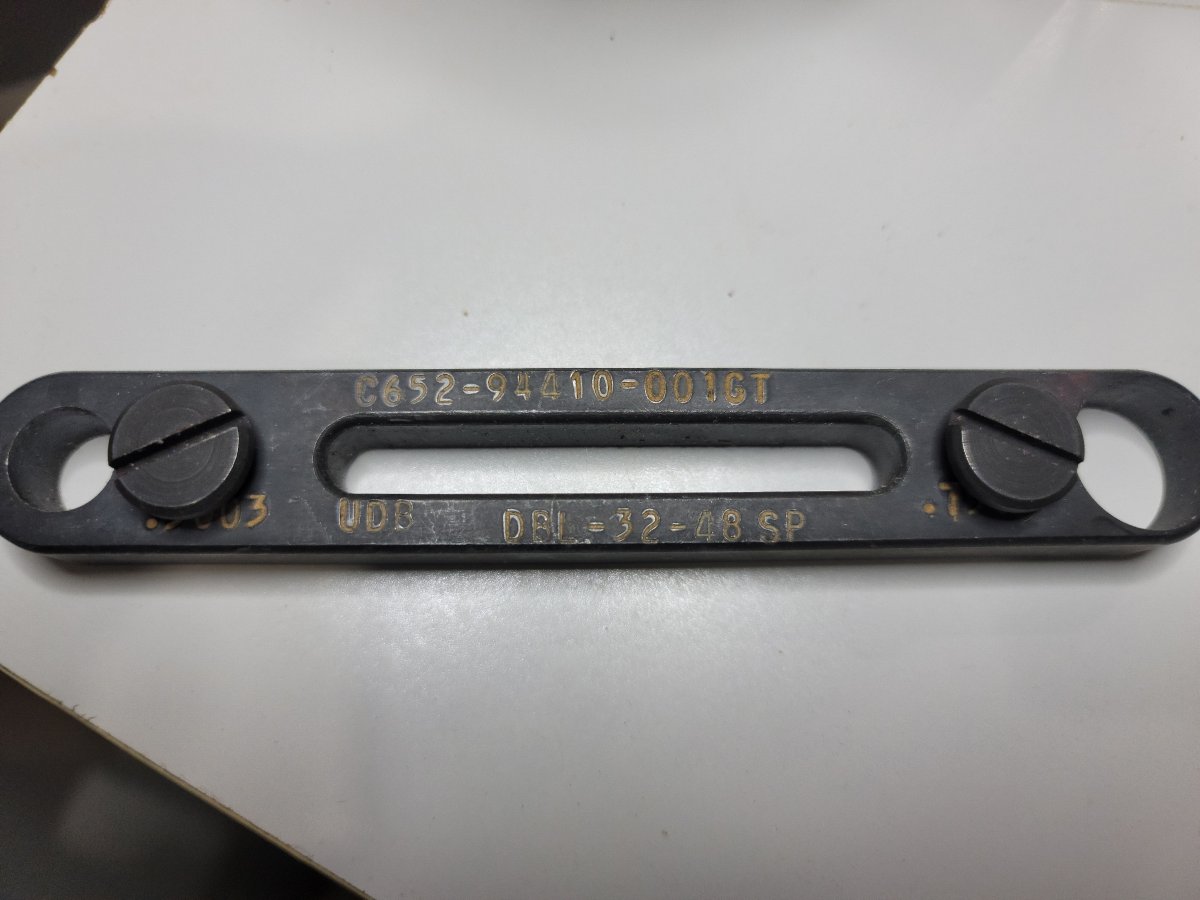
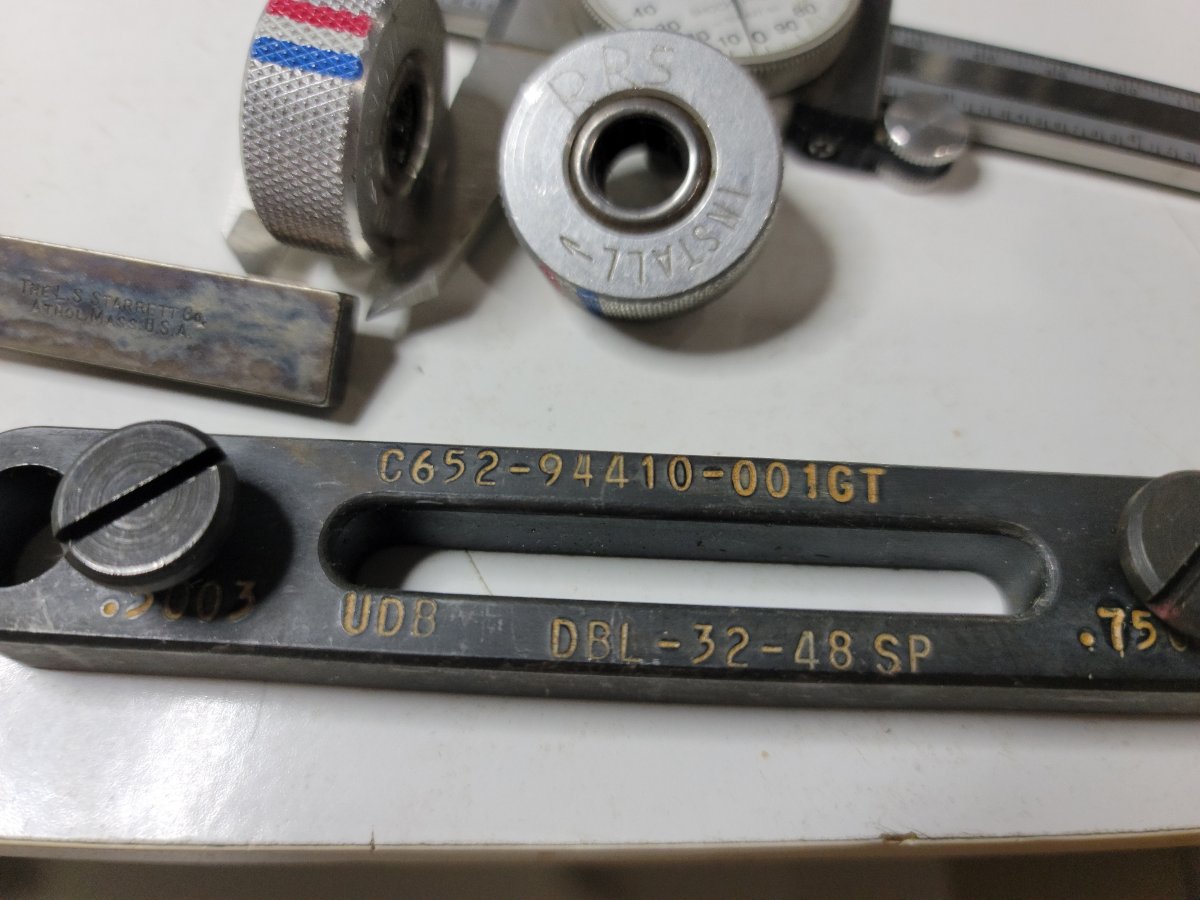
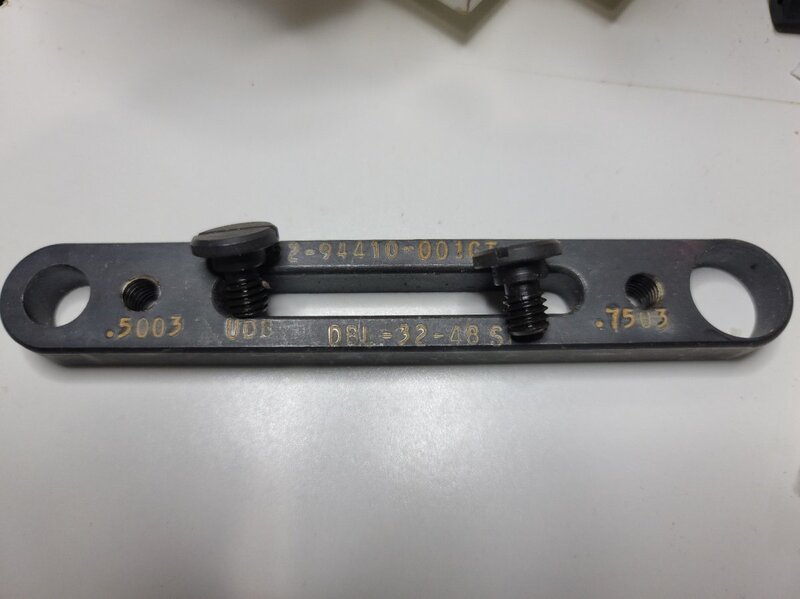
A better shot of my drill guide. I didn't realize the portion I was trying to show was cut off ?. You can see in the second image that the tolerances for the drill bushings are very tight.