Every purchase made through our Amazon Affiliate Page helps support this site

Tmize
-
Posts
1,430 -
Joined
-
Last visited
-
Days Won
26
Content Type
Profiles
Forums
Downloads
Gallery
Events
Store
Articles
Blogs
Everything posted by Tmize
-
1)If it was me I would 1.5” deep tenon. The m&t rules get a little grey when doing bb ends you want more meat in the tenons to help with cupping of the top. 2)1/3 the thickness is fine. Haunched is fine I normally do concealed tenons but I really don’t think it matter it’s easier for me than haunched. Now with wood movement a 5” wide tenon is to big it would risk cracking the top. How about 5- 3” wide tenons instead. 3) The more thickness you have around the bb ends the stronger it will be. I haven’t seen the video but I believe his blanket chest was G&G. That style has a lot of offset design features in them that maybe why he choose to have a thicker end on it. If the top is 1” or thinner I don’t think you will have an issue using the same size end cap.
-
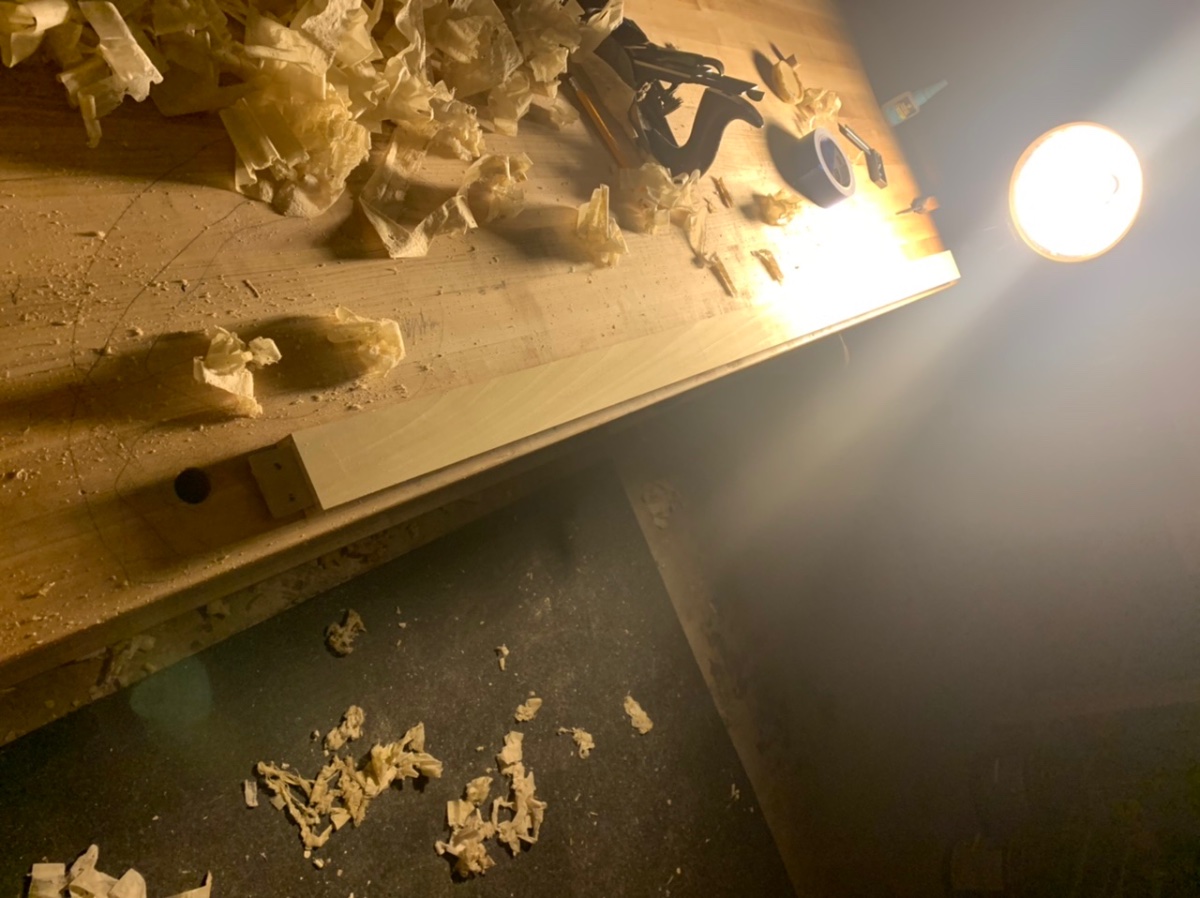
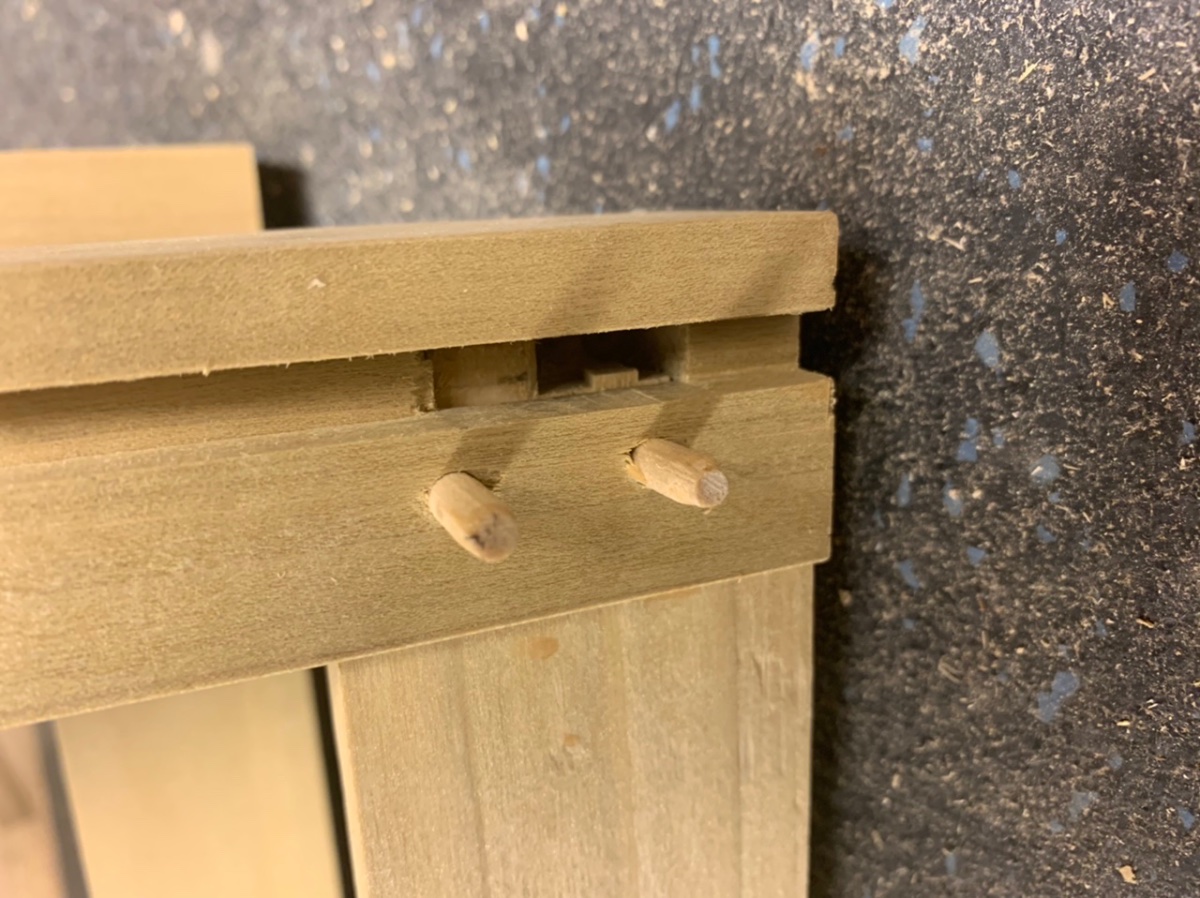
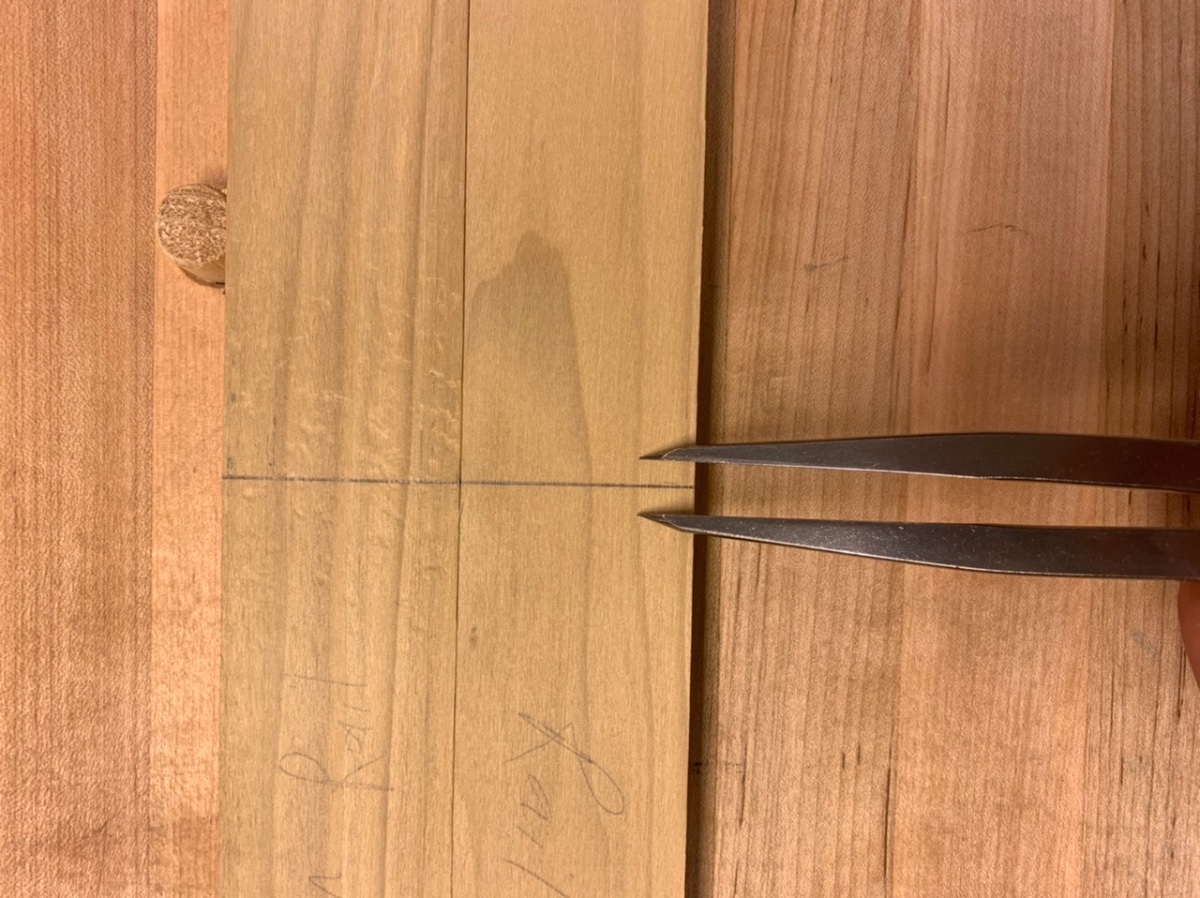
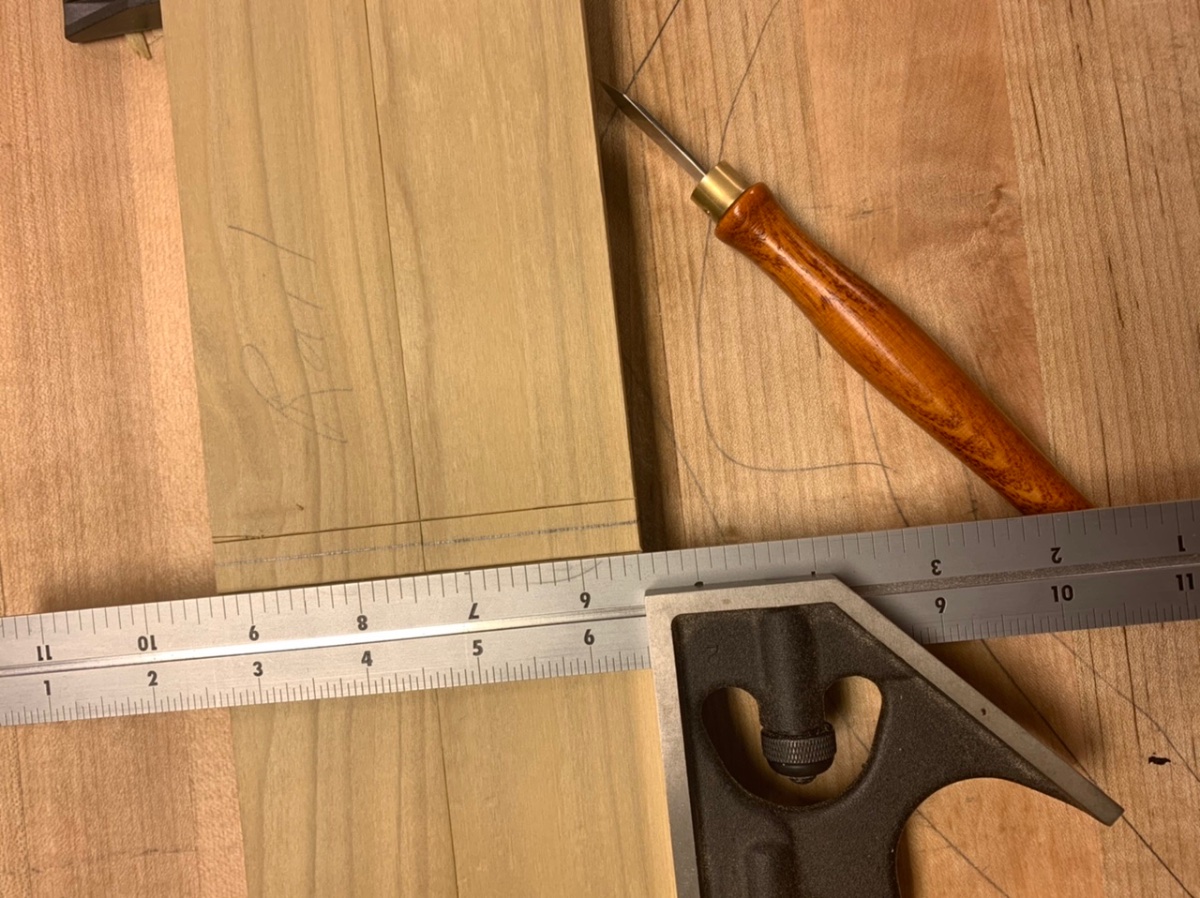
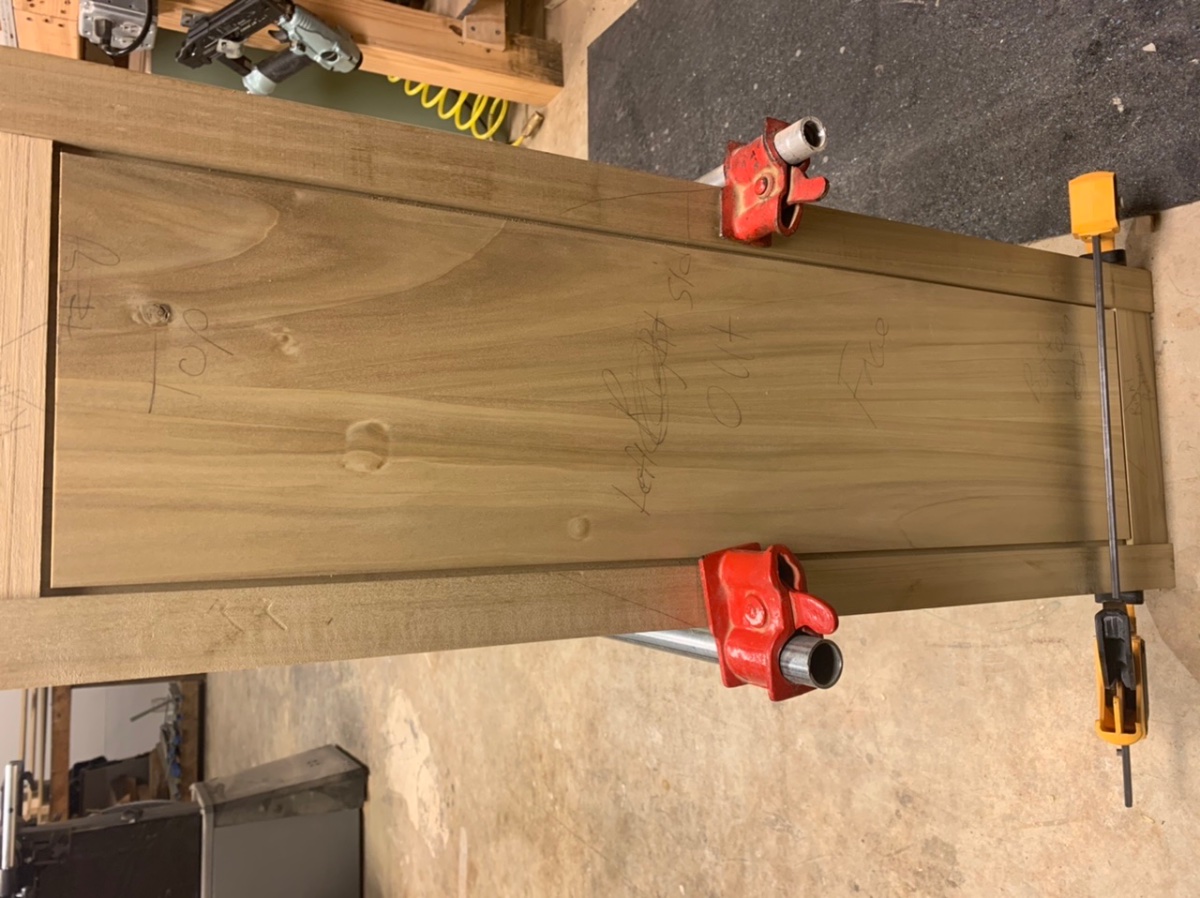
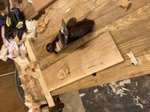
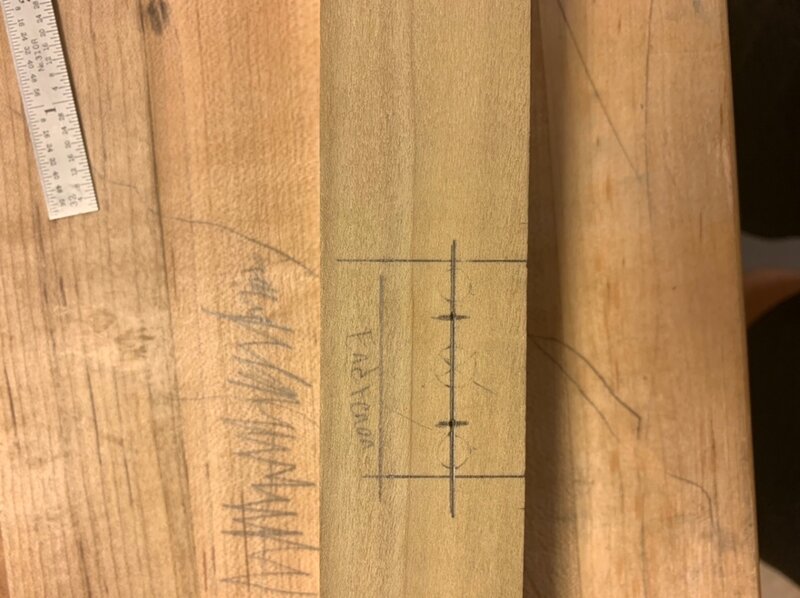
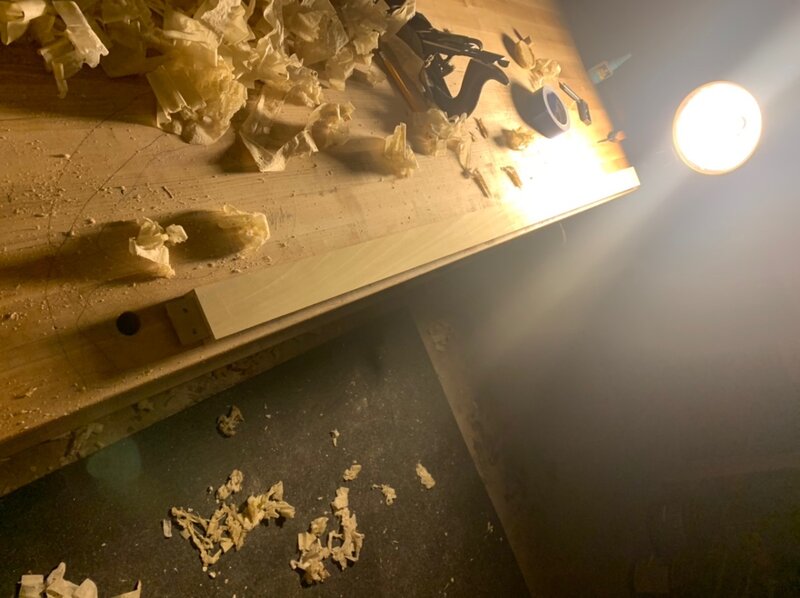
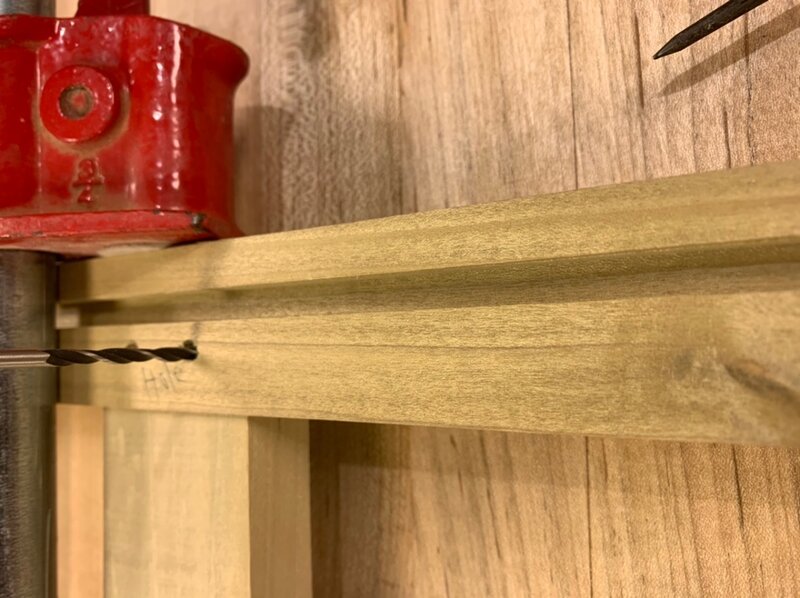
So with all the joinery complete an dry fits. I laid out the draw bore pegs. I decided instead of one 1/4” peg I went with 2- 3/16 pegs just goes to show how much a 1/16” makes I a visual appearance. The tick marks are actually the location on the tenons. Went over to the drill press to drill the holes thru the leg. Back at the bench I clamped up the rails to the legs. Using a 1/16” smaller drill bit with it clamped tight holding the bit against side of the hole closest to shoulder an gently tap it down to make a mark on the tenon. The first glue up went good no issues. The back one not as well I got the bottom rail pinned in place. Then I realize the top rail is backwards. I pryed it apart so to pull it out an flip the rail. It wasn’t without a small causality. The whole tenon is glued an it is the bottom rail so I’m not worried about it to much about losing strength in it. On a side note I’ve been reading a lot on forums lately about hand planing in the dark with just a raking light in line. It was I very fun experiment it was like the whole world disappeared just you an the board. Now the project will be paint so there was no reason in making sure the surface was this clear but good practice. If you look close you can see the traversing marks from when I surfaced the bench top can see or feel any in the top with all the lights on


-
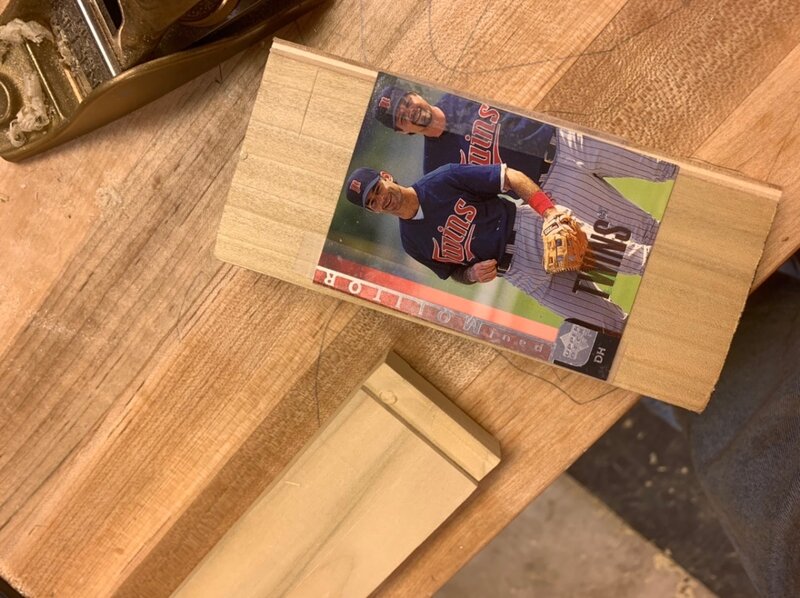
I figured someone would bring that up. ?. I’m sure I’ve used one at one time that will be worth thousands of dollars one day as a shim on something pointless. I was little in th early 90’s when the baseball card crave was going on. I have so many baseball card just in boxes stacked up in the storage room.
-
I forget got about that part of the movie. Awesome movie
-
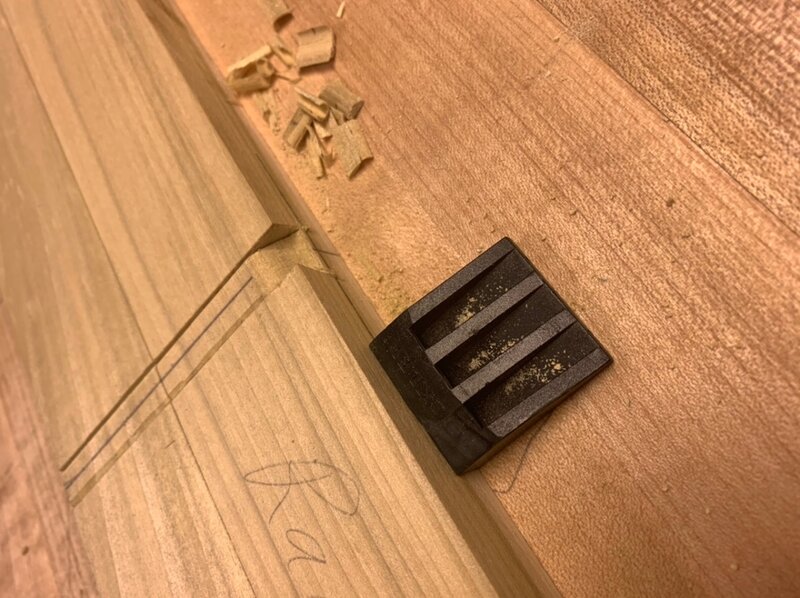
So I made a little jig to perfect the tails ends. It’s simple had a piece of cut off 12/4 popular I set the bandsaw table to 1:6 angle an made the cut. I didn’t even clean up the saw marks. With one corner still square I slowly cut to much off the front side trying to sneak up on the cut ?. So I glued on a piece of 1/4” plywood an fine tuned the angle some. I had it just a touch to loose now so I taped a baseball card to the bottom of the block. Now is just a perfect fit. I trimmed down the corners a touch to help installing them. Couple small hammer taps an it’s there. The way I use it is clamp the work piece to the bench. I saw cut the shoulder line first. Slide the jig up to the end with a 1” chisel lay it down across the end grain an lightly tap the chisel in. The key is don’t go crazy on the tap just hard enough for the chip to raise up flick that part out of the way. Then once the waste is out of the way just skew paring down to the saw line across the joint. Just remember to keep the chisel pressed firmly into the jig.

-
I built mine from scraps around the shop also. I did buy the screws tho cider press screws didn’t say woodworking on them so they was only $10 each.
-
New territory for me I will be watching eagerly. I want to build a rocking chair so bad but I can never seem to start a build on one. It’s a future dream once I get all the furniture built we need in the house. That’s my retirement plan to just build Windsor rocking chairs an set them out by the mailbox for sale out on on a dirt road?
-
That thing sure is a beast. It going to take the tractor to get it out of the shop. An I thought my roubo was heavy.
-
I’m learning........
-
I will bow out on this topic. I have just enough self control to know I can’t be good an can’t follow the rules
-
Yes I got the update about his wife in a email. They posted on their site an added 4 weeks to all the estimated times. The question is do I want to go ahead a have them get started on another saw for with these kind of delays?. I just don’t know what I would get. I love both my LN dovetail an big tenon saws ( I got the old style 10tpi 3 1/2” plate). The hard decision in life?
-
I tried it a couple times at the router table an was so aggravating that I swore them off for a long time. Then I watched a video online how to do it by hand an said I could do that ?
-
Figure 8’s or a cleat and screws is plenty strong enough for a make up vanity. I don’t think I would domino it even if you don’t glue it. Would make repairs down the road more difficult
-
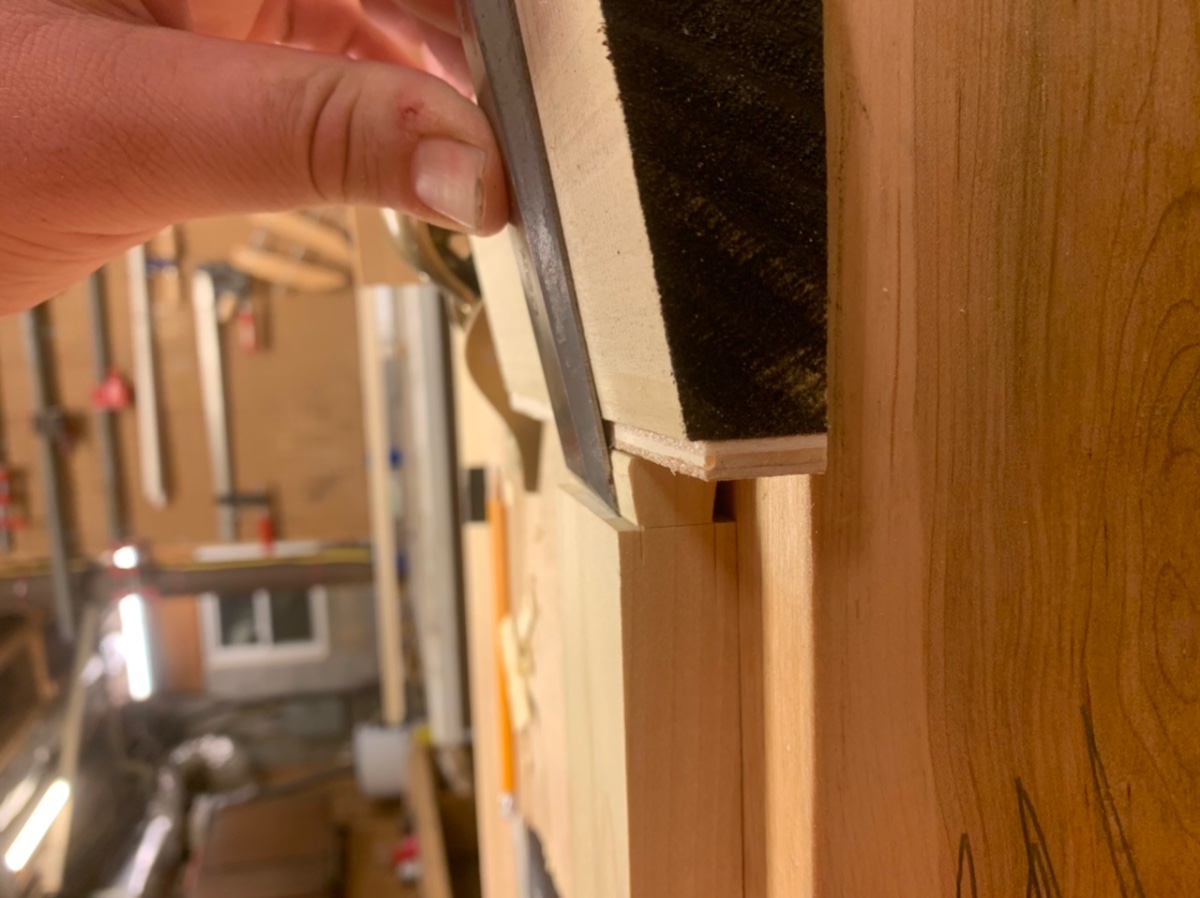
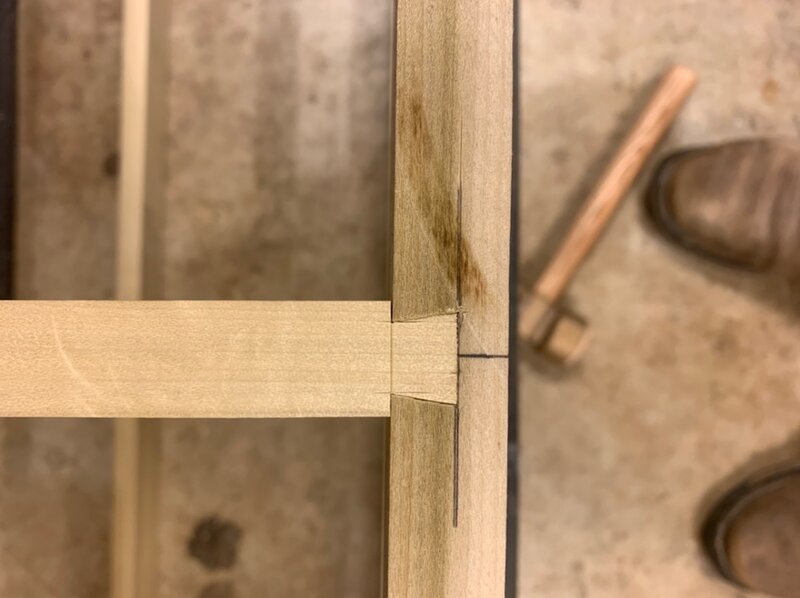
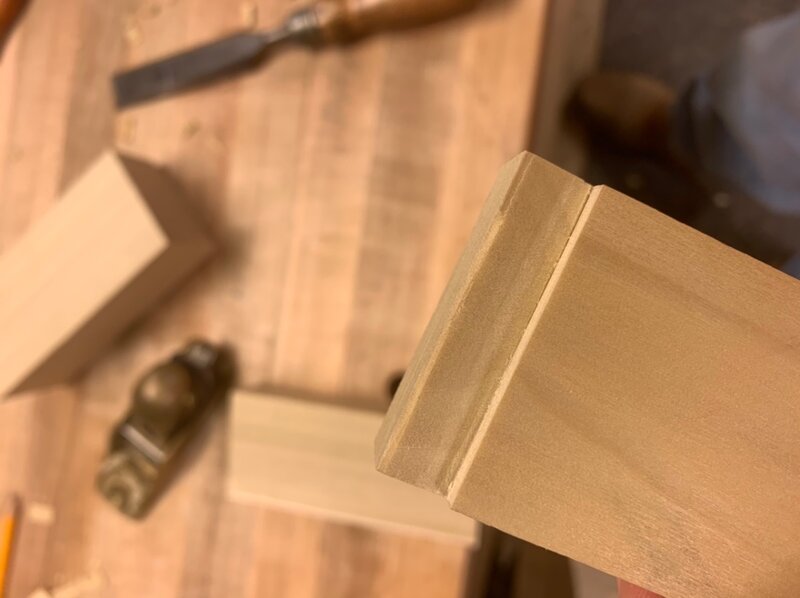
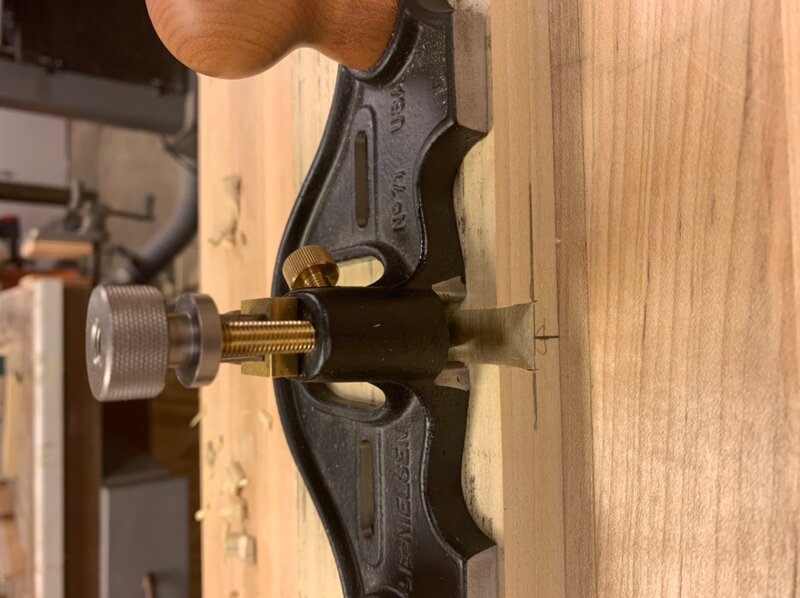
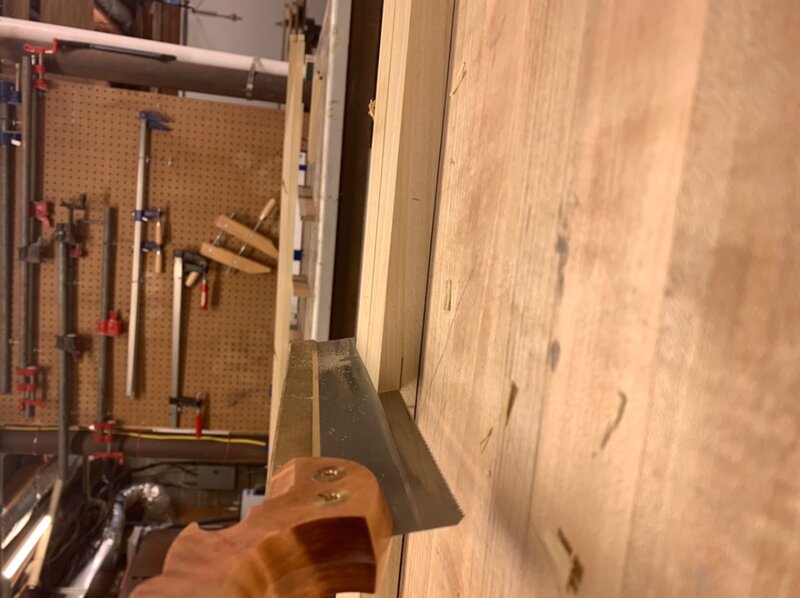
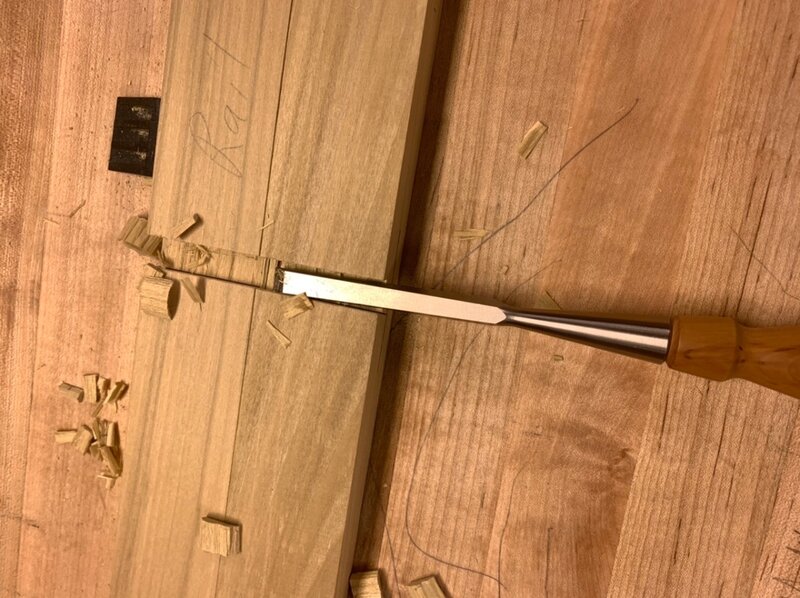
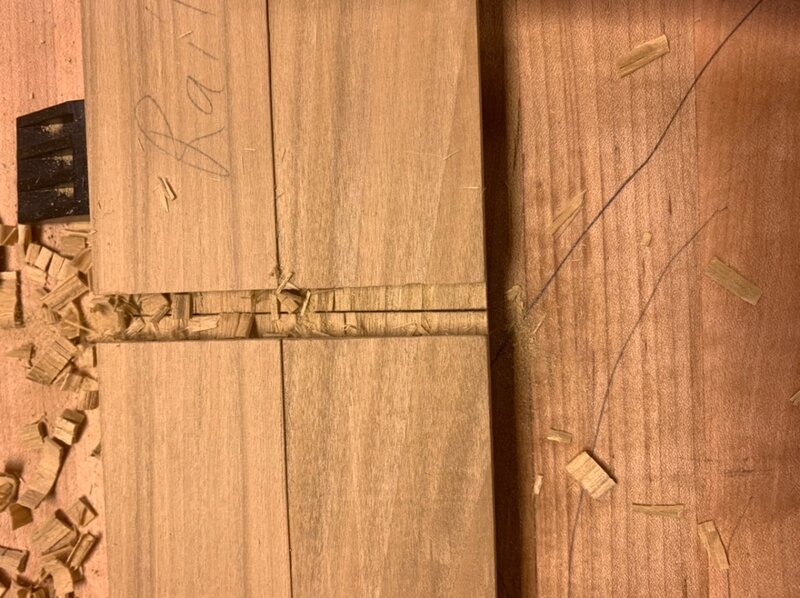
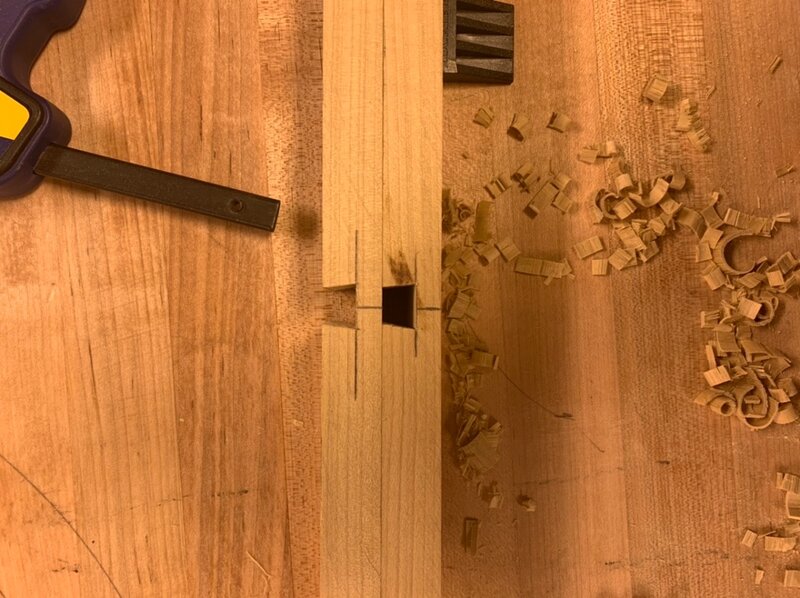
So I had a good day in the shop today. I got the top rails dovetailed into the legs. The fit isn’t great I don’t know what happened guess I got off my line some. It will still do its job an never be seen. I got the end panels rabbeted an fit into the frame. If I did this right it should equal 1/8” revel all around the frame. Never done it this way. I fitted it a touch looser than normally would a clear coated panel since this will be painted. I’ll paint it before the glue up I may I have to trim it some more we shall see. After that I got started on the sliding dovetails spacer between the rails the shelves will sit on. I tried to do a lil pictorial on it. Since I had total of 8 to do I got pics of different times during the process. I kept forgetting to take photos on the same joint. This is just the female portion of the joint. First I did a mock up male end to determine the length of the tail 2/3 the thickness of the material is a good general rule. I’m doing a 1:6 ratio tail. I laid it out cut it an that gave me the base measurement. I copied it with a pair of dividers. I laid both rails clamped together with a centerline across them. Eye balled center an made a mark. Place square across them them an knife in a line heavily. Mark the slope down both sides an make a knife wall for the saw to track in a make the cut. This is where i wish I had my new saw for this cut. Following the angle isn’t that hard no different than cutting thru dovetails. I put a single saw cut thru the center of the joint to help with chips flying out. If you don’t the chips seem to get wedged the deeper you go without the center cut. To help with blow out on the back side I take a chisel an gently chamfer it down to the base line before going after the rest. If you have never gone cross grain with a chisel the waste goes very fast bevel up so pay attention damhikt Once it’s down to 1/16 or so from the base line I switch to the router plane and smooth an level it all out. There you have matching sliding dovetails in both rails. I’ll cut the tails sometime this week an put this thing together.


-
I got mine thru Lee valley on their free shipping deals. I’ve never had a issue with amazon shipping. I think I paid $449 no tax. A lot of the Amazon purchases lately I’ve had to pay taxes
-
It has a depth stop but it sucks. I mean it will get you close but don’t expect it for a true depth stop. It has about 1/8” of play in it
-
It did 1/4”,5/16”,3/8”,1/2” I love this thing. I never was any good with router. I did the hand chopping that works loud an slow. Then started drilling them out an paring works good an accurate. The hcm is unbelievable the x&y table to me makes it worth every penny. Just lock it an cut as many mortise the exact same spacing. The only thing I may add to it is I’m thinking of adding a piece of leather to the hold down on the table. If you don’t tighten it down real tight it will slip some on deep tenons.
-
How you go try is ?
-
I would just do the small 3” taper on all the legs. You could get away a slightly narrower legs on the left side than around the drawer compartment
-
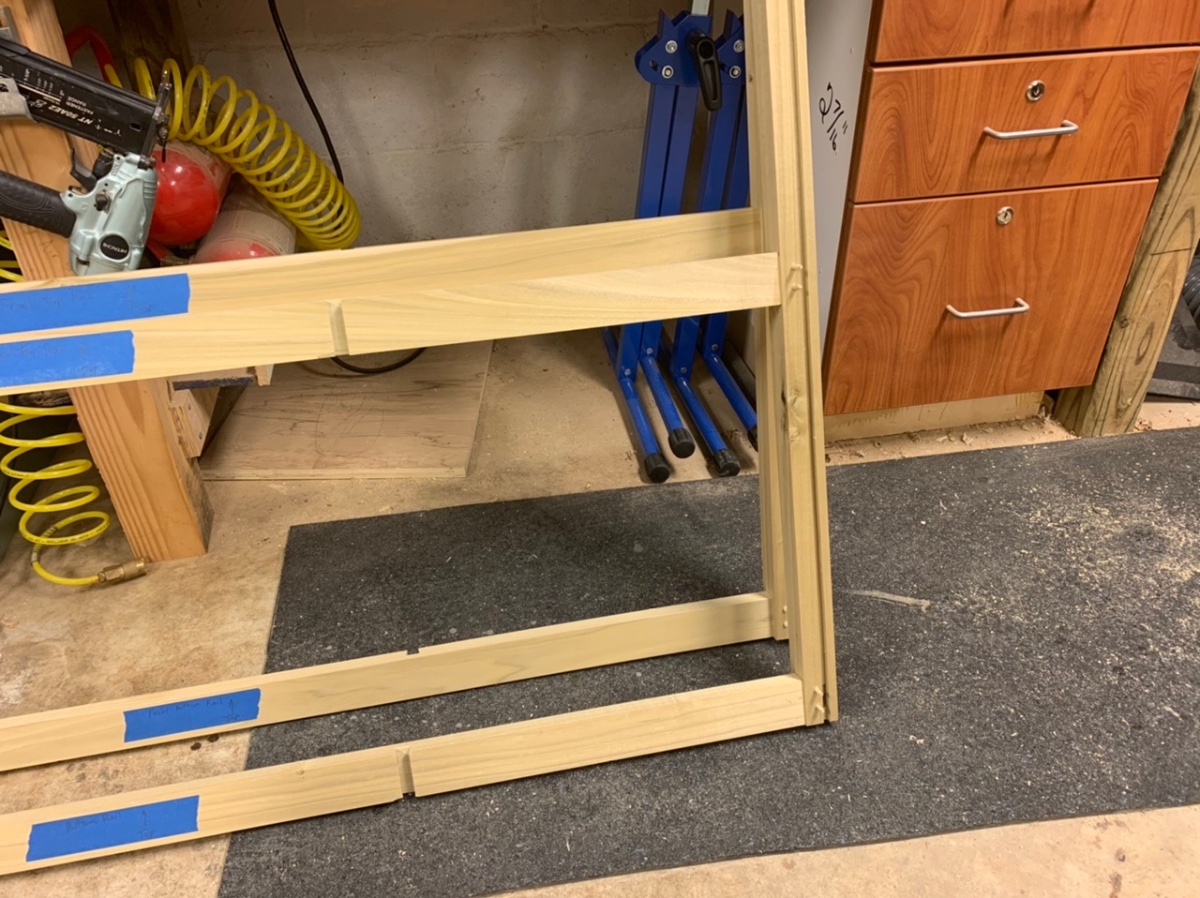
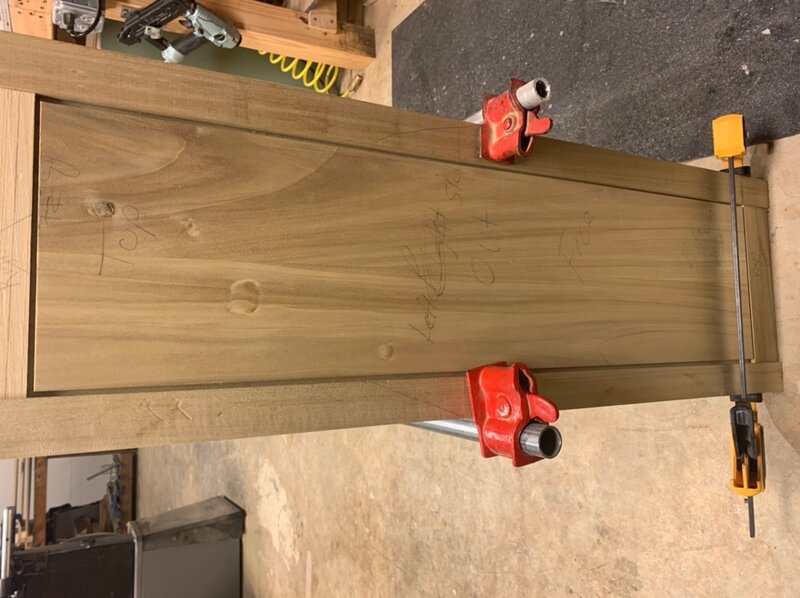
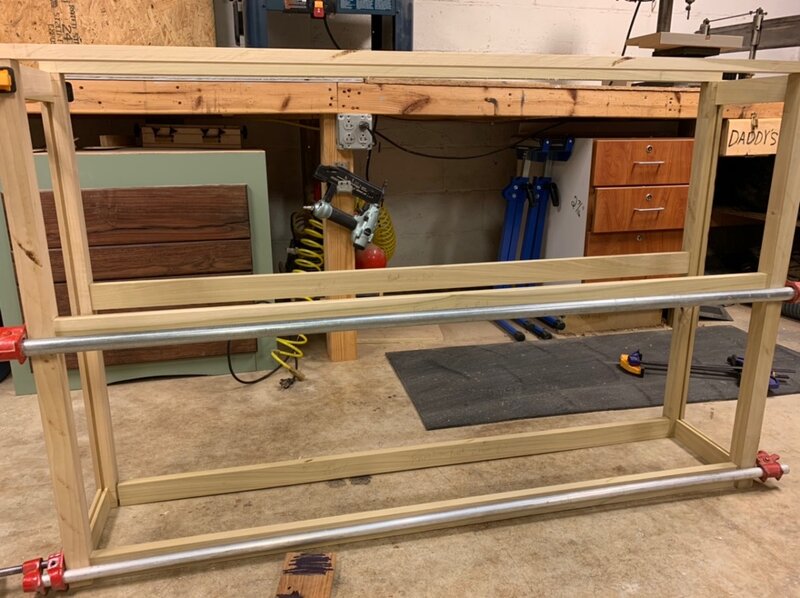
I did a small dry fit this afternoon. I still have a lil more joinery to do the pieces laid on top will be dovetailed into the legs. I’m thinking about doing a sliding blind dovetail between the rails to add some strength an help with racking not that this piece will ever have much twist force on it. My logic behind this it will lock the front an back together so that if the shelf was to get loaded down it would take stress off the M&T and dispute the weight across both boards equally. Hope that makes sense. Anyway I’m expanding my joinery skills a lil bit an trying a new joint. I’ve gotten the basics down now I feel so on to more interesting pastures.
-
You are correct sir. I’ve be cross cutting several tenon shoulders lately. An I keep staring at my Veritas crosscut an say to it you will be replaced so soon. That’s not funny about Christmas it better be hear way sooner than then. I’m still trying to decide what I’m getting for Christmas this year. Either LN #62 or Veritas skew rabbet plane or LN #4.
-
My patience is wearing thin waiting on this thing coming up on my 12 weeks mark I can not wait
-
Fed by quarters....
-
I’m with kev just quick work with a chisel. I think they can do radius corners on tempered glass.
-
Split Top Workbench (Not really a Roubo)
Tmize replied to Woodenskye (Bryan)'s topic in Member Project Journals
Yea but you don’t have a three yr old terror running about destroying everything she touches. Drags saw dust an shaving from one end to the other. The draws you a picture on every pieces of wood in the shop. She did draw a circle around all my dog holes in my bench top so I could find them?