
Every purchase made through our Amazon Affiliate Page helps support this site

Tmize
-
Posts
1,430 -
Joined
-
Last visited
-
Days Won
26
Content Type
Profiles
Forums
Downloads
Gallery
Events
Store
Articles
Blogs
Posts posted by Tmize
-
-
6 minutes ago, Jamie said:
Great info! It is something how smooth the height adjustment is on it. Honestly kinda surprised me.
@Tmize I’m thinking you should put together a shop tour ?
Yea mine is still smooth an it’s 20 yrs old. They good solid machines. I’m about due for another set of blades. I keep looking at the Byrd head replacement for it. I always just pass an get another set straight blades instead thoI actually thought about it the other day just randomly. I’ll think about it I really don’t have anything spectacular to show just a dark basement with some tools an water heater ?. I’d hate for y’all to see the massive CNC I print all my parts out with an just lay some hand planes an saws around it for stage presents?
-
 3
3
-
-
I have looked at building the tool chest also it would be a fun project
-
I like building boxes they seem to be my fall back between projects.
-
 2
2
-
-
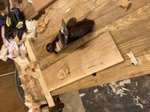
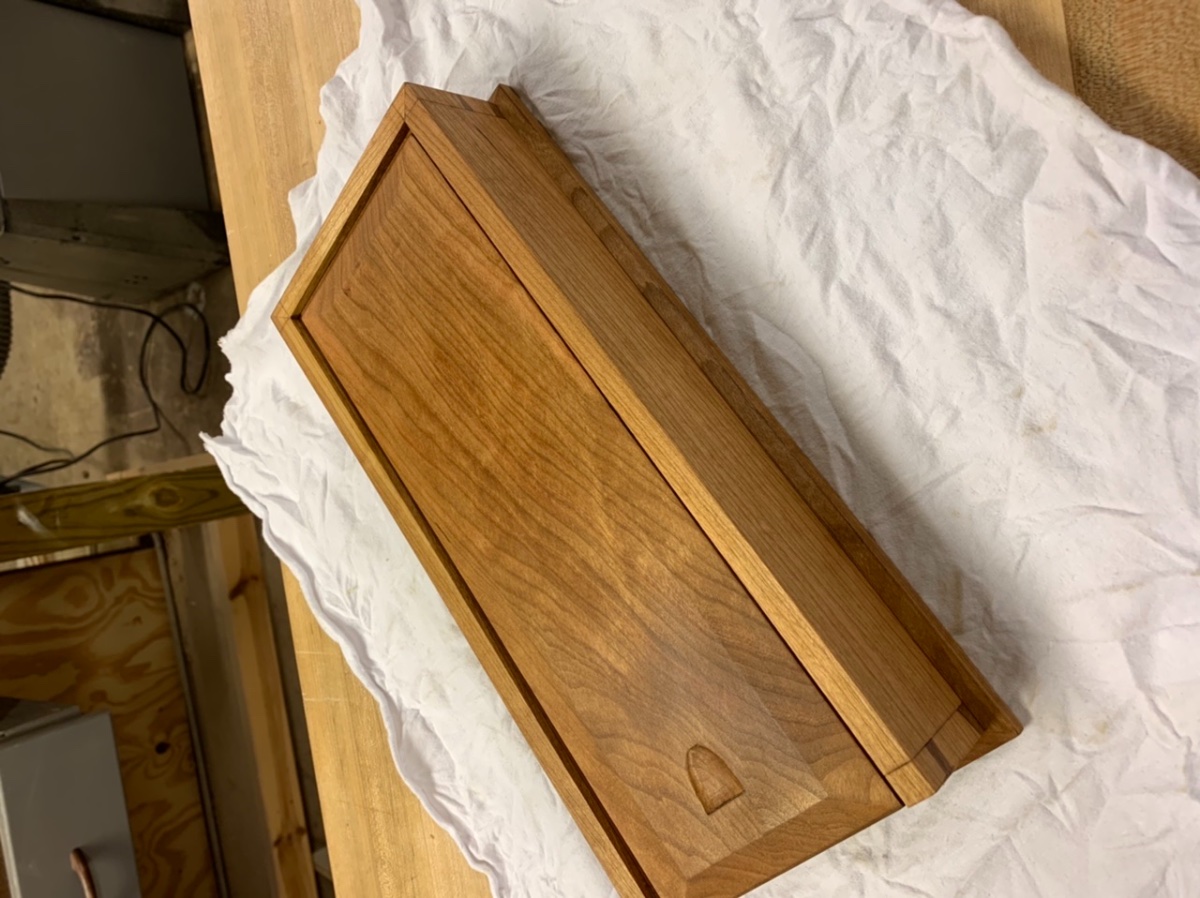
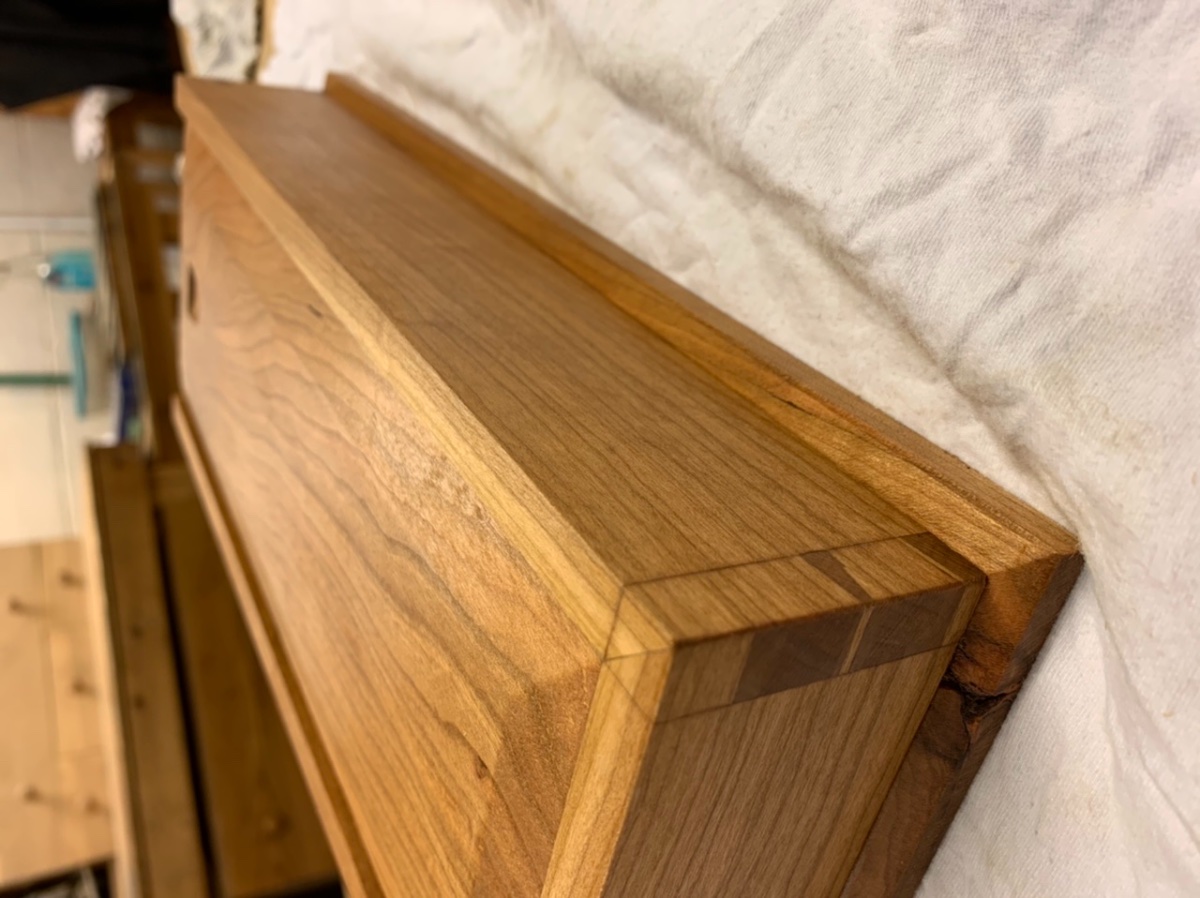
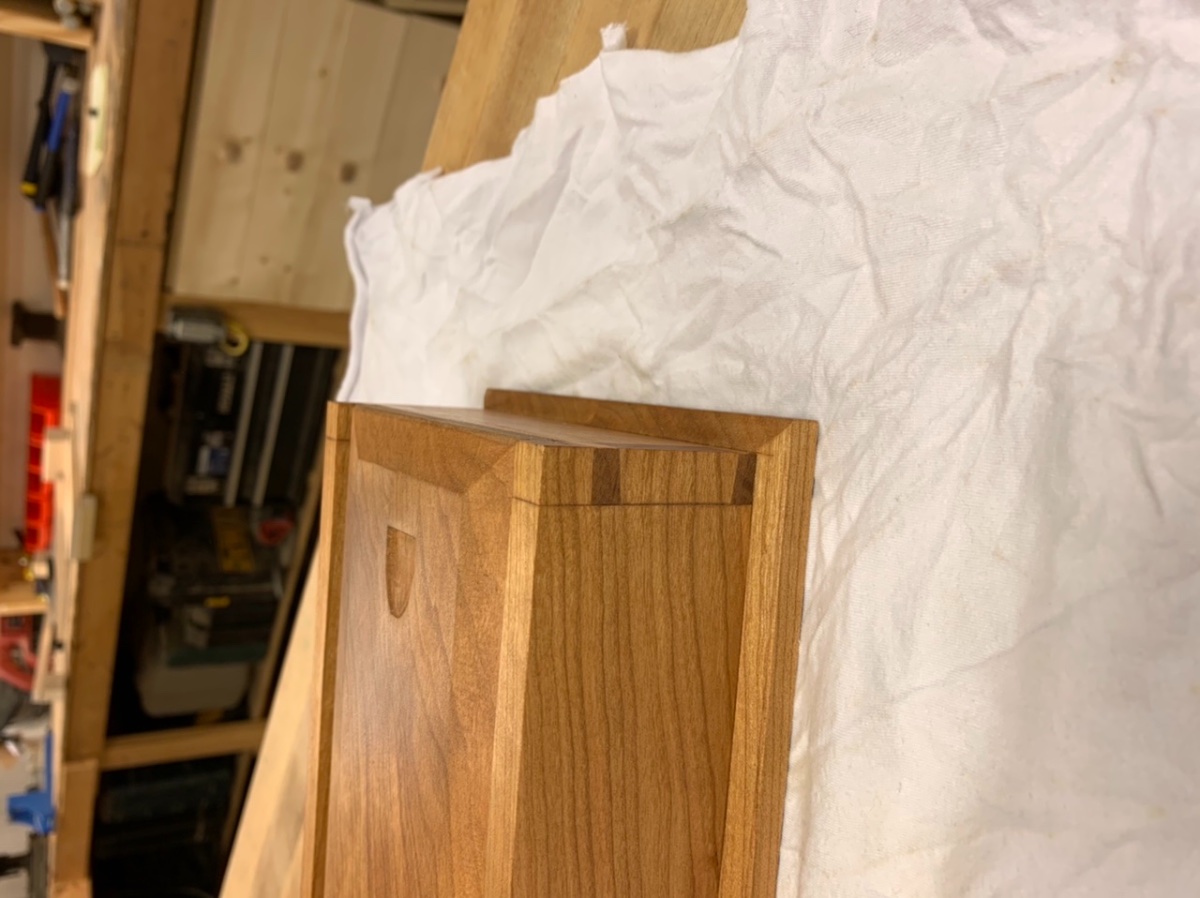
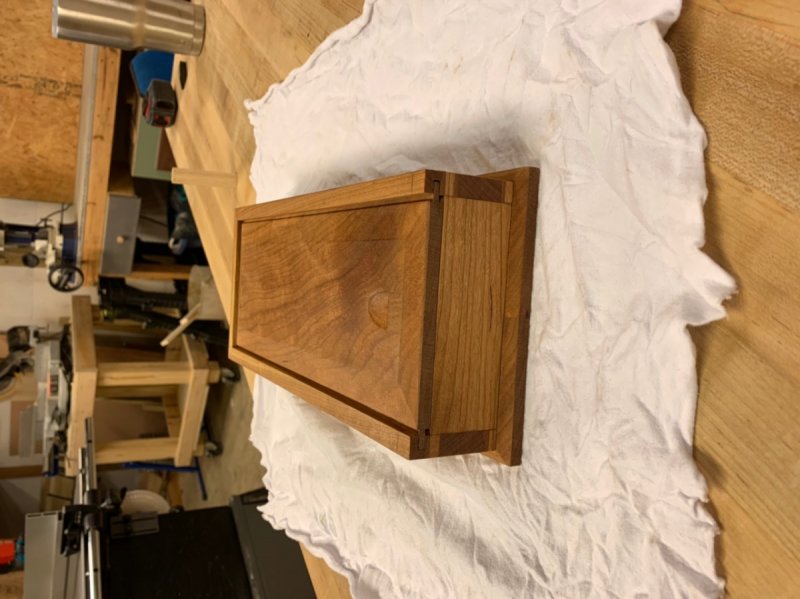 I got a wild hair to try out a mitre thru dovetail. This cherry was a left over from the tv console I built last year. It’s some very pretty wood. Problem is I remember this being awful chippy an this time it proved the same. So my dovetails did not turn out as clean as I had hoped. I left all the lay out lines on this one. I go back an forth on if I like the joinery line left shown or the clean look all smoothed over.
The miter was not that much more difficult. Now I will say that when fitting the joint experience does help a lot. When testing the joint knowing where you need to take material is crucial. The smallest amount in the wrong area creates a big gap somewhere else. To be honest the carved finger catch was the most stressful part.


-
6
-
-
The turns of the handle sounds right. I have the older version of this planer. An I normally do a 1/4 turn per pass. It will not pull into the machine much more than 5/8 -3/4 of a turn.
-
Sure do it’s called my wife. She tells me want she wants and where it will go. I design it to not fall apart an measure to fit the space then I free hand draw it out on graph paper to scale. We both like shaker/country style so I google some images but most is design on the fly. I may sketch up a certain detail or joinery I’m concerned with but that is about it. I pull my cut list from the sketch an bdft.
-
1
-
-
6 hours ago, Chet said:
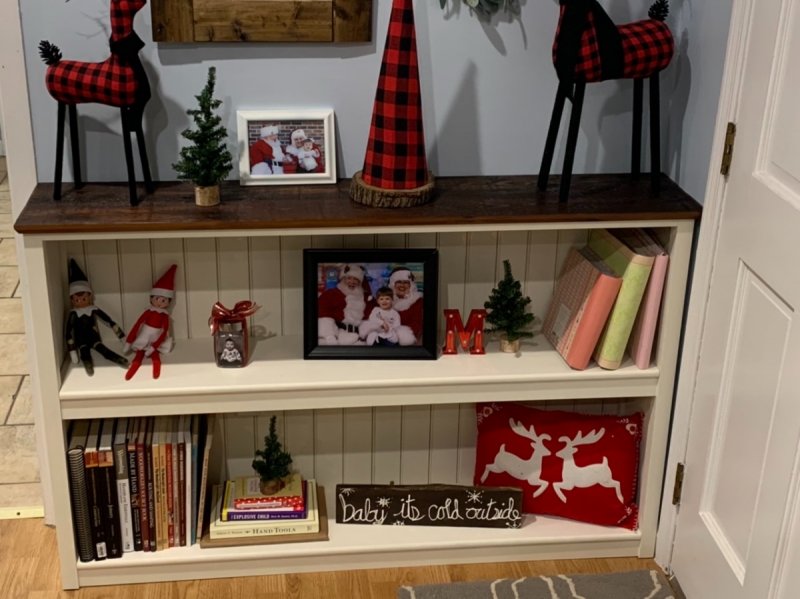
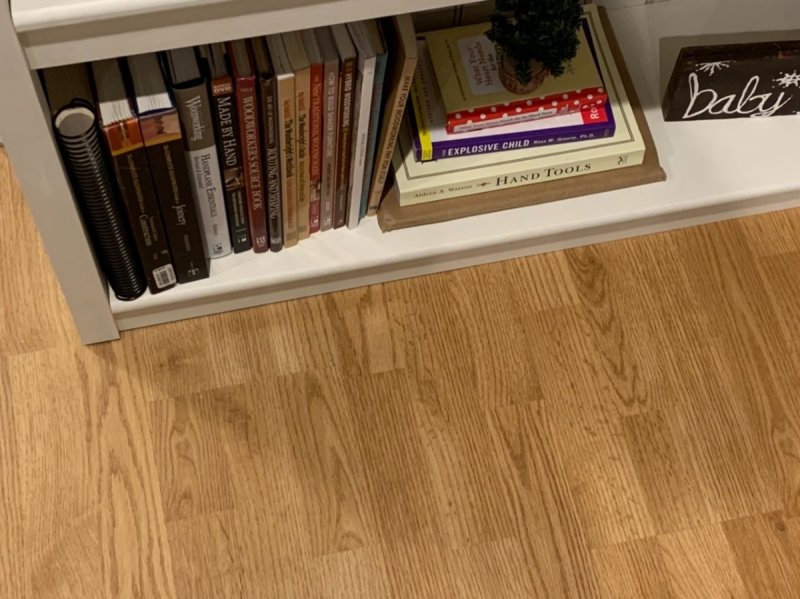
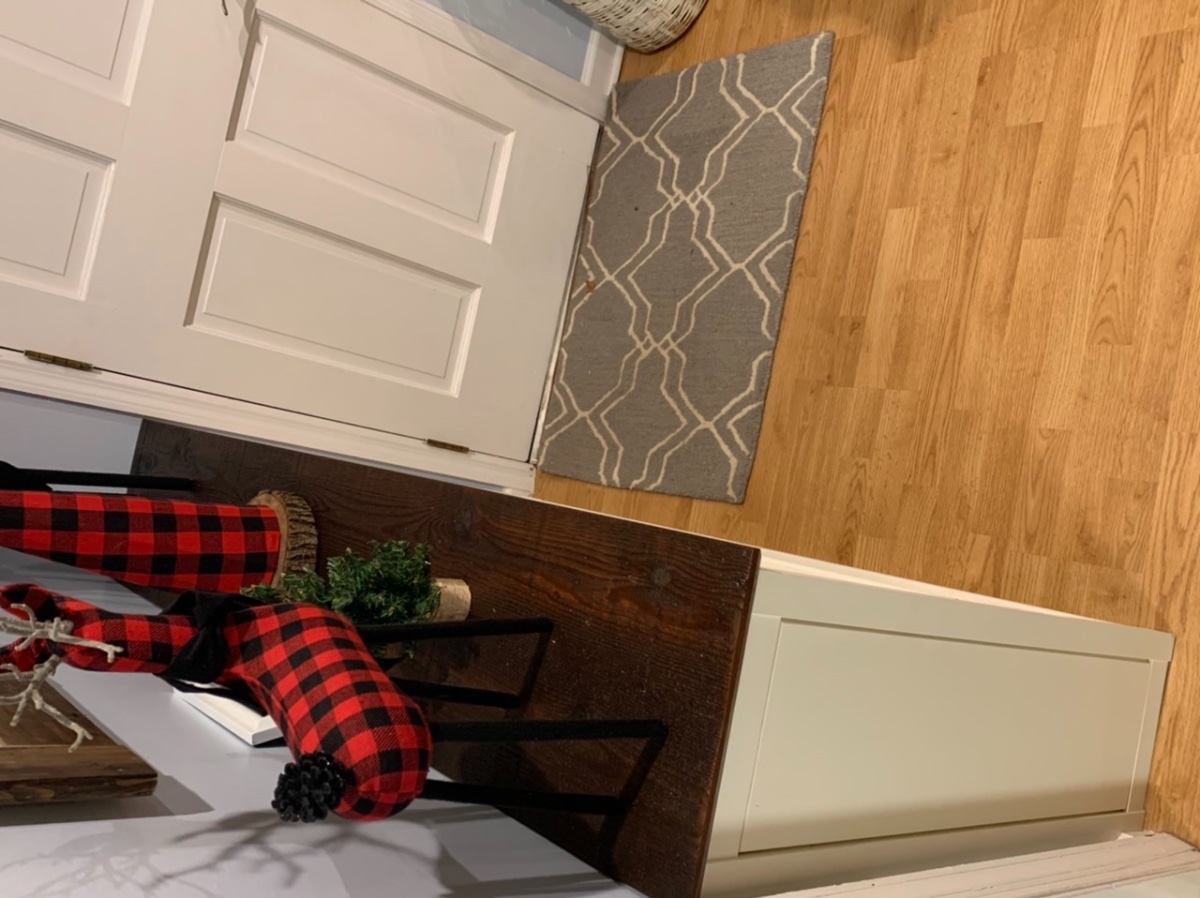
In looking at the first picture and if I am seeing it correct, it looks like your bottom apron in almost the center area is resting on a high spot in the floor causing gaps ant the end of the case between the case and floor.
If it still sits that way after the new floor, I would think a little gentle hand planing of the apron would fix it.
Yes sir you are correct. If I had thought about it I should have put a curve in the bottom rails an that would have fixed that. Live an you learn.
-
2
-
-
11 hours ago, Jamie said:
At first I was thinking scribe it to the floor but with new flooring coming I’d live with it till then. Might have to scribe it at that point.
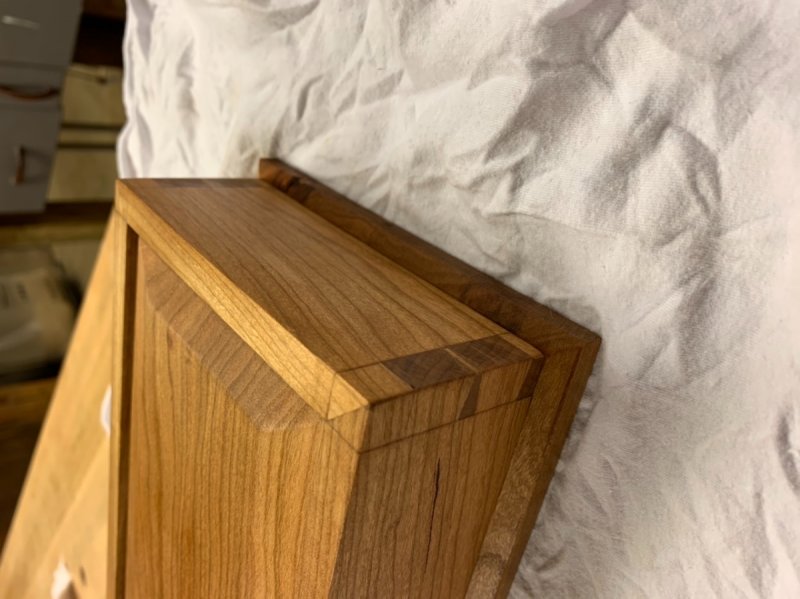
I really like the look of edge profile on the top is it just a chamfer?
Yes just a chamfer on the table saw. Give a longer bevel than router bits
-
1
-
-
Hi
in New Members
Well if you are going to start being the grammar police I’m out ?
12 minutes ago, Coop said:Ok, 5 out six call this place forums. I agree with @Tmize’s first post as being forum. He changed it on his second post. I think of it as a place, singular and not people, plural?
-
1
-
-
Yea that’s what I was thinking anyway. Just fishing if anyone had a better idea on a way to hiding it since shoe mold wouldn’t like right.
-
Here is the final photos installed. I do have a question? I have a gap at the bottom right that is just enough to bug me maybe a 1/8”. Normally with built in casework I would run a piece of trim around the bottom to hide the uneven floor. I don’t think trim would look right in this situation. I thought about caulking it. We are replacing the floors in the next couple years so don’t know how I want to do this. I will remove the bookcase an run the new floors under it I may be able to shim that spot level when I do it.

-
2
-
-
Hi
in New Members
Welcome to the forums
-
1
-
-
Hey Zex welcome to the forum. Bryan an BW beat me to it. Budget the most deciding factor an what will you be doing with it. I use mine to resaw an straight line rip 90% of the time.
-
I have the HF version I bought the power tec 1 micron filter bag an it helped the air quality issue but it has bogged the it down now. So I guess this is my next option. Give us a update later on how it does
-
1
-
-
Dowel reinforced will definitely give it more strength. I’ve luckily never had to repair a joint like that but I think you are right it would be a nightmare
-
1
-
-
I use tb 3 for most everything. I have know first hand with this but I’ve been reading a lot about chair building lately. Almost all chair builder recommend hide glue or liquid hide glue for at least the aprons an seat area because these area have the most stress an hide glue is easier to repair the joint down the road.
-
1 minute ago, Chet said:
I have always like those, just had trouble justifying the price when the hold fast works for me.
"thingy" thats a highly technical term most people don't know the definition of.
Same here with the price I’ve got two gramercy holdfast an couple of the rockler ones also. They are work great.
Oh yes very high tech?
-
Just now, Kev said:
You could add some blocks to the bottom at the holdfast locations if you're having issue with them holding.
So far I don’t have any problems. I’ve been looking for a reason to try out LV post clamp thingy https://www.leevalley.com/en-us/shop/tools/workshop/workbenches/benchtop-accessories/57059-veritas-surface-clamp?item=05G1901. So if the holdfast don’t do the job I may just order me one of them.
-
1
-
-
I always find out after it’s glued up. Speaking of that are you using pva glue on these chairs?
-
The replacement led lamps with the built in drivers are proven more reliable an longer life span. Basically you will bypass the fluorescent ballast an run the 120v straight to the tombstones from what I can remember polarity is not an issue. I’m going from memory here from about 4 years ago. So read the instructions.
Lumens is brightness measured X distance away from the source. So the higher lumens to greater light output. The K or kelvin is the color. 5000k is the medium color range for the most part at what most refer to as daylight. Personally I like 6-7k inside the house. You get what the sale pitch today is as true color. Which means you don’t get the yellowing affect on whites or a premistaken deeper color in dark tones.
Wattage isn’t really an issue with LEDs. The factory built led fixtures will be a lower wattage an possibly a higher lumen rating than the tube replacement. Your lighting circuits will be more than adequate to hold the swap over an will save some electricity. It will not change your power bill most likely.
All that to say this get the highest lumen an the correct color that you want in your shop. In my shop I run T5 HO fluorescent at 5000 lumens each the color is 4000k. I’m not a big fan of the color but I got them off a job so they was free. I just haven’t ever got around the changing the lamps. It only really ever messes with my eyes if I’m putting a oil finish on a lighter colored wood oak,maple etc. Hope this helps some
-
1
-
-
Nice feature looks good
-
 1
1
-
-
I drilled a couple hold fast holes in it last night. They hold fairly well in the 1 3/4” top. I got a handful more eBay saws headed my way for restoration so the bench should get a lot of use here soon.
-
2
-
-
I’m back sorry my bookmarked I had on the site changed so I figured it was still under the relocation. I all set back up now
-
1
-
-
22 minutes ago, Jamie said:
It’s actually 8 chairs, the last one was still in the clamps when that photo was taken. Thank you very much for the kind words.
Talked to the upholstery guy tonight and he said whenever I’m ready to have the seats covered he will work them in. Need to get to his shop to select a fabric to use. Talked with him about leather and he mentioned that for dining room chairs he has another material that he likes better because it doesn’t stain. He said it is like a synthetic leather. Will have to get it checked out.
Was cutting some of the angled tenons tonight for the seat sides. Man can they be a challenge! With an angle on both ends it really makes a guy slow down and make sure the setup is correct.
Thought I remembered it was 8 chairs but I only counted 7 in the pic. Then I know most chair builders build a spare. So I thought it may have been a set of 6 with a spare
-
1
-


Paul sellers candle box
in Member Showcase
Posted
I’ve never really had a problem with them cupping til I get to under 3/8” thick. For boxes tho it usually stock that has been in my shop for awhile. I normally resaw it then hand plane to finished size instead of planing it all to size if that helps.